
BBQ Baby Back Ribs
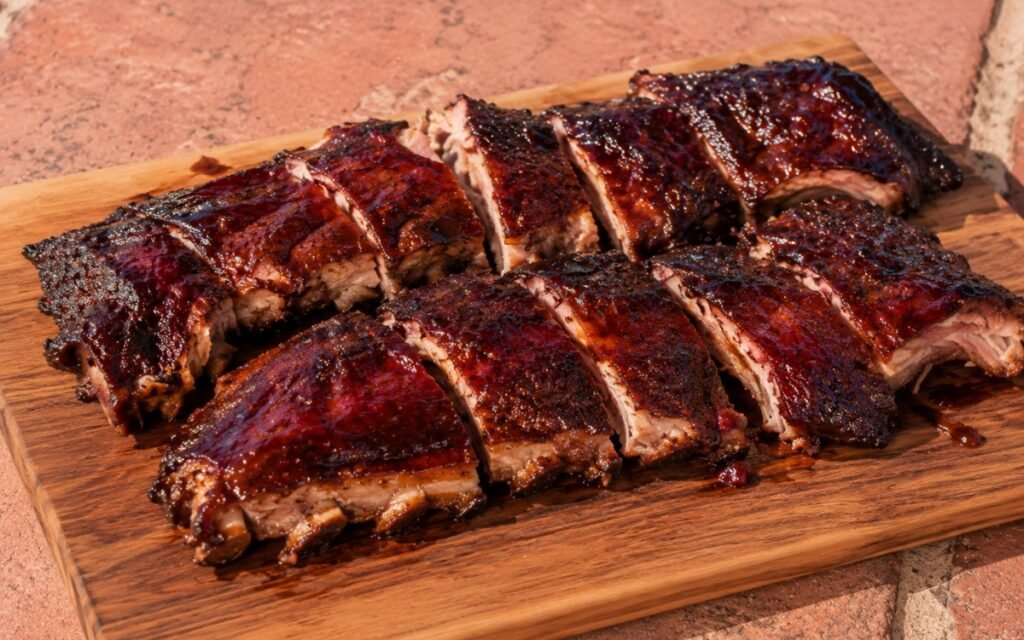
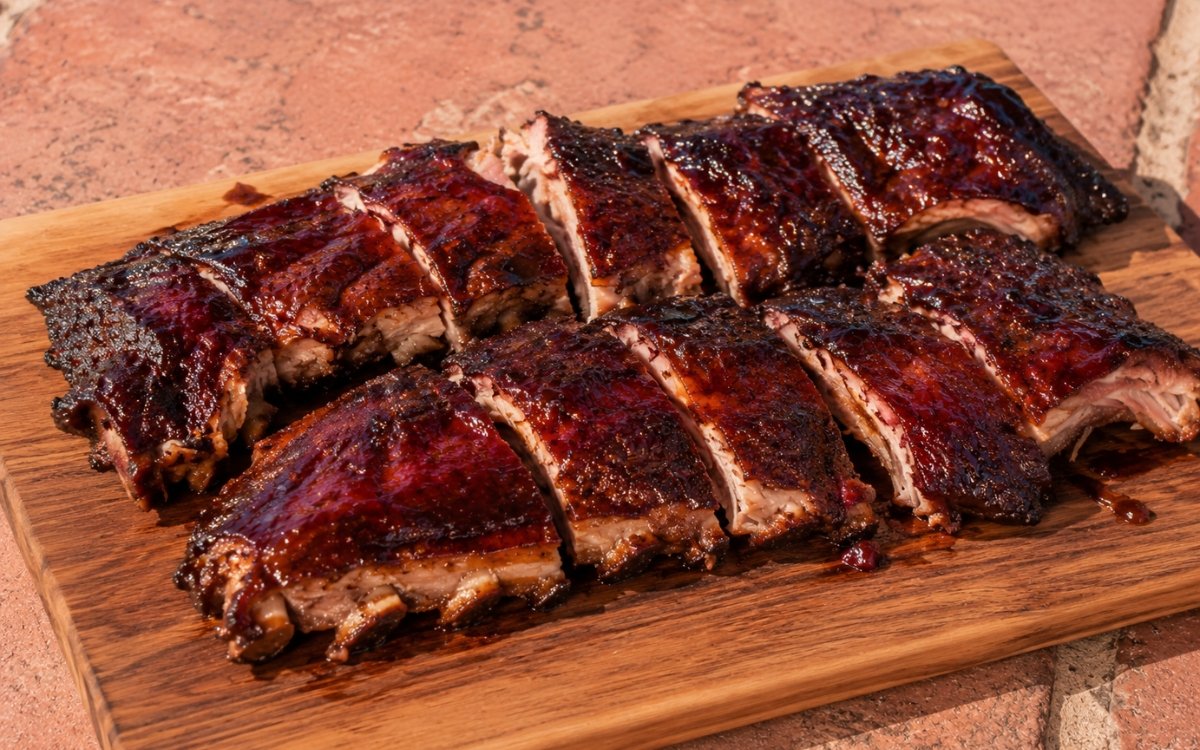
Baby back ribs rubbed with a smoky spice mix, lightly moistened with low-acid vinegar, wrapped first in pink butcher paper or baking paper and then foil, and slow-baked until tender, finished on a hot grill with a homemade smoky, slightly hot chipotle barbecue sauce glazed on in multiple layers until dark, sticky, and glossy. Wrapping the ribs first in paper and then foil, rather than foil alone, is the technique this whole cook depends on for texture — the paper protects the rub-coated surface from direct contact with pooling moisture while the outer foil traps heat and steam, the same layered-wrap principle used elsewhere in this collection whenever a slow-cooked meat needs to stay moist without turning the exterior mushy. Pulling the ribs from the oven while they’re tender but still holding together, rather than pushing all the way to fall-off-the-bone, is what lets them survive the grilling and glazing stage without collapsing apart. Glazing in multiple thin layers over moderate heat, rather than one heavy coat, is what builds a genuinely lacquered, dark mahogany finish instead of a single scorched or merely wet layer. The payoff is a rack with tender, cleanly bite-able meat under a glossy, sticky, deeply glazed bark with real grill char.
Prep Time : 25 min
Cook Time : 3 hr, 30 min
Servings : 4
25 min
3 hr, 30 min
4
Ingredients
For the Ribs
• 2 full racks baby back ribs, about 1.8–2.2kg total
• 2 tbsp apple cider vinegar or rice vinegar
• Pink butcher paper (unwaxed, uncoated), or baking paper
• Aluminum foil
For the Spice Rub
• 2 tsp garlic powder — this one on Amazon
• 2 tsp onion powder — this one on Amazon
• 2 tsp smoked paprika — this one on Amazon
• 2 tsp sweet paprika — this one on Amazon
• 1 tsp instant coffee
• 1 tsp ground cumin — this one on Amazon
• 2 tsp fine sea salt
• 1 tsp freshly ground black pepper
For the BBQ Sauce
• 240g ketchup
• 60g brown sugar — this one on Amazon
• 2 tbsp molasses — this one on Amazon
• 2 tbsp apple cider vinegar
• 1 tbsp Worcestershire sauce
• 1 tbsp Dijon mustard — this one on Amazon
• 1–2 chipotle peppers in adobo, finely chopped — this one on Amazon
• 1 tbsp adobo sauce from the can
• 1 tsp smoked paprika
• 1 tsp garlic powder
• 1 tsp onion powder
• 60ml water
• Salt, to taste
• Black pepper, to taste
This post may contain affiliate links. As an Amazon Associate I earn from qualifying purchases, at no additional cost to you.
Directions
- Prepare the Ribs
Remove the membrane from the bone side of the ribs. Slide a small knife under one edge of the membrane, loosen it, then grip it with paper towel and pull it off in one sheet if possible. Pat the racks dry well. Cut each rack in half so you end up with 4 rib sections, each roughly 5–6 bones. The membrane should be removed cleanly enough that the seasoning can contact the meat side and bone side properly. Drying the ribs matters because the rub clings better to a dry surface than a wet one. Removing that membrane isn’t cosmetic — left in place, it acts as a barrier that blocks both the rub and eventual smoke or heat from properly reaching the underside of the meat, and it also toughens into an unpleasant, chewy layer once cooked. - Season the Ribs
In a small bowl, combine the garlic powder, onion powder, smoked paprika, sweet paprika, instant coffee, cumin, salt, and black pepper. Drizzle the ribs lightly all over with the apple cider vinegar or rice vinegar — just enough to moisten the surface, not soak it. Sprinkle the spice rub evenly over all sides and press it onto the meat so it adheres well. Let the ribs rest for 30 minutes at room temperature. The light vinegar layer helps the rub cling and keeps the surface slightly tacky, but too much liquid will wash the rub off and steam the surface instead of helping it develop flavor. The instant coffee folded into the rub isn’t there to add coffee flavour directly — its bitter compounds deepen the eventual bark’s savoury complexity in a way that’s felt more than tasted outright. - Wrap and Slow-Bake
Preheat the oven to 140°C. Wrap each rib section first in pink butcher paper. If you do not have butcher paper, use baking paper. Then wrap each piece again in aluminum foil so it is tightly sealed. Arrange the wrapped ribs on a baking tray. Bake for 2 hours 45 minutes to 3 hours 15 minutes, depending on thickness. The ribs are ready when the meat has visibly pulled back from the ends of the bones, a skewer slides into the meat with very little resistance, the rack bends easily when lifted, and the meat is tender but still holds together and is not collapsing apart. This is the stage to stop before the meat becomes too soft. You want tender ribs that can still handle the grill and repeated glazing without falling apart. The paper-then-foil sequence gives the ribs two different kinds of protection at once — the paper sits directly against the rub-coated surface and keeps it from sitting in pooled liquid the way foil alone would, while the outer foil layer still traps enough heat and steam to tenderise the meat over the long, slow bake. - Make the BBQ Sauce
While the ribs bake, combine the ketchup, brown sugar, molasses, vinegar, Worcestershire sauce, Dijon mustard, chopped chipotle peppers, adobo sauce, smoked paprika, garlic powder, onion powder, and water in a saucepan. Bring to a gentle simmer over medium-low heat and cook for 10–15 minutes, stirring occasionally, until the sauce thickens to a glossy, spoon-coating consistency. Taste and adjust with a little salt and black pepper if needed. The finished sauce should be thick enough to cling to the ribs in layers, but still loose enough to brush on smoothly. If it becomes too thick, loosen with a small splash of water. This brief simmer concentrates the sauce’s sweetness and smoky chipotle heat into something that will hold up to multiple glazing passes on the grill — a thinner, unreduced sauce would simply run off the ribs rather than building into layered, sticky glaze. - Unwrap and Prepare for Grilling
Remove the ribs from the oven and let them rest in their wrapping for 10 minutes. Unwrap carefully. If there are juices collected in the packets, you can pour them into a bowl, let the fat separate, and stir a little of the defatted juices into the sauce for extra depth. Preheat a grill to medium to medium-high heat. Clean and oil the grates. Letting the ribs rest briefly after baking helps the juices settle and makes the meat less likely to tear when moved to the grill. Stirring the defatted resting juices into the barbecue sauce is a small addition that carries real concentrated pork flavour directly from the ribs’ own cooking liquid into the glaze, rather than letting that flavour go to waste. - Grill and Glaze
Place the ribs on the grill meat-side down first for 2–3 minutes to set the surface and add some grill char. Flip and brush generously with BBQ sauce. Grill for another 2–3 minutes. Turn again and continue glazing 2–3 times per side, flipping between layers so the sauce caramelizes gradually instead of burning. Move the ribs to a slightly cooler part of the grill if the glaze darkens too quickly. The ribs are done when the surface is dark mahogany, glossy, sticky, and lacquered, with slightly caramelized edges and a light smoky char. The glaze should look tacky and shiny, not wet and loose. If the sugars begin to scorch aggressively, the heat is too high. Building the glaze in multiple thin layers, rather than one heavy coat, gives each application time to set and caramelise slightly before the next goes on — a single thick coat would either slide off or scorch on the outside before penetrating, while thin repeated layers build depth and shine gradually. - Rest and Serve
Transfer the ribs to a board and rest for 5–10 minutes. Serve each half-rack section as one portion, or cut further if needed. The final ribs should be tender enough to bite cleanly from the bone, glazed and sticky outside, with a smoky bark under the sauce. This final rest lets the glaze set just enough to stay glossy and clinging rather than sliding off the moment the ribs are cut or handled.
*Notes :
- The paper-then-foil wrapping method is worth understanding as two distinct forms of protection working together rather than a single redundant layer. Butcher or baking paper against the rub-coated surface keeps that surface from sitting directly in pooled fat and juices the way foil alone would allow, which helps preserve some bark texture even through the long, moist cooking stage. The outer foil layer then does the heavier lifting of trapping heat and steam for genuine tenderising over nearly three hours. Foil alone tends to produce a softer, slightly steamed bark by comparison.
- Pulling the ribs from the oven at the specific point described — tender, bending easily, meat pulled back from the bone ends, but still holding together rather than falling apart — is a genuinely narrow window worth watching for carefully. Ribs pushed past this point into full fall-off-the-bone territory won’t survive the subsequent grilling and repeated glazing; they’ll simply break apart under the tongs. Stopping the bake at properly tender-but-intact is what sets up the grilling stage to succeed.
- Honey should act as a rounding agent rather than a dominant sweetener. The multi-layer glazing technique on the grill deserves patience rather than rushing toward a single, generous coat. Each thin layer of sauce gets its own brief window against the grill’s heat to set and slightly caramelise before the next is brushed on — that gradual buildup is what produces the dark, glossy, lacquered finish this recipe describes, genuinely different from the result of one heavy application, which tends to either slide off unevenly or scorch on top while staying wet underneath.
- Using the defatted resting juices from the wrapped ribs as an addition to the barbecue sauce is a small technique that’s easy to skip but adds real value. Those juices carry concentrated pork flavour built up over the entire slow bake, and stirring even a modest amount into the sauce before glazing threads that flavour directly back into the final glaze rather than discarding it along with the wrapping.
Why This Recipe Works
This recipe works because the ribs are protected through the long bake by a paper-then-foil wrap that preserves surface texture while still tenderising fully, and they’re pulled from the oven at precisely the point of tender-but-intact rather than pushed to full collapse.
The barbecue sauce is reduced to a proper spoon-coating consistency before it ever reaches the grill, and it’s applied in multiple thin, patient layers that build a genuinely lacquered glaze rather than a single wet or scorched coat.
Resting at each key stage — after baking, and again after grilling — protects both the meat’s structure and the glaze’s finish.
Ingredient Breakdown
Membrane-Removed Baby Back Ribs
The prep step — clears the way for the rub and heat to properly reach and season the meat’s underside.
Instant Coffee in the Rub
The flavour-deepening addition — contributes bitter, savoury complexity to the bark without tasting overtly of coffee.
Paper-Then-Foil Wrap
The critical baking technique — paper protects the rub-coated surface, foil traps heat and steam for full tenderising.
Reduced Chipotle BBQ Sauce
The glaze base — simmered to a proper spoon-coating thickness so it holds up to repeated grill glazing rather than running off.
Multi-Layer Grill Glaze
The finishing technique — thin, repeated coats build a dark, glossy, lacquered finish rather than a single scorched or wet layer.
Flavor Structure Explained
This BBQ ribs follow a layered balance model:
- Deep smoky-savoury foundation (spice rub, slow bake)
- Sweet sticky glaze (chipotle barbecue sauce)
- Warm background bitterness (instant coffee in the rub)
- Smoky heat (chipotle, adobo)
- Charred grilled finish (grill marks, caramelised glaze)
The spice rub and long, slow bake define the ribs with a deep, smoky-savoury foundation running through the meat itself. The chipotle barbecue sauce layers in sweet, sticky glaze built from ketchup, brown sugar, and molasses. Instant coffee in the rub contributes a subtle background bitterness that deepens the overall savoury character without tasting like coffee outright. Chipotle and its adobo sauce bring genuine smoky heat to the glaze. A final char from the grill and the caramelised, multi-layered glaze finish the ribs with real textural and flavour complexity at the surface.
Common Mistakes to Avoid
- Leaving the Membrane On – This blocks the rub and heat from properly reaching the meat’s underside and toughens into an unpleasant layer once cooked. Always remove it before seasoning.
- Using Too Much Vinegar Before the Rub – Excess liquid washes the rub off rather than helping it cling. Always use just enough to lightly moisten the surface.
- Baking the Ribs Until Fully Fall-Apart Tender – Ribs pushed past tender-but-intact will collapse during grilling and glazing. Always pull them while they still hold together.
- Applying One Heavy Coat of Sauce Instead of Multiple Thin Layers – A single thick coat slides off or scorches unevenly. Always glaze in several thin layers, letting each set before the next.
- Grilling Over Too-High Heat During Glazing – The sugar in the sauce burns quickly under aggressive heat. Always move to a cooler zone if the glaze darkens too fast.
Variations
Spicier Version
Increase the chipotle peppers to 3 and add extra adobo sauce for a noticeably smokier, sharper heat throughout the glaze.
Dry-Rub-Only Version
Skip the barbecue sauce glaze entirely and serve the ribs straight from the grill with just the rub’s flavour, for a drier, more bark-forward style.
Oven-Only Version
Skip the grill stage and instead broil the sauced ribs for 3–5 minutes per side, watching closely, for an indoor alternative.
Extra-Smoky Version
If using a charcoal or wood-fired grill, add a small handful of soaked wood chips during the glazing stage for additional smoke flavour.
Storage & Make-Ahead
The spice rub can be mixed ahead and stored in an airtight container for several weeks. The barbecue sauce can be made 1 week ahead and refrigerated in a sealed container, or frozen for up to 3 months.
Seasoned, wrapped, unbaked ribs can be refrigerated for a few hours before baking if prepping ahead of time.
Fully cooked, glazed ribs can be refrigerated for up to 3 days; reheat gently in a low oven, covered, to avoid drying out, then briefly re-glaze and warm through on the grill if desired.
Frequently Asked Questions
Why wrap the ribs in paper before adding the foil, instead of just using foil alone?
The paper sits directly against the rub-coated surface and protects it from sitting in pooled fat and juices, preserving more bark texture through the long bake. The outer foil layer still traps enough heat and steam to tenderise the meat fully — foil alone tends to produce a softer, more steamed bark by comparison.
Why is it important to pull the ribs from the oven while they’re tender but still holding together, rather than fully falling off the bone?
Ribs baked past that point lack the structural integrity to survive being moved to the grill and glazed multiple times — they’ll simply fall apart. Stopping at tender-but-intact is what sets up the grilling stage to work.
Why glaze the ribs in several thin layers instead of one generous coat?
Each thin layer gets a brief window against the grill’s heat to set and slightly caramelise before the next is applied. A single heavy coat either slides off unevenly or scorches on the surface while staying wet underneath, rather than building the dark, glossy, lacquered finish multiple thin layers produce.
Why does the recipe include instant coffee in the spice rub?
It’s not there to add coffee flavour directly — its bitter compounds deepen the bark’s overall savoury complexity in a way that’s felt as depth rather than tasted as coffee outright.
Are there other smoky, grilled, or barbecue-style meat recipes worth trying, and what sides pair well?
Pulled Pork Sandwich offers another smoky, barbecue-sauced pork option worth exploring. Chipotle Grilled Chicken Legs and Argentine Chimichurri Steak both offer different grilled meat directions worth trying alongside this. For a side, Homemade Onion Rings or Baked Mac and Cheese both pair especially well with these ribs.
Nutrition Facts
( per serving )
Calories
~820 kcal
Protein
48 g
Fat
52 g
Carbs
36 g
Calories
~820 kcal
Protein
48 g
Fat
52 g
Carbs
36 g
Related Recipes
Related Recipes

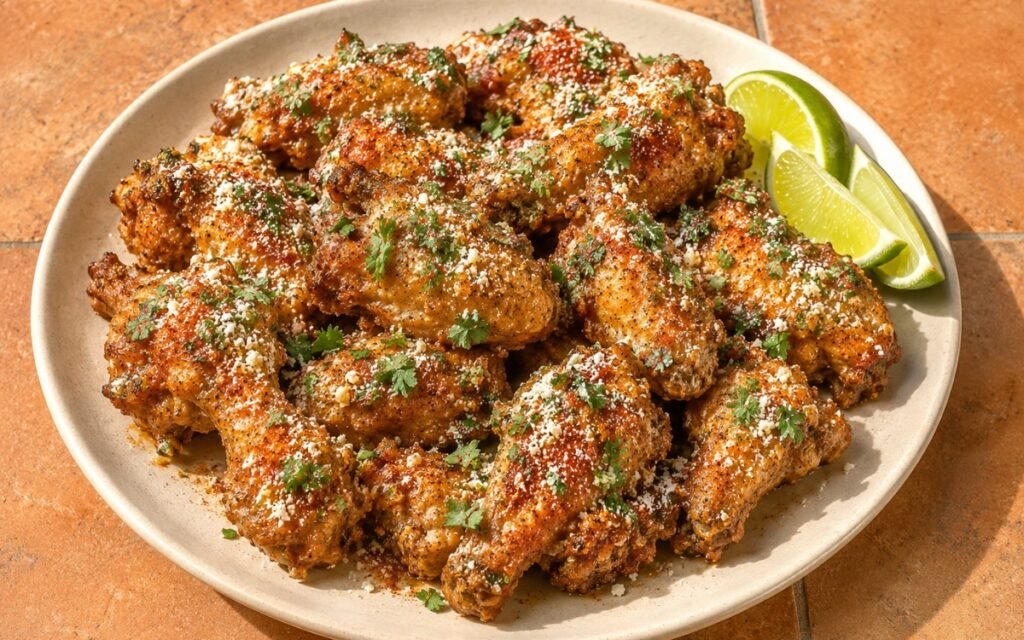
Elote-Style Chicken Wings
Oven-baked wings with crackling skin, tossed hot in a creamy mayo-crema elote sauce, then topped with crumbled cotija and chili powder.
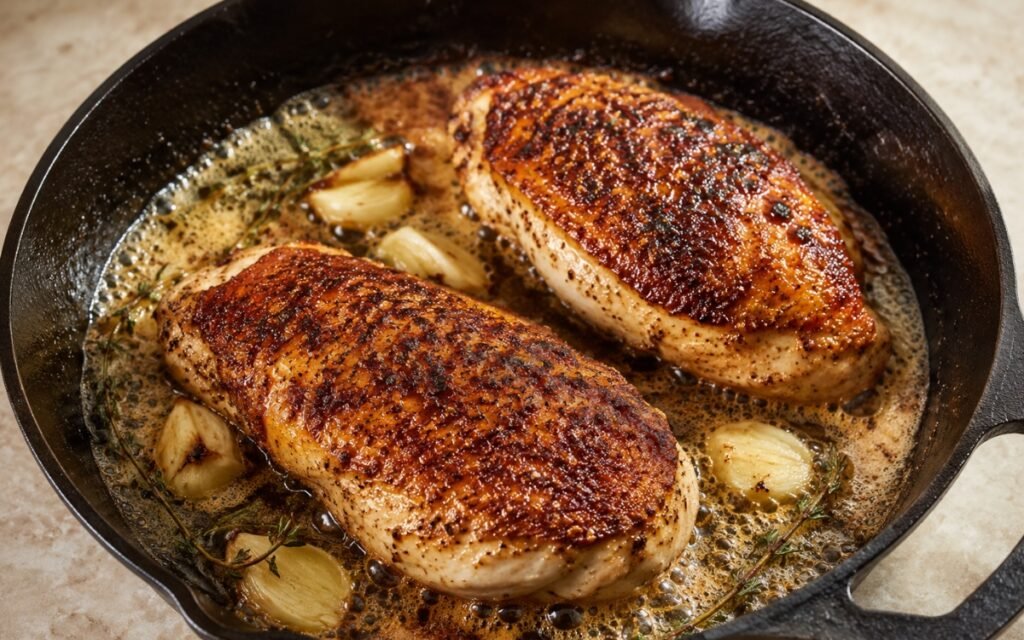
Pan-Seared Chicken Breast (Skin on)
Chicken breast pounded even, dried thoroughly, seared skin-side down undisturbed — finished with garlic thyme butter basting. Crispy skin, juicy meat.
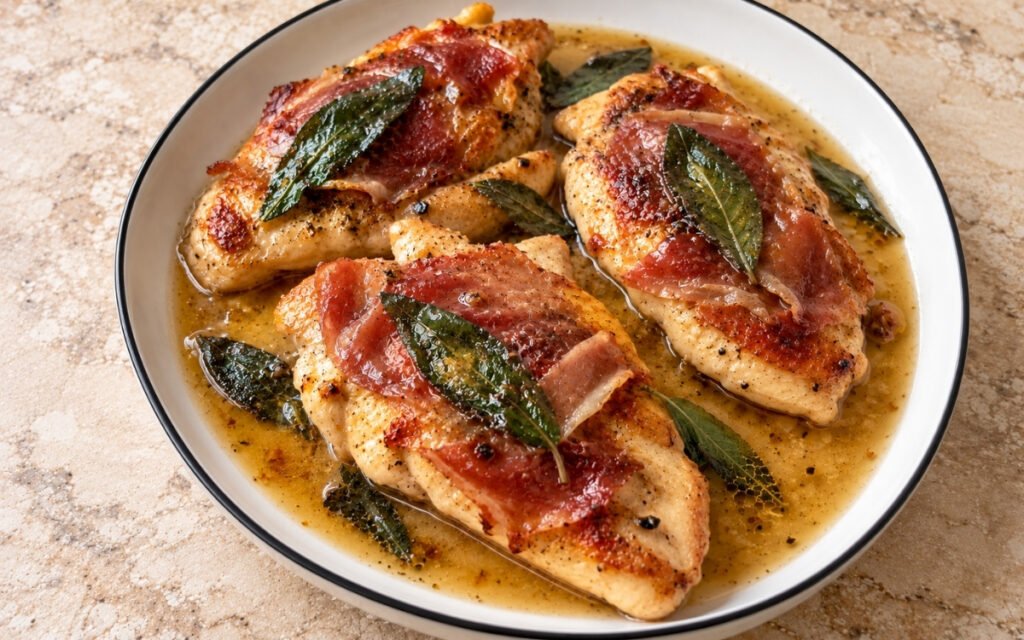
Chicken Saltimbocca
Thin seared chicken cutlets topped with prosciutto and sage, finished in a glossy buttery white wine pan sauce.
You might also like
You might also like
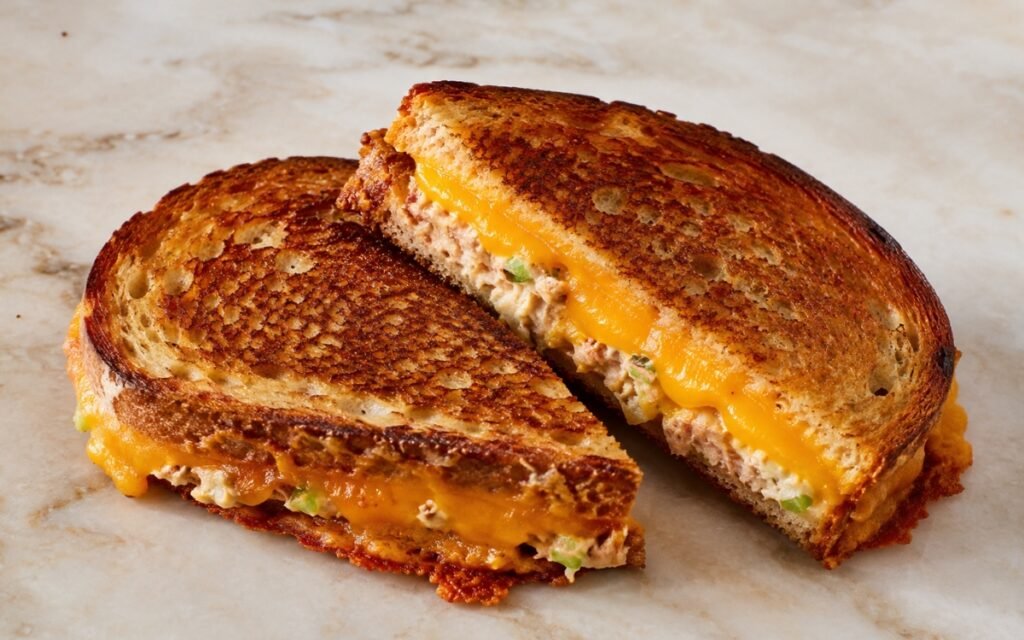
Tuna Melt
Creamy tuna salad and sharp melted cheddar griddled between buttery sourdough until deeply golden and crisp.
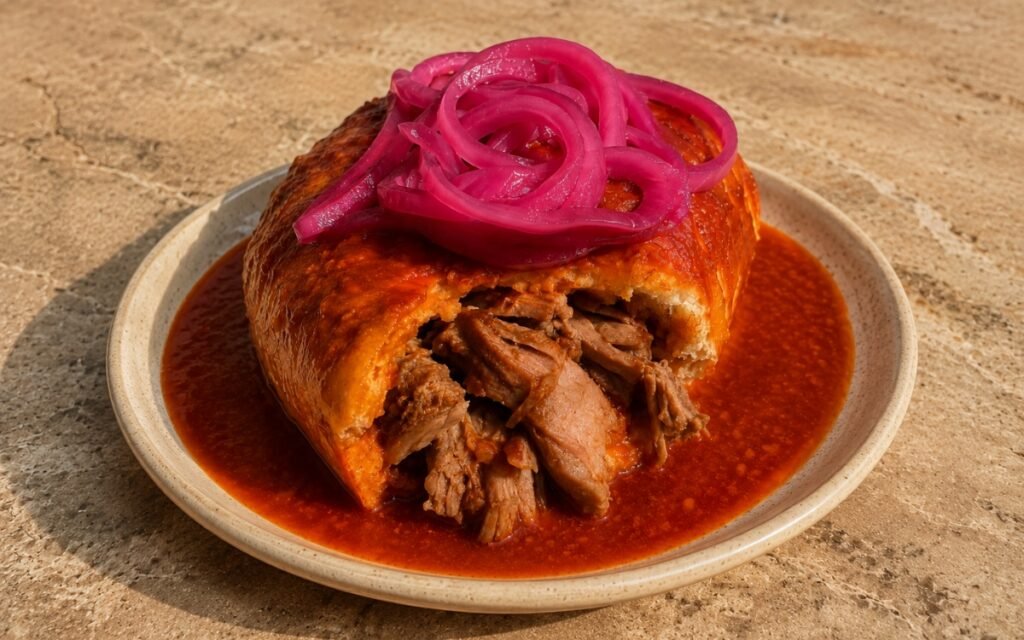
Sándwich Ahogado (Torta Ahogada)
Crusty birote rolls filled with juicy carnitas, drowned in a vivid, pourable chile de árbol sauce and topped with bright pickled onion.
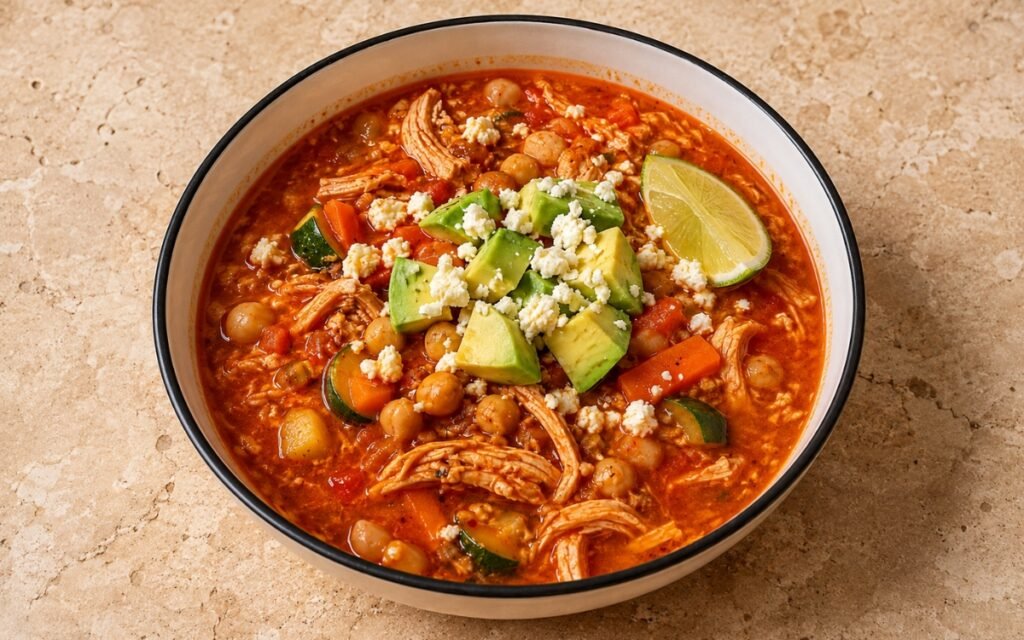
Caldo Tlalpeño
A clear chipotle-tomato chicken broth with shredded chicken, chickpeas, carrots, and zucchini, finished with avocado and queso fresco.
BBQ Baby Back Ribs
Ingredients
Method
- Remove the membrane from the bone side of the ribs. Slide a small knife under one edge of the membrane, loosen it, then grip it with paper towel and pull it off in one sheet if possible. Pat the racks dry well. Cut each rack in half so you end up with 4 rib sections, each roughly 5–6 bones. The membrane should be removed cleanly enough that the seasoning can contact the meat side and bone side properly. Drying the ribs matters because the rub clings better to a dry surface than a wet one. Removing that membrane isn’t cosmetic — left in place, it acts as a barrier that blocks both the rub and eventual smoke or heat from properly reaching the underside of the meat, and it also toughens into an unpleasant, chewy layer once cooked.
- In a small bowl, combine the garlic powder, onion powder, smoked paprika, sweet paprika, instant coffee, cumin, salt, and black pepper. Drizzle the ribs lightly all over with the apple cider vinegar or rice vinegar — just enough to moisten the surface, not soak it. Sprinkle the spice rub evenly over all sides and press it onto the meat so it adheres well. Let the ribs rest for 30 minutes at room temperature. The light vinegar layer helps the rub cling and keeps the surface slightly tacky, but too much liquid will wash the rub off and steam the surface instead of helping it develop flavor. The instant coffee folded into the rub isn’t there to add coffee flavour directly — its bitter compounds deepen the eventual bark’s savoury complexity in a way that’s felt more than tasted outright.
- Preheat the oven to 140°C. Wrap each rib section first in pink butcher paper. If you do not have butcher paper, use baking paper. Then wrap each piece again in aluminum foil so it is tightly sealed. Arrange the wrapped ribs on a baking tray. Bake for 2 hours 45 minutes to 3 hours 15 minutes, depending on thickness. The ribs are ready when the meat has visibly pulled back from the ends of the bones, a skewer slides into the meat with very little resistance, the rack bends easily when lifted, and the meat is tender but still holds together and is not collapsing apart. This is the stage to stop before the meat becomes too soft. You want tender ribs that can still handle the grill and repeated glazing without falling apart. The paper-then-foil sequence gives the ribs two different kinds of protection at once — the paper sits directly against the rub-coated surface and keeps it from sitting in pooled liquid the way foil alone would, while the outer foil layer still traps enough heat and steam to tenderise the meat over the long, slow bake.
- While the ribs bake, combine the ketchup, brown sugar, molasses, vinegar, Worcestershire sauce, Dijon mustard, chopped chipotle peppers, adobo sauce, smoked paprika, garlic powder, onion powder, and water in a saucepan. Bring to a gentle simmer over medium-low heat and cook for 10–15 minutes, stirring occasionally, until the sauce thickens to a glossy, spoon-coating consistency. Taste and adjust with a little salt and black pepper if needed. The finished sauce should be thick enough to cling to the ribs in layers, but still loose enough to brush on smoothly. If it becomes too thick, loosen with a small splash of water. This brief simmer concentrates the sauce’s sweetness and smoky chipotle heat into something that will hold up to multiple glazing passes on the grill — a thinner, unreduced sauce would simply run off the ribs rather than building into layered, sticky glaze.
- Remove the ribs from the oven and let them rest in their wrapping for 10 minutes. Unwrap carefully. If there are juices collected in the packets, you can pour them into a bowl, let the fat separate, and stir a little of the defatted juices into the sauce for extra depth. Preheat a grill to medium to medium-high heat. Clean and oil the grates. Letting the ribs rest briefly after baking helps the juices settle and makes the meat less likely to tear when moved to the grill. Stirring the defatted resting juices into the barbecue sauce is a small addition that carries real concentrated pork flavour directly from the ribs’ own cooking liquid into the glaze, rather than letting that flavour go to waste.
- Place the ribs on the grill meat-side down first for 2–3 minutes to set the surface and add some grill char. Flip and brush generously with BBQ sauce. Grill for another 2–3 minutes. Turn again and continue glazing 2–3 times per side, flipping between layers so the sauce caramelizes gradually instead of burning. Move the ribs to a slightly cooler part of the grill if the glaze darkens too quickly. The ribs are done when the surface is dark mahogany, glossy, sticky, and lacquered, with slightly caramelized edges and a light smoky char. The glaze should look tacky and shiny, not wet and loose. If the sugars begin to scorch aggressively, the heat is too high. Building the glaze in multiple thin layers, rather than one heavy coat, gives each application time to set and caramelise slightly before the next goes on — a single thick coat would either slide off or scorch on the outside before penetrating, while thin repeated layers build depth and shine gradually.
- Transfer the ribs to a board and rest for 5–10 minutes. Serve each half-rack section as one portion, or cut further if needed. The final ribs should be tender enough to bite cleanly from the bone, glazed and sticky outside, with a smoky bark under the sauce. This final rest lets the glaze set just enough to stay glossy and clinging rather than sliding off the moment the ribs are cut or handled.