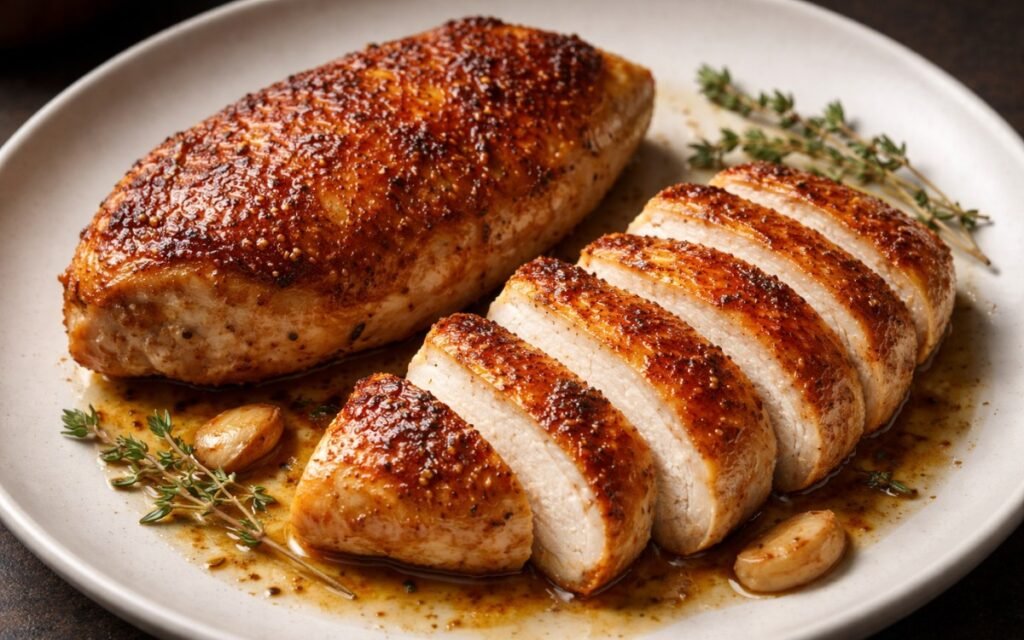
Pan-Seared Chicken Breast (Skin on)
Master the art of perfectly cooked chicken breast with deeply golden, crispy skin and juicy, tender meat every time. This method uses controlled heat and butter basting to build real flavor instead of relying on sauces. Once you understand how to manage moisture, temperature, and fat rendering, chicken breast stops being dry and becomes one of the most reliable, repeatable proteins you can cook.
Prep Time : 10 min
Cook Time : 20 min
Servings : 4
10 min
20 min
4
Ingredients
For the Chicken
• 800g boneless, skin-on chicken breasts (4 pieces)
• 10g fine sea salt — this one on Amazon
• 4g freshly ground black pepper
• 4g garlic powder
• 3g smoked paprika
For Cooking
• 30ml olive oil — this one on Amazon
• 40g unsalted butter — this one on Amazon
• 4 garlic cloves, smashed
This post may contain affiliate links. As an Amazon Associate I earn from qualifying purchases, at no additional cost to you.
Directions
- Prepare the Chicken
If the chicken breasts are uneven in thickness, place them between two sheets of plastic wrap and gently pound the thicker end until uniform. This step is not optional — uneven thickness guarantees uneven cooking, meaning one part dries out while the other is still coming up to temperature. Once shaped, pat the chicken completely dry on all sides, especially the skin. Any moisture left on the surface will prevent proper browning and cause the skin to steam instead of crisp. - Season Generously
Combine salt, black pepper, garlic powder, and smoked paprika, then season both sides of the chicken evenly. Press the seasoning into the surface so it adheres properly. The skin should look fully coated, not lightly dusted. Proper seasoning is what allows the chicken to stand on its own without needing a sauce to compensate for blandness. - Heat the Pan
Heat olive oil in a heavy skillet over medium-high heat until it shimmers and moves fluidly across the surface. The pan should be hot enough to initiate browning immediately, but not smoking aggressively. Chicken requires slightly more controlled heat than steak — too hot and the skin burns before the interior cooks, too low and the skin never crisps. - Start Skin-Side Down
Place the chicken breasts skin-side down in the pan, ensuring they do not touch. Immediately press each piece gently with a spatula for the first 20–30 seconds to maximize contact between the skin and the pan. This step prevents curling and ensures even rendering of the fat layer beneath the skin, which is what creates a uniformly crisp surface. - Achieve Golden Crust
Cook the chicken undisturbed for 7–8 minutes. Do not move it, do not check it early. The skin will naturally release from the pan when it is properly browned. If it sticks, it is not ready. During this phase, fat renders slowly from beneath the skin while the surface undergoes browning, building both texture and flavor at the same time. - Flip and Add Aromatics
Flip the chicken to the flesh side and immediately add butter, smashed garlic, and thyme to the pan. Reduce heat slightly to maintain control over the butter — it should foam, not burn. The goal is to transition from aggressive searing to controlled finishing. - Baste with Butter
As the butter melts, tilt the pan and continuously spoon the hot fat over the chicken. Maintain a steady basting rhythm for 6–8 minutes. This step accelerates even cooking while layering flavor onto the surface. The chicken is done when the thickest part reaches 74°C (165°F), the safe internal temperature where harmful bacteria are eliminated. - Rest Before Serving
Transfer the chicken to a cutting board and let it rest for 5 minutes. This stabilizes the internal structure after cooking and prevents moisture loss when sliced. Cutting immediately after cooking causes juices to escape instead of staying within the meat.
*Notes :
- Chicken breast is lean, which means it has almost no margin for error. Unlike ribeye, there is no internal fat to protect it from overcooking. The entire method is built around controlling moisture loss while still developing a proper crust.
- Skin-on chicken is fundamentally different from skinless. The skin acts as both insulation and a fat source, allowing for better heat control and more flavor development. Removing it eliminates both advantages.
- Temperature matters more than time. Cooking times vary depending on thickness and starting temperature, but internal temperature is constant — chicken is considered safe at 74°C because that is the point where bacteria like Salmonella are effectively destroyed.
- Butter basting is not just for flavor. It creates a more even heat environment around the chicken, reducing the risk of dry outer layers while the interior finishes cooking.
Why This Recipe Works
This method works because it controls moisture and heat at every stage. Drying the surface allows immediate browning instead of steaming, while starting skin-side down gives time for fat to render and create a protective, crispy layer.
The combination of moderate-high heat and butter basting ensures the interior cooks evenly without overshooting the target temperature. Unlike aggressive searing alone, this approach balances crust development with gentle finishing.
Finally, pulling the chicken exactly at 74°C and allowing it to rest prevents overcooking while maintaining food safety, which is defined by reaching that internal temperature threshold.
Ingredient Breakdown
Chicken Breast (Skin-On)
Lean protein where the skin provides essential fat and protection, preventing dryness and enabling crisp texture.
Fine Sea Salt
Penetrates the surface and enhances moisture retention while seasoning the meat internally.
Black Pepper
Adds mild pungency and depth without overpowering the neutral base of chicken.
Garlic Powder
Distributes evenly across the surface, creating a consistent savory base layer.
Smoked Paprika
Adds color and subtle smokiness, reinforcing the seared flavor profile.
Olive Oil
Medium for heat transfer and initial searing — prevents sticking and ensures even browning.
Unsalted Butter
Added during finishing — balances lean meat with fat and enhances flavor perception.
Smashed Garlic
Infuses the butter with aromatic compounds without burning.
Fresh Thyme
Provides a light herbal note that complements the mild flavor of chicken.
Flavor Structure Explained
This dish follows a simple but effective structure:
- Savory base (lean chicken with clean, mild flavor)
- Crispy skin layer (rendered fat + golden crust)
- Fat enrichment (butter basting coating the surface)
- Aromatic infusion (garlic and thyme carried through hot fat)
- Spice backbone (garlic powder, paprika, black pepper)
Chicken itself is neutral, which makes it a carrier rather than a dominant flavor. The crispy skin provides the main contrast — salty, rendered, and slightly brittle against the juicy interior. Butter fills in the missing richness that chicken lacks, while garlic and thyme sit just behind it, adding depth without taking over. The spices anchor the flavor so it doesn’t feel flat or one-dimensional.
Common Mistakes to Avoid
- Not drying the chicken – Surface moisture prevents browning and leads to rubbery skin instead of crisp.
- Starting with heat that’s too high – The skin burns before fat has time to render properly.
- Using uneven thickness – One end overcooks before the other reaches safe temperature.
- Flipping too early – The skin tears and sticks because it hasn’t formed a crust yet.
- Not pressing the chicken initially – Leads to uneven skin contact and patchy browning.
- Cooking by time instead of temperature – Time is unreliable; only internal temperature guarantees doneness.
Variations
Garlic Herb Butter Finish
Add a cold compound butter with parsley, lemon zest, and garlic after resting to bring freshness and contrast to the richness.
Reverse Sear Chicken Breast
Cook gently in the oven first, then finish skin-side down in a hot pan for a more controlled, even result.
Dry Brined Chicken
Salt the chicken 12–24 hours in advance and leave uncovered in the fridge to improve seasoning penetration and skin dryness.
Spice-Rubbed Version
Add cumin, chili powder, or coriander to the spice mix for a more aggressive, globally-inspired flavor profile.
Cast Iron to Oven Finish
Start on the stovetop for crust, then transfer to oven to finish more gently without risking over-browning.
Storage & Make-Ahead
Store cooked chicken in an airtight container in the refrigerator for up to 3 days. Reheat gently in a pan with a small amount of butter to avoid drying out. Slice and use cold for salads, wraps, or sandwiches. Freezing after cooking is not recommended due to texture loss.
Frequently Asked Questions
How do I keep chicken breast from drying out?
Control temperature and pull it at the correct internal point. Overcooking is the main reason chicken becomes dry.
Do I have to cook chicken to 74°C?
Yes for safety — this is the standard temperature where harmful bacteria are eliminated instantly
Why isn’t my skin crispy?
Either the chicken was wet, the pan wasn’t hot enough, or it was moved too early.
Can I use skinless chicken breast?
You can, but you lose the fat layer that protects the meat and adds flavor, making it much easier to overcook.
What should I serve with this?
For a natural pairing: Fresh Dill Yogurt Sauce adds a cool, tangy contrast to the crispy, savory chicken. Classic lemon Vinaigrette tossed with greens balances the richness with acidity. Creamy Mashed Potatoes or Butter Rice work as a neutral base to absorb the pan juices,.
Nutrition Facts
( per serving )
Calories
~474 kcal
Protein
60 g
Fat
25 g
Carbs
0 g
Calories
~474 kcal
Protein
60 g
Fat
25 g
Carbs
0 g
Related Recipes
Related Recipes

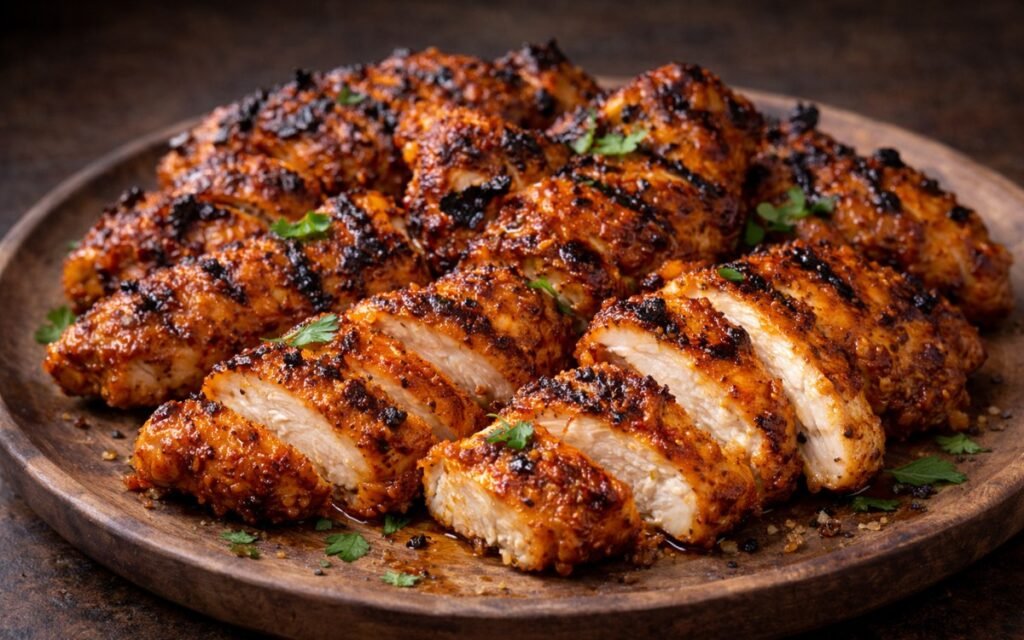
Homemade Chicken Shawarma
Authentic Middle Eastern chicken with aromatic spice marinade, grilled to charred perfection.
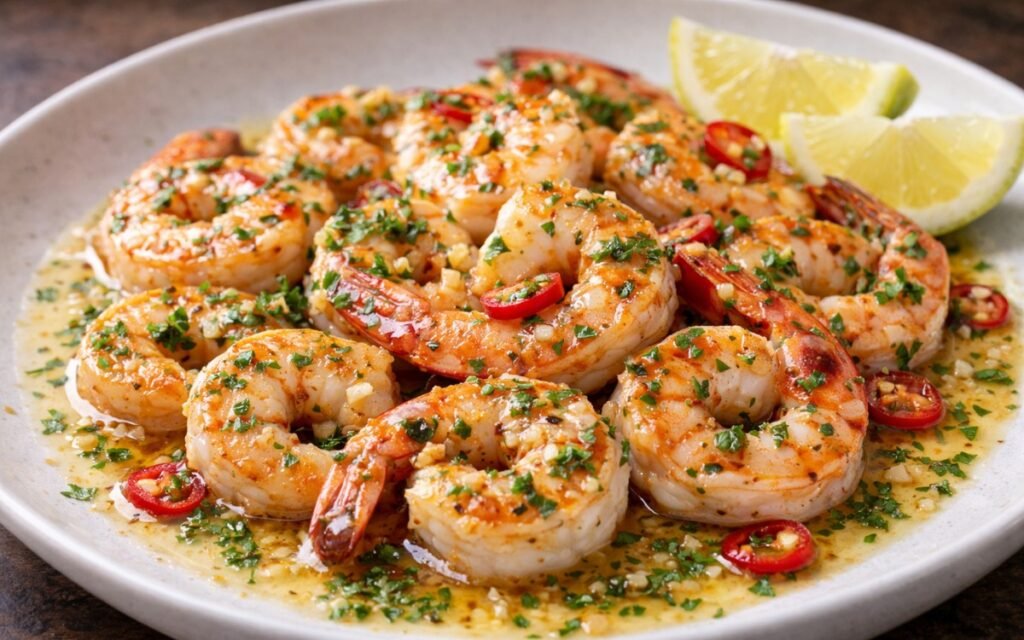
Chili Lime Shrimp
Spicy, citrus-kissed shrimp with garlic and chilies, perfectly seared in minutes for bold flavor.
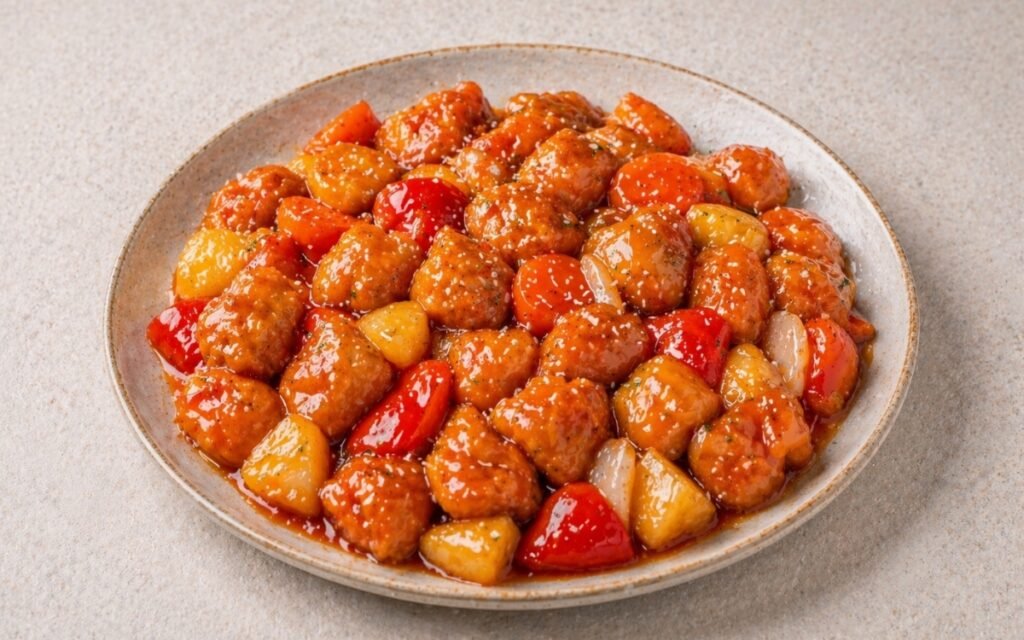
Sweet and Sour Chicken
Double-fried battered chicken thighs with pineapple and vegetables tossed in a glossy tangy-sweet sauce — the restaurant crispiness technique explained for home cooking in 50 minutes.
You might also like
You might also like
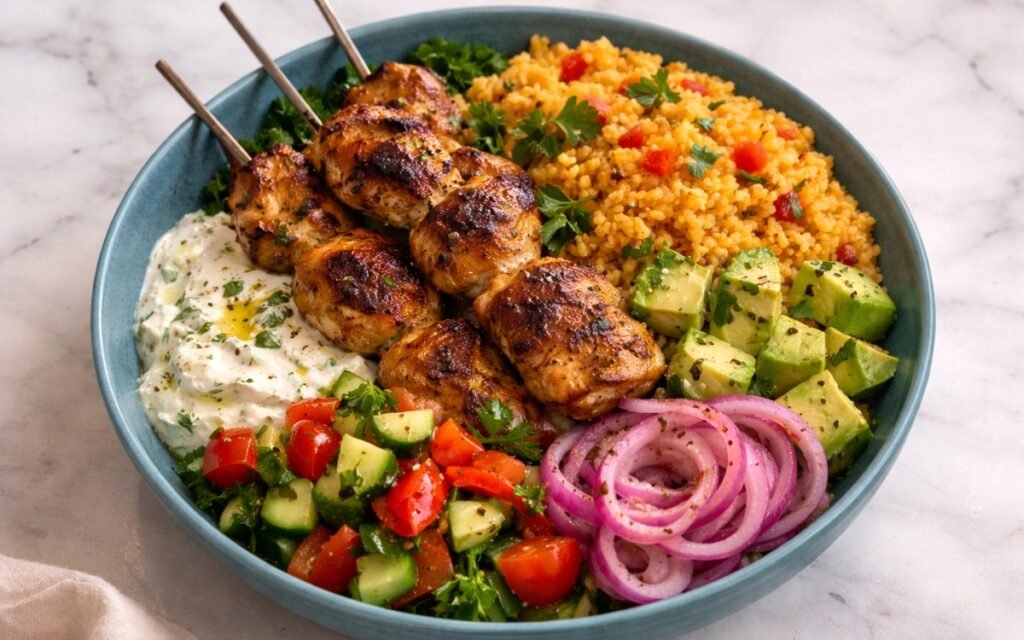
Greek Chicken Souvlaki Mediterranean Bowl
Charred souvlaki skewers, Moroccan spiced couscous, thick tzatziki, pickled red onion, and avocado — a complete, bold Mediterranean bowl in one dish.
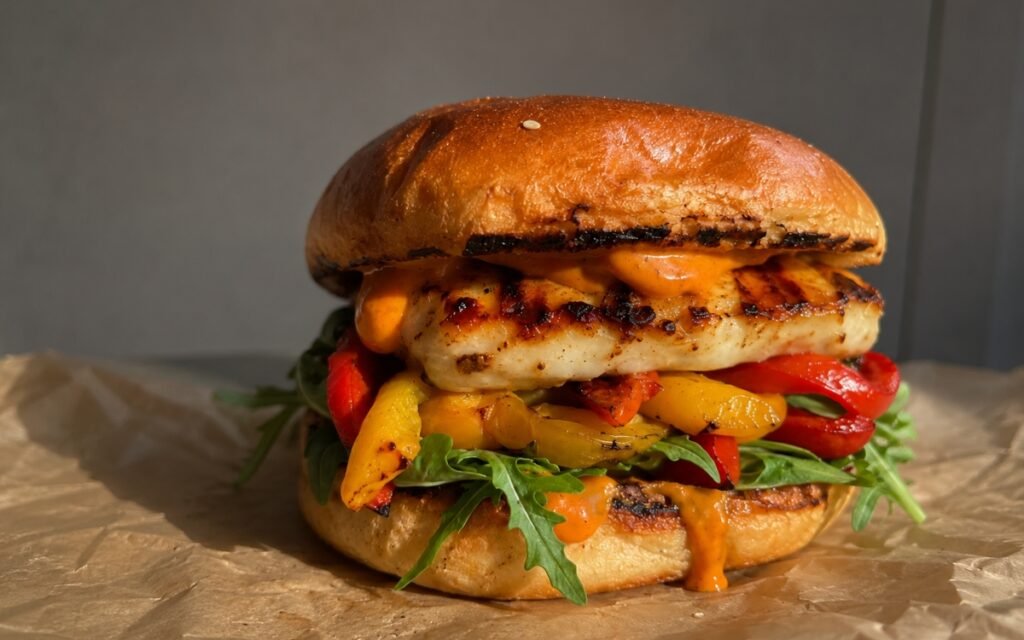
Grilled Halloumi Burger with Roasted Peppers & Harissa Mayo
Halloumi patted dry, pre-warmed, and grilled deeply golden — on a butter-toasted brioche bun with caramelised red and yellow peppers, cold harissa-lime mayo, and rocket. 35 minutes.
Tuscan Chicken Cream Pasta
Seared chicken, sun-dried tomatoes, spinach, and Parmigiano cream in one pan — finished with the tomato jar oil. 40 minutes.


Pan-Seared Chicken Breast (Skin on)
Ingredients
Method
- If the chicken breasts are uneven in thickness, place them between two sheets of plastic wrap and gently pound the thicker end until uniform. This step is not optional — uneven thickness guarantees uneven cooking, meaning one part dries out while the other is still coming up to temperature. Once shaped, pat the chicken completely dry on all sides, especially the skin. Any moisture left on the surface will prevent proper browning and cause the skin to steam instead of crisp.
- Combine salt, black pepper, garlic powder, and smoked paprika, then season both sides of the chicken evenly. Press the seasoning into the surface so it adheres properly. The skin should look fully coated, not lightly dusted. Proper seasoning is what allows the chicken to stand on its own without needing a sauce to compensate for blandness.
- Heat olive oil in a heavy skillet over medium-high heat until it shimmers and moves fluidly across the surface. The pan should be hot enough to initiate browning immediately, but not smoking aggressively. Chicken requires slightly more controlled heat than steak — too hot and the skin burns before the interior cooks, too low and the skin never crisps.
- Place the chicken breasts skin-side down in the pan, ensuring they do not touch. Immediately press each piece gently with a spatula for the first 20–30 seconds to maximize contact between the skin and the pan. This step prevents curling and ensures even rendering of the fat layer beneath the skin, which is what creates a uniformly crisp surface.
- Cook the chicken undisturbed for 7–8 minutes. Do not move it, do not check it early. The skin will naturally release from the pan when it is properly browned. If it sticks, it is not ready. During this phase, fat renders slowly from beneath the skin while the surface undergoes browning, building both texture and flavor at the same time.
- Flip the chicken to the flesh side and immediately add butter, smashed garlic, and thyme to the pan. Reduce heat slightly to maintain control over the butter — it should foam, not burn. The goal is to transition from aggressive searing to controlled finishing.
- As the butter melts, tilt the pan and continuously spoon the hot fat over the chicken. Maintain a steady basting rhythm for 6–8 minutes. This step accelerates even cooking while layering flavor onto the surface. The chicken is done when the thickest part reaches 74°C (165°F), the safe internal temperature where harmful bacteria are eliminated.
- Transfer the chicken to a cutting board and let it rest for 5 minutes. This stabilizes the internal structure after cooking and prevents moisture loss when sliced. Cutting immediately after cooking causes juices to escape instead of staying within the meat.