Teriyaki Chicken Rice Bowl
Homemade teriyaki sauce — soy, mirin, sake, brown sugar, fresh ginger, and garlic whisked together before the pan is even turned on — reduces around the sliced seared chicken thighs in the final minutes until it thickens and turns glossy, coating every piece. The difference between homemade teriyaki and bottled is immediate and obvious: the fresh ginger and garlic provide aromatic sharpness, the sake adds the fermented grain depth that the soy and mirin alone cannot produce, and the reduction produces a specific sticky-glossy coating rather than a poured-on sauce. Stir-fried carrots, snow peas, and bell pepper alongside, over jasmine rice, with sesame seeds and scallions over the top. Forty minutes, the Japanese-inspired weeknight bowl that earns its reputation.

Prep Time : 15 min
Cook Time : 25 min
Servings : 4
15 min
25 min
4
Ingredients
For the Rice
• 320g jasmine rice, uncooked
• 480ml water
For the Teriyaki Sauce
• 120ml low-sodium soy sauce — this one on Amazon
• 80ml mirin, sweet rice wine — this one on Amazon
• 60ml sake — this one on Amazon
• 45g light brown sugar
• 15g fresh ginger, peeled and grated
• 3 garlic cloves, approximately 9g, minced
For the Teriyaki Chicken
• 800g boneless, skinless chicken thighs
• Salt and black pepper to taste
• 15ml vegetable oil
For the Vegetables
• 15ml vegetable oil
• 200g carrots, julienned
• 150g snow peas, trimmed
• 100g red bell pepper, thinly sliced
For Serving
• 2 green onions, thinly sliced (about 30g)
• 15g toasted sesame seeds
This post may contain affiliate links. As an Amazon Associate I earn from qualifying purchases, at no additional cost to you.
Directions
- Cook the Jasmine Rice
Rinse the 320g of jasmine rice under cold running water until the water running through the grains is clear rather than cloudy — the rinsing removes the surface starch coating that produces gummy, clumping rice. Combine the rinsed rice with 480ml of cold water in a medium saucepan. Bring to a full rolling boil over high heat, then reduce immediately to the lowest possible setting, cover tightly, and simmer for 15 minutes without lifting the lid. The trapped steam inside the covered pot is the primary cooking medium — any escape disrupts the water-to-rice absorption ratio. After 15 minutes, remove from heat and allow to stand covered for 5 minutes. The standing period redistributes steam through the upper layers and allows the bottom grains to firm slightly from the cooling pan. Remove the lid and fluff with a fork using a lifting, separating motion rather than pressing. Keep covered to maintain warmth while the chicken and vegetables are prepared. - Prepare the Teriyaki Sauce
In a small bowl, whisk together the 120ml of low-sodium soy sauce, 80ml of mirin, 60ml of sake, 45g of light brown sugar, 15g of grated fresh ginger, and 3 minced garlic cloves until the sugar has completely dissolved and the mixture is uniform. This sauce is made entirely before the pan is turned on — having it ready means it can be added to the pan without any concurrent preparation. The four-liquid combination produces the specific teriyaki character that no single component provides alone: soy for the primary umami-salt; mirin for the sweet, slightly sticky glaze quality and the caramelised coating it produces when reduced; sake for the dry, complex fermented grain aromatic depth that lightens the soy’s heaviness; and brown sugar for the additional caramel sweetness and the thickening contribution it makes during reduction. Low-sodium soy is specified because the reduction step concentrates the liquid significantly — full-sodium soy in a teriyaki that reduces by half produces an aggressively salty result. The fresh ginger and garlic provide the aromatic sharpness and complexity that distinguish homemade teriyaki from any bottled version. Set aside. - Sear the Chicken Thighs
Pat the 800g of boneless, skinless chicken thighs completely dry on both sides with paper towels. The drying step is the prerequisite for a proper golden sear — surface moisture converts to steam on contact with the hot oil, drops the pan temperature, and prevents the Maillard caramelisation that produces the golden crust contributing both flavour and the fond that the teriyaki sauce will subsequently be added to. Season both sides generously with salt and freshly ground black pepper. Heat the 15ml of vegetable oil in a large skillet over medium-high heat until shimmering. Add the chicken thighs in a single layer — avoid crowding, which produces steaming rather than searing. Sear undisturbed for 6–7 minutes on the first side until deeply golden-brown with a visible crust that releases naturally from the pan when a spatula is slid under it. Flip and sear the second side for 6–7 minutes until golden and the internal temperature reads 74°C. The consistent undisturbed contact on each side is what develops the crust — moving the chicken too early tears the developing crust and produces uneven browning. Transfer to a plate and rest for 5 minutes — the resting period allows the internal juices to redistribute through the meat before slicing. Slice the rested thighs against the grain into strips approximately 1.5cm wide — the sliced format maximises the surface area available for the teriyaki glaze coating during the final reduction step. - Stir-Fry the Vegetables
Without cleaning the skillet, add the second 15ml of vegetable oil to the accumulated chicken fond. Increase the heat to high. Add the 200g of julienned carrots, 150g of trimmed snow peas, and 100g of thinly sliced red bell pepper simultaneously. Stir-fry for 3–4 minutes over high heat — keeping the vegetables moving but allowing brief moments of stationary contact with the hot surface for the light charring that adds smoky, caramelised character to what would otherwise be simply softened vegetables. The target texture is crisp-tender: completely heated through and slightly yielding when bitten, but retaining clear crunch throughout — not soft. The three-vegetable combination is specifically chosen for visual and textural variety: carrots for earthy sweetness and orange colour; snow peas for their flat, mild, sweet character and bright green; red bell pepper for its fruity sweetness and red visual contrast against the yellow-gold chicken and white rice. Season lightly with salt and transfer to a plate immediately — residual pan heat continues cooking the vegetables if left in the skillet. - Glaze the Chicken in the Teriyaki Sauce
Return the sliced chicken strips to the skillet with any accumulated resting juices. Pour the entire prepared teriyaki sauce over the chicken. Bring to a simmer over medium heat. Cook, stirring and turning the chicken continuously, for 3–4 minutes as the sauce reduces and thickens. The reduction is the technique step that transforms the thin, liquid sauce into the glossy, sticky teriyaki coating — as the water evaporates, the soy, mirin, and sugar concentrate progressively. The sauce will visibly thicken and develop a sheen during the 3–4 minute reduction. The correct consistency for a teriyaki glaze is thick enough to coat each slice with a glossy, slightly sticky film that clings rather than running off — when you lift a piece of chicken the sauce should hang briefly before dripping. If after 4 minutes the sauce remains thin, mix 10g of cornstarch with 15ml of cold water and stir this slurry into the simmering sauce — it thickens rapidly within 30 seconds and provides the coating consistency if the natural reduction has not achieved it. Remove from heat immediately once the correct glossy, coating consistency is reached. - Assemble and Serve
Divide the cooked jasmine rice among four wide bowls — approximately 200g of cooked rice per bowl, mounded or spread to cover the base. Arrange the glazed teriyaki chicken strips over the rice, allowing the remaining sauce to pool around the chicken and into the rice. Place a portion of the stir-fried vegetables alongside the chicken in each bowl — distinct rather than mixed through, so each component remains visually identifiable and texturally separate until the person eating chooses to combine them. Drizzle any remaining teriyaki glaze from the pan over each bowl — the sauce should extend beyond the chicken and coat some of the rice and vegetables for the most complete flavour distribution. Scatter the sliced green onions over each bowl. Scatter the 15g of toasted sesame seeds over everything. Serve immediately while the chicken is still warm and the glaze is at its glossiest.
*Notes :
- Homemade teriyaki sauce produces a meaningfully better result than bottled teriyaki for three specific reasons. First, the fresh ginger and garlic provide aromatic sharpness and complexity that dried or powdered equivalents in commercial sauce cannot replicate. Second, homemade teriyaki is reduced in the same pan as the seared chicken, picking up the fond from the chicken sear and incorporating it into the glaze — bottled sauce poured over chicken in a pan has no fond to absorb. Third, the reduction is controlled to the correct consistency in real time rather than being a fixed product — if it is too thin, it is reduced further; if it reaches the correct consistency at 3 minutes, it is pulled immediately.
- The sake in the sauce is an ingredient worth maintaining rather than omitting for convenience. Sake — Japanese fermented rice wine — contributes a dry, complex aromatic depth that lightens the soy’s heaviness and prevents the teriyaki from tasting dense or one-dimensionally sweet-salty. The closest substitute is dry sherry at equal quantity — it contributes comparable fermented grain depth. Omitting the sake and replacing with additional soy or mirin produces a noticeably heavier, less balanced sauce.
Why This Recipe Works
This recipe works because the teriyaki sauce is prepared before any cooking begins — ensuring the reduction step is uninterrupted and controlled. The chicken is seared to the correct Maillard golden colour before being sliced, so the surface caramelisation is preserved rather than being lost in the sauce.
The slicing post-sear rather than pre-sear maximises the glazed surface area in the final reduction step. And the vegetables are stir-fried in the same pan using the chicken fond as the flavouring base rather than in clean oil, contributing the chicken’s sear character to the vegetable step.
Ingredient Breakdown
Homemade Teriyaki Sauce (Reduced in Pan)
The defining preparation — fresh ginger, garlic, sake, mirin, and soy reduced with the chicken’s fond into a glossy glaze rather than a bottled sauce poured over.
Mirin
The glaze-quality ingredient — its natural sugars caramelise during reduction and produce the characteristic sticky, lacquered coating that defines teriyaki.
Sake
The aromatic depth ingredient — fermented grain complexity that lightens the soy’s heaviness; the specific note that distinguishes good teriyaki.
Chicken Thighs (Seared, Sliced, Then Glazed)
The protein — fat content keeps them moist through double cooking; slicing post-sear maximises the glazed surface area.
Snow Peas, Carrots, Bell Pepper
The three-vegetable combination — crisp-tender and visually varied, stir-fried in the chicken fond for flavour continuity.
Flavor Structure Explained
This Teriyaki chicken rice bowl follows a layered balance model:
- Sweet-savory glaze core (mirin, brown sugar, soy sauce)
- Aromatic warmth (ginger, garlic)
- Fermented depth (sake)
- Fresh vegetable contrast (snow peas, carrot, bell pepper)
- Nutty finishing note (sesame seeds)
The teriyaki glaze defines the dominant flavor with caramelised sweetness balanced against soy-driven umami and saltiness. Ginger and garlic build aromatic warmth that gives the sauce freshness and complexity beyond simple sweet-savory balance. Sake adds subtle fermented depth that rounds the glaze and prevents flatness. Vegetables provide crunch, sweetness, and freshness that contrast the sticky richness of the chicken. Sesame seeds finish the bowl with a toasted, nutty aroma that completes the structure.
Common Mistakes to Avoid
- Not Drying the Chicken – Wet chicken steams rather than sears. Dry completely before seasoning.
- Moving the Chicken Too Early – The crust requires sustained contact to develop. Leave undisturbed for the full 6–7 minutes per side.
- Not Reducing the Sauce Sufficiently – Teriyaki sauce that has not reduced enough remains thin and runs off the chicken rather than coating it. Cook for the full 3–4 minutes while stirring continuously, and use the cornstarch slurry if needed.
- Using Full-Sodium Soy Sauce – The reduction concentrates the salt significantly. Low-sodium soy throughout.
- Overcooking the Vegetables – Stir-fried vegetables that are soft rather than crisp-tender lose both their textural contribution and their visual appeal. 3–4 minutes at high heat is the maximum.
- Not Draining Resting Juices into Glaze – The chicken’s resting juices contain concentrated flavour — always return them to the skillet with the sliced chicken at the glazing step.
Variations
With Pineapple
Add 150g of diced fresh pineapple to the teriyaki sauce during the reduction step — the pineapple’s juice reduces into the sauce, adding a tropical sweetness and additional acidity that complements the soy and mirin.
With Broccoli
Replace or supplement the snow peas with 200g of small broccoli florets stir-fried for 3–4 minutes with a splash of water to help them cook through while still achieving some char.
Spicier Version
Add 10g of gochujang paste or 5g of gochugaru to the teriyaki sauce base for a Korean-Japanese hybrid version with building heat alongside the sweet-savoury glaze.
Teriyaki Salmon Bowl
Replace the chicken thighs with 4 salmon fillets seared as in the Herb-Crusted Salmon Rice Bowl technique — the teriyaki glaze works equally well with salmon, applied in the final minute of cooking only.
Storage & Make-Ahead
Glazed teriyaki chicken can be refrigerated for up to 3 days. The glaze will firm up in the refrigerator, but it softens again with gentle reheating. To reheat it, warm the chicken in a pan over low heat with a splash of water, stirring gently.
Teriyaki sauce can be kept in a sealed jar in the refrigerator for up to 3 days. It will thicken quite a bit when cold, so add a small splash of water and whisk it before using to bring it back to the right consistency.
Stir-fried vegetables are best made fresh, since they lose their crisp-tender texture during storage. However, they can be prepared up to 1 hour ahead and kept at room temperature.
Cooked rice can be refrigerated for up to 4 days. Reheat it covered with a splash of water.
Frequently Asked Questions
Why low-sodium soy sauce?
The teriyaki sauce reduces by approximately half during the glazing step, doubling the salt concentration. Full-sodium soy in a reduced teriyaki produces an aggressively oversalted glaze. Low-sodium provides the correct umami and depth without the oversalting risk.
Can I substitute sake?
Dry sherry at the same quantity is the closest substitute for cooking sake — both are dry fermented grain wines with comparable aromatic depth. Avoid substituting with sweet sherry or additional mirin, which add sweetness rather than the dry complexity sake provides.
Why slice the chicken after searing rather than before?
Searing whole thighs preserves their moisture and develops the correct Maillard surface on a large, undivided surface area. Slicing pre-sear produces many small pieces that cook unevenly and release more moisture. Post-sear slicing then provides the maximum glazed surface area during the reduction step.
How do I know when the teriyaki glaze is the correct consistency?
Lift a chicken piece from the pan — the sauce should cling to its surface briefly and then drip slowly rather than running off immediately. The sauce should also look glossy and slightly sticky rather than wet and translucent. If it pools immediately at the bottom of the pan, continue reducing.
Can I use chicken breast instead of thighs?
Yes — reduce the searing time to 4–5 minutes per side and remove at 74°C to prevent drying. Breast meat has less fat than thigh and dries significantly if overcooked. The teriyaki glaze’s moisture helps compensate but thigh remains the preferred choice.
Nutrition Facts
( per serving )
Calories
~835 kcal
Protein
47 g
Fat
27 g
Carbs
97 g
Calories
~835 kcal
Protein
47 g
Fat
27 g
Carbs
97 g
Related Recipes
Related Recipes

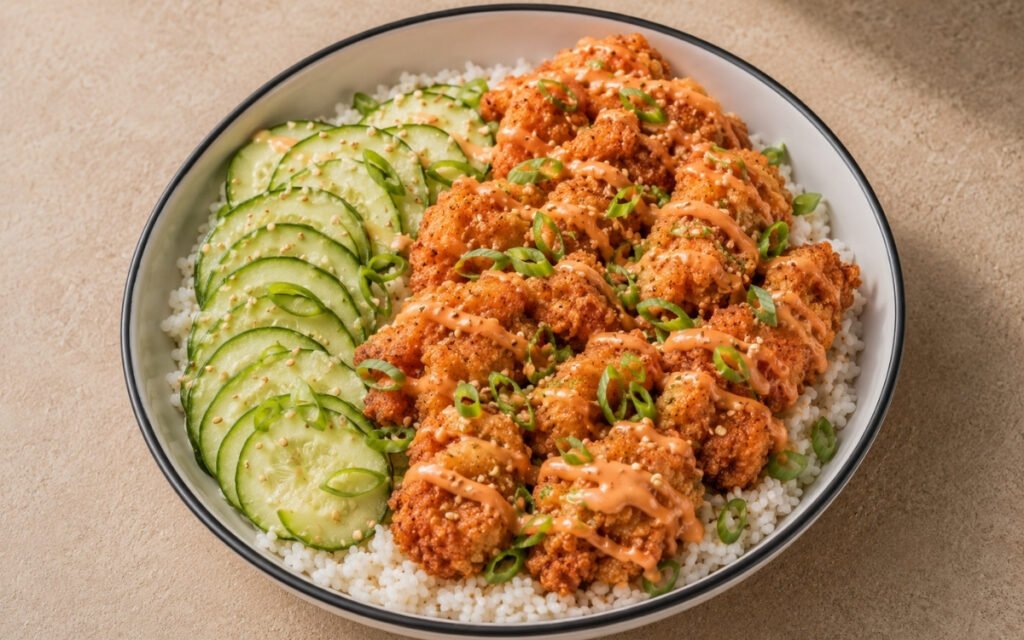
Bang Bang Chicken Rice Bowl
Crispy fried chicken in sweet-spicy bang bang sauce over jasmine rice with cucumber and scallions.
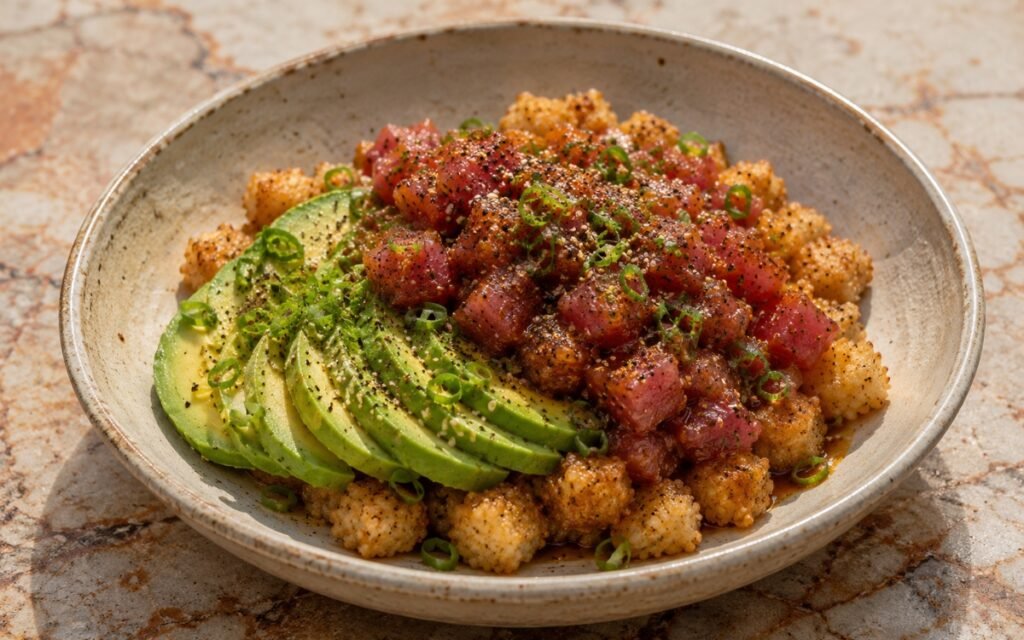
Crispy Rice Salad with Spicy Tuna & Avocado
Sushi rice compressed firmly and baked at 220°C until crunchy outside and chewy inside — topped with soy-sesame marinated tuna for exactly 15 minutes, sliced avocado, and scallions. Serve immediately.
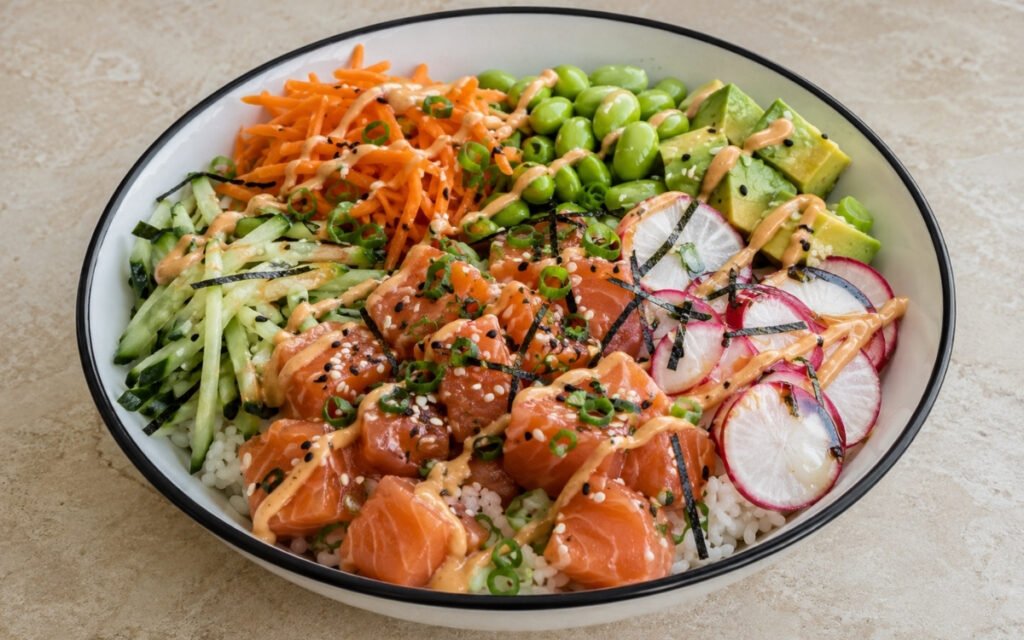
Salmon Poke Bowl
Fresh salmon marinated in soy-sesame sauce over seasoned rice with crisp veggies and spicy mayo.
You might also like
You might also like
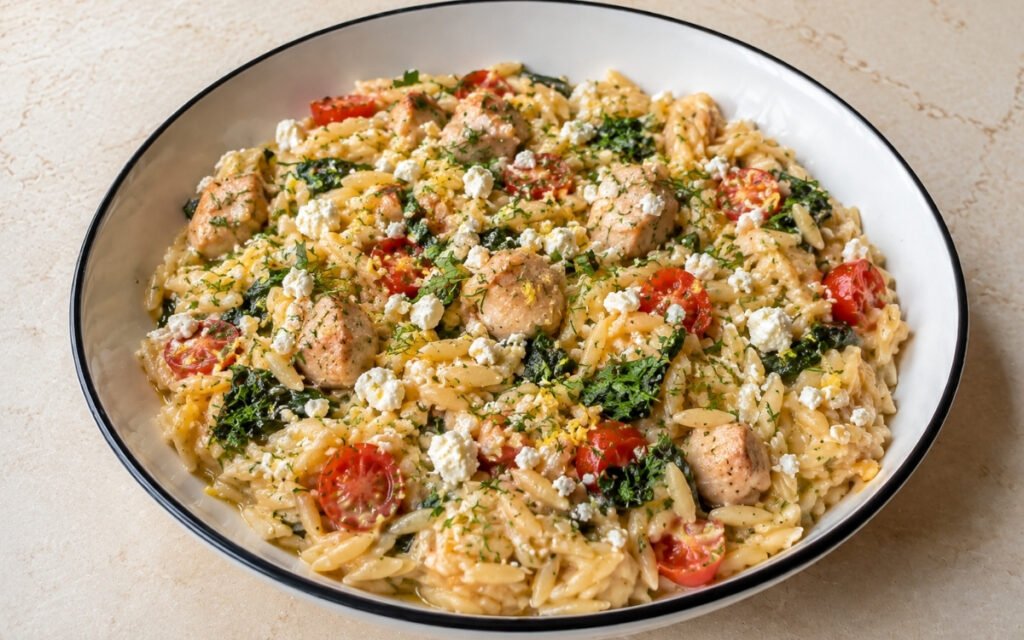
Fresh Lemon Chicken Orzo
Seared chicken thighs simmered in lemony stock with feta, spinach, and dill — one pan, 40 minutes.
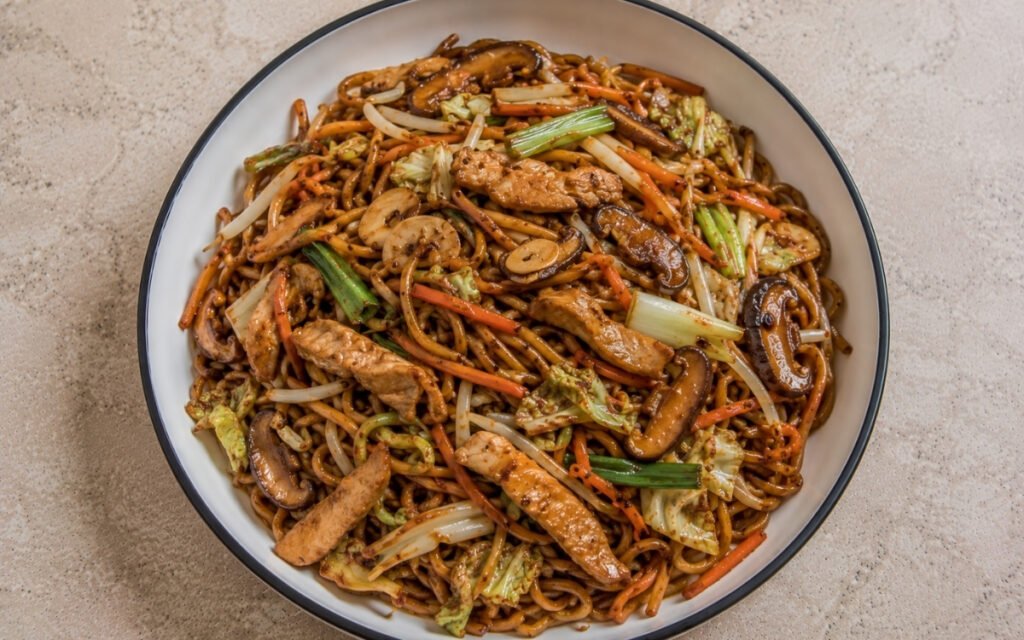
Easy Chicken Chow Mein Noodles
Hong Kong egg noodles crisped in a smoking-hot wok with seared chicken and vegetables — four-component soy sauce, cornstarch glaze, 35 minutes.
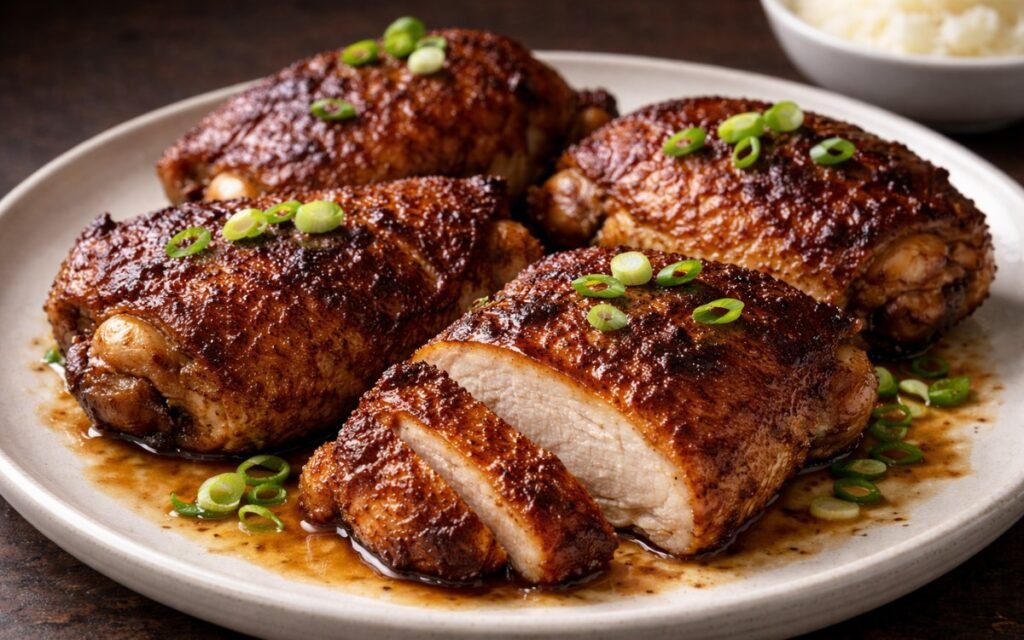
Chinese Five-Spice Chicken Thighs
Crispy-skinned chicken thighs marinated in aromatic five-spice, soy, ginger, and garlic blend.

Teriyaki Chicken Rice Bowl
Ingredients
Method
- Rinse the 320g of jasmine rice under cold running water until the water running through the grains is clear rather than cloudy — the rinsing removes the surface starch coating that produces gummy, clumping rice. Combine the rinsed rice with 480ml of cold water in a medium saucepan. Bring to a full rolling boil over high heat, then reduce immediately to the lowest possible setting, cover tightly, and simmer for 15 minutes without lifting the lid. The trapped steam inside the covered pot is the primary cooking medium — any escape disrupts the water-to-rice absorption ratio. After 15 minutes, remove from heat and allow to stand covered for 5 minutes. The standing period redistributes steam through the upper layers and allows the bottom grains to firm slightly from the cooling pan. Remove the lid and fluff with a fork using a lifting, separating motion rather than pressing. Keep covered to maintain warmth while the chicken and vegetables are prepared.
- In a small bowl, whisk together the 120ml of low-sodium soy sauce, 80ml of mirin, 60ml of sake, 45g of light brown sugar, 15g of grated fresh ginger, and 3 minced garlic cloves until the sugar has completely dissolved and the mixture is uniform. This sauce is made entirely before the pan is turned on — having it ready means it can be added to the pan without any concurrent preparation. The four-liquid combination produces the specific teriyaki character that no single component provides alone: soy for the primary umami-salt; mirin for the sweet, slightly sticky glaze quality and the caramelised coating it produces when reduced; sake for the dry, complex fermented grain aromatic depth that lightens the soy’s heaviness; and brown sugar for the additional caramel sweetness and the thickening contribution it makes during reduction. Low-sodium soy is specified because the reduction step concentrates the liquid significantly — full-sodium soy in a teriyaki that reduces by half produces an aggressively salty result. The fresh ginger and garlic provide the aromatic sharpness and complexity that distinguish homemade teriyaki from any bottled version. Set aside.
- Pat the 800g of boneless, skinless chicken thighs completely dry on both sides with paper towels. The drying step is the prerequisite for a proper golden sear — surface moisture converts to steam on contact with the hot oil, drops the pan temperature, and prevents the Maillard caramelisation that produces the golden crust contributing both flavour and the fond that the teriyaki sauce will subsequently be added to. Season both sides generously with salt and freshly ground black pepper. Heat the 15ml of vegetable oil in a large skillet over medium-high heat until shimmering. Add the chicken thighs in a single layer — avoid crowding, which produces steaming rather than searing. Sear undisturbed for 6–7 minutes on the first side until deeply golden-brown with a visible crust that releases naturally from the pan when a spatula is slid under it. Flip and sear the second side for 6–7 minutes until golden and the internal temperature reads 74°C. The consistent undisturbed contact on each side is what develops the crust — moving the chicken too early tears the developing crust and produces uneven browning. Transfer to a plate and rest for 5 minutes — the resting period allows the internal juices to redistribute through the meat before slicing. Slice the rested thighs against the grain into strips approximately 1.5cm wide — the sliced format maximises the surface area available for the teriyaki glaze coating during the final reduction step.
- Without cleaning the skillet, add the second 15ml of vegetable oil to the accumulated chicken fond. Increase the heat to high. Add the 200g of julienned carrots, 150g of trimmed snow peas, and 100g of thinly sliced red bell pepper simultaneously. Stir-fry for 3–4 minutes over high heat — keeping the vegetables moving but allowing brief moments of stationary contact with the hot surface for the light charring that adds smoky, caramelised character to what would otherwise be simply softened vegetables. The target texture is crisp-tender: completely heated through and slightly yielding when bitten, but retaining clear crunch throughout — not soft. The three-vegetable combination is specifically chosen for visual and textural variety: carrots for earthy sweetness and orange colour; snow peas for their flat, mild, sweet character and bright green; red bell pepper for its fruity sweetness and red visual contrast against the yellow-gold chicken and white rice. Season lightly with salt and transfer to a plate immediately — residual pan heat continues cooking the vegetables if left in the skillet.
- Return the sliced chicken strips to the skillet with any accumulated resting juices. Pour the entire prepared teriyaki sauce over the chicken. Bring to a simmer over medium heat. Cook, stirring and turning the chicken continuously, for 3–4 minutes as the sauce reduces and thickens. The reduction is the technique step that transforms the thin, liquid sauce into the glossy, sticky teriyaki coating — as the water evaporates, the soy, mirin, and sugar concentrate progressively. The sauce will visibly thicken and develop a sheen during the 3–4 minute reduction. The correct consistency for a teriyaki glaze is thick enough to coat each slice with a glossy, slightly sticky film that clings rather than running off — when you lift a piece of chicken the sauce should hang briefly before dripping. If after 4 minutes the sauce remains thin, mix 10g of cornstarch with 15ml of cold water and stir this slurry into the simmering sauce — it thickens rapidly within 30 seconds and provides the coating consistency if the natural reduction has not achieved it. Remove from heat immediately once the correct glossy, coating consistency is reached.
- Divide the cooked jasmine rice among four wide bowls — approximately 200g of cooked rice per bowl, mounded or spread to cover the base. Arrange the glazed teriyaki chicken strips over the rice, allowing the remaining sauce to pool around the chicken and into the rice. Place a portion of the stir-fried vegetables alongside the chicken in each bowl — distinct rather than mixed through, so each component remains visually identifiable and texturally separate until the person eating chooses to combine them. Drizzle any remaining teriyaki glaze from the pan over each bowl — the sauce should extend beyond the chicken and coat some of the rice and vegetables for the most complete flavour distribution. Scatter the sliced green onions over each bowl. Scatter the 15g of toasted sesame seeds over everything. Serve immediately while the chicken is still warm and the glaze is at its glossiest.