
Argentine Chimichurri Steak
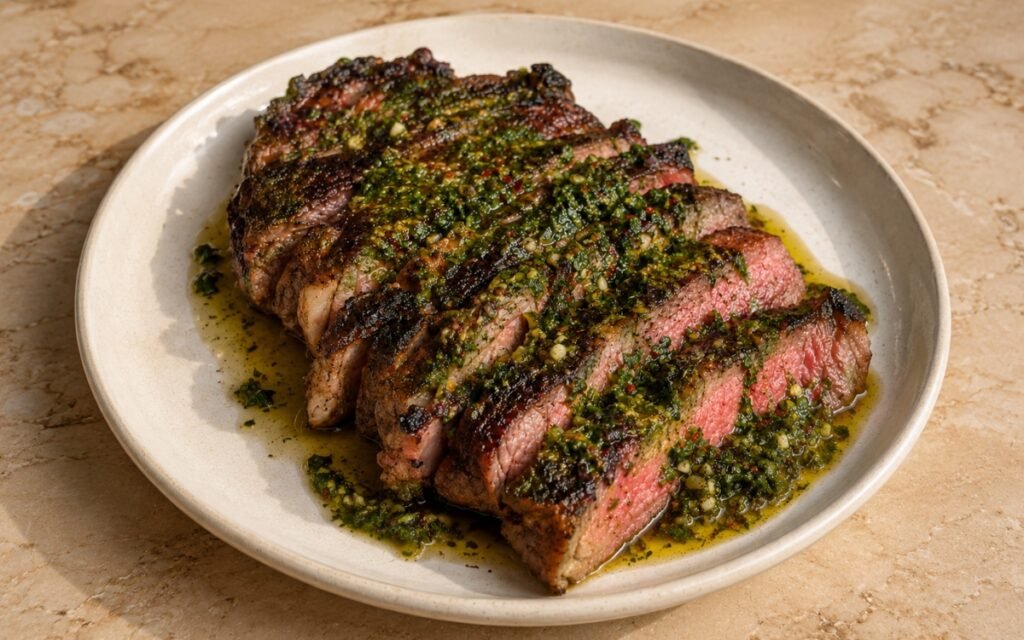
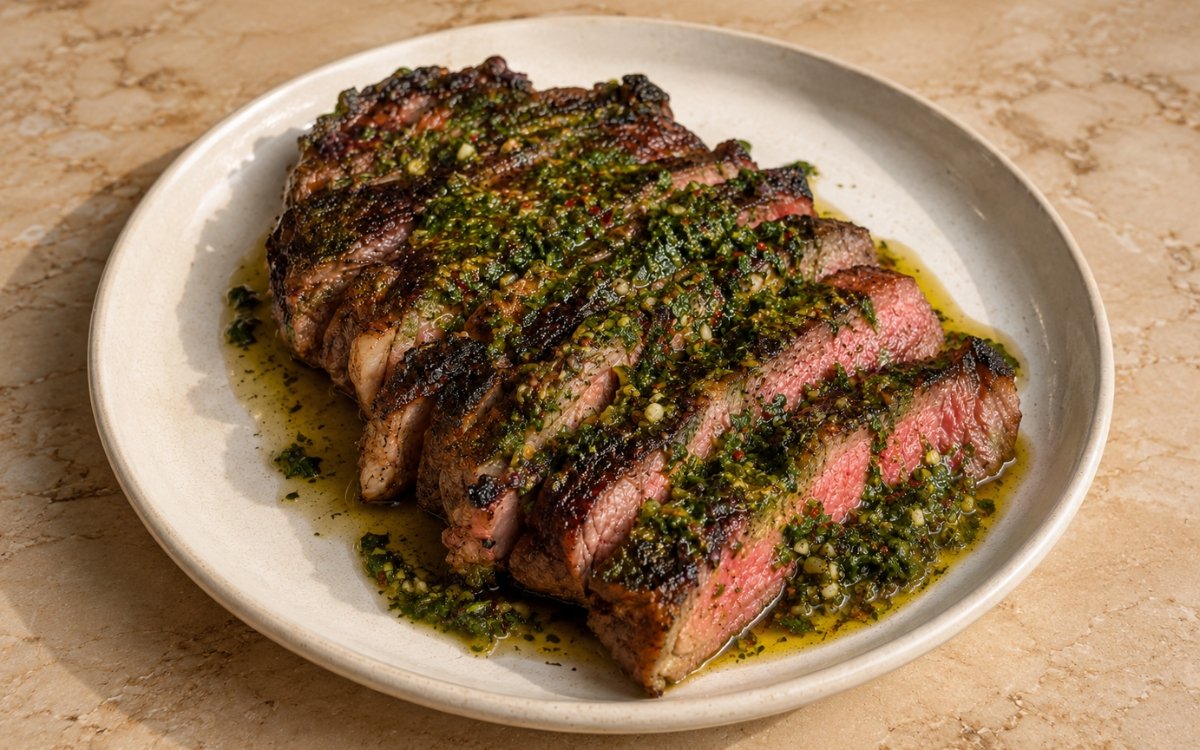
Thick Argentine-style grilled steak — bife de chorizo, ojo de bife, New York strip, sirloin, or ribeye — dry-brined, grilled over very high heat, and sliced diagonally to reveal a pink medium-rare interior, finished with a generous spoonful of vivid green chimichurri with parsley, garlic, oregano, red chilli flakes, vinegar, and golden olive oil. Dry-brining the steak for up to 24 hours uncovered is the technique this whole recipe is built around — leaving the surface exposed to the refrigerator’s dry air pulls seasoning deep into the meat while drying the exterior enough for the grill to build real crust rather than steam, the same uncovered-dry-brine principle used elsewhere in this collection whenever a hard, deep char is the goal. Keeping the chimichurri chopped by hand rather than blended matters just as much, since a blended version turns into a uniform green paste and loses the loose, oily, visibly textured quality that defines the sauce. Rendering a thick fat cap before the main sear, if the cut has one, is a small extra step with an outsized payoff — skipped, it leaves chewy, pale fat on an otherwise well-cooked steak. The payoff is a plate with striking contrast: a deeply charred crust, a pink medium-rare centre, and vivid, oily green chimichurri pooling around it.
Prep Time : 20 min
Cook Time : 15–20 min
Servings : 4
20 min
15–20 min
4
Ingredients
For the Steaks
• 4 thick steaks, 250–300g each, about 4–5cm / 1.5–2 inches thick — use New York strip, sirloin, ribeye, bife de chorizo, or ojo de bife
• 16–20g kosher salt, for dry brining
• 4g freshly ground black pepper
• 15ml neutral high-heat oil, only if needed for lightly brushing
• Flaky salt, optional, for finishing — this one on Amazon
Chimichurri — (Full recipe — see Classic Chimichurri)
• 1 bunch fresh parsley
• 1 Tbsp red chili flakes — this one on Amazon
• 6 cloves garlic, finely minced or grated
• 3 bay leaves
• ¾ cup (180 ml) good-quality olive oil — this one on Amazon
• 4 Tbsp red wine vinegar — this one on Amazon
• 2 Tbsp dried oregano
• Kosher salt, to taste
• Freshly ground black pepper, to taste
This post may contain affiliate links. As an Amazon Associate I earn from qualifying purchases, at no additional cost to you.
Directions
- Dry-Brine the Steaks
Pat the steaks completely dry with paper towels. Season all sides heavily and evenly with kosher salt, including the fat cap if present. Place the steaks on a wire rack set over a tray and refrigerate uncovered for 8–24 hours. This dries the exterior surface and pulls seasoning into the meat. Do not cover the steaks. Covered steak stays wet, and wet steak will not build the deep char this recipe needs. Leaving the steaks uncovered on a rack, rather than sitting directly on a tray, lets air circulate on all sides — the salt draws moisture to the surface initially, then that same moisture evaporates into the dry refrigerator air over the following hours, leaving behind a genuinely dry, well-seasoned exterior. - Prepare the Chimichurri
Finely chop the parsley by hand. Mix it with the red chili flakes, garlic, bay leaves, olive oil, red wine vinegar, dried oregano, kosher salt, and black pepper. Let the chimichurri sit for at least 30 minutes before serving so the garlic, oregano, chilli, vinegar, and oil fully season each other. Remove the bay leaves before spooning over the steak. Do not blend the chimichurri. Blended chimichurri turns into green paste. This should stay loose, oily, and visibly textured with parsley, garlic, oregano, and chilli flakes. Hand-chopping rather than blending preserves the parsley’s distinct texture and keeps the sauce visibly loose and oily rather than turning it into a uniform, blended purée — the textural contrast against the smooth, charred steak is part of the dish’s appeal. - Temper the Steaks
Remove the steaks from the refrigerator 30–60 minutes before grilling. Pat dry again if any surface moisture has formed. Season with black pepper after dry-brining. The steaks should lose the refrigerator chill before they hit the grill. Thick cold steaks burn outside before the centre reaches medium-rare. A steak straight from the refrigerator has a large temperature gradient to overcome before its centre reaches medium-rare — without this tempering step, the exterior would char and potentially burn well before that heat has had time to travel through to the middle of a cut this thick. - Preheat the Grill
Preheat a charcoal, wood, or gas grill until very hot. For thick steaks, set up a two-zone fire: one very hot direct-heat side for searing and one cooler side for finishing if needed. Charcoal or wood gives stronger smoke and char. Gas gives more consistent temperature. Either works, but the grill must be properly hot before the steak goes on. If using a cast-iron skillet instead, heat it until very hot and just beginning to smoke. The two-zone setup exists specifically for a steak this thick — the hot direct side builds the crust quickly, while the cooler zone gives a controlled option for finishing the interior gently if the crust develops faster than the centre reaches temperature. - Render the Fat Cap
If your steak has a thick fat cap, hold it upright with tongs and press the fat edge against the hot grill or skillet for 1–2 minutes until it starts to render, brown, and crisp. Skipping this leaves chewy, pale fat on an otherwise good steak. That is amateur work. Fat doesn’t render or brown properly without direct, sustained contact with the heat source — briefly resting the steak flat won’t expose the fat cap’s edge to nearly enough heat, which is why this step calls for actively holding it against the surface. - Grill the Steaks
Place the steaks over direct high heat. Sear for 2–3 minutes per side, turning only after a deep crust forms. Continue flipping every 1–2 minutes as needed until the exterior has dark char marks and the interior reaches medium-rare. For medium-rare, pull the steaks at 50–52°C in the centre for a final rested temperature around 54–56°C. If the crust is ready but the centre is still too cool, move the steaks to the cooler side of the grill and finish gently with the lid closed. Do not cook by time alone. Steak thickness, fat level, grill temperature, and cut all change the timing. The gap between the pulled temperature and the target resting temperature is carryover cooking — residual heat continues moving inward for several minutes after the steak leaves direct heat, which is why pulling at the final target temperature would overshoot it by the time it’s rested and sliced. - Rest the Steaks
Transfer the steaks to a board and rest for 10 minutes. Do not slice immediately. Resting keeps the juices inside and lets the internal temperature finish stabilising. During active cooking, muscle fibres contract and push moisture toward the centre of the cut; the rest period lets that pressure even back out across the whole steak, so slicing immediately after cooking would release most of that moisture onto the board rather than into the meat. - Slice and Finish
Slice the steaks diagonally against the grain into thick slices. Arrange on a warm plate with the pink interior visible. Spoon chimichurri generously over the top, letting the golden green oil run over the charred crust and pool slightly around the steak. Finish with flaky salt if using. Slicing against the grain shortens the muscle fibres in each individual piece, which is what makes even a naturally firmer cut like sirloin noticeably more tender to bite through than slicing with the grain would. - Serve
Serve immediately while the steak is warm, the crust is still defined, and the chimichurri is vivid, oily, and fresh. This dish is at its best in a narrow window right after slicing — the crust’s crispness fades and the chimichurri’s oil begins soaking into the meat the longer it sits, so serving without delay preserves both the visual and textural contrast the dish is built around.
*Notes :
- The uncovered dry brine is worth understanding as doing two distinct jobs at once rather than a single simple step. The salt itself draws moisture to the surface and, over the extended 8–24 hour window, that moisture and the salt dissolved in it are reabsorbed back into the meat, seasoning it considerably deeper than a last-minute salt ever could. Simultaneously, the steak’s surface dries out in the open refrigerator air, which is precisely the condition needed for the grill’s heat to go straight into building a hard, deep crust rather than first evaporating surface moisture.
- Use fresh citrus whenever possible. Older fruit loses aromatic oils and Chimichurri’s texture is deliberately at odds with what a food processor or blender would produce, and that distinction matters more than it might seem. A blended chimichurri turns uniformly smooth, essentially becoming a green oil rather than a textured, chunky condiment — the visible, distinct pieces of parsley, garlic, and chilli flake in a hand-chopped version are part of what makes the sauce interesting against the steak’s smooth, charred surface, both texturally and visually.
- Rendering a thick fat cap before the main sear addresses a problem that’s easy to overlook until it’s too late to fix. Fat doesn’t crisp or develop flavour the same way lean muscle does — without direct, sustained contact against a hot surface, it simply stays chewy and pale even after the rest of the steak is perfectly cooked. This is a small, separate step precisely because the fat cap’s geometry (a thin edge, often held vertically) doesn’t naturally get that same direct contact during a standard flat sear.
- The gap between a steak’s pulled temperature and its final rested temperature — carryover cooking — is one of the more counterintuitive things to internalise about cooking a cut this thick. Residual heat continues travelling inward toward the centre for several minutes after the steak leaves direct heat entirely, which is exactly why pulling at the actual target temperature would result in an overcooked steak by the time it’s rested and ready to slice.
Why This Recipe Works
This recipe works because the steak is prepared with real attention to both seasoning depth and surface dryness through the extended, uncovered dry brine, giving the grill exactly what it needs to build a hard, deep crust rather than steaming the exterior.
Rendering the fat cap separately addresses a spot that a standard sear alone can’t properly reach, and pulling the steak below its final target temperature accounts for carryover cooking during the rest.
The chimichurri, kept deliberately unblended, provides a loose, textured, oily contrast that’s spooned on only after cooking, preserving both the sauce’s texture and the steak’s crisp crust.
Ingredient Breakdown
Thick-Cut Steak (4–5cm)
The specified cut thickness — substantial enough to develop real char without overcooking through before the centre reaches medium-rare.
Uncovered, Extended Dry Brine
The critical prep technique — seasons deeply while drying the surface, setting up the grill to build crust rather than steam.
Rendered Fat Cap
The extra step — direct, sustained contact against heat crisps fat that a standard flat sear wouldn’t properly reach.
Hand-Chopped Chimichurri
The finishing sauce — kept loose and visibly textured rather than blended smooth, contrasting against the steak’s charred crust.
Post-Rest Diagonal Slicing
The final technique — slicing against the grain after a full rest, shortening muscle fibres for a more tender bite.
Flavor Structure Explained
This chimichurri steak follows a layered balance model:
- Deep charred foundation (dry-brined, seared steak)
- Rich savoury centre (rendered fat, deeply seasoned crust)
- Sharp herbal brightness (chimichurri)
- Warm gentle heat (red chilli flakes)
- Clean finishing salinity (flaky salt)
The steak’s dry-brined, charred crust defines the dish with deep, concentrated savouriness and real textural crunch. Rendered fat, where present, adds rich, meaty depth beneath that crust. Chimichurri layers in sharp, herbal, garlicky brightness that cuts directly through the steak’s richness, with red chilli flakes contributing a warm, gentle heat running throughout the sauce. A final scatter of flaky salt sharpens every element, tying the charred meat and bright sauce together into a single, well-balanced bite.
Common Mistakes to Avoid
- Covering the Steak During Dry Brining – This traps moisture against the surface and prevents the exterior from drying properly. Always leave it uncovered on a rack in the refrigerator.
- Skipping the Tempering Step – A steak straight from the refrigerator burns outside before the centre reaches medium-rare. Always let it sit at room temperature for 30–60 minutes before grilling.
- Blending the Chimichurri – This turns it into a uniform green paste, losing the loose, textured quality that defines the sauce. Always chop the parsley and mix the ingredients by hand.
- Skipping the Fat Cap Rendering – This leaves chewy, pale fat on an otherwise well-cooked steak. Always render it separately by holding it against the heat directly.
- Slicing the Steak Immediately After Cooking – This releases most of the meat’s juices onto the board rather than keeping them in the steak. Always rest for the full 10 minutes before slicing.
Variations
With Red Chimichurri
Substitute Red Chimichurri (Chimichurri Rojo) for the classic green version for a smokier, paprika-forward alternative on the same grilled steak.
Spicier Version
Increase the red chili flakes in the chimichurri to 1½ tbsp for a noticeably sharper heat throughout the sauce.
Shorter Dry Brine
If time is limited, dry-brine for a minimum of 4 hours uncovered rather than the full 8–24 hours — the surface won’t dry quite as thoroughly, but the steak will still season well.
Reverse-Seared Version
For an even more controlled interior, cook the tempered steak in a low oven (120°C) until it reaches about 45°C internally, then finish with a hard sear on the grill for the final crust
Storage & Make-Ahead
Steaks can be dry-brined uncovered in the refrigerator for up to 24 hours; do not extend significantly beyond this window.
Chimichurri can be refrigerated in a sealed container for up to 5 days; the flavour continues to develop over the first day or two.
Cooked steak can be refrigerated in an airtight container for up to 3 days. Reheat gently in a low oven or skillet rather than a microwave to avoid overcooking further.
Sliced, sauced steak is not suitable for storage — slice and sauce only what will be eaten immediately.
Frequently Asked Questions
Why does the steak need to dry-brine uncovered for so long?
The extended, uncovered time in the refrigerator does two things at once: it lets the salt draw moisture to the surface and then be reabsorbed, seasoning the meat deeply, while also drying that same surface so the grill’s heat goes into building crust rather than evaporating moisture first.
Why shouldn’t the chimichurri be blended instead of hand-chopped?
Blending turns the sauce into a smooth, uniform green paste, losing the loose, oily, visibly textured quality that’s central to chimichurri’s character. Hand-chopping keeps the parsley, garlic, and chilli flakes distinct, which matters both for texture and for how the sauce looks against the charred steak.
Why is rendering the fat cap treated as a separate step rather than happening during the normal sear?
A fat cap’s edge, especially held vertically, doesn’t get the same direct, sustained contact with the heat source that a flat sear provides to the rest of the steak. Without deliberately pressing it against the hot surface, the fat stays chewy and pale even if the rest of the steak is cooked perfectly.
Why pull the steak below its final target temperature rather than cooking it all the way there?
Residual heat continues moving inward toward the centre for several minutes after the steak leaves direct heat, a phenomenon known as carryover cooking. Pulling at the actual target temperature would result in an overcooked steak by the time it’s finished resting and ready to slice.
Are there other steak recipes worth trying?
Garlic Butter Sirloin Steak and Classic Ribeye Steak both offer different takes on steak preparation worth exploring if you enjoy this style of cooking — one built around a rich, garlicky basting butter and the other a more classic, minimally seasoned approach that lets the ribeye’s own marbling carry the dish.
Nutrition Facts
( per serving )
Calories
~620 kcal
Protein
42 g
Fat
46 g
Carbs
3 g
Calories
~620 kcal
Protein
42 g
Fat
46 g
Carbs
3 g
Related Recipes
Related Recipes

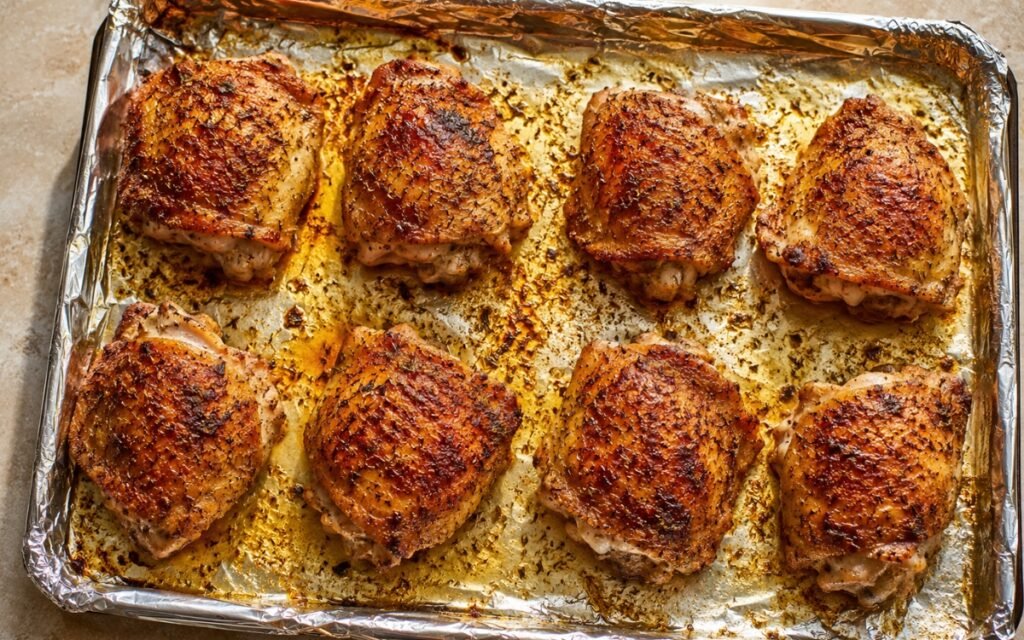
Cripsy Oven-Baked Chicken Thighs
Crispy-skinned chicken thighs baked with simple spices—the most forgiving and flavorful cut.
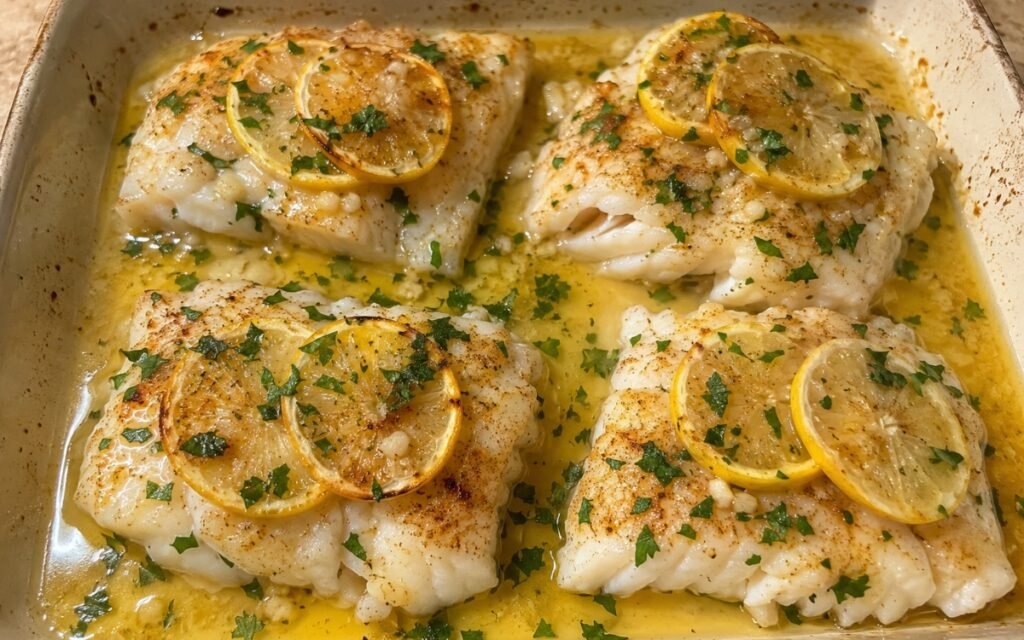
Lemon Butter Baked Cod
Cod fillets baked snugly in garlicky lemon butter, topped with lemon slices until flaky, finished with pan juices and parsley. Elegant and effortless.
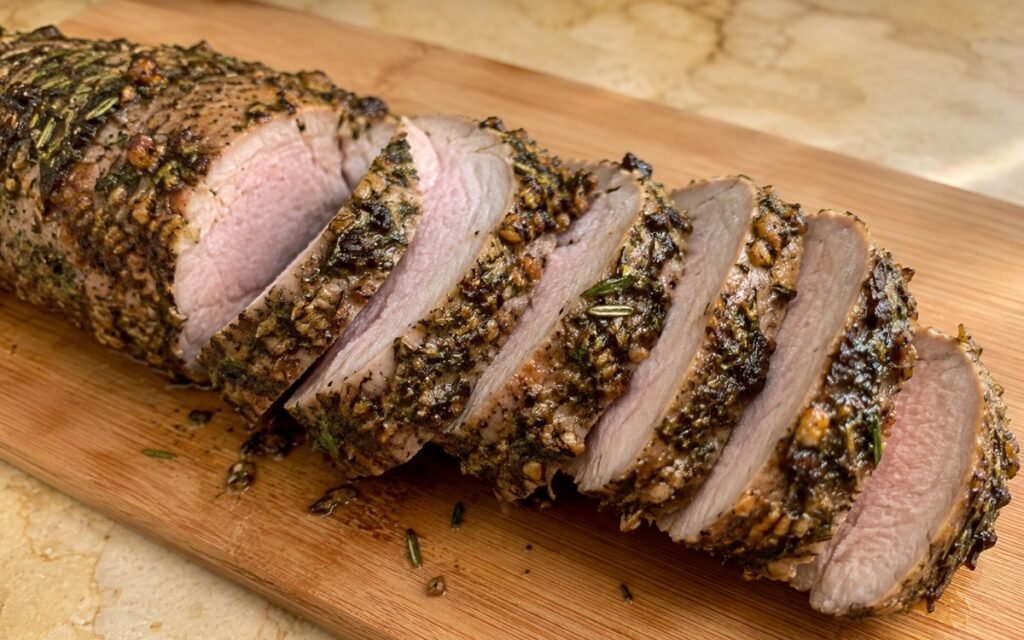
Garlic Herb Pork Tenderloin
Pork tenderloin trimmed, coated in Dijon mustard and fresh herb paste — seared for color, roasted precisely, rested and sliced. Elegant and aromatic.
You might also like
You might also like
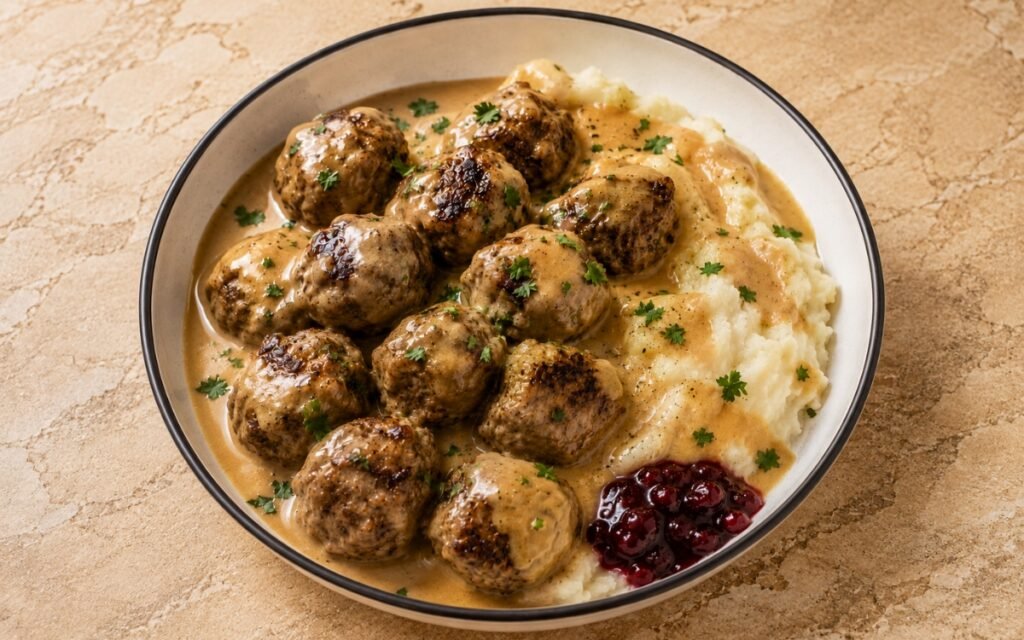
Swedish Meatballs
Tender panade-enriched beef and pork meatballs, gently spiced with allspice and nutmeg, in a creamy brown gravy over mashed potatoes.
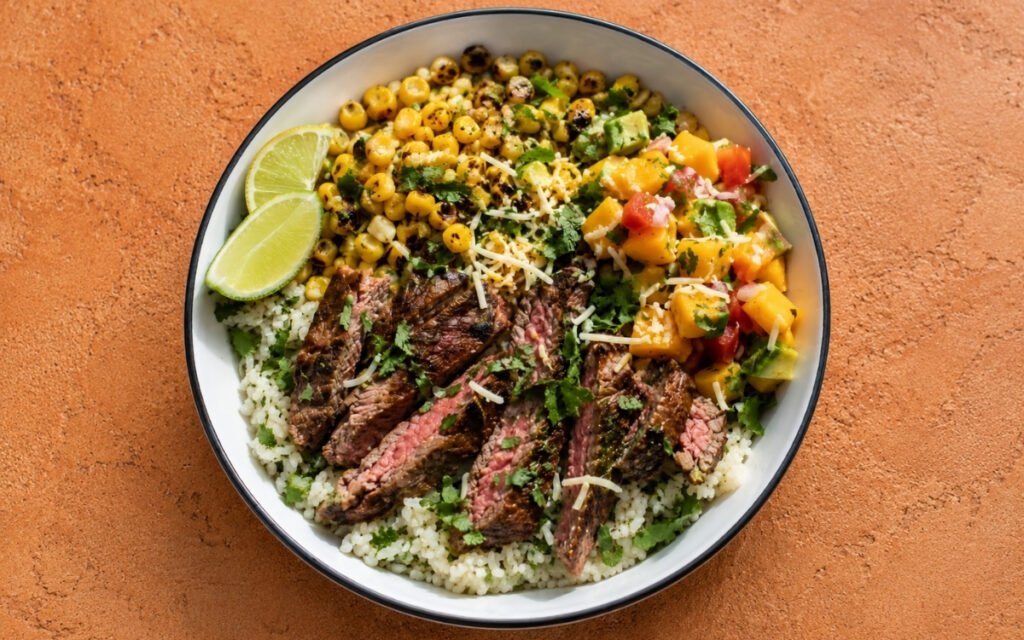
Flank Steak & Mango Salsa Rice Bowl
Charred flank steak over cilantro lime rice with mango avocado salsa, smoky corn, and Mexican cheese — a vibrant, complete bowl in under an hour.
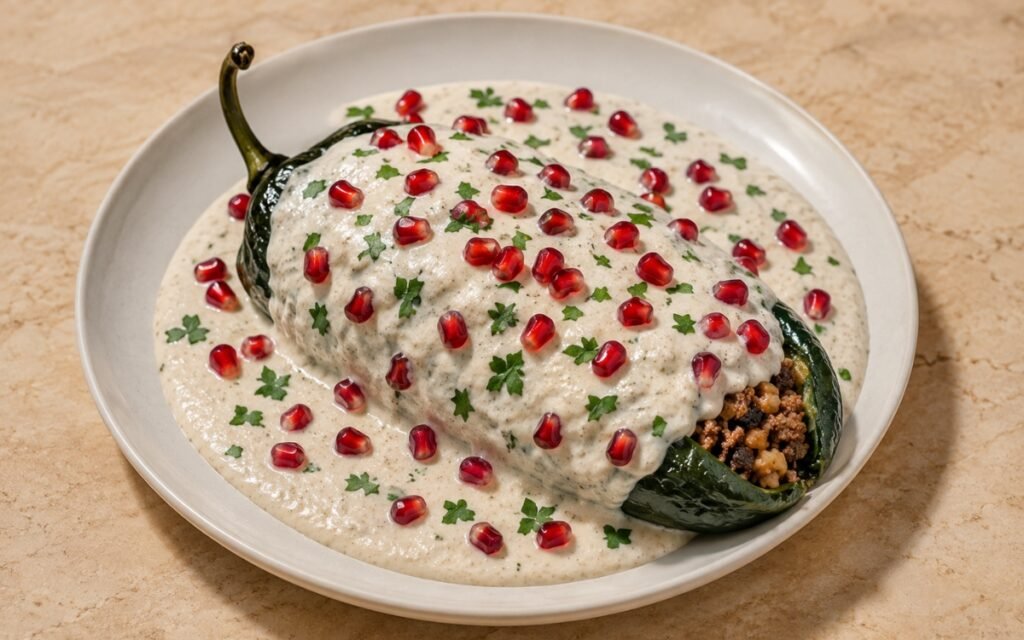
Chiles en Nogada
Roasted poblano peppers stuffed with a savoury-sweet pork and beef picadillo, covered in creamy white walnut sauce, and finished with pomegranate seeds.
Argentine Chimichurri Steak
Ingredients
Method
- Pat the steaks completely dry with paper towels. Season all sides heavily and evenly with kosher salt, including the fat cap if present. Place the steaks on a wire rack set over a tray and refrigerate uncovered for 8–24 hours. This dries the exterior surface and pulls seasoning into the meat. Do not cover the steaks. Covered steak stays wet, and wet steak will not build the deep char this recipe needs. Leaving the steaks uncovered on a rack, rather than sitting directly on a tray, lets air circulate on all sides — the salt draws moisture to the surface initially, then that same moisture evaporates into the dry refrigerator air over the following hours, leaving behind a genuinely dry, well-seasoned exterior.
- Finely chop the parsley by hand. Mix it with the red chili flakes, garlic, bay leaves, olive oil, red wine vinegar, dried oregano, kosher salt, and black pepper. Let the chimichurri sit for at least 30 minutes before serving so the garlic, oregano, chilli, vinegar, and oil fully season each other. Remove the bay leaves before spooning over the steak. Do not blend the chimichurri. Blended chimichurri turns into green paste. This should stay loose, oily, and visibly textured with parsley, garlic, oregano, and chilli flakes. Hand-chopping rather than blending preserves the parsley’s distinct texture and keeps the sauce visibly loose and oily rather than turning it into a uniform, blended purée — the textural contrast against the smooth, charred steak is part of the dish’s appeal.
- Remove the steaks from the refrigerator 30–60 minutes before grilling. Pat dry again if any surface moisture has formed. Season with black pepper after dry-brining. The steaks should lose the refrigerator chill before they hit the grill. Thick cold steaks burn outside before the centre reaches medium-rare. A steak straight from the refrigerator has a large temperature gradient to overcome before its centre reaches medium-rare — without this tempering step, the exterior would char and potentially burn well before that heat has had time to travel through to the middle of a cut this thick.
- Preheat a charcoal, wood, or gas grill until very hot. For thick steaks, set up a two-zone fire: one very hot direct-heat side for searing and one cooler side for finishing if needed. Charcoal or wood gives stronger smoke and char. Gas gives more consistent temperature. Either works, but the grill must be properly hot before the steak goes on. If using a cast-iron skillet instead, heat it until very hot and just beginning to smoke. The two-zone setup exists specifically for a steak this thick — the hot direct side builds the crust quickly, while the cooler zone gives a controlled option for finishing the interior gently if the crust develops faster than the centre reaches temperature.
- If your steak has a thick fat cap, hold it upright with tongs and press the fat edge against the hot grill or skillet for 1–2 minutes until it starts to render, brown, and crisp. Skipping this leaves chewy, pale fat on an otherwise good steak. That is amateur work. Fat doesn’t render or brown properly without direct, sustained contact with the heat source — briefly resting the steak flat won’t expose the fat cap’s edge to nearly enough heat, which is why this step calls for actively holding it against the surface.
- Place the steaks over direct high heat. Sear for 2–3 minutes per side, turning only after a deep crust forms. Continue flipping every 1–2 minutes as needed until the exterior has dark char marks and the interior reaches medium-rare. For medium-rare, pull the steaks at 50–52°C in the centre for a final rested temperature around 54–56°C. If the crust is ready but the centre is still too cool, move the steaks to the cooler side of the grill and finish gently with the lid closed. Do not cook by time alone. Steak thickness, fat level, grill temperature, and cut all change the timing. The gap between the pulled temperature and the target resting temperature is carryover cooking — residual heat continues moving inward for several minutes after the steak leaves direct heat, which is why pulling at the final target temperature would overshoot it by the time it’s rested and sliced.
- Transfer the steaks to a board and rest for 10 minutes. Do not slice immediately. Resting keeps the juices inside and lets the internal temperature finish stabilising. During active cooking, muscle fibres contract and push moisture toward the centre of the cut; the rest period lets that pressure even back out across the whole steak, so slicing immediately after cooking would release most of that moisture onto the board rather than into the meat.
- Slice the steaks diagonally against the grain into thick slices. Arrange on a warm plate with the pink interior visible. Spoon chimichurri generously over the top, letting the golden green oil run over the charred crust and pool slightly around the steak. Finish with flaky salt if using. Slicing against the grain shortens the muscle fibres in each individual piece, which is what makes even a naturally firmer cut like sirloin noticeably more tender to bite through than slicing with the grain would.
- Serve immediately while the steak is warm, the crust is still defined, and the chimichurri is vivid, oily, and fresh. This dish is at its best in a narrow window right after slicing — the crust’s crispness fades and the chimichurri’s oil begins soaking into the meat the longer it sits, so serving without delay preserves both the visual and textural contrast the dish is built around.