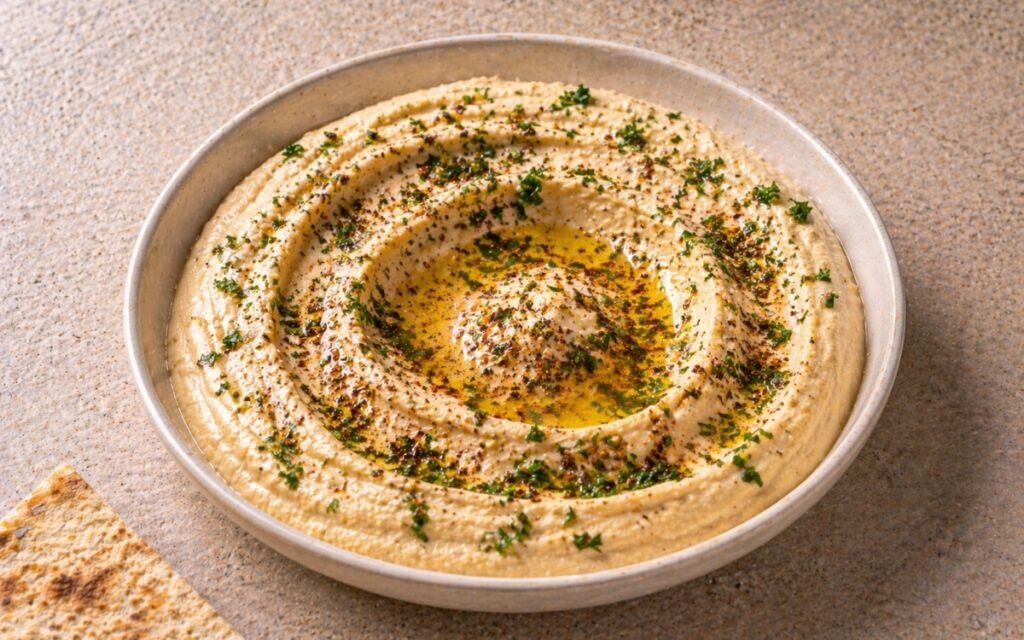
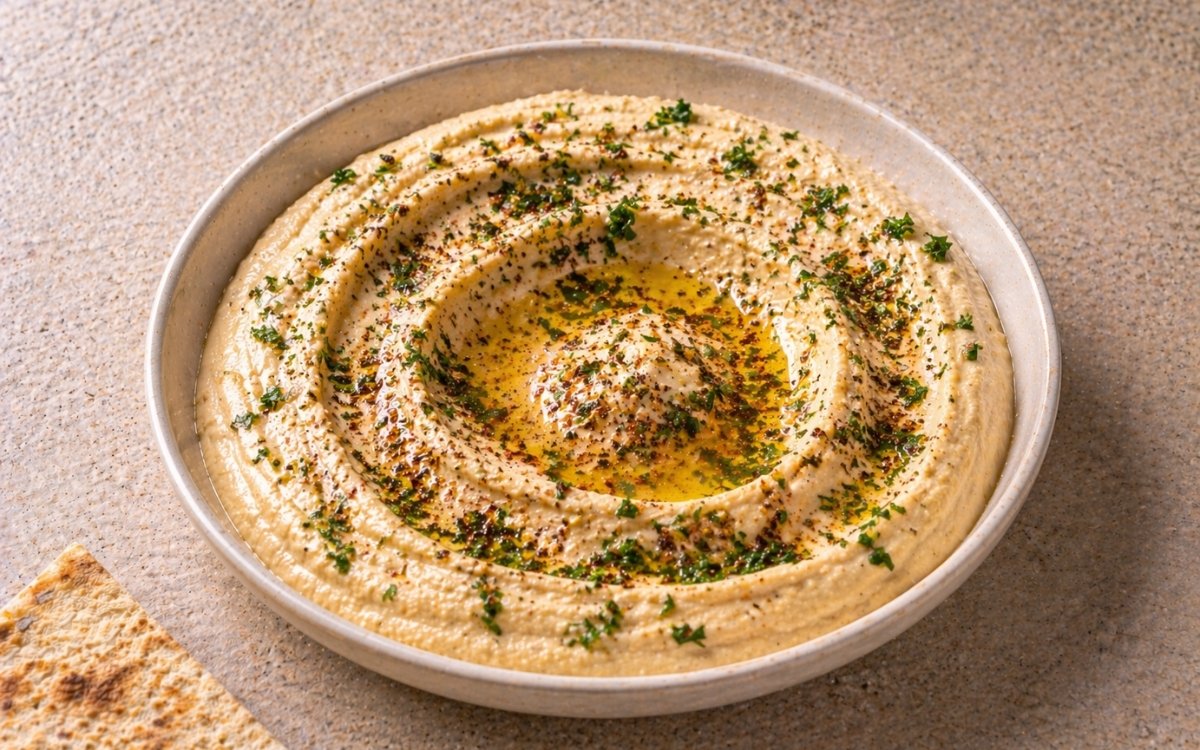
Roasted Garlic Hummus
The mellowest, most universally loved variation of the Classic Hummus base — five garlic cloves roasted in foil with olive oil until completely soft and golden, then blended into the chickpea-tahini mass in place of raw garlic. The transformation is remarkable: the aggressive, sharp pungency of raw garlic becomes caramelised, deeply sweet, almost nutty warmth that enriches every layer of the hummus without ever announcing itself as garlic. The result is a hummus with more depth and complexity than the classic version but none of its sharpness — the variation that converts people who say they do not like garlic in hummus. Serve with warm Homemade Lavash or fresh pita bread.
Prep Time : 10 min
Cook Time : 35 min
Servings : 8
10 min
35 min
8
Ingredients
For the Chickpeas
• 225g (8oz) dried chickpeas
• 1 tsp baking soda, divided — ½ tsp for soaking, ½ tsp for cooking
For the Hummus
• 140g tahini paste — this one on Amazon
• 5 medium garlic cloves, roasted
• Juice of 1½ lemons
• Zest of half a lemon
• 1 tsp ground cumin — this one on Amazon
• Fine sea salt to taste, starting conservatively
• Freshly ground black pepper to taste
• Drizzle of olive oil, for roasting the garlic
• 100ml ice-cold water, added gradually — amount varies by preferred consistency
For Serving
• Fresh flat-leaf parsley, roughly chopped
• Za’atar seasoning or sumac, for garnish — this one on Amazon
This post may contain affiliate links. As an Amazon Associate I earn from qualifying purchases, at no additional cost to you.
Directions
- Soak the Chickpeas Overnight
Place the dried chickpeas in a large bowl and cover generously with cold water — by at least 5–6cm, as the chickpeas will absorb significant water and roughly double in size during the soak. Add ½ tsp of baking soda to the soaking water and stir briefly to dissolve. The alkaline environment created by the baking soda progressively weakens the pectin matrix in the chickpea skins and cell walls throughout the soaking period, beginning the softening process before any heat is applied. Soak for 8 hours at room temperature or overnight. Drain and discard the soaking water — it contains released starches, oligosaccharides, and the spent baking soda, none of which should carry forward into the cooking process. - Roast the Garlic Simultaneously
While the chickpeas are cooking in the subsequent step, roast the garlic so both are ready at approximately the same time. Place the 5 unpeeled garlic cloves on a small square of aluminium foil. Drizzle a small amount of olive oil over the cloves — enough to lightly coat each one. Fold the foil into a tight parcel that fully encloses the garlic with no gaps for steam to escape. Place the foil parcel in an oven preheated to 200°C (390°F) or in an air fryer at 190°C. Roast for 25–35 minutes until the cloves are completely soft when pressed through the foil and the visible surface through any small gaps shows a light golden colour — not browned, not darkened. The target is soft-and-golden rather than brown-and-caramelised: cloves that are still firm have not completed their sugar conversion and will retain some sharpness; cloves that have browned develop a slightly bitter edge that can push the hummus in an unintended direction. The colour inside should be a pale, creamy golden — like roasted onion at the perfect point before it starts to darken. Allow to cool until handleable, then squeeze each clove from the base — the soft, paste-like roasted garlic will slide easily from the papery skin. Discard the skins. - Cook the Chickpeas with Baking Soda
Transfer the soaked, drained chickpeas to a large pot. Cover with fresh cold water by approximately 5cm and add the remaining ½ tsp of baking soda. Bring to a boil over medium-high heat. As the water approaches the boil, a greyish foam accumulates at the surface — skim it off with a large spoon as it forms, just as you would when making a stock. Once boiling, reduce to medium-low heat, cover with a lid, and cook for approximately 30 minutes. Check at the 25-minute mark by removing a single chickpea and pressing it firmly between your fingers or with the back of a fork. It should crush completely and immediately with zero resistance — any firmness at all means the chickpeas need more cooking time. The double baking soda treatment produces chickpeas soft enough that their skins blend invisibly into the finished hummus rather than producing the flecked, slightly gritty texture that insufficiently softened skins create. Drain when fully tender and proceed immediately while still warm. - Process the Warm Chickpeas
Transfer the drained warm chickpeas to a food processor immediately. Process for 2–3 minutes, stopping every 30–45 seconds to scrape down the sides and bottom of the bowl with a spatula — any mass adhering to the walls is not being processed and will remain as coarser fragments in the final hummus. The warm chickpeas break down significantly more smoothly than cold ones because the heat keeps the starch in a gelatinised, fluid state that blends easily. Cold chickpeas have starch that has partially retrogradrated back toward a firmer structure, resisting smooth processing. Process until the chickpeas have formed a thick, fairly smooth paste — it will appear dry and stiff at this stage, which is normal before the liquid ingredients are added. - Add the Tahini, Roasted Garlic, Lemon, and Spices
With the food processor running, add the tahini paste in a steady stream. Add the squeezed roasted garlic — all five cloves, as a soft paste directly from the skins. Add the lemon juice, lemon zest, ground cumin, a conservative starting amount of fine sea salt, and freshly ground black pepper. The roasted garlic enters the hummus in a fundamentally different state from the raw smashed garlic of the classic version. Raw garlic contributes sharp, volatile allicin-derived compounds that produce the characteristic pungent, slightly biting garlic note of classic hummus. Roasted garlic’s allicin has converted during the extended oven exposure into a range of sweeter, milder, more complex compounds — furfuryl mercaptan and other Maillard-reaction products — that produce warmth, sweetness, and depth without any sharpness. The five cloves specified here would be overwhelmingly pungent if raw; roasted, they produce a subtle, pervasive garlic warmth that elevates every other flavour in the hummus without dominating any of them. Process everything for 2–3 minutes, scraping down the sides frequently, until the mixture is as smooth as it will become before water is added. - Emulsify with Ice-Cold Water
With the food processor running, begin adding the ice-cold water one tablespoon at a time, allowing each addition to fully incorporate before adding the next. Cold water — ice-cold specifically — creates a temporary emulsification with the tahini’s fat during the mechanical action of processing, dispersing the fat molecules and producing the characteristically light, creamy, aerated texture that distinguishes well-made hummus from a dense paste. Warm water does not create the same emulsification effect — the fat re-aggregates more readily and the result is heavier. Continue adding water until the hummus reaches your preferred consistency. The roasted garlic adds its own slight moisture to the mixture compared to the raw garlic of the classic version, so the water requirement may be marginally less — assess by tablespoon and stop when the texture is right. - Taste and Calibrate
Stop the processor and taste carefully. The roasted garlic hummus is notably gentler in its seasoning requirements than the chipotle variation — the dominant flavour impression is warmth and depth rather than sharpness or heat, which means the calibration is about balance rather than intensity. If the hummus tastes flat and muted, it needs salt — the roasted garlic’s sweetness can mask the need for salt in a way that raw garlic does not, so taste and season particularly attentively here. If it needs brightness to balance the garlic’s sweetness, add more lemon juice. If the garlic warmth is not sufficiently present, add a small pinch of garlic powder — it provides background garlic depth without sharpness. If the earthiness needs amplifying, add a small pinch of additional cumin and black pepper. Adjust until the hummus tastes deeply flavoured with a clear garlic character that is warm and sweet rather than pungent. - Serve
Transfer to a wide, shallow serving bowl. Create the characteristic hummus well by sweeping the back of a spoon from the centre outward in a circular motion. Drizzle generously with extra-virgin olive oil into the well and across the surface. Scatter za’atar or sumac — za’atar’s earthy, herby complexity is particularly well-suited to this variation, its thyme and oregano character having a natural affinity with roasted garlic. Scatter the chopped fresh parsley across the surface. Serve immediately with warm Homemade Lavash or fresh pita bread.
*Notes :
- The transformation that occurs when garlic is roasted in a sealed foil parcel with olive oil is one of the most dramatic and satisfying in all of cooking. Raw garlic’s primary aromatic compound — allicin, produced when the garlic cell walls are crushed and the enzyme alliinase contacts alliin — is intensely pungent, volatile, and responsible for the sharp bite that raw garlic delivers to any preparation. When garlic is roasted whole and unpeeled at 200°C for 25–35 minutes, the heat inactivates the alliinase enzyme and converts the alliin directly into sweeter, milder aroma compounds without producing allicin. The natural sugars in the garlic caramelise progressively, adding the golden sweetness that distinguishes roasted garlic flavour. The moisture evaporates partially, concentrating the flavour into a dense, soft paste. The result is a garlic preparation that has almost no relationship in flavour to raw garlic despite coming from the identical clove.
- Five cloves of roasted garlic in this recipe is a deliberate quantity. Two or three cloves produce a background warmth that is noticeable but subtle. Five cloves produce a prominent, clearly present roasted garlic character that is still mellow and sweet rather than overwhelming — the correct level for a variation that identifies itself as roasted garlic hummus rather than simply hummus with a hint of roasted garlic. More than five cloves pushes the garlic character into the dominant position at the expense of the tahini and chickpea’s own flavour contributions.
- The air fryer is a genuinely excellent method for roasting the garlic parcel — 190°C for 20–25 minutes produces equivalent results to the oven method in less time, and the smaller environment of the air fryer produces slightly more even surrounding heat than a large oven for a small foil parcel.
Why This Recipe Works
This recipe works because it replaces the single ingredient — garlic — that most affects the classic hummus’s sharp, assertive character with a version of itself that has been transformed into its opposite: sweet, mellow, and deeply complex instead of sharp and pungent. The identical chickpea preparation, tahini quantity, and ice-water emulsification technique produce the same smooth, creamy base.
But the roasted garlic’s caramelised sweetness, which distributes evenly through the hummus during processing, adds a layer of depth that the classic version’s raw garlic cannot produce. The result is the hummus variation most likely to be described as the best hummus someone has tasted — because roasted garlic provides exactly what classic hummus already does, but more so and without any sharpness.
Ingredient Breakdown
5 Roasted Garlic Cloves
The defining ingredient — allicin-free, caramelised, sweet, and mellow. Five cloves roasted produces the garlic character clearly present without dominating the tahini and chickpea base.
Tahini (140g)
Unchanged from the classic base — the fat and flavour backbone that emulsifies with ice water to produce the smooth, creamy texture.
Lemon Juice and Zest
The brightening acid layer — particularly important in this variation to balance the roasted garlic’s sweetness. The lemon’s sharpness prevents the hummus from tasting flat despite the absence of raw garlic’s pungency.
Ground Cumin
Earthy warmth in the background — provides the spice depth that prevents the mellow roasted garlic and tahini from tasting too sweet and one-dimensional.
Ice-Cold Water
The emulsification agent — identical role to all versions, producing the light, creamy texture through cold-fat dispersion.
Za’atar Garnish
The particularly suited finishing seasoning for this variation — thyme, sumac, and sesame in za’atar have a natural affinity with roasted garlic.
Flavor Structure Explained
This hummus follows a layered balance model:
- Earthy nutty base (chickpeas, tahini)
- Sweet caramelized depth (roasted garlic)
- Bright acidity (lemon)
- Warm spice background (cumin, black pepper)
- Aromatic finish (za’atar)
Chickpeas and tahini establish the foundation with smooth, earthy richness that defines hummus structure. Roasted garlic builds a mellow, caramelised sweetness that spreads evenly through the profile, adding depth without sharpness. Lemon cuts through that warmth, keeping the flavor lifted and balanced. Cumin and black pepper provide subtle earthy heat in the background, reinforcing the savory base. Za’atar finishes the profile with herbal aromatics and toasted sesame notes, echoing the tahini and completing the composition with a cohesive, layered finish.
Common Mistakes to Avoid
- Browning the Garlic Too Much – Browned or darkened roasted garlic develops bitterness that carries directly into the hummus. The target is soft-and-golden inside the foil parcel, with a pale creamy colour when squeezed from the skins.
- Using Insufficient Roasting Time – Under-roasted garlic retains some of its raw sharpness. The cloves must be completely soft all the way through — press through the foil to check before removing from the oven.
- Not Processing Chickpeas While Warm – The same rule applies here as in every hummus variation — process immediately while warm for the smoothest possible result.
- Under-salting – The roasted garlic’s sweetness can obscure the need for salt. Taste particularly attentively and season generously — this variation needs assertive salting to bring the depth of the roasted garlic forward.
- Skimming the Bowl Infrequently – Any mass stuck to the processor walls remains coarser. Scrape down every 30–45 seconds throughout the processing stages.
Variations
Classic Hummus
The base recipe this variation is built on — chickpeas, tahini, lemon, raw garlic, and cumin producing the clean, bright, slightly pungent classic. Full recipe at Classic Hummus.
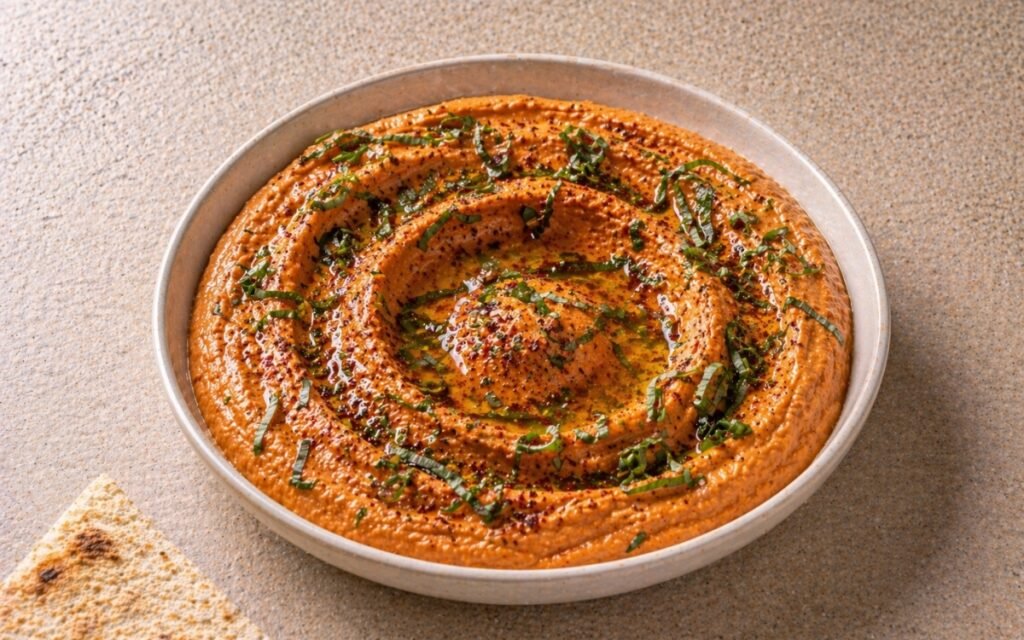
Chipotle and Lime Hummus
Bold, smoky, and heat-forward — chipotle pepper in adobo and lime replacing lemon, producing a deeply spiced hummus with Mexican character. A very different direction from the mellow roasted garlic version. Full recipe at Chipotle and Lime Hummus.
Harissa and Mint Hummus
Warm, complex, and distinctly North African — harissa paste and fresh mint producing a spiced, fragrant hummus with both building heat and herbal freshness. Full recipe at Harissa and Mint Hummus.
Sun-Dried Tomato and Basil Hummus
Rich, sweet-acidic, and Mediterranean — oil-packed sun-dried tomatoes and fresh basil producing a vibrant deep-red hummus with Italian character. Full recipe at Sun-Dried Tomato and Basil Hummus.
Storage & Make-Ahead
Store in an airtight container in the refrigerator for up to 5 days. Press plastic wrap directly onto the surface before sealing to prevent surface oxidation and drying. Bring to room temperature for 20–30 minutes before serving and stir in a small amount of cold water if needed to restore the original consistency. The roasted garlic flavour continues to develop and mellow slightly over the first 24–48 hours in the refrigerator — this hummus is genuinely excellent made the day before serving. Re-garnish with fresh parsley, za’atar, and olive oil immediately before serving. Freezes well for up to 2 months without garnish — thaw overnight in the refrigerator and stir well with a small addition of cold water before serving.
Frequently Asked Questions
How do I know when the garlic is properly roasted?
Press the foil parcel gently — each clove should feel completely soft with no firmness anywhere, like pressing a soft grape. When you open the parcel, the visible surfaces should be a pale, creamy golden colour rather than pale and raw or dark and browned. Squeeze one clove from its skin and press it on the cutting board — it should flatten into a smooth paste effortlessly.
Can I roast the garlic ahead of time?
Yes — roasted garlic refrigerates well for up to 5 days sealed in a small airtight container. Roasting a full head at once and refrigerating the excess is a practical way to have roasted garlic available for multiple preparations throughout the week.
Why five cloves rather than two or three?
Five cloves of roasted garlic produce a clearly identifiable roasted garlic character in the finished hummus — present throughout rather than a subtle background note. Two or three produce a hummus that is simply slightly softer in garlic character than the classic version, without distinctly announcing itself as a roasted garlic variation. The five-clove quantity is what makes this variation recognisably its own.
What should I serve roasted garlic hummus with?
Warm Homemade Lavash or fresh pita are the primary pairings. It also works as a spread in sandwiches and wraps — its mellow, sweet garlic depth complements grilled meats and roasted vegetables. As a dip alongside raw vegetables. As a component in grain bowls and composed mezze plates.
How is this different from Classic Hummus in practice?
The flavour profile is rounder, deeper, and sweeter — less bright and sharp than the classic, more complex and mellow. People who find raw garlic in hummus too assertive or sharp almost universally prefer this variation. The technique is identical — the only difference is roasting the garlic before adding it to the processor rather than using it raw.
Nutrition Facts
( per serving — approximately 4 tbsp )
Calories
~190 kcal
Protein
8 g
Fat
10 g
Carbs
20 g
Calories
~190 kcal
Protein
8 g
Fat
10 g
Carbs
20 g
Related Recipes
Related Recipes

Sun-Dried Tomato & Basil Hummus
Oil-packed sun-dried tomatoes and fresh basil blended into the classic chickpea-tahini base — deep red-orange, sweet-acidic, and unmistakably Mediterranean Italian.
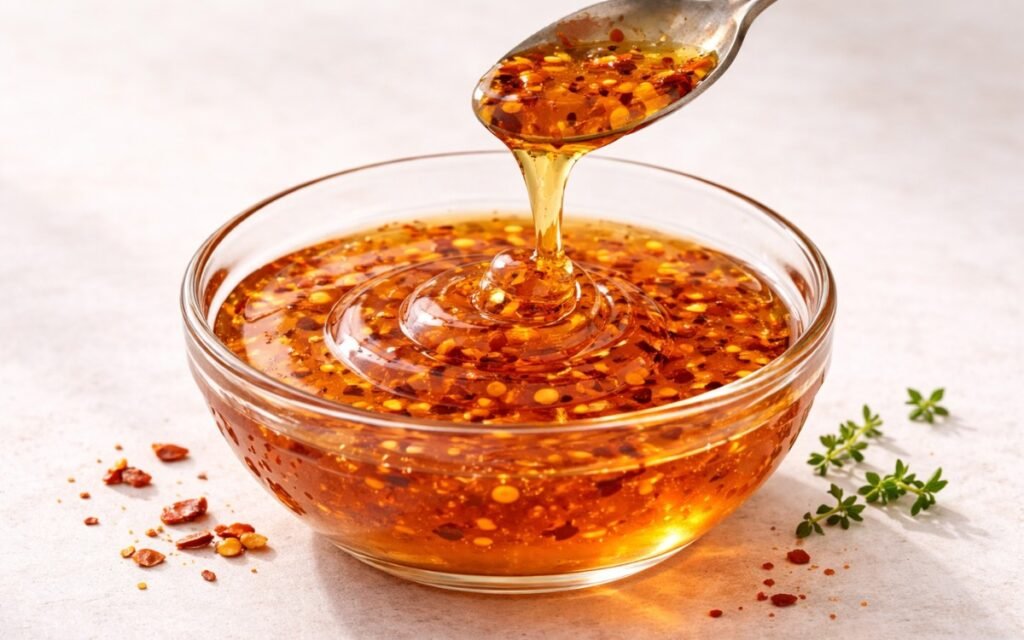
Spicy Honey Drizzle
Honey infused with chili heat and vinegar — 10-minute sweet-heat drizzle for everything.
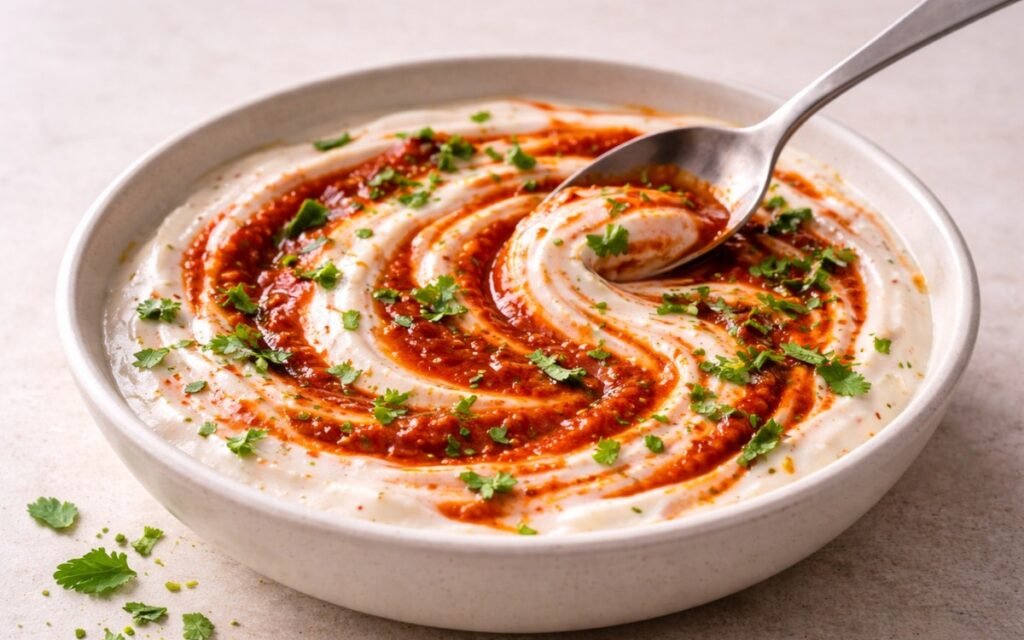
Harissa Yogurt Sauce
Fiery harissa tamed by cool Greek yogurt with lemon — a vibrant 10-minute North African sauce.
You might also like
You might also like
Fresh Mango Lemonade
Mango simmered at medium-low heat with lime zest, ginger off heat exactly 2 minutes — lemon and lime juice added cold, chilled. Tropical, golden, and bright.
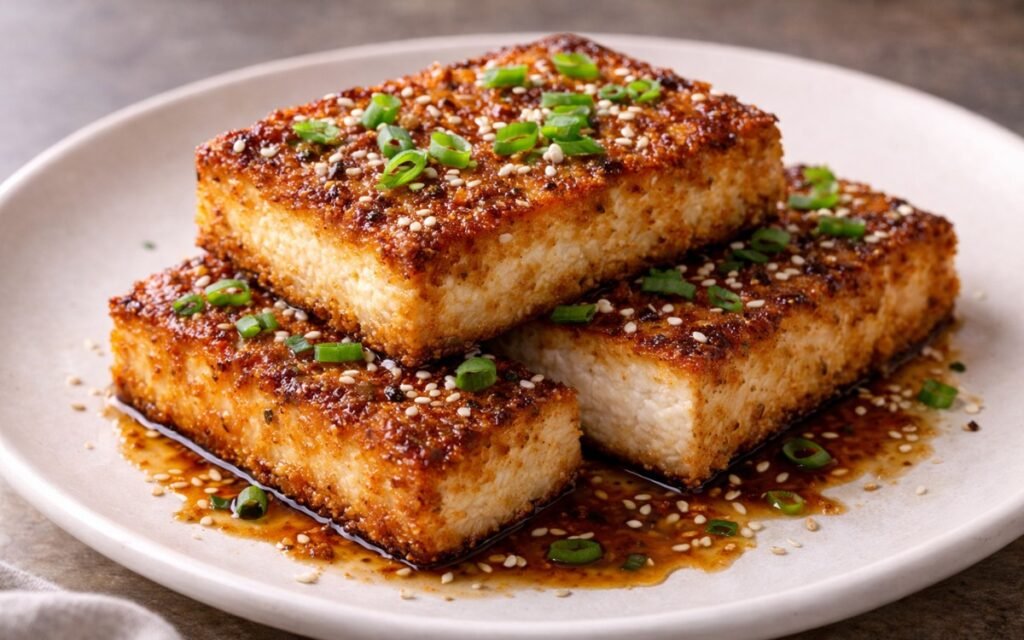
Crispy Tofu Steaks
Golden cornstarch-coated tofu steaks with savory soy-sesame marinade and ultra-crispy texture.
Lychee Rose Spritzer Mocktail
Rose-infused lychee base with honey over club soda — pale pink, floral, and intensely elegant.


Roasted Garlic Hummus
Ingredients
Method
- Place the dried chickpeas in a large bowl and cover generously with cold water — by at least 5–6cm, as the chickpeas will absorb significant water and roughly double in size during the soak. Add ½ tsp of baking soda to the soaking water and stir briefly to dissolve. The alkaline environment created by the baking soda progressively weakens the pectin matrix in the chickpea skins and cell walls throughout the soaking period, beginning the softening process before any heat is applied. Soak for 8 hours at room temperature or overnight. Drain and discard the soaking water — it contains released starches, oligosaccharides, and the spent baking soda, none of which should carry forward into the cooking process.
- While the chickpeas are cooking in the subsequent step, roast the garlic so both are ready at approximately the same time. Place the 5 unpeeled garlic cloves on a small square of aluminium foil. Drizzle a small amount of olive oil over the cloves — enough to lightly coat each one. Fold the foil into a tight parcel that fully encloses the garlic with no gaps for steam to escape. Place the foil parcel in an oven preheated to 200°C (390°F) or in an air fryer at 190°C. Roast for 25–35 minutes until the cloves are completely soft when pressed through the foil and the visible surface through any small gaps shows a light golden colour — not browned, not darkened. The target is soft-and-golden rather than brown-and-caramelised: cloves that are still firm have not completed their sugar conversion and will retain some sharpness; cloves that have browned develop a slightly bitter edge that can push the hummus in an unintended direction. The colour inside should be a pale, creamy golden — like roasted onion at the perfect point before it starts to darken. Allow to cool until handleable, then squeeze each clove from the base — the soft, paste-like roasted garlic will slide easily from the papery skin. Discard the skins.
- Transfer the soaked, drained chickpeas to a large pot. Cover with fresh cold water by approximately 5cm and add the remaining ½ tsp of baking soda. Bring to a boil over medium-high heat. As the water approaches the boil, a greyish foam accumulates at the surface — skim it off with a large spoon as it forms, just as you would when making a stock. Once boiling, reduce to medium-low heat, cover with a lid, and cook for approximately 30 minutes. Check at the 25-minute mark by removing a single chickpea and pressing it firmly between your fingers or with the back of a fork. It should crush completely and immediately with zero resistance — any firmness at all means the chickpeas need more cooking time. The double baking soda treatment produces chickpeas soft enough that their skins blend invisibly into the finished hummus rather than producing the flecked, slightly gritty texture that insufficiently softened skins create. Drain when fully tender and proceed immediately while still warm.
- Transfer the drained warm chickpeas to a food processor immediately. Process for 2–3 minutes, stopping every 30–45 seconds to scrape down the sides and bottom of the bowl with a spatula — any mass adhering to the walls is not being processed and will remain as coarser fragments in the final hummus. The warm chickpeas break down significantly more smoothly than cold ones because the heat keeps the starch in a gelatinised, fluid state that blends easily. Cold chickpeas have starch that has partially retrogradrated back toward a firmer structure, resisting smooth processing. Process until the chickpeas have formed a thick, fairly smooth paste — it will appear dry and stiff at this stage, which is normal before the liquid ingredients are added.
- With the food processor running, add the tahini paste in a steady stream. Add the squeezed roasted garlic — all five cloves, as a soft paste directly from the skins. Add the lemon juice, lemon zest, ground cumin, a conservative starting amount of fine sea salt, and freshly ground black pepper. The roasted garlic enters the hummus in a fundamentally different state from the raw smashed garlic of the classic version. Raw garlic contributes sharp, volatile allicin-derived compounds that produce the characteristic pungent, slightly biting garlic note of classic hummus. Roasted garlic’s allicin has converted during the extended oven exposure into a range of sweeter, milder, more complex compounds — furfuryl mercaptan and other Maillard-reaction products — that produce warmth, sweetness, and depth without any sharpness. The five cloves specified here would be overwhelmingly pungent if raw; roasted, they produce a subtle, pervasive garlic warmth that elevates every other flavour in the hummus without dominating any of them. Process everything for 2–3 minutes, scraping down the sides frequently, until the mixture is as smooth as it will become before water is added.
- With the food processor running, begin adding the ice-cold water one tablespoon at a time, allowing each addition to fully incorporate before adding the next. Cold water — ice-cold specifically — creates a temporary emulsification with the tahini’s fat during the mechanical action of processing, dispersing the fat molecules and producing the characteristically light, creamy, aerated texture that distinguishes well-made hummus from a dense paste. Warm water does not create the same emulsification effect — the fat re-aggregates more readily and the result is heavier. Continue adding water until the hummus reaches your preferred consistency. The roasted garlic adds its own slight moisture to the mixture compared to the raw garlic of the classic version, so the water requirement may be marginally less — assess by tablespoon and stop when the texture is right.
- Stop the processor and taste carefully. The roasted garlic hummus is notably gentler in its seasoning requirements than the chipotle variation — the dominant flavour impression is warmth and depth rather than sharpness or heat, which means the calibration is about balance rather than intensity. If the hummus tastes flat and muted, it needs salt — the roasted garlic’s sweetness can mask the need for salt in a way that raw garlic does not, so taste and season particularly attentively here. If it needs brightness to balance the garlic’s sweetness, add more lemon juice. If the garlic warmth is not sufficiently present, add a small pinch of garlic powder — it provides background garlic depth without sharpness. If the earthiness needs amplifying, add a small pinch of additional cumin and black pepper. Adjust until the hummus tastes deeply flavoured with a clear garlic character that is warm and sweet rather than pungent.
- Transfer to a wide, shallow serving bowl. Create the characteristic hummus well by sweeping the back of a spoon from the centre outward in a circular motion. Drizzle generously with extra-virgin olive oil into the well and across the surface. Scatter za’atar or sumac — za’atar’s earthy, herby complexity is particularly well-suited to this variation, its thyme and oregano character having a natural affinity with roasted garlic. Scatter the chopped fresh parsley across the surface. Serve immediately with warm Homemade Lavash or fresh pita bread.