
Thick-Cut Steak Fries
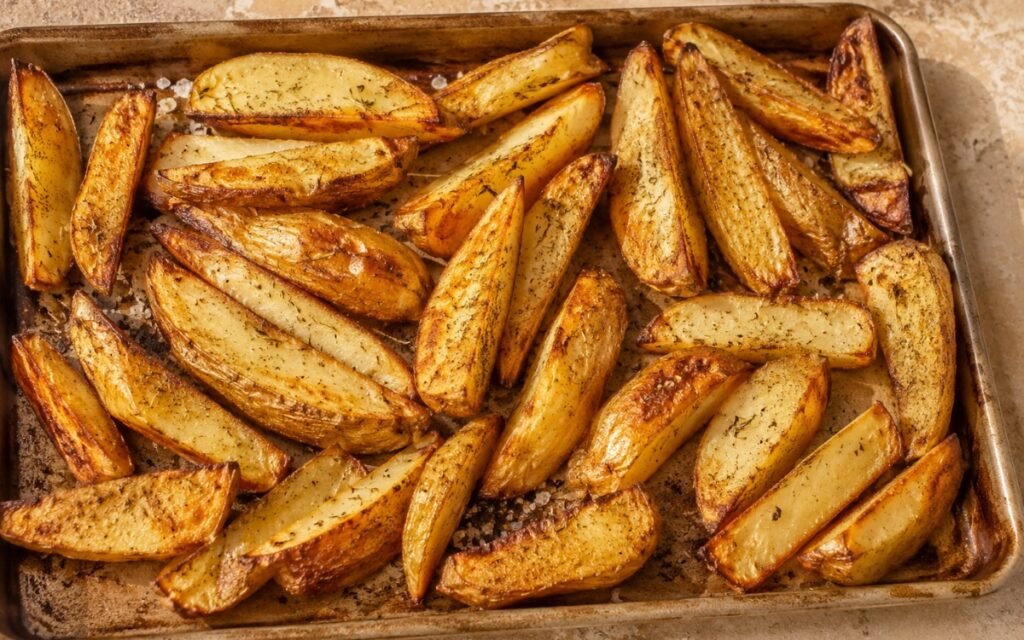
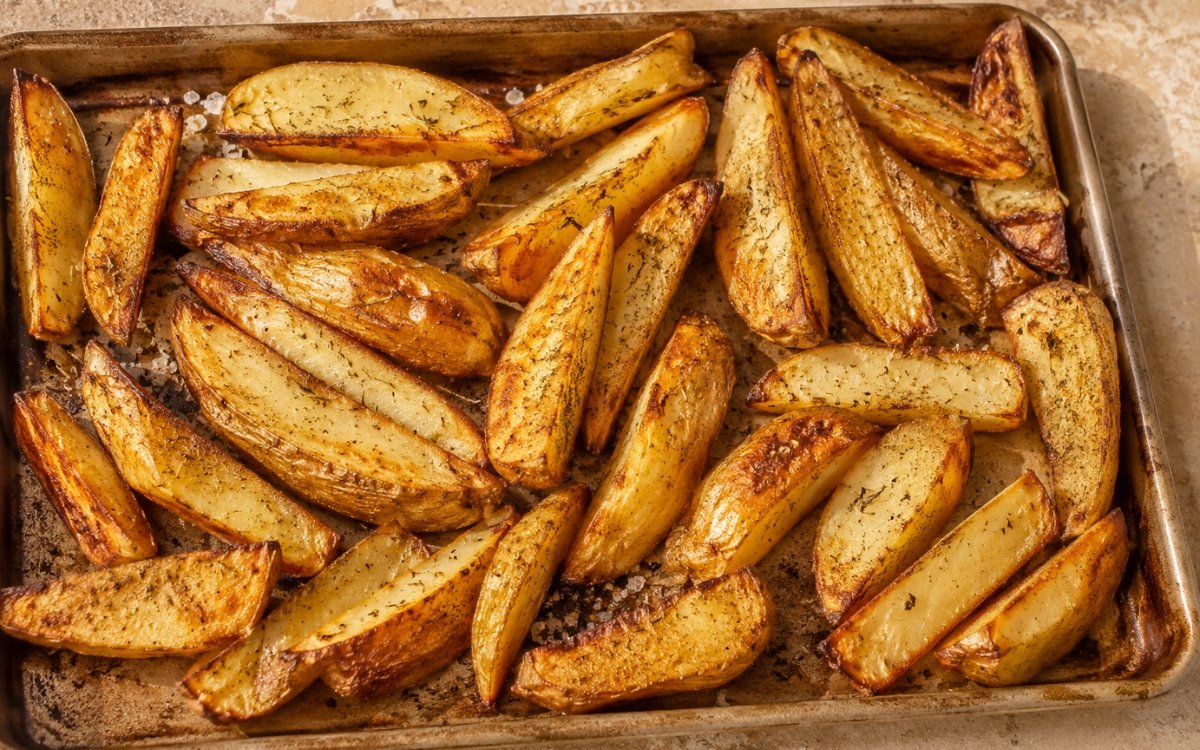
Thick-Cut Steak Fries are hearty and satisfying with a crispy golden exterior and fluffy interior. Cut into generous wedges and roasted at high heat, they’re seasoned simply to let the potato flavor shine through. Perfect alongside burgers, steaks, or as a substantial side dish on their own. Unlike the thin-cut technique used elsewhere in this collection, these thicker wedges require a genuinely different roasting approach — a low-then-high temperature sequence that gives the substantial interior time to soften and cook through before the final blast of higher heat develops the deep, crisp crust these fries are known for. Even with a shorter soak than their thin-cut counterparts, removing surface starch still matters, and thorough drying afterward matters even more given how much more surface area these thick wedges have to hold onto moisture in their creases and cut edges. Arranging the wedges skin-side down with genuine spacing lets each piece make direct, uninterrupted contact with the hot baking sheet rather than trapping steam between crowded pieces. The result is a substantial, hearty fry with real textural contrast — crisp and golden outside, genuinely fluffy within.
Prep Time : 15 min
Cook Time : 45 min
Servings : 4
15 min
45 min
4
Ingredients
For the Fries
• 1000g russet potatoes
For Seasoning
• 60ml olive oil — this one on Amazon
• 8g coarse sea salt
• 3g black pepper, freshly ground
• 4g garlic powder
• 2g dried rosemary, crushed
This post may contain affiliate links. As an Amazon Associate I earn from qualifying purchases, at no additional cost to you.
Directions
- Prepare the Potatoes
Preheat your oven to 220°C (425°F), giving it plenty of time to fully reach temperature while you prepare the potatoes. Scrub the 1000g potatoes thoroughly under running water to remove any dirt, then pat them completely dry so the skin has the best possible chance to crisp during roasting rather than staying damp and dull. Cut each potato in half lengthwise down its length, then cut each half into 3–4 wedges, aiming for a consistent width of about 2cm. Consistency in size matters here just as much as it does with thinner cuts — the goal with steak fries is a thick, substantial wedge, but that thickness still needs to be even across every piece so they all finish cooking at roughly the same time. - Soak for Better Texture
Place the cut wedges in a large bowl of cold water and let them soak for 10 minutes to help draw out some of the surface starch. This soak is shorter than the longer soak used for thin-cut fries, since these thicker wedges have proportionally less surface area relative to their overall size, but it still meaningfully improves the final texture. Drain the wedges well in a colander, then pat them completely dry with kitchen towels, taking your time to check every crease and cut edge — thick wedges genuinely hold moisture in their creases in a way thin fries don’t, since there’s simply more surface texture for water to cling to. If the wedges go onto the tray even slightly damp, you’ll end up with soft, steamed edges instead of the crisp exterior this recipe is built around. - Season the Fries
Return the dried wedges to the bowl and drizzle over the 60ml olive oil, tossing thoroughly until every surface is evenly coated. In a small separate bowl, combine the 8g coarse sea salt, 3g black pepper, 4g garlic powder, and 2g crushed rosemary, mixing well so the seasoning blend is uniform before it touches the potatoes. Sprinkle this mixture over the oiled wedges and toss thoroughly again, making sure the seasoning distributes evenly across every piece rather than settling unevenly or falling to the bottom of the bowl and eventually just sitting on the tray instead of on the fries themselves. - Arrange on Baking Sheet
Line a large baking sheet with parchment paper. Arrange the wedges in a single layer, skin-side down, with genuine space between each piece — overlapping wedges trap steam between them and cause uneven browning, with some sides crisping while touching sides stay pale and soft. If your baking sheet is on the smaller side, it’s worth using two trays or roasting the fries in batches rather than trying to fit everything onto one crowded sheet. - Roast Low Then High
Bake for 25 minutes without disturbing the wedges at all, allowing this initial stage to soften the thick interiors while the first stage of crust begins forming on the bottom surface. Remove the tray from the oven, carefully flip each wedge individually using tongs or a thin spatula, and increase the oven temperature to 240°C (465°F). Return the fries to bake for another 15–20 minutes, watching for edges that turn deep golden and genuinely crisp, while the center stays soft — a fork should pierce through cleanly with little resistance, and the interior should look fluffy and opaque rather than translucent or waxy, which would indicate the center hasn’t fully cooked through yet. - Finish and Serve
Remove the fries from the oven and let them rest directly on the tray for 2 minutes before serving. This brief rest lets residual steam escape from the interior and allows the crust to firm up slightly rather than softening immediately from trapped heat. Taste one and add a pinch more sea salt if needed. Serve immediately while the edges are at their absolute peak crunch, since steak fries this substantial will gradually soften as they sit and cool.
*Notes :
- The low-then-high roasting sequence is specifically calibrated for this thicker cut in a way the single-temperature approach used for thin fries doesn’t need. The initial lower-temperature stage gives the substantial interior enough time to soften and cook through without the exterior racing ahead and burning; only once that interior work is largely done does the temperature increase to develop the deep, crisp crust in the final stage.
- Even though the soak here is shorter than the one used for thin-cut fries, it still matters. These thicker wedges have less surface-area-to-volume ratio than thin fries, meaning proportionally less starch sits right at the surface, but removing even that smaller amount still noticeably improves the final crispness.
- Drying thoroughly is, if anything, even more important here than with thin fries, precisely because thick wedges have more surface texture — cut edges, corners, and the rounded skin side — where water can hide and go unnoticed during a quick pat-dry. Taking real time to check every surface pays off directly in the final crust.
Why This Recipe Works
This recipe works because the low-then-high temperature sequence is specifically matched to this thicker cut’s need for interior cooking time before crust development. The short soak still removes meaningful surface starch.
Thorough, careful drying — accounting for the extra creases and cut surfaces thick wedges have — prevents the steam that would otherwise soften the exterior. And genuine spacing on the baking sheet, skin-side down, ensures each wedge makes direct contact with the pan rather than trapping steam against its neighbors.
Ingredient Breakdown
Russet Potatoes, Cut Into Thick 2cm Wedges
The foundation — substantial size requiring a specifically calibrated roasting approach.
Short Soak for Surface Starch Removal
The texture-improvement step — shorter than thin-fry soaking but still meaningful given the cut’s proportions.
Low-Then-High Roasting Sequence
The defining technique — softening the interior before developing a deep, crisp exterior crust.
Skin-Side Down, Genuinely Spaced Arrangement
The crisping method — direct pan contact without trapped steam between pieces.
Flavor Structure Explained
This Thick-Cut Steak Fries follows a technique-driven balance model:
- Hearty potato core (thick-cut fries)
- Fluffy interior structure (substantial cut)
- Crisp roasted exterior (two-stage temperature roasting)
- Classic savory seasoning (garlic powder, sea salt, black pepper)
- Herbal aromatic lift (rosemary)
The potato defines the foundation with a substantial, hearty character that depends on contrast between a crisp exterior and a genuinely fluffy interior. The thick cut allows the center to stay soft and tender while the outside develops structure through staged roasting. Starting and finishing at controlled temperatures helps build deep crispness without drying out the interior. Garlic powder, coarse sea salt, and black pepper provide a straightforward savory backbone that enhances the potato rather than distracting from it. Rosemary adds a clean herbal note, giving the fries a classic steakhouse-style aroma. The result is a steak fry preparation built around texture and simplicity, where crisp edges, fluffy centers, and restrained seasoning keep the potato itself at the center.
Common Mistakes to Avoid
- Cutting Wedges Inconsistently – Produces uneven cooking despite the thick cut’s greater forgiveness compared to thin fries. Always aim for consistent 2cm width.
- Skipping the Initial Low-Temperature Stage – Risks burning the exterior before the thick interior has time to cook through. Always follow the full low-then-high sequence.
- Not Drying the Wedges Thoroughly – Thick wedges hold moisture in creases that a quick pat-dry can easily miss. Always check every surface carefully.
- Overlapping Wedges on the Baking Sheet – Traps steam and causes uneven browning. Always arrange with genuine space between pieces.
- Serving Without the Brief Rest – Skips the moment where residual steam escapes and the crust firms slightly. Always rest for the full 2 minutes before serving.
Variations
With Parmesan and Herbs
Toss the finished fries with grated Parmesan and additional fresh herbs immediately after baking.
With Cajun Spice
Replace the seasoning blend with a Cajun-style spice mix for a bolder, spicier direction.
Thin-Cut Version
For a lighter, thinner fry using a different technique better suited to thin cuts, see the Thin & Crispy Baked Potato Fries.
With Malt Vinegar
Serve with a side of malt vinegar for dipping, in the British chip-shop tradition.
Storage & Make-Ahead
Cut, soaked, and dried wedges can be prepared up to 2 hours in advance and kept covered at room temperature before oiling and roasting.
Roasted fries are best eaten immediately. Reheat them in a hot oven rather than a microwave if needed, to help restore some crispness.
Frequently Asked Questions
Why does this recipe use a low-then-high roasting temperature instead of a single consistent temperature?
Thick wedges have considerably more mass to cook through than thin fries, and a single high temperature throughout would risk burning the exterior before the substantial interior has fully softened. The initial lower-temperature stage gives the interior time to cook through gently, and only then does the temperature increase to develop a genuinely deep, crisp crust in the final stage without overcooking what’s already inside.
Why is the soaking time shorter here than for thin-cut fries?
Thick wedges have proportionally less surface area relative to their overall volume compared to thin fries, meaning there’s simply less surface starch to remove in the first place. A shorter 10-minute soak still meaningfully improves the final texture without being unnecessarily long for a cut with less surface starch to begin with.
Why is drying described as even more important for thick wedges than for thin fries?
Thick wedges have more surface texture overall — cut edges, corners, and the rounded skin side — where water can collect and hide during a quick pat-dry. Taking real time to check every surface for dampness before oiling and seasoning is what prevents soft, steamed spots on an otherwise well-executed batch.
What should I serve alongside these fries?
These fries are a natural match for a substantial steak, like the Classic Ribeye Steak or Garlic Butter Sirloin Steak, and for a lighter, thinner fry option, see the Thin & Crispy Baked Potato Fries.
Nutrition Facts
( per serving )
Calories
~270 kcal
Protein
5 g
Fat
10 g
Carbs
40 g
Calories
~270 kcal
Protein
5 g
Fat
10 g
Carbs
40 g
Related Recipes
Related Recipes

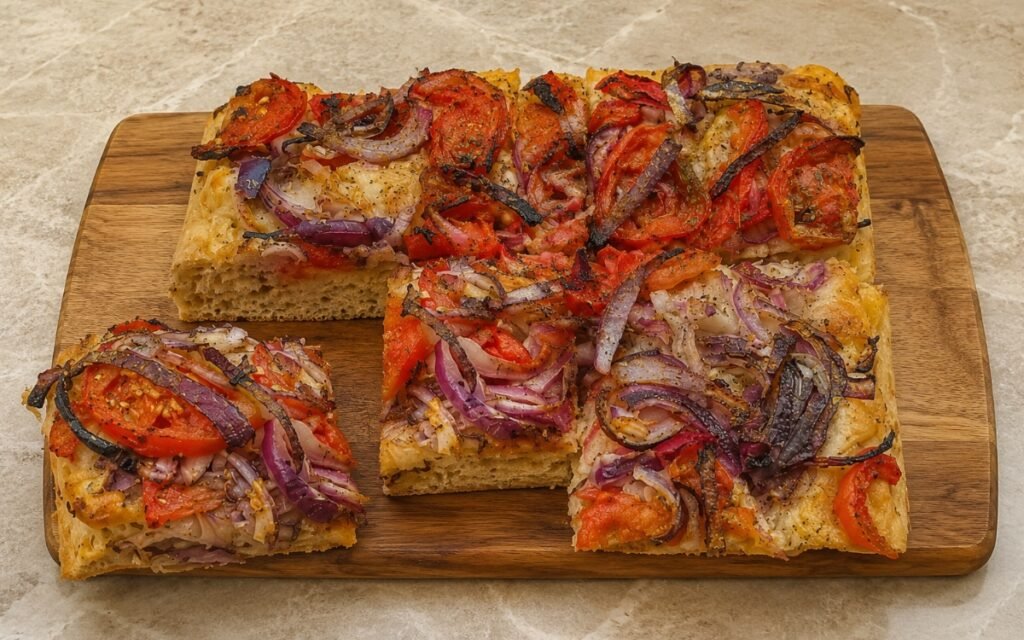
Greek Ladenia with Tomato and Red Onion
Long-fermented, focaccia-like dough baked crisp underneath and airy inside, topped generously with ripe tomato, red onion, and oregano.
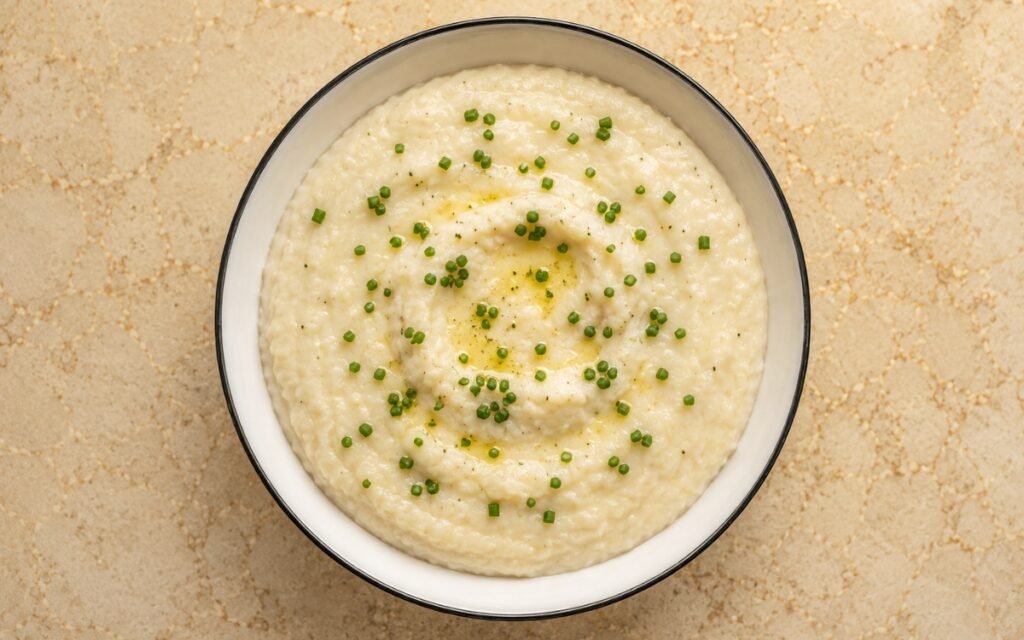
Creamy Parmesan Grits
Milk heated carefully in a heavy pan, stone-ground grits whisked in, simmered until tender, finished with butter, Parmesan, and cream. Velvety and indulgent.
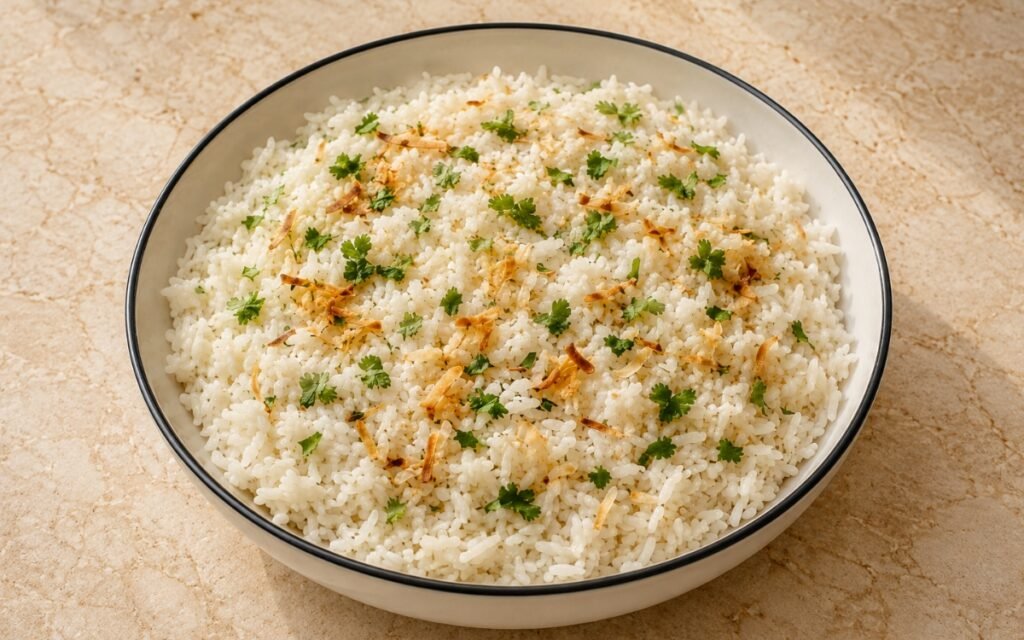
Coconut Rice
Jasmine rice rinsed thoroughly, cooked in fully whisked coconut milk over low heat, rested and fluffed, topped with toasted coconut and cilantro.
You might also like
You might also like
Lemon Peel Black Iced Tea (No Juice)
Black tea at 90–95°C for 2½–3 minutes, three strips lemon peel infused cold 4–5 minutes — honey and a pinch of salt, no juice, chilled. Crisp, aromatic, acid-free.
Blackberry Lemonade
Honey-blackberry syrup at low heat with lemon zest off heat, fresh blackberries cold-strained lightly — both combined with lemon, salt, cold water. Deep, dark-purple, and wine-adjacent.
Grapefruit Green Iced Tea (Peel-Infused)
Green tea at 75–80°C for 2–3 minutes, grapefruit peel infused cold 3–5 minutes — honey and a pinch of salt, no juice, chilled. Bold, aromatic, acid-free.



Thick-Cut Steak Fries
Ingredients
Method
- Preheat your oven to 220°C (425°F), giving it plenty of time to fully reach temperature while you prepare the potatoes. Scrub the 1000g potatoes thoroughly under running water to remove any dirt, then pat them completely dry so the skin has the best possible chance to crisp during roasting rather than staying damp and dull. Cut each potato in half lengthwise down its length, then cut each half into 3–4 wedges, aiming for a consistent width of about 2cm. Consistency in size matters here just as much as it does with thinner cuts — the goal with steak fries is a thick, substantial wedge, but that thickness still needs to be even across every piece so they all finish cooking at roughly the same time.
- Place the cut wedges in a large bowl of cold water and let them soak for 10 minutes to help draw out some of the surface starch. This soak is shorter than the longer soak used for thin-cut fries, since these thicker wedges have proportionally less surface area relative to their overall size, but it still meaningfully improves the final texture. Drain the wedges well in a colander, then pat them completely dry with kitchen towels, taking your time to check every crease and cut edge — thick wedges genuinely hold moisture in their creases in a way thin fries don’t, since there’s simply more surface texture for water to cling to. If the wedges go onto the tray even slightly damp, you’ll end up with soft, steamed edges instead of the crisp exterior this recipe is built around.
- Return the dried wedges to the bowl and drizzle over the 60ml olive oil, tossing thoroughly until every surface is evenly coated. In a small separate bowl, combine the 8g coarse sea salt, 3g black pepper, 4g garlic powder, and 2g crushed rosemary, mixing well so the seasoning blend is uniform before it touches the potatoes. Sprinkle this mixture over the oiled wedges and toss thoroughly again, making sure the seasoning distributes evenly across every piece rather than settling unevenly or falling to the bottom of the bowl and eventually just sitting on the tray instead of on the fries themselves.
- Line a large baking sheet with parchment paper. Arrange the wedges in a single layer, skin-side down, with genuine space between each piece — overlapping wedges trap steam between them and cause uneven browning, with some sides crisping while touching sides stay pale and soft. If your baking sheet is on the smaller side, it’s worth using two trays or roasting the fries in batches rather than trying to fit everything onto one crowded sheet.
- Bake for 25 minutes without disturbing the wedges at all, allowing this initial stage to soften the thick interiors while the first stage of crust begins forming on the bottom surface. Remove the tray from the oven, carefully flip each wedge individually using tongs or a thin spatula, and increase the oven temperature to 240°C (465°F). Return the fries to bake for another 15–20 minutes, watching for edges that turn deep golden and genuinely crisp, while the center stays soft — a fork should pierce through cleanly with little resistance, and the interior should look fluffy and opaque rather than translucent or waxy, which would indicate the center hasn’t fully cooked through yet.
- Remove the fries from the oven and let them rest directly on the tray for 2 minutes before serving. This brief rest lets residual steam escape from the interior and allows the crust to firm up slightly rather than softening immediately from trapped heat. Taste one and add a pinch more sea salt if needed. Serve immediately while the edges are at their absolute peak crunch, since steak fries this substantial will gradually soften as they sit and cool.