
Thin & Crispy Baked Potato Fries
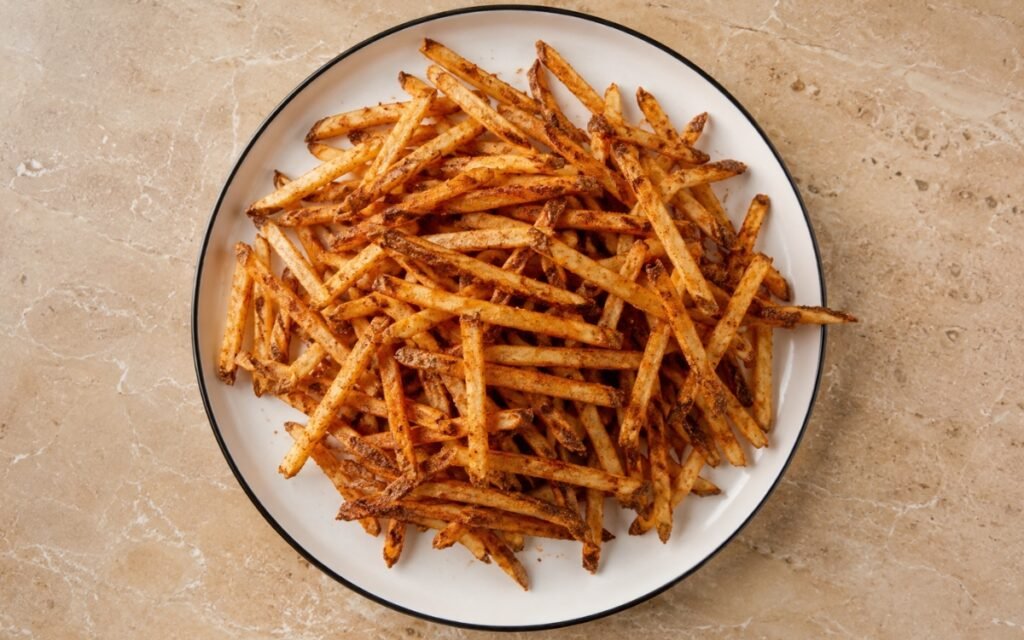
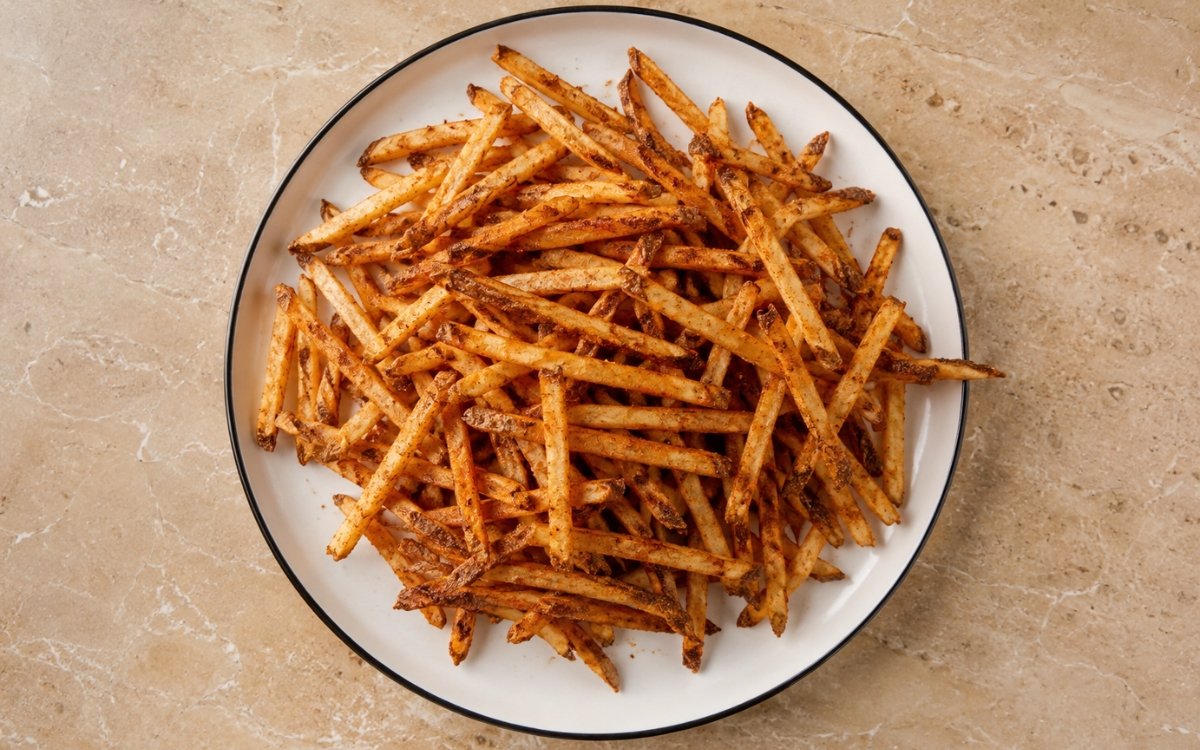
Thin & Crispy Baked Potato Fries are incredibly crispy without deep frying, thanks to a simple technique of soaking and high-heat roasting. They’re seasoned perfectly with a blend of spices and come out golden and crunchy every time. A healthier alternative that doesn’t compromise on texture or flavor. Uniform 6mm thickness is the single biggest lever for even crisping across the whole batch — fries cut inconsistently will always finish at different rates, leaving thicker pieces soft while thinner ones have already darkened past the point of good texture. The salt water soak addresses a genuinely technical problem: potato starch released onto the surface during cutting causes fries to stick together and interferes with crisping, and a 15–20 minute soak, with a swish halfway through, pulls a meaningful amount of that surface starch away before it ever reaches the oven. Thorough drying afterward is just as critical as the soak itself, since any residual moisture converts to steam in a hot oven, and steam is specifically the enemy of crisp fries regardless of how high the oven temperature runs. Spacing the fries with genuine room between each piece on the baking sheet, rather than crowding them, prevents trapped steam from turning what should be crispy fries into soft, steamed potato batons.
Prep Time : 20 min
Cook Time : 35 min
Servings : 4
20 min
35 min
4
Ingredients
For the Fries
• 800g russet potatoes
For Soaking
• 1000ml cold water
• 15g salt
For Seasoning
• 45ml olive oil — this one on Amazon
• 5g salt
• 3g garlic powder
• 3g onion powder
• 2g paprika
• 1g black pepper
This post may contain affiliate links. As an Amazon Associate I earn from qualifying purchases, at no additional cost to you.
Directions
- Cut the Potatoes
Scrub the 800g potatoes clean, keeping the skin on, and dry them thoroughly so they don’t slip while you’re cutting — a wet, slick potato on a cutting board is genuinely dangerous to work with and also makes it harder to keep your slices consistent. Slice each potato lengthwise into 6mm planks first, working with a sharp, steady knife rather than rushing, then stack those planks and cut them into 6mm fries. Uniform thickness is the main lever for even crisping in this entire recipe, more so than almost any other single variable — if some fries end up noticeably thicker than others, they’ll still be soft and underdone in the center at the exact moment the thinner fries around them have already gone dark and started to burn at the edges. Take the time to keep your cuts consistent rather than rushing through this stage; it pays off directly in the final texture. - Soak in Salt Water
Place the cut fries in a large bowl and pour over a mixture of 1000ml cold water and 15g salt, making sure the fries are fully submerged. Let them soak for 15–20 minutes, swishing the bowl once about halfway through to help release additional surface starch into the water. It’s completely normal for the water to turn visibly cloudy as this happens — that cloudiness is the starch you’re actively working to remove. Once the soaking time is up, drain the fries thoroughly in a colander, giving them a good shake to remove excess water. This step matters more than it might initially seem: reducing the surface starch on each fry is what keeps them from clumping and sticking together on the baking sheet, and it’s also part of what allows the exterior to crisp up cleanly in the oven rather than turning gummy. - Dry Thoroughly
Preheat your oven to 230°C (450°F) so it has plenty of time to fully come up to temperature while you finish preparing the fries. Spread the drained fries out across clean kitchen towels in a single layer and pat them completely dry, checking carefully for any damp spots that might have been missed — corners and the flat cut sides of each fry are especially easy to leave slightly wet if you’re moving too quickly. This drying step is genuinely non-negotiable: moisture left on the surface of the potato converts directly into steam once it hits the hot oven, and steam is the single biggest enemy of a crisp fry. It doesn’t matter how hot your oven runs or how carefully you’ve handled every other step — if the fries go into the oven even slightly damp, they will bake soft rather than crisp, full stop. - Season the Fries
Transfer the fully dried fries into a large, clean bowl and drizzle over the 45ml of olive oil. Toss thoroughly until every fry has a light, even sheen of oil across its surface — you’re aiming for a light coating, not visible pooling oil sitting at the bottom of the bowl, since excess oil actually works against crisping by essentially frying the fries in a shallow, uneven layer of fat rather than letting the oven’s dry heat do the work. In a small separate bowl, combine the 5g salt, 3g garlic powder, 3g onion powder, 2g paprika, and 1g black pepper, mixing well so the spices are evenly distributed before they ever touch the fries. Sprinkle this seasoning blend evenly over the oiled fries and toss again, making sure every piece picks up a fair share of spice rather than some fries ending up heavily coated while others are left nearly bare. - Arrange for Roasting
Line two large baking sheets with parchment paper, since parchment specifically helps prevent sticking without needing additional oil on the pan itself. Spread the seasoned fries out in a genuinely single layer across both sheets, leaving visible space between each individual piece rather than letting them touch or overlap. Crowding the fries traps the steam released during baking right at the surface of the potato, and that trapped steam is exactly what turns what should be crispy fries into soft, steamed potato pieces instead. If you only have access to one baking sheet, it’s genuinely better to bake the fries in two separate batches than to try fitting them all onto a single crowded tray — the extra time is worth the payoff in texture. - Bake Until Golden
Bake the fries for 15 minutes on the first side, then carefully flip each fry individually, or use a thin spatula to turn small groups at once if that’s faster, and rotate the two baking sheets between the oven’s racks to account for any heat variation within your oven. Return the fries to bake for another 15–20 minutes, watching for a deep golden color and listening for an audible crispness at the edges when you nudge a fry with the spatula. If the fries look pale or blond but feel dry rather than genuinely crisp, extend the baking time in small 3–5 minute increments, checking frequently rather than walking away — crispness in this recipe is a combined color-and-texture milestone, not something you can rely on a timer alone to predict, since oven performance and potato moisture content both vary. Serve the fries immediately once they’re done, while the crisp texture is at its absolute peak.
*Notes :
- Uniform 6mm cutting is worth the extra few minutes it takes to be careful, since it’s the variable that most directly determines whether the entire batch finishes evenly or whether you end up with a mix of overdone and underdone fries pulled from the same tray at the same time.
- The salt water soak is doing real, measurable work rather than serving as a purely traditional step. Releasing surface starch specifically improves the fries’ ability to crisp cleanly, and the visible cloudiness in the soaking water is direct evidence that the process is working as intended.
- Drying thoroughly after soaking is arguably the single most commonly skipped or rushed step in home fry-making, and it’s specifically the reason many home-baked fries come out soft despite a hot oven and a careful cut — any residual surface moisture undermines everything else done correctly up to that point.
Why This Recipe Works
This recipe works because uniform cutting ensures every fry cooks at the same rate. The salt water soak removes surface starch that would otherwise cause sticking and gumminess. Thorough drying eliminates the steam that is crisp fries’ single biggest enemy.
Proper oiling avoids the shallow-frying effect that excess oil would cause. And genuine spacing on the baking sheet prevents trapped steam from softening the fries during their time in the oven.
Ingredient Breakdown
Russet Potatoes, Cut to Uniform 6mm
The foundation — consistent thickness is the primary lever for even crisping.
Salt Water Soak
The starch-removal technique — reducing surface starch to prevent sticking and improve crisp texture.
Thorough Drying Before Oiling
The moisture-elimination step — the single most critical factor in whether fries crisp or steam.
Light Oil Coating and Genuine Spacing
The roasting technique — a thin, even oil layer and uncrowded arrangement, both essential for crisping in the oven.
Flavor Structure Explained
This Baked Potato Fries follows a technique-driven balance model:
- Potato core (thin-cut fries)
- Crisp golden exterior (soaking and drying)
- Simple savory seasoning (garlic powder, onion powder, paprika)
- Clean salt-and-pepper backbone (classic fry seasoning)
- Light baked finish (oven crisping)
The potato defines the foundation with a mild, earthy flavor that stays central because the ingredient list remains deliberately simple. Thin cutting creates more surface area, allowing the fries to crisp efficiently in the oven rather than staying soft or dense. Soaking removes excess surface starch, while thorough drying is essential for browning and genuine crispness. Garlic powder, onion powder, paprika, salt, and black pepper provide a classic savory seasoning base that enhances the potato without overwhelming it. Baking then develops a golden exterior with a lighter finish than deep frying. The result is a potato fry preparation built around precision and texture, where crispness, clean seasoning, and natural potato flavor remain in clear balance.
Common Mistakes to Avoid
- Cutting Fries Inconsistently – Produces uneven cooking across the batch. Always cut to a consistent 6mm thickness.
- Skipping the Salt Water Soak – Leaves excess surface starch that causes sticking and gumminess. Always soak for the full 15–20 minutes.
- Not Drying the Fries Thoroughly – Introduces steam that prevents crisping regardless of oven temperature. Always pat completely dry before oiling.
- Using Too Much Oil – Causes shallow-frying rather than proper roasting. Always aim for a light sheen, not pooling oil.
- Crowding the Baking Sheet – Traps steam and softens the fries. Always leave space between each piece, baking in batches if necessary.
Variations
With Sweet Potato
For a related baked fry preparation using a different vegetable, see the Crispy Sweet Potato Fries for a comparable side dish direction.
With Cajun Seasoning
Replace the seasoning blend with a Cajun-style spice mix for a bolder, spicier direction.
Crispy Baked Potato Fries With Parmesan
Toss the finished fries with finely grated Parmesan immediately after baking, while still hot enough to let the cheese melt slightly.
Thicker Cut Version
Increase the cut thickness to 10mm for a heartier, steak-fry-style result, extending the baking time accordingly.
Storage & Make-Ahead
Cut, soaked, and dried potatoes can be prepared up to 2 hours in advance and kept covered at room temperature before oiling and baking.
Baked fries are best eaten immediately. Reheat them in a hot oven rather than a microwave if needed, to help restore some crispness.
Frequently Asked Questions
Why is uniform thickness so important for these fries specifically?
Because this recipe relies entirely on oven heat rather than deep frying to achieve crispness, there’s less margin for error than a fryer’s more forgiving, fully submerged heat would provide. Fries cut to inconsistent thickness will always finish cooking at different rates in the oven, meaning thinner pieces risk burning while thicker ones are still soft in the center.
Why soak the fries in salt water before baking?
The soak specifically pulls surface starch off the cut potatoes and into the water, which is why the water turns visibly cloudy during the process. Less surface starch means the fries are less likely to stick together on the tray and can develop a cleaner, crisper exterior once they’re in the oven.
Why does drying matter so much if the fries were just soaked in water anyway?
Any moisture left on the surface of the potato, whether from washing, cutting, or soaking, converts to steam the moment it hits the hot oven. That steam actively works against crisping regardless of oven temperature, which is why thorough drying is treated as a non-negotiable step rather than an optional one.
What should I serve alongside these homemade fries?
These fries pair naturally with the Juicy Beef Meatballs or Pan-Seared Chicken Breast as a hearty, crispy side, and for a sweeter alternative side dish, try the Crispy Sweet Potato Fries.
Nutrition Facts
( per serving )
Calories
~210 kcal
Protein
4 g
Fat
7 g
Carbs
43 g
Calories
~210 kcal
Protein
4 g
Fat
7 g
Carbs
34 g
Related Recipes
Related Recipes

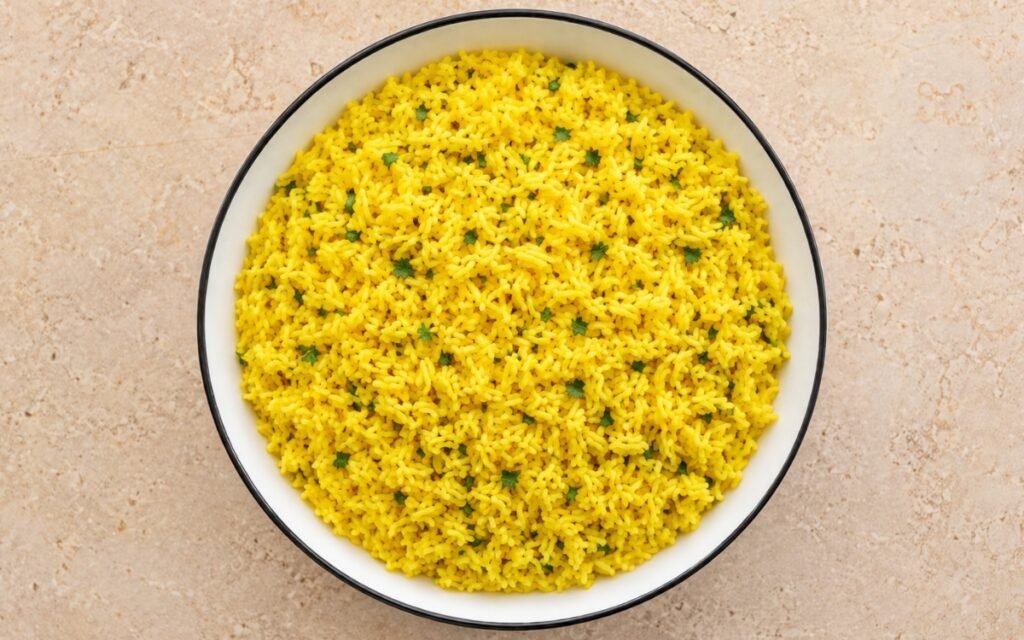
Garlic Turmeric Yellow Rice
Fluffy golden long-grain rice with garlic, bloomed turmeric and cumin, finished with melted butter and fresh parsley.
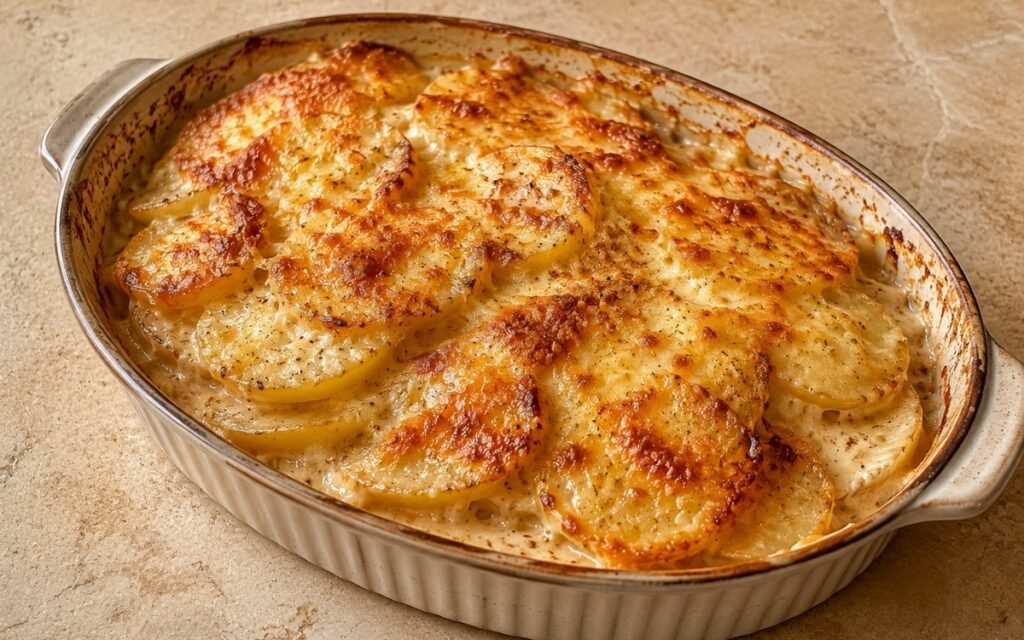
Creamy Scalloped Potatoes
Potatoes sliced evenly, layered with roux-based gruyere cream sauce, baked covered then uncovered until golden. Rested. Velvety and rich.
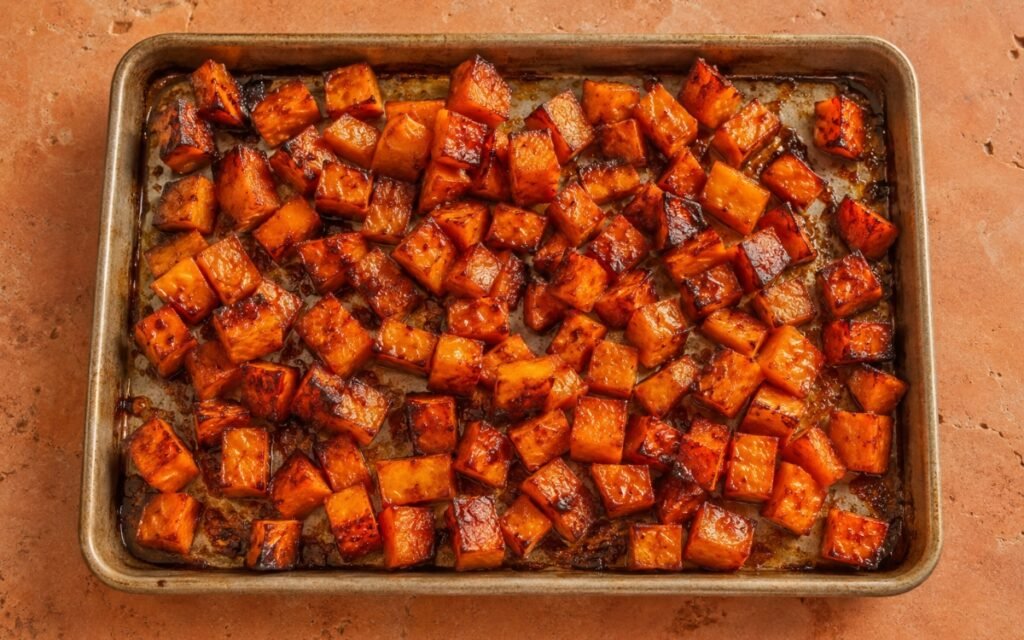
Honey Roasted Sweet Potatoes
Sweet potato cubes dried thoroughly, roasted and stirred halfway, glazed with honey only in the final stage. Sweet and caramelized.
You might also like
You might also like
Pear Ginger Sparkler Mocktail
Ripe pear with honey-rounded ginger over club soda — pale gold, delicate, and warmly elegant.
Avocado Toast with Jammy Eggs
Deeply toasted sourdough with chunky lemon-brightened smashed avocado and precisely timed jammy eggs, finished with chili flakes and herbs.
Garlic Knots
Soft, bun-size homemade garlic knots baked until golden, then coated while hot in garlicky butter with parsley and Parmesan.

Thin & Crispy Baked Potato Fries
Ingredients
Method
- Scrub the 800g potatoes clean, keeping the skin on, and dry them thoroughly so they don’t slip while you’re cutting — a wet, slick potato on a cutting board is genuinely dangerous to work with and also makes it harder to keep your slices consistent. Slice each potato lengthwise into 6mm planks first, working with a sharp, steady knife rather than rushing, then stack those planks and cut them into 6mm fries. Uniform thickness is the main lever for even crisping in this entire recipe, more so than almost any other single variable — if some fries end up noticeably thicker than others, they’ll still be soft and underdone in the center at the exact moment the thinner fries around them have already gone dark and started to burn at the edges. Take the time to keep your cuts consistent rather than rushing through this stage; it pays off directly in the final texture.
- Place the cut fries in a large bowl and pour over a mixture of 1000ml cold water and 15g salt, making sure the fries are fully submerged. Let them soak for 15–20 minutes, swishing the bowl once about halfway through to help release additional surface starch into the water. It’s completely normal for the water to turn visibly cloudy as this happens — that cloudiness is the starch you’re actively working to remove. Once the soaking time is up, drain the fries thoroughly in a colander, giving them a good shake to remove excess water. This step matters more than it might initially seem: reducing the surface starch on each fry is what keeps them from clumping and sticking together on the baking sheet, and it’s also part of what allows the exterior to crisp up cleanly in the oven rather than turning gummy.
- Preheat your oven to 230°C (450°F) so it has plenty of time to fully come up to temperature while you finish preparing the fries. Spread the drained fries out across clean kitchen towels in a single layer and pat them completely dry, checking carefully for any damp spots that might have been missed — corners and the flat cut sides of each fry are especially easy to leave slightly wet if you’re moving too quickly. This drying step is genuinely non-negotiable: moisture left on the surface of the potato converts directly into steam once it hits the hot oven, and steam is the single biggest enemy of a crisp fry. It doesn’t matter how hot your oven runs or how carefully you’ve handled every other step — if the fries go into the oven even slightly damp, they will bake soft rather than crisp, full stop.
- Transfer the fully dried fries into a large, clean bowl and drizzle over the 45ml of olive oil. Toss thoroughly until every fry has a light, even sheen of oil across its surface — you’re aiming for a light coating, not visible pooling oil sitting at the bottom of the bowl, since excess oil actually works against crisping by essentially frying the fries in a shallow, uneven layer of fat rather than letting the oven’s dry heat do the work. In a small separate bowl, combine the 5g salt, 3g garlic powder, 3g onion powder, 2g paprika, and 1g black pepper, mixing well so the spices are evenly distributed before they ever touch the fries. Sprinkle this seasoning blend evenly over the oiled fries and toss again, making sure every piece picks up a fair share of spice rather than some fries ending up heavily coated while others are left nearly bare.
- Line two large baking sheets with parchment paper, since parchment specifically helps prevent sticking without needing additional oil on the pan itself. Spread the seasoned fries out in a genuinely single layer across both sheets, leaving visible space between each individual piece rather than letting them touch or overlap. Crowding the fries traps the steam released during baking right at the surface of the potato, and that trapped steam is exactly what turns what should be crispy fries into soft, steamed potato pieces instead. If you only have access to one baking sheet, it’s genuinely better to bake the fries in two separate batches than to try fitting them all onto a single crowded tray — the extra time is worth the payoff in texture.
- Bake the fries for 15 minutes on the first side, then carefully flip each fry individually, or use a thin spatula to turn small groups at once if that’s faster, and rotate the two baking sheets between the oven’s racks to account for any heat variation within your oven. Return the fries to bake for another 15–20 minutes, watching for a deep golden color and listening for an audible crispness at the edges when you nudge a fry with the spatula. If the fries look pale or blond but feel dry rather than genuinely crisp, extend the baking time in small 3–5 minute increments, checking frequently rather than walking away — crispness in this recipe is a combined color-and-texture milestone, not something you can rely on a timer alone to predict, since oven performance and potato moisture content both vary. Serve the fries immediately once they’re done, while the crisp texture is at its absolute peak.