Ingredients
Method
Prepare the Potatoes
- Preheat your oven to 220°C (425°F), giving it plenty of time to fully reach temperature while you prepare the potatoes. Scrub the 1000g potatoes thoroughly under running water to remove any dirt, then pat them completely dry so the skin has the best possible chance to crisp during roasting rather than staying damp and dull. Cut each potato in half lengthwise down its length, then cut each half into 3–4 wedges, aiming for a consistent width of about 2cm. Consistency in size matters here just as much as it does with thinner cuts — the goal with steak fries is a thick, substantial wedge, but that thickness still needs to be even across every piece so they all finish cooking at roughly the same time.
Soak for Better Texture
- Place the cut wedges in a large bowl of cold water and let them soak for 10 minutes to help draw out some of the surface starch. This soak is shorter than the longer soak used for thin-cut fries, since these thicker wedges have proportionally less surface area relative to their overall size, but it still meaningfully improves the final texture. Drain the wedges well in a colander, then pat them completely dry with kitchen towels, taking your time to check every crease and cut edge — thick wedges genuinely hold moisture in their creases in a way thin fries don't, since there's simply more surface texture for water to cling to. If the wedges go onto the tray even slightly damp, you'll end up with soft, steamed edges instead of the crisp exterior this recipe is built around.
Season the Fries
- Return the dried wedges to the bowl and drizzle over the 60ml olive oil, tossing thoroughly until every surface is evenly coated. In a small separate bowl, combine the 8g coarse sea salt, 3g black pepper, 4g garlic powder, and 2g crushed rosemary, mixing well so the seasoning blend is uniform before it touches the potatoes. Sprinkle this mixture over the oiled wedges and toss thoroughly again, making sure the seasoning distributes evenly across every piece rather than settling unevenly or falling to the bottom of the bowl and eventually just sitting on the tray instead of on the fries themselves.
Arrange on Baking Sheet
- Line a large baking sheet with parchment paper. Arrange the wedges in a single layer, skin-side down, with genuine space between each piece — overlapping wedges trap steam between them and cause uneven browning, with some sides crisping while touching sides stay pale and soft. If your baking sheet is on the smaller side, it's worth using two trays or roasting the fries in batches rather than trying to fit everything onto one crowded sheet.
Roast Low Then High
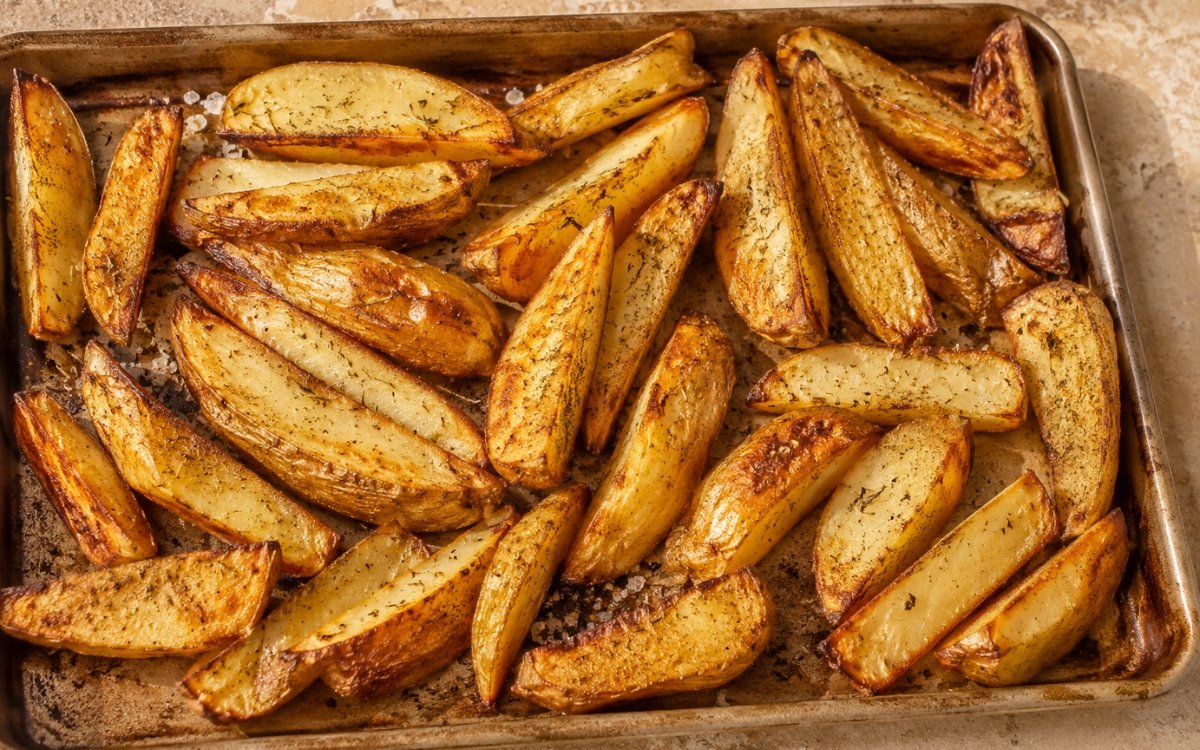
- Bake for 25 minutes without disturbing the wedges at all, allowing this initial stage to soften the thick interiors while the first stage of crust begins forming on the bottom surface. Remove the tray from the oven, carefully flip each wedge individually using tongs or a thin spatula, and increase the oven temperature to 240°C (465°F). Return the fries to bake for another 15–20 minutes, watching for edges that turn deep golden and genuinely crisp, while the center stays soft — a fork should pierce through cleanly with little resistance, and the interior should look fluffy and opaque rather than translucent or waxy, which would indicate the center hasn't fully cooked through yet.
Finish and Serve
- Remove the fries from the oven and let them rest directly on the tray for 2 minutes before serving. This brief rest lets residual steam escape from the interior and allows the crust to firm up slightly rather than softening immediately from trapped heat. Taste one and add a pinch more sea salt if needed. Serve immediately while the edges are at their absolute peak crunch, since steak fries this substantial will gradually soften as they sit and cool.
Notes
The low-then-high roasting sequence is specifically calibrated for this thicker cut in a way the single-temperature approach used for thin fries doesn't need. The initial lower-temperature stage gives the substantial interior enough time to soften and cook through without the exterior racing ahead and burning; only once that interior work is largely done does the temperature increase to develop the deep, crisp crust in the final stage.
Even though the soak here is shorter than the one used for thin-cut fries, it still matters. These thicker wedges have less surface-area-to-volume ratio than thin fries, meaning proportionally less starch sits right at the surface, but removing even that smaller amount still noticeably improves the final crispness.
Drying thoroughly is, if anything, even more important here than with thin fries, precisely because thick wedges have more surface texture — cut edges, corners, and the rounded skin side — where water can hide and go unnoticed during a quick pat-dry. Taking real time to check every surface pays off directly in the final crust.