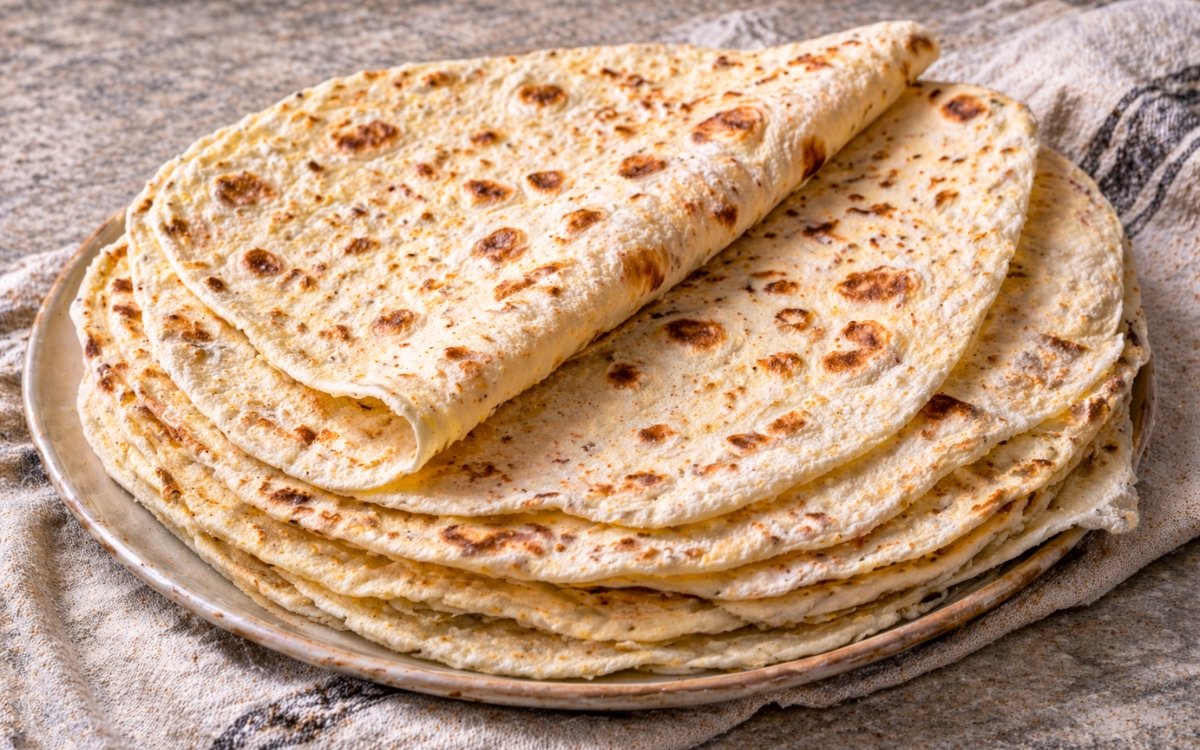
Homemade Lavash (Flatbread)
Soft, thin, pillowy lavash made from scratch in under two hours of total time. Enriched with warm milk and oil, rolled thin, and cooked on a dry, hot pan until blistered with golden spots — then stacked and covered immediately so every piece stays pliable and soft. This is the flatbread that wraps around everything: kebabs, koftas, grilled meats, and every sauce and salad that belongs alongside them. Straightforward to make, immediately rewarding, and dramatically better than anything from a packet.

Prep Time : 20 min
Cook Time : 15 min
Servings : 8
20 min
15 min
8
Ingredients
For The Homemade Lavash
• 400g all-purpose flour — this one on Amazon
• 7g fine sea salt
• 10g sugar
• 5g instant dry yeast
• 40g neutral oil
• 120g warm milk, 24–27°C
• 120g warm water, 24–27°C
This post may contain affiliate links. As an Amazon Associate I earn from qualifying purchases, at no additional cost to you.
Directions
- Combine the Dry Ingredients and Mix the Dough
In a large bowl, combine the all-purpose flour, fine sea salt, sugar, and instant dry yeast. Stir briefly to distribute all four dry ingredients evenly before the liquid is added — uniform distribution at this stage ensures the yeast and salt are not in direct, concentrated contact in any single area of the dough, which would slow the yeast’s activity where the concentration was highest. Add the warm milk, warm water, and neutral oil to the dry mixture. The temperature of both liquids — 24–27°C, comfortably warm to the touch but not hot — is important: too cold and the instant yeast activates more slowly; too hot and the yeast’s cell membranes are damaged and activity is impaired. The combination of warm milk and warm water produces an enriched dough with more flavour and a softer crumb than water alone would provide. The milk’s fat and protein contribute to a more tender, more pliable final texture. The oil coats the developing gluten strands during mixing, contributing to the soft, slightly yielding texture that makes lavash excellent as a wrap. Mix with your hand or a wooden spoon until a rough, cohesive dough forms with no dry flour remaining at the bottom of the bowl. - Knead Until Smooth
Transfer the rough dough to a clean work surface and knead for 6–8 minutes using firm, rhythmic strokes — push the dough away from you with the heel of your hand, fold it back over itself, rotate a quarter turn, and repeat. The dough will feel slightly tacky and soft at the start. As the gluten network develops through kneading, it will become progressively smoother, more elastic, and more cohesive. The finished dough should feel supple — soft and yielding when pressed without being sticky, elastic enough to spring back slightly when poked, and smooth on the surface with no rough patches. If the dough is too dry and tears when stretched, add a very small splash of water and knead it in. If it sticks significantly to the counter and your hands, dust very lightly with flour — a small amount only, as excess flour at the kneading stage changes the recipe’s hydration. The gluten network developed during these 6–8 minutes is what allows the lavash to be rolled thin without tearing and to remain flexible after cooking rather than becoming rigid and brittle. - First Rise
Shape the kneaded dough into a smooth ball and transfer to a lightly oiled bowl. Turn the dough once to coat all surfaces in a thin film of oil, which prevents the surface from drying out during the rise. Cover the bowl with plastic wrap or a damp kitchen towel and allow to rise at room temperature for 60–90 minutes. The dough does not need to fully double — lavash dough benefits from a more moderate rise of approximately 50–70% volume increase rather than the full doubling required by some yeasted breads. The rise introduces CO2 into the dough structure and develops the yeasty, slightly fermented flavour depth that distinguishes a yeasted flatbread from an unleavened one, while the enrichment from the milk and oil produces a softer, more pliable dough than a lean yeasted dough would provide. - Divide and Ball
Turn the risen dough out onto a lightly floured surface. Divide into 8 equal portions — each approximately 95–100g. Weigh them if possible for consistent results: unequal portions produce lavash of different thicknesses when rolled to the same target diameter. Roll each portion into a tight, smooth ball by cupping your hand over the dough and rolling in a circular motion with slight downward pressure, developing surface tension on the outside of each ball. Surface smoothness in the ball produces a clean, even surface in the rolled lavash — a rough or cracked ball surface will produce corresponding irregularities in the finished flatbread. Place all the balls on a lightly floured surface or tray, cover with a damp cloth or plastic wrap, and allow to rest for 10–15 minutes. - Rest the Balls
The 10–15 minute rest after balling is specifically for gluten relaxation. The rolling and shaping of each ball has tensioned and tightened the gluten network, creating a dough that will spring back aggressively when rolled and resist thinning. After 10–15 minutes at room temperature, the gluten has relaxed to a more extensible state — the dough can be rolled to the target thinness without contracting back toward its original shape. Attempting to roll immediately after balling produces lavash that shrinks back to a smaller diameter than intended and bakes out thicker and less pliable than the recipe is designed to produce. - Roll the Lavash
On a lightly floured surface, working with one ball at a time and keeping the others covered, roll each ball into a thin, even round approximately 25cm (10 inches) in diameter. Apply even, consistent pressure from the centre outward and rotate the dough a quarter turn after every few passes of the rolling pin to maintain a round rather than oval shape. The target thickness is approximately 2–3mm — thin enough to blister and cook quickly in the pan, soft and pliable after cooking, but not so paper-thin that it tears during rolling or becomes too fragile to handle as a wrap. A slightly uneven shape with irregular edges is characteristic of handmade lavash and not a flaw — the imperfect edges and slight variation in thickness are what distinguish a handmade flatbread from a machine-produced one. - Cook on a Dry, Hot Surface
Heat a large cast iron skillet, flat griddle, or heavy-bottomed pan over medium-high heat until genuinely hot. No oil — the dry surface is essential for developing the characteristic blistered, golden-spotted surface that distinguishes lavash from a fried flatbread. Carefully lay one rolled lavash flat on the hot, dry surface. Cook the first side for 30–45 seconds — the bottom surface should develop irregular golden-brown blisters where the dough’s surface starch is caramelising from direct contact with the hot pan, and the top surface will show small bubbles forming as the steam from the dough’s interior expands during cooking. These bubbles are correct — they indicate the gluten structure is working properly and the dough is at the right hydration. Flip with a thin spatula or tongs and cook the second side for 30–45 seconds. The second side will develop its own pattern of golden spots, typically slightly lighter and more irregular than the first side. The total cooking time of approximately 60–90 seconds produces a soft, pliable lavash. A lavash cooked significantly beyond this becomes progressively drier, crisper, and more cracker-like — a different product with different uses. For soft lavash that wraps without cracking, remove from the heat while it is still clearly soft and pliable. - Stack, Cover, and Steam
Transfer each cooked lavash directly from the pan to a towel-lined plate or a clean kitchen towel laid flat. Fold the towel over the lavash and add each subsequent piece on top, always re-covering the stack. The stack and cover technique creates the steam environment that keeps every lavash soft and pliable as they cool. The residual heat from the freshly cooked lavash nearest the bottom produces steam that circulates within the covered stack, preventing the surface of any piece from drying out. A lavash left uncovered for even a few minutes after cooking will begin to firm at the surface and eventually crack when bent. Always cover immediately. Serve the stack warm to the table alongside the proteins, salads, and sauces it was built to accompany.
*Notes :
- Lavash is one of the oldest flatbreads in the world, with origins in the South Caucasus and Western Asia — Armenia, Azerbaijan, Iran, and Turkey all claim it as a significant part of their culinary heritage, and UNESCO recognised Armenian lavash as an Intangible Cultural Heritage in 2014. Traditional lavash is baked in a tandoor (tonir in Armenian) — a clay oven sunk into the ground — which produces a dramatically thin, crispy version quite different from the soft, pliable pan-cooked lavash of this recipe. The soft version is the more widely used daily preparation — thin enough to wrap around kebabs and grilled meats, pliable enough to fold without cracking, and neutral enough to complement everything it accompanies.
- The milk in this recipe is the primary ingredient that distinguishes this soft lavash from a simpler water-only flatbread. Milk’s casein proteins interact with the gluten network during mixing and kneading, producing a more tender, more extensible dough. The lactose in the milk contributes to Maillard browning during cooking — the golden spots develop more readily and more evenly on a milk-enriched dough than on a water-only one. If dairy-free lavash is needed, replace the milk with an equal weight of additional water or plant-based milk — the texture will be slightly less tender but still excellent.
- Sugar in a flatbread dough serves two functions beyond sweetness. First, it feeds the yeast during the rise, contributing to a more active fermentation and better dough structure. Second, it contributes to the golden browning during cooking — the Maillard reaction between the sugar and the dough’s proteins produces the characteristic golden-brown blisters more readily than an unsweetened dough. At 10g for 400g of flour, the sugar contribution to flavour is negligible — the lavash does not taste sweet.
Why This Recipe Works
This recipe works because it applies the three principles of a soft, enriched flatbread: milk and oil for tenderness and pliability; moderate yeast fermentation for flavour depth without excessive rise; and a dry, hot pan at the correct temperature that produces blistering and browning in under 90 seconds before the lavash has time to dry out.
The stacking and covering technique after cooking preserves the pliability through the steam environment of the covered stack. Every ingredient and technique decision serves the same goal: a flatbread that is soft, flexible, slightly golden, and genuinely better with every grilled meat and aromatic sauce it accompanies.
Ingredient Breakdown
All-Purpose Flour
The structural base — moderate protein content produces a gluten network that is strong enough to hold the rolled lavash intact but tender enough to remain pliable after cooking.
Instant Dry Yeast
The leavening agent — contributes the CO2 and fermentation byproducts that give the lavash its depth of flavour and its characteristic bubbling and blistering during cooking.
Warm Milk
The primary enriching liquid — casein proteins produce a more tender, more extensible dough; lactose contributes to browning; fat contributes to softness.
Neutral Oil
Additional fat that coats the developing gluten strands during mixing, contributing to the soft, pliable texture and preventing the lavash from becoming tough.
Sugar
Yeast food and browning agent — contributes to an active rise and the characteristic golden blisters during cooking without adding any detectable sweetness.
Salt
Flavour and gluten structure — strengthens the gluten network and seasons the dough throughout.
Flavor Structure Explained
This flatbreads follow a layered balance model:
- Mild wheaty base (flour)
- Subtle yeast character (fermentation)
- Gentle dairy warmth (milk)
- Lightly charred notes (pan contact)
- Neutral carrier profile (overall balance)
Flour establishes a soft, mildly wheaty foundation that defines the bread’s restrained character. Fermentation adds a faint yeasty depth, giving more complexity than unleavened dough without becoming pronounced. Milk introduces a subtle dairy warmth that rounds the profile. Direct heat creates small charred blisters, adding light caramelised contrast. The overall structure stays intentionally minimal — enough flavor to be pleasant on its own, but controlled so it supports rather than competes with fillings.
Common Mistakes to Avoid
- Rolling Too Thick – Lavash thicker than 3mm takes longer to cook and becomes tough and chewy rather than soft and pliable. Roll to the thinnest even thickness you can manage without tearing.
- Over-cooking – More than 90 seconds total cooking time at correct heat produces a drier, crisper lavash that cracks when wrapped. Remove while clearly still soft.
- Not Covering Immediately After Cooking – Uncovered lavash loses pliability within minutes. Always stack under a cloth immediately.
- Cooking on Insufficient Heat – A pan that is not hot enough produces pale, dry, tough lavash without any blistering. The pan must be genuinely hot before the first lavash goes on.
- Skipping the Ball Rest – Unrested dough balls spring back aggressively when rolled and cannot be thinned to the correct thickness. Allow the full 10–15 minutes of gluten relaxation.
Variations
Sesame Seeded Lavash
Brush the top surface of each rolled lavash lightly with water and scatter white or black sesame seeds evenly across the surface before placing in the pan, seed-side down first. The seeds toast in the dry pan heat during the first 30-second cook, adhering to the lavash surface and adding nutty depth and visual appeal.
Za’atar Lavash
Mix 2 tbsp of za’atar seasoning with 2 tbsp of olive oil. Brush the warm cooked lavash lightly with the za’atar oil immediately after removing from the pan — the residual heat of the lavash opens the herb and sesame aromatic compounds in the za’atar. Particularly well-suited to serving with Middle Eastern dips and grilled meats.
Crispy Lavash Chips
Roll the lavash slightly thinner than normal and cook until just beginning to firm at the edges — approximately 2 minutes per side. Cut or break into irregular pieces and bake at 190°C on a tray for 5–8 minutes until completely crisp. Serve with dips, hummus, or alongside soups.
Garlic and Herb Lavash
Add 5g of garlic powder and 3g of dried oregano to the flour with the other dry ingredients. The garlic and oregano distribute through the dough during kneading and toast slightly during cooking, producing a warmly aromatic lavash suited to Mediterranean applications.
Storage & Make-Ahead
Cooked lavash can be stacked in a sealed zip-top bag and kept at room temperature for up to 2 days or refrigerated for up to 4 days. To reheat it, warm each piece briefly in a dry skillet for 15 to 20 seconds per side, or wrap the stack in foil and heat it in a 160°C oven for about 8 minutes.
Lavash can also be frozen for up to 2 months. Place parchment paper between each piece before freezing so they do not stick together, then store them in a sealed bag. When ready to use, thaw it at room temperature for about 15 minutes or warm it directly from frozen in a dry skillet for 30 to 45 seconds per side.
The uncooked dough can be wrapped tightly in plastic and refrigerated for up to 24 hours before rolling and cooking. As it rests in the refrigerator, it will continue to ferment slowly and develop a slightly deeper flavor. Before rolling, let it come to room temperature for about 20 minutes.
Frequently Asked Questions
What is lavash?
Lavash is a thin, soft flatbread originating in the South Caucasus and Western Asia, consumed widely across Armenia, Azerbaijan, Iran, Turkey, and surrounding regions. It ranges from paper-thin and crispy (the traditional tandoor-baked version) to soft and pliable (the pan-cooked version in this recipe). The soft version is used as a wrap for grilled meats, kebabs, and an enormous range of Middle Eastern and Mediterranean applications.
Do I need a tortilla press for lavash?
No — lavash is always rolled with a rolling pin rather than pressed. A tortilla press does not produce the right shape or thickness for lavash.
Why does my lavash crack when I wrap it?
Either the lavash was over-cooked (reduce the cooking time), or it was not covered immediately after cooking (always stack under a cloth). Both produce the same result — dried-out lavash that is too stiff to fold. In either case, reheating briefly in a dry skillet restores some pliability.
What should I serve lavash with?
Lavash is at its best as a wrap for grilled and spiced meats. It pairs specifically and naturally with Greek Chicken Souvlaki, Beef Kofta Skewers, and the Sumac Onions Salad tucked inside alongside a generous spoonful of Tahini Lemon Sauce. The combination of grilled spiced meat, tangy sumac onion, and creamy tahini wrapped in warm lavash is the complete Middle Eastern flatbread experience — each component was built to work with the others.
Can I make these dairy-free?
Yes — replace the warm milk with an equal weight of warm water, or use a plant-based milk. The texture will be marginally less tender and the golden blistering slightly less pronounced, but the result is still an excellent flatbread.
Nutrition Facts
( per serving )
Calories
~220 kcal
Protein
6 g
Fat
6 g
Carbs
36 g
Calories
~220 kcal
Protein
6 g
Fat
6 g
Carbs
36 g
Related Recipes
Related Recipes

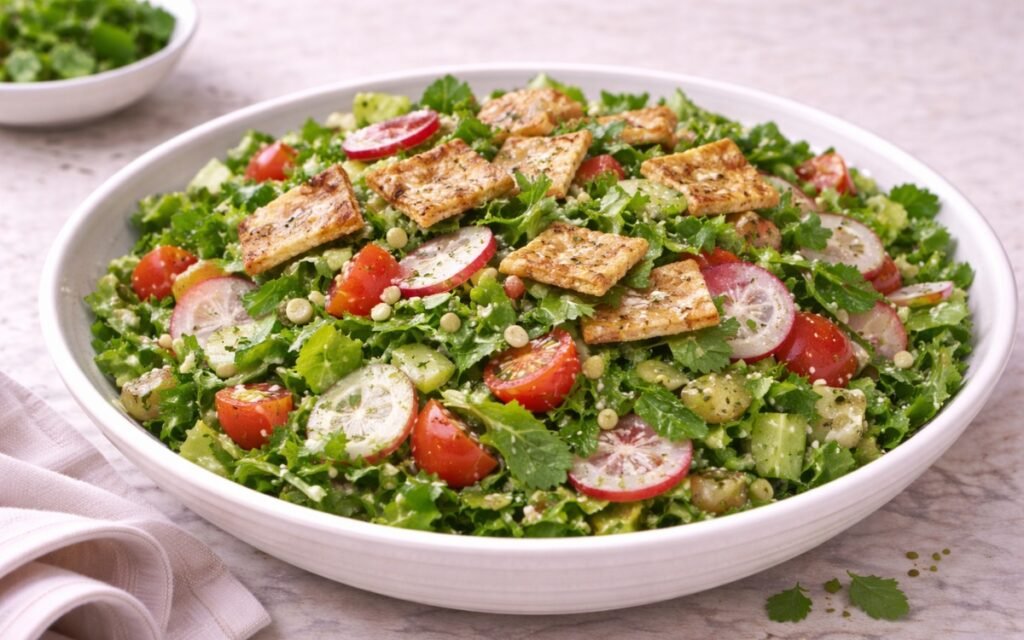
Lebanese Fattoush Salad
Crispy pita bread salad with fresh vegetables, herbs, and tangy sumac pomegranate dressing.
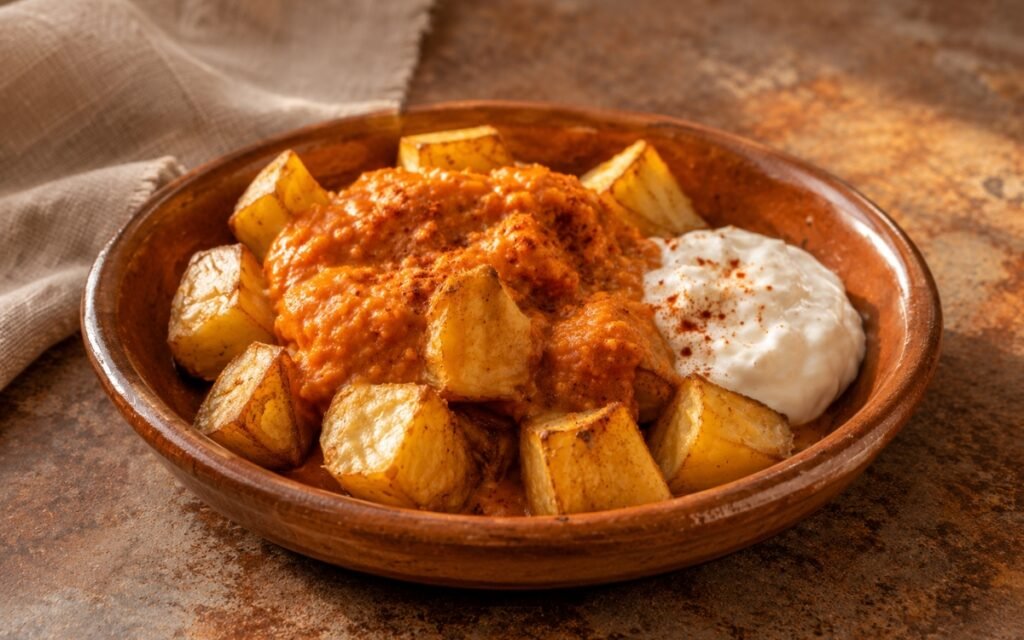
Patatas Bravas with Mayonnaise-Style Aioli
Parboiled potatoes shaken for rough edges and roasted shatteringly crispy — bravas sauce with dual paprika and sherry vinegar added at the end, creamy garlic aioli alongside. The Spanish tapas combination.
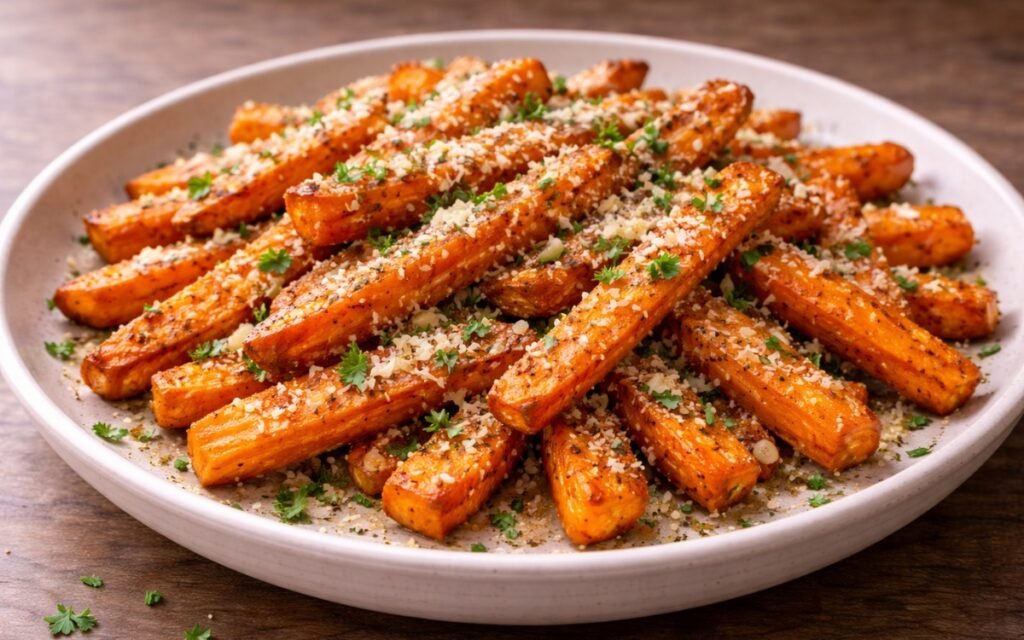
Garlic Parmesan Carrot Fries
Crispy roasted carrot fries with garlic and Parmesan cheese—a healthier, flavorful alternative.
You might also like
You might also like
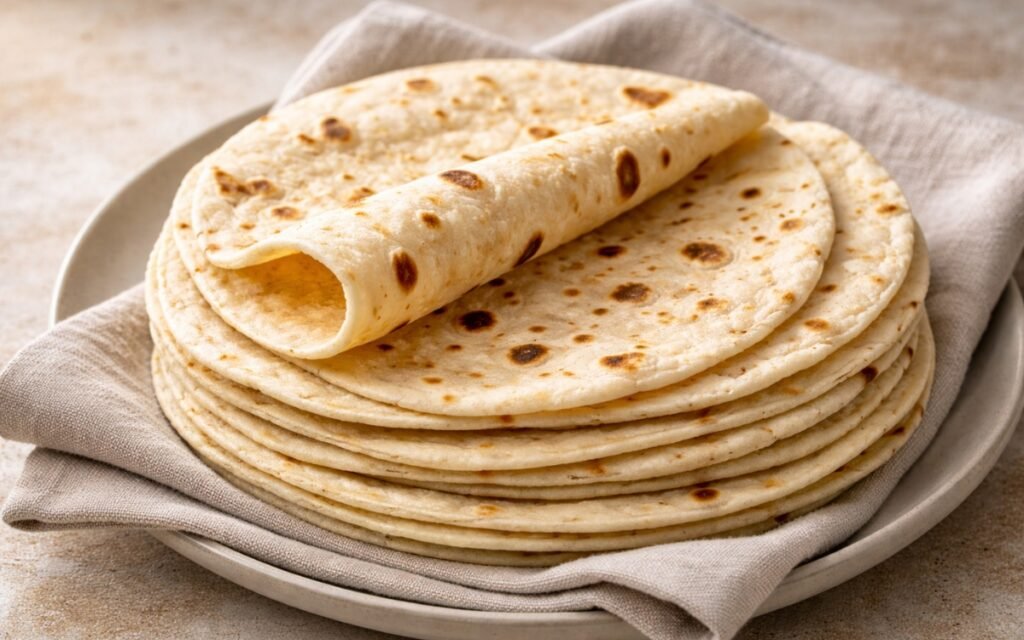
Homemade Wheat Tortillas
Fat worked into flour, baking powder for softness, honey for moisture — soft, pliable wheat tortillas ready in 60 minutes for tacos, burritos, and everything in between.
Brioche Burger Buns
Butter, egg, and milk enriched brioche buns with a deep golden egg-washed finish — soft, tender, and the bun that makes every burger and fried chicken sandwich worth making from scratch.
Roasted Garlic Hummus
Five garlic cloves roasted in foil until soft and golden, blended into the classic chickpea-tahini base — sweet, mellow, and deeply complex without a trace of raw garlic sharpness.
Homemade Lavash (Flatbread)
Ingredients
Method
- In a large bowl, combine the all-purpose flour, fine sea salt, sugar, and instant dry yeast. Stir briefly to distribute all four dry ingredients evenly before the liquid is added — uniform distribution at this stage ensures the yeast and salt are not in direct, concentrated contact in any single area of the dough, which would slow the yeast’s activity where the concentration was highest. Add the warm milk, warm water, and neutral oil to the dry mixture. The temperature of both liquids — 24–27°C, comfortably warm to the touch but not hot — is important: too cold and the instant yeast activates more slowly; too hot and the yeast’s cell membranes are damaged and activity is impaired. The combination of warm milk and warm water produces an enriched dough with more flavour and a softer crumb than water alone would provide. The milk’s fat and protein contribute to a more tender, more pliable final texture. The oil coats the developing gluten strands during mixing, contributing to the soft, slightly yielding texture that makes lavash excellent as a wrap. Mix with your hand or a wooden spoon until a rough, cohesive dough forms with no dry flour remaining at the bottom of the bowl.
- Transfer the rough dough to a clean work surface and knead for 6–8 minutes using firm, rhythmic strokes — push the dough away from you with the heel of your hand, fold it back over itself, rotate a quarter turn, and repeat. The dough will feel slightly tacky and soft at the start. As the gluten network develops through kneading, it will become progressively smoother, more elastic, and more cohesive. The finished dough should feel supple — soft and yielding when pressed without being sticky, elastic enough to spring back slightly when poked, and smooth on the surface with no rough patches. If the dough is too dry and tears when stretched, add a very small splash of water and knead it in. If it sticks significantly to the counter and your hands, dust very lightly with flour — a small amount only, as excess flour at the kneading stage changes the recipe’s hydration. The gluten network developed during these 6–8 minutes is what allows the lavash to be rolled thin without tearing and to remain flexible after cooking rather than becoming rigid and brittle.
- Shape the kneaded dough into a smooth ball and transfer to a lightly oiled bowl. Turn the dough once to coat all surfaces in a thin film of oil, which prevents the surface from drying out during the rise. Cover the bowl with plastic wrap or a damp kitchen towel and allow to rise at room temperature for 60–90 minutes. The dough does not need to fully double — lavash dough benefits from a more moderate rise of approximately 50–70% volume increase rather than the full doubling required by some yeasted breads. The rise introduces CO2 into the dough structure and develops the yeasty, slightly fermented flavour depth that distinguishes a yeasted flatbread from an unleavened one, while the enrichment from the milk and oil produces a softer, more pliable dough than a lean yeasted dough would provide.
- Turn the risen dough out onto a lightly floured surface. Divide into 8 equal portions — each approximately 95–100g. Weigh them if possible for consistent results: unequal portions produce lavash of different thicknesses when rolled to the same target diameter. Roll each portion into a tight, smooth ball by cupping your hand over the dough and rolling in a circular motion with slight downward pressure, developing surface tension on the outside of each ball. Surface smoothness in the ball produces a clean, even surface in the rolled lavash — a rough or cracked ball surface will produce corresponding irregularities in the finished flatbread. Place all the balls on a lightly floured surface or tray, cover with a damp cloth or plastic wrap, and allow to rest for 10–15 minutes.
- The 10–15 minute rest after balling is specifically for gluten relaxation. The rolling and shaping of each ball has tensioned and tightened the gluten network, creating a dough that will spring back aggressively when rolled and resist thinning. After 10–15 minutes at room temperature, the gluten has relaxed to a more extensible state — the dough can be rolled to the target thinness without contracting back toward its original shape. Attempting to roll immediately after balling produces lavash that shrinks back to a smaller diameter than intended and bakes out thicker and less pliable than the recipe is designed to produce.
- On a lightly floured surface, working with one ball at a time and keeping the others covered, roll each ball into a thin, even round approximately 25cm (10 inches) in diameter. Apply even, consistent pressure from the centre outward and rotate the dough a quarter turn after every few passes of the rolling pin to maintain a round rather than oval shape. The target thickness is approximately 2–3mm — thin enough to blister and cook quickly in the pan, soft and pliable after cooking, but not so paper-thin that it tears during rolling or becomes too fragile to handle as a wrap. A slightly uneven shape with irregular edges is characteristic of handmade lavash and not a flaw — the imperfect edges and slight variation in thickness are what distinguish a handmade flatbread from a machine-produced one.
- Heat a large cast iron skillet, flat griddle, or heavy-bottomed pan over medium-high heat until genuinely hot. No oil — the dry surface is essential for developing the characteristic blistered, golden-spotted surface that distinguishes lavash from a fried flatbread. Carefully lay one rolled lavash flat on the hot, dry surface. Cook the first side for 30–45 seconds — the bottom surface should develop irregular golden-brown blisters where the dough’s surface starch is caramelising from direct contact with the hot pan, and the top surface will show small bubbles forming as the steam from the dough’s interior expands during cooking. These bubbles are correct — they indicate the gluten structure is working properly and the dough is at the right hydration. Flip with a thin spatula or tongs and cook the second side for 30–45 seconds. The second side will develop its own pattern of golden spots, typically slightly lighter and more irregular than the first side. The total cooking time of approximately 60–90 seconds produces a soft, pliable lavash. A lavash cooked significantly beyond this becomes progressively drier, crisper, and more cracker-like — a different product with different uses. For soft lavash that wraps without cracking, remove from the heat while it is still clearly soft and pliable.
- Transfer each cooked lavash directly from the pan to a towel-lined plate or a clean kitchen towel laid flat. Fold the towel over the lavash and add each subsequent piece on top, always re-covering the stack. The stack and cover technique creates the steam environment that keeps every lavash soft and pliable as they cool. The residual heat from the freshly cooked lavash nearest the bottom produces steam that circulates within the covered stack, preventing the surface of any piece from drying out. A lavash left uncovered for even a few minutes after cooking will begin to firm at the surface and eventually crack when bent. Always cover immediately. Serve the stack warm to the table alongside the proteins, salads, and sauces it was built to accompany.