
Katsu Curry — Japanese Pork Cutlet Curry
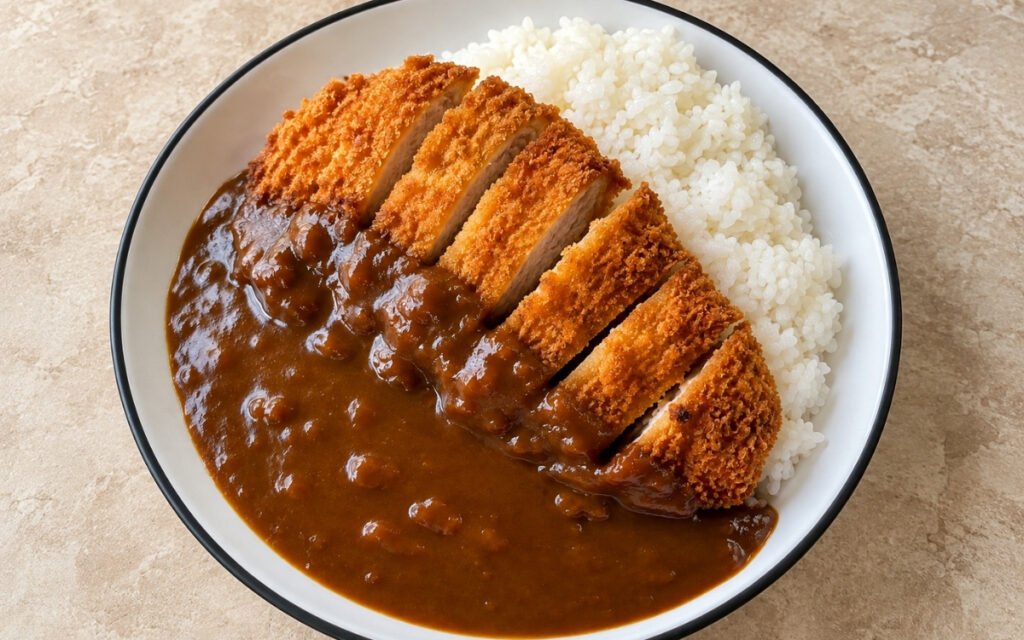
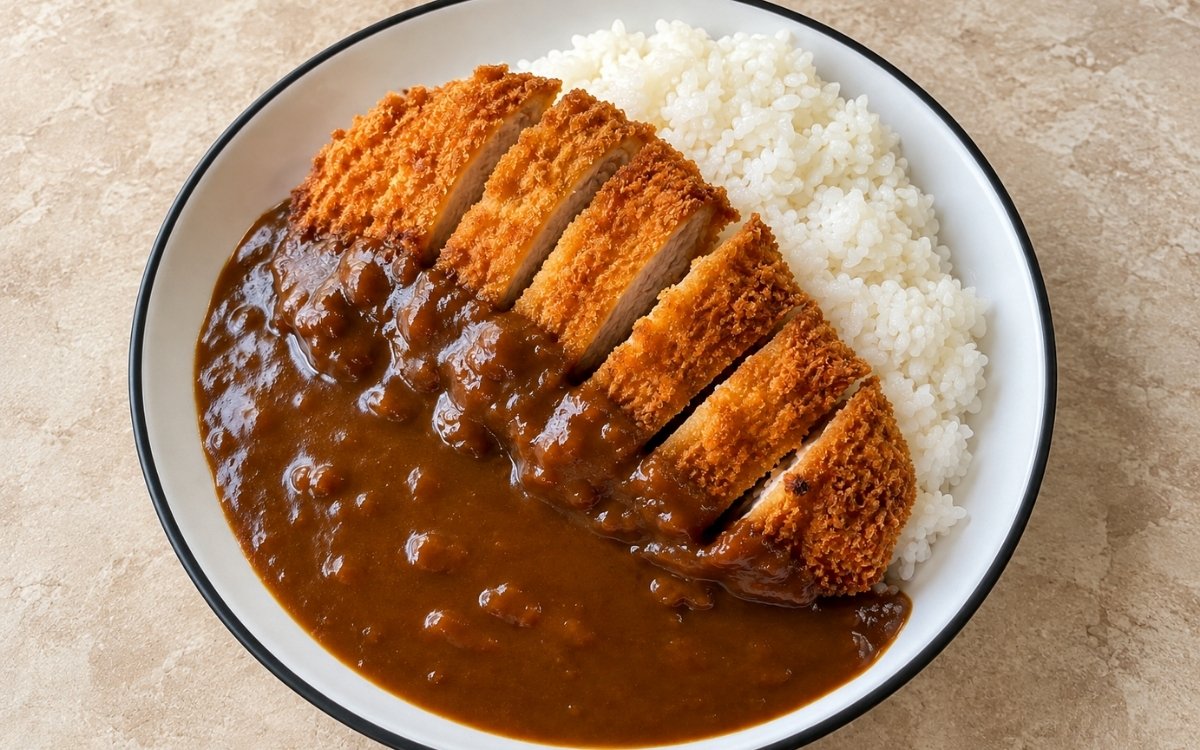
Japanese-style pork katsu curry with crisp golden panko-breaded pork cutlets, fluffy white rice, and a thick glossy dark-brown curry sauce, the katsu staying audibly crisp while the curry is smooth, savory-sweet, and rich enough to pool generously beside the rice and sliced pork. Cooking the onions and carrots slowly until genuinely softened and lightly sweet, rather than rushing them, is the technique this whole curry depends on for real body and mellow flavour — vegetables added still raw to the roux would leave the sauce tasting sharp rather than rounded, the same slow-soften-the-base principle used elsewhere in this collection whenever a sauce’s own final depth depends on a genuinely patient early stage rather than a shortcut. Resting the breaded pork cutlets before they ever meet the hot oil is what lets the coating actually adhere, protecting it from blowing off during frying. Maintaining the correct 170–175°C oil temperature throughout is what delivers a crust that fries crisp and dry rather than greasy. The payoff is a plate with real, classic Japanese contrast — an audibly crisp, golden cutlet sliced over fluffy rice, pooled generously with a thick, glossy, savory-sweet curry sauce.
Prep Time : 35 min
Cook Time : 45 min
Servings : 4
35 min
45 min
4
Ingredients
For the Rice
• 300g Japanese short-grain rice or other white rice
• Water, as needed for cooking
For the Pork Katsu
• 4 boneless pork loin cutlets or pork chops, about 200g each
• Salt, to season
• Black pepper, to season
• 70g all-purpose flour
• 3 large eggs
• 180–220g panko breadcrumbs — this one on Amazon
• Neutral oil, for deep or shallow frying
For the Japanese Curry Sauce
• 2 tbsp neutral oil
• 2 medium onions, finely diced
• 2 medium carrots, finely diced
• 2 garlic cloves, finely grated
• 15g fresh ginger, finely grated
• 1 medium apple, peeled and finely grated
• 40g unsalted butter — this one on Amazon
• 40g all-purpose flour — this one on Amazon
• 2 to 2½ tbsp Japanese curry powder — this one on Amazon
• 700ml chicken stock
• 1 tbsp soy sauce
• 1 tbsp Worcestershire sauce — this one on Amazon
• 1 to 2 tsp ketchup
• 1 tsp honey or sugar
• 1 small bay leaf, optional
• Salt, as needed
• Black pepper, as needed
This post may contain affiliate links. As an Amazon Associate I earn from qualifying purchases, at no additional cost to you.
Directions
- Cook the Rice
Rinse the rice until the water runs mostly clear. Cook according to the rice type used. For Japanese rice, after rinsing, let it soak in fresh water for 20–30 minutes before cooking if time allows. Cook, then rest covered for 10 minutes and fluff gently. The rice should be fully cooked and fluffy, not wet or mushy. Since the curry is very saucy, overly soft rice will collapse on the plate. That thorough resting period after cooking is what makes the finished rice easy to fluff into distinct, sturdy grains capable of actually holding their own shape beneath a generous ladle of curry. - Start the Curry Base
Heat the oil in a saucepan or deep sauté pan over medium heat. Add the onions and carrots. Cook slowly for 12–15 minutes, stirring often, until softened and beginning to take on light golden color. Add the garlic and ginger and cook for 30–60 seconds. Add the grated apple and cook for 2 minutes more. The onions should be well softened and lightly sweet, not raw. This is what gives the curry body and mellow flavor. That genuinely patient, slow cooking is what actually breaks the onions down into real sweetness — vegetables rushed through this stage would carry a raw, sharp edge straight into the finished sauce. - Make the Curry Roux
Push the vegetables to the side if needed and add the butter. Once melted, stir in the flour. Cook for 1–2 minutes, stirring constantly. Add the curry powder and cook for 30 seconds, just until fragrant. Gradually add the stock in several additions, stirring well after each one so no lumps form. Add soy sauce, Worcestershire sauce, ketchup, honey or sugar, and bay leaf if using. Bring to a simmer, then reduce the heat and cook gently for 20–25 minutes, stirring occasionally, until thick, glossy, and smooth. Taste and adjust with salt and pepper. The curry should be thick enough to coat a spoon and pool slowly on the plate. If too thin, simmer longer. If too thick, loosen with a little extra stock or water. Adding the stock gradually, in several additions rather than all at once, is what lets the roux’s own starch hydrate smoothly at each step, protecting the finished sauce from turning lumpy. - Prep the Pork
While the curry simmers, pat the pork dry. If there is a fat strip on the edge, make a few small cuts through it to prevent curling during frying. Pound lightly if needed so the cutlets are evenly thick, around 1.5cm. Season both sides with salt and black pepper. Even thickness matters. Thin spots overcook before the thicker center is ready. That deliberate, even thickness is what lets the whole cutlet reach the same doneness together, rather than the thinner edges drying out while a thicker centre lags behind. - Bread the Cutlets
Set up three bowls: flour; beaten eggs; panko breadcrumbs. Dredge each cutlet in flour, shaking off excess. Dip into egg, then press firmly into panko so the crumbs adhere well on all sides. Set the breaded cutlets on a tray and let them rest for 10–15 minutes before frying. Resting the breaded pork helps the coating adhere better and reduces blow-off in the oil. That brief resting period lets the egg wash begin genuinely binding the breadcrumb coating to the cutlet beneath it, before the whole piece faces the sudden shock of hot oil. - Fry the Pork Katsu
Heat neutral oil to 170–175°C. Fry the cutlets, one or two at a time depending on pan size, for about 3–4 minutes per side, until deeply golden and crisp and the internal temperature reaches about 63–65°C. Transfer to a rack or paper-lined tray and rest for 3–5 minutes. Do not overcrowd the pan or the oil temperature will drop and the crust will absorb oil. The coating should fry crisp and dry, not greasy. Maintaining that specific, steady oil temperature protects the katsu from both directions at once — too cool lets the coating soak up excess oil before it ever crisps, while too hot darkens the crust well before the pork’s own centre has finished cooking through. - Finish the Curry
Remove the bay leaf. If you want a smoother restaurant-style curry, blend partially or fully, then return to the pan. Otherwise leave it slightly textured. Hold warm over very low heat. The curry often tastes even better after a short hold. A 5–10 minute rest on low heat helps the flavors round out. That brief holding period gives the sauce’s own many components — vegetables, roux, seasonings — genuine additional time to meld together into one cohesive flavour rather than reading as separate, distinct notes. - Slice and Plate
Slice each katsu into thick strips. Plate each serving with about 75g uncooked-rice equivalent, cooked, 1 sliced pork katsu cutlet, and a generous ladle of curry sauce pooled beside and partly over the katsu. Serve immediately while the katsu is still crisp. Ladle the curry mainly to one side so part of the crust stays exposed and crunchy, as in classic katsu curry plating. That deliberate placement, covering only part of the cutlet, is exactly what protects at least a portion of the katsu’s own hard-earned crispness from softening under the curry’s own moisture before it’s even served.
*Notes :
- Cooking the onions and carrots slowly, until genuinely softened and lightly sweet, deserves genuine recognition as the technique most directly responsible for this curry’s whole rounded, mellow flavour. The recipe’s own explicit framing — “this is what gives the curry body and mellow flavor” — reflects real understanding that vegetables rushed through this stage would carry a raw, sharp edge straight into the finished sauce, undermining the depth patient cooking builds here.
- Resting the breaded pork cutlets before they ever meet the hot oil deserves the same attention this technique receives throughout this collection’s other breaded, fried proteins. That brief window lets the egg wash begin genuinely binding the crumb coating to the meat beneath it, directly reducing the real risk of the crust blowing off once the cutlet hits genuinely hot oil.
- Maintaining the specific 170–175°C oil temperature throughout frying deserves genuine respect as the detail responsible for the katsu’s whole defining texture. The recipe’s own explicit warning that lower temperatures produce greasy katsu while higher ones brown the crust before the pork cooks through reflects real, narrow margins this particular frying stage depends on getting right.
- Ladling the curry deliberately to one side of the plate, rather than pouring it generously over the entire cutlet, deserves attention as a real, functional plating choice central to this dish’s classic presentation. That specific placement protects at least a portion of the katsu’s own hard-earned crispness from softening under the sauce’s moisture before the first bite is even taken.
Why This Recipe Works
This recipe works because the onions and carrots are cooked genuinely slowly, building real sweetness and body into the curry base. The roux is built carefully, with stock added gradually to avoid lumps, and simmered until thick and glossy.
The pork is pounded to an even thickness, letting it cook through uniformly, and rested after breading so the coating actually adheres.
Maintaining the correct oil temperature throughout frying protects the crust from both greasiness and premature browning, and plating the curry to one side keeps part of that hard-won crispness exposed right through to serving.
Ingredient Breakdown
Slowly Softened Onions and Carrots
The critical technique — genuine patience builds real sweetness and body, protecting against a raw, sharp-tasting sauce.
Gradually Hydrated Roux
The critical technique — stock added in stages prevents lumps and produces a smooth, glossy curry.
Evenly Pounded Pork Cutlets
The critical technique — consistent thickness lets the whole piece cook through at the same rate.
Rested Breaded Cutlets
The critical technique — a brief pause lets the coating adhere properly before frying, reducing blow-off.
Maintained 170–175°C Frying Temperature
The critical technique — protects the crust from both excess oil absorption and premature browning.
One-Sided Curry Plating
The finishing technique — keeps part of the crisp crust exposed rather than fully softened under sauce.
Flavor Structure Explained
This katsu curry follows a layered balance model:
- Crisp, golden foundation (properly fried, evenly pounded pork katsu)
- Fluffy, sturdy base (well-drained, properly cooked rice)
- Sweet, mellow depth (slowly cooked onions, carrots, grated apple)
- Savoury-sweet body (curry roux, soy sauce, Worcestershire, ketchup)
- Rich, glossy finish (thickened, rested curry sauce)
Properly fried, evenly pounded pork katsu provides this plate’s crisp, genuinely golden foundation. Fluffy, well-cooked rice offers a sturdy base capable of holding the generous curry poured beside it. Slowly cooked onions, carrots, and grated apple build sweet, mellow depth into the curry itself. Soy sauce, Worcestershire, and ketchup layer in classic savoury-sweet body throughout the roux. A final, rested simmer thickens the curry into a rich, glossy sauce that ties the whole plate together, pooling generously beside the sliced pork.
Common Mistakes to Avoid
- Rushing the Onions and Carrots – This leaves the curry tasting raw and sharp rather than rounded. Always cook them slowly until genuinely softened and lightly sweet.
- Adding the Stock All at Once – This risks a lumpy roux. Always add it gradually, in several additions, stirring well after each.
- Skipping the Rest After Breading the Pork – This makes the coating more likely to blow off during frying. Always let it rest for 10 to 15 minutes first.
- Overcrowding the Frying Pan – This drops the oil temperature and produces greasy katsu. Always fry one or two cutlets at a time.
- Pouring Curry Over the Entire Cutlet – This softens the whole crust before serving. Always ladle it mainly to one side.
Variations
Smoother Curry Version
Blend the finished curry partially or fully, per the recipe’s own suggestion, for a smoother, more restaurant-style sauce rather than the slightly textured base version.
Make-Ahead Curry Version
Prepare the curry sauce a day ahead and reheat it gently, per the recipe’s own guidance, frying the katsu fresh at serving time for the best possible crust.
Coarse Panko Version
Use genuinely coarse Japanese panko rather than fine breadcrumbs, per the recipe’s own note, for the airy, spiky crust texture classic katsu presentation depends on.
Extra-Sweet Curry Version
Increase the grated apple slightly, per the recipe’s own note on it being a classic technique, for a more pronounced, rounded sweetness throughout the sauce.
Storage & Make-Ahead
Boneless pork loin is genuinely the most classic cut for tonkatsu-style katsu curry, giving a juicy interior with a clean, defined slice once fried and cut into strips.
Use coarse Japanese panko rather than fine breadcrumbs, since that specific texture is what gives the katsu its characteristic airy, spiky crust rather than a denser, more compact coating.
Stay within the 170 to 175°C oil temperature range throughout frying, since lower temperatures produce greasy katsu while higher ones brown the crust before the pork has actually cooked through.
Grated apple is a classic trick in Japanese curry, helping build the rounded, slightly sweet flavour this style is known for, and the dark-brown glossy colour comes from well-cooked onions, curry powder, Worcestershire, soy sauce, and proper simmering together.
The curry sauce can genuinely be made a day ahead and reheated gently, but fry the katsu fresh for the best crust, and aim for a final plate that contrasts crisp crust, juicy pork, fluffy rice, and thick, silky curry all together.
Frequently Asked Questions
Why do the onions and carrots need to cook so slowly before the curry roux is built?
That genuine patience is what breaks the vegetables down into real sweetness, giving the curry its whole body and mellow flavour. Rushed vegetables would carry a raw, sharp edge straight into the finished sauce.
Why does the stock need to be added gradually rather than all at once?
Adding it in several additions, stirring well after each, lets the roux’s own starch hydrate smoothly at each stage. A single large addition risks the sauce turning lumpy rather than staying smooth and glossy.
Why does the breaded pork need to rest before it’s fried?
That brief resting period lets the egg wash begin genuinely binding the breadcrumb coating to the meat beneath it, directly reducing the risk of the crust blowing off once the cutlet meets the hot oil.
Why does the curry get ladled to one side of the plate rather than over the whole cutlet?
That specific placement protects at least a portion of the katsu’s own hard-earned crispness from softening under the sauce’s moisture, keeping part of the crust exposed and crunchy right through to the first bite.
Are there other classic Japanese fried, dumpling, or side dishes worth trying?
Karaage offers another classic Japanese fried dish worth exploring. Pork Gyoza Dumplings and Japanese Cucumber Salad (Sunomono) are also worth trying for other classic Japanese directions, and Italian Fried Chicken Cutlets and Coconut Rice offer other satisfying breaded cutlet and rice pairings worth exploring.
Nutrition Facts
( per serving )
Calories
~920 kcal
Protein
44 g
Fat
40 g
Carbs
96 g
Calories
~920 kcal
Protein
44 g
Fat
40 g
Carbs
96 g
Related Recipes
Related Recipes

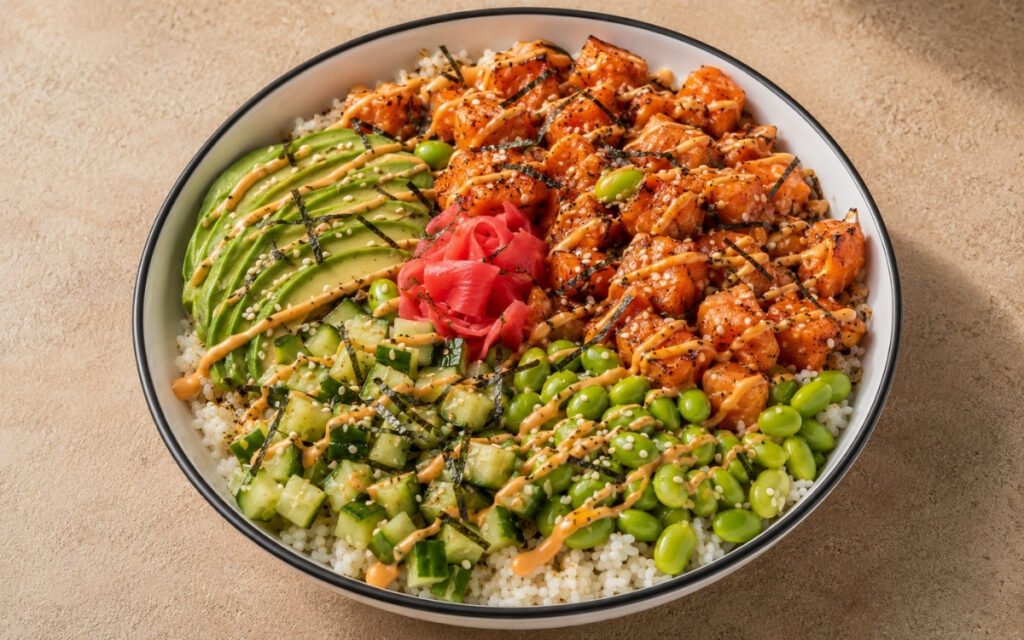
Spicy Salmon Sushi Bowl
Soy-honey marinated salmon seared 90 seconds for caramelised medium-rare — over seasoned sushi rice with spicy Kewpie mayo, avocado, edamame, nori, and pickled ginger. 45 minutes.
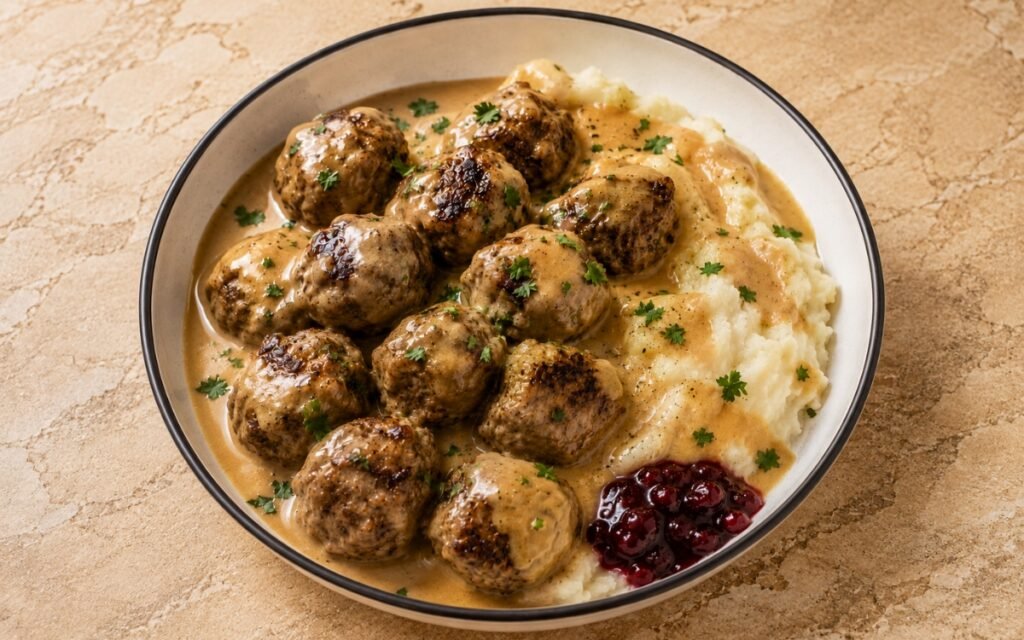
Swedish Meatballs
Tender panade-enriched beef and pork meatballs, gently spiced with allspice and nutmeg, in a creamy brown gravy over mashed potatoes.
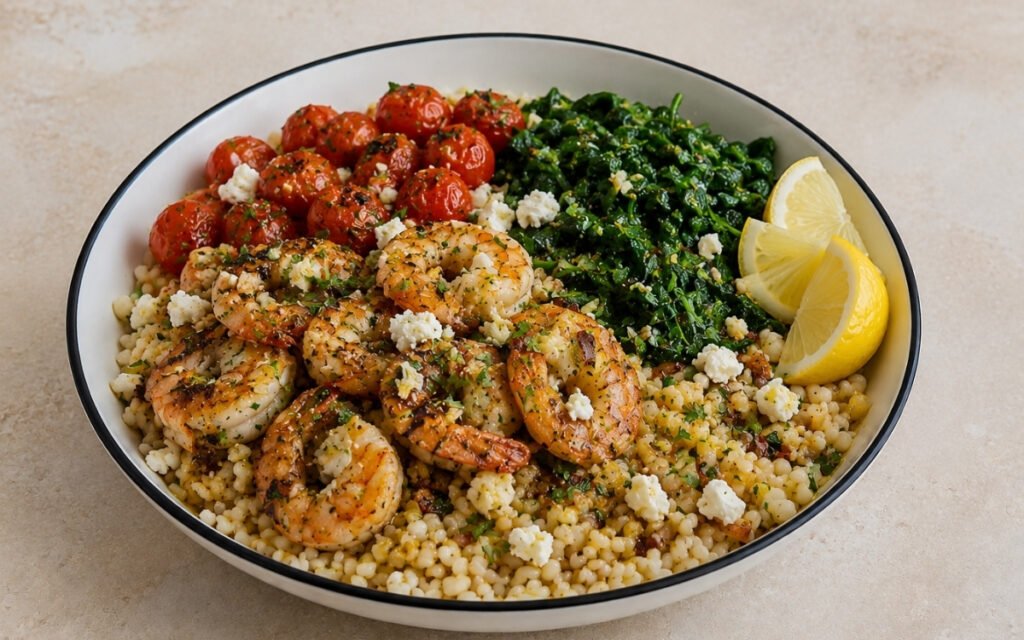
Lemon Garlic Shrimp Couscous Bowl
Garlic-lemon shrimp seared golden over pearl couscous with blistered cherry tomatoes, garlic-wilted spinach, lemon-herb dressing, and feta. Mediterranean, 35 minutes.
You might also like
You might also like
Pepperoni Pizza
Golden blistered crust, seasoned tomato sauce, bubbling low-moisture mozzarella, and crisp curled pepperoni cups with rendered fat.
Beef Stroganoff
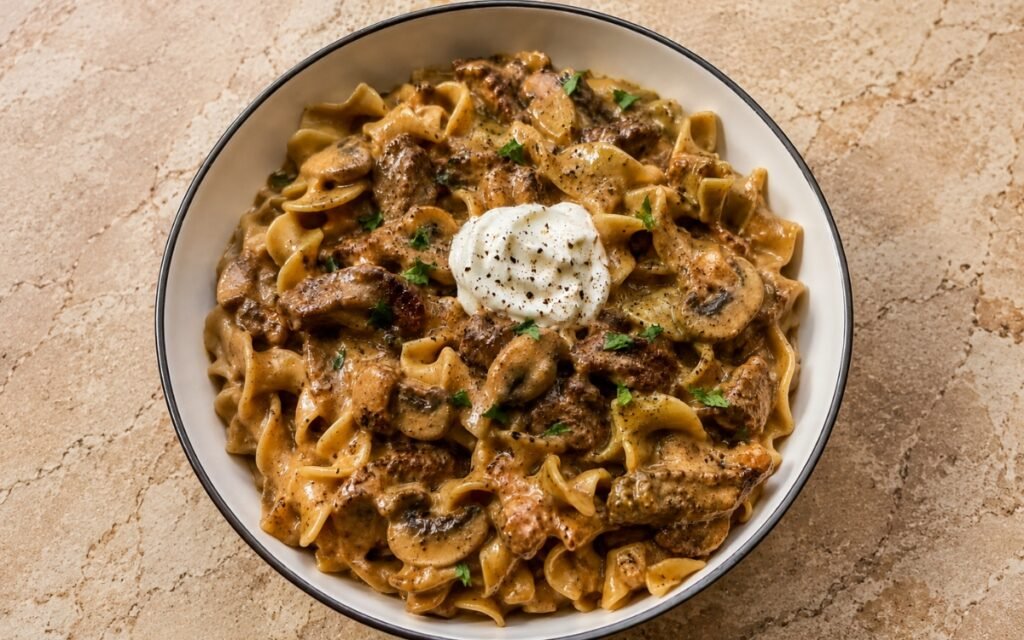
Tender seared beef, properly browned mushrooms, and a rich, glossy sour cream sauce over buttery egg noodles.
Cuban Bistec Empanizado
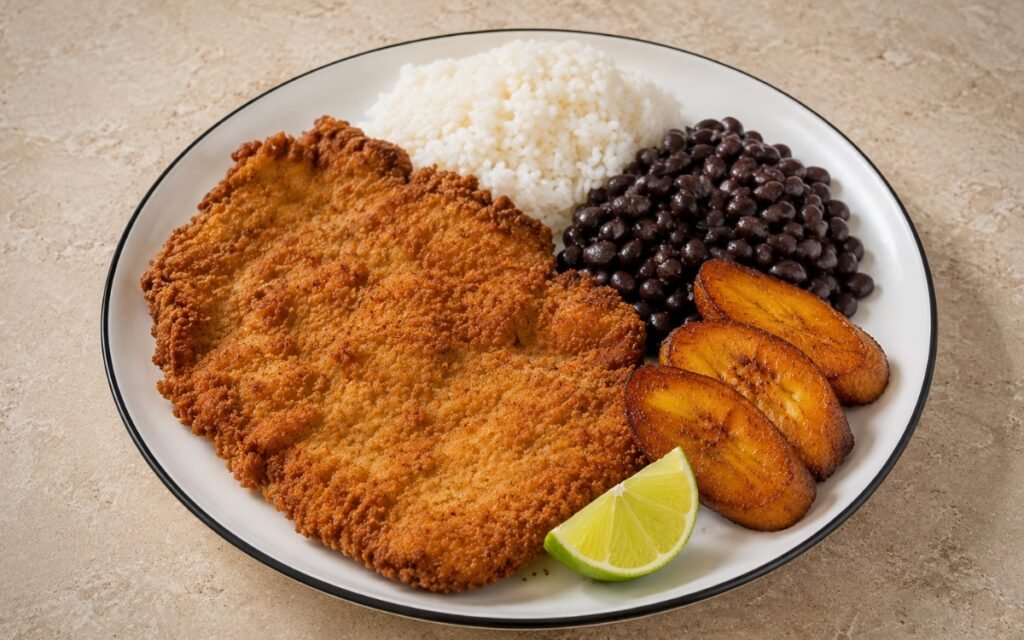
Thin, breaded, and fried beef cutlets marinated with garlic and citrus, served with fluffy white rice, black beans, and sweet fried plantains.

Katsu Curry — Japanese Pork Cutlet Curry
Ingredients
Method
- Rinse the rice until the water runs mostly clear. Cook according to the rice type used. For Japanese rice, after rinsing, let it soak in fresh water for 20–30 minutes before cooking if time allows. Cook, then rest covered for 10 minutes and fluff gently. The rice should be fully cooked and fluffy, not wet or mushy. Since the curry is very saucy, overly soft rice will collapse on the plate. That thorough resting period after cooking is what makes the finished rice easy to fluff into distinct, sturdy grains capable of actually holding their own shape beneath a generous ladle of curry.
- Heat the oil in a saucepan or deep sauté pan over medium heat. Add the onions and carrots. Cook slowly for 12–15 minutes, stirring often, until softened and beginning to take on light golden color. Add the garlic and ginger and cook for 30–60 seconds. Add the grated apple and cook for 2 minutes more. The onions should be well softened and lightly sweet, not raw. This is what gives the curry body and mellow flavor. That genuinely patient, slow cooking is what actually breaks the onions down into real sweetness — vegetables rushed through this stage would carry a raw, sharp edge straight into the finished sauce.
- Push the vegetables to the side if needed and add the butter. Once melted, stir in the flour. Cook for 1–2 minutes, stirring constantly. Add the curry powder and cook for 30 seconds, just until fragrant. Gradually add the stock in several additions, stirring well after each one so no lumps form. Add soy sauce, Worcestershire sauce, ketchup, honey or sugar, and bay leaf if using. Bring to a simmer, then reduce the heat and cook gently for 20–25 minutes, stirring occasionally, until thick, glossy, and smooth. Taste and adjust with salt and pepper. The curry should be thick enough to coat a spoon and pool slowly on the plate. If too thin, simmer longer. If too thick, loosen with a little extra stock or water. Adding the stock gradually, in several additions rather than all at once, is what lets the roux’s own starch hydrate smoothly at each step, protecting the finished sauce from turning lumpy.
- While the curry simmers, pat the pork dry. If there is a fat strip on the edge, make a few small cuts through it to prevent curling during frying. Pound lightly if needed so the cutlets are evenly thick, around 1.5cm. Season both sides with salt and black pepper. Even thickness matters. Thin spots overcook before the thicker center is ready. That deliberate, even thickness is what lets the whole cutlet reach the same doneness together, rather than the thinner edges drying out while a thicker centre lags behind.
- Set up three bowls: flour; beaten eggs; panko breadcrumbs. Dredge each cutlet in flour, shaking off excess. Dip into egg, then press firmly into panko so the crumbs adhere well on all sides. Set the breaded cutlets on a tray and let them rest for 10–15 minutes before frying. Resting the breaded pork helps the coating adhere better and reduces blow-off in the oil. That brief resting period lets the egg wash begin genuinely binding the breadcrumb coating to the cutlet beneath it, before the whole piece faces the sudden shock of hot oil.
- Heat neutral oil to 170–175°C. Fry the cutlets, one or two at a time depending on pan size, for about 3–4 minutes per side, until deeply golden and crisp and the internal temperature reaches about 63–65°C. Transfer to a rack or paper-lined tray and rest for 3–5 minutes. Do not overcrowd the pan or the oil temperature will drop and the crust will absorb oil. The coating should fry crisp and dry, not greasy. Maintaining that specific, steady oil temperature protects the katsu from both directions at once — too cool lets the coating soak up excess oil before it ever crisps, while too hot darkens the crust well before the pork’s own centre has finished cooking through.
- Remove the bay leaf. If you want a smoother restaurant-style curry, blend partially or fully, then return to the pan. Otherwise leave it slightly textured. Hold warm over very low heat. The curry often tastes even better after a short hold. A 5–10 minute rest on low heat helps the flavors round out. That brief holding period gives the sauce’s own many components — vegetables, roux, seasonings — genuine additional time to meld together into one cohesive flavour rather than reading as separate, distinct notes.
- Slice each katsu into thick strips. Plate each serving with about 75g uncooked-rice equivalent, cooked, 1 sliced pork katsu cutlet, and a generous ladle of curry sauce pooled beside and partly over the katsu. Serve immediately while the katsu is still crisp. Ladle the curry mainly to one side so part of the crust stays exposed and crunchy, as in classic katsu curry plating. That deliberate placement, covering only part of the cutlet, is exactly what protects at least a portion of the katsu’s own hard-earned crispness from softening under the curry’s own moisture before it’s even served.