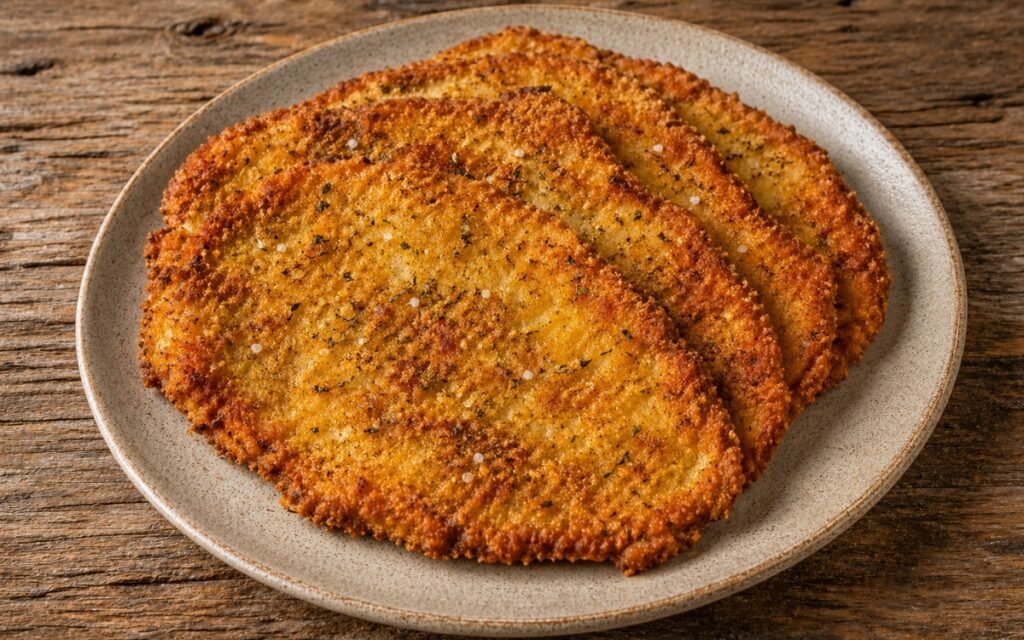
Italian Fried Chicken Cutlets
Thin, golden-crusted chicken cutlets with a Parmesan-spiked, oregano-scented breadcrumb crust that shatters on the first bite and gives way to juicy, evenly cooked chicken. The butterflied and pounded breast, the three-station breading, and the correct oil temperature are the three technique decisions that separate a genuinely excellent cutlet from a pale, greasy, or dry one. Ready in 35 minutes, served with nothing more than a squeeze of fresh lemon — the weeknight dinner that never loses its appeal.
Prep Time : 20 min
Cook Time : 15 min
Servings : 4
20 min
15 min
4
Ingredients
For The Chicken Cutlets
• 900g boneless, skinless chicken breasts, about 4 medium
• 100g all-purpose flour
• 8g fine sea salt — this one on Amazon
• Freshly ground black pepper
• 3 large eggs
• 150g Italian-style breadcrumbs — this one on Amazon
• 50g grated Parmesan cheese — this one on Amazon
• 3g dried oregano
• Vegetable oil, for frying — approximately 100ml per batch
• Lemon wedges, for serving
This post may contain affiliate links. As an Amazon Associate I earn from qualifying purchases, at no additional cost to you.
Directions
- Butterfly and Pound the Chicken Breasts
Working with one breast at a time, place it flat on the cutting board with your palm pressed firmly on top to stabilise it. Using a sharp knife held parallel to the cutting board, slice horizontally through the thickest part of the breast from one side almost all the way through — stopping approximately 1cm before cutting completely through. Open the breast like a book so it lies flat as a single, wider, thinner piece. If the thickness is still greater than 1cm at any point, place the opened breast between two sheets of plastic wrap or inside a zip-lock bag and pound with a meat mallet, rolling pin, or the bottom of a heavy pan using firm, even strokes from the centre outward. The target is a uniform thickness of just under 1cm throughout the entire cutlet — no thick sections at the centre and no thin, torn sections at the edges. Uniform thickness is the single most important preparation step in this recipe because it determines the uniformity of the cooking: a cutlet with a 1.5cm centre and 0.5cm edges will have dry, over-cooked thin edges and undercooked thick centres when the surface has reached the correct golden colour. Consistency in thickness means every part of the cutlet reaches 74°C at the same moment the crust reaches its ideal colour. Repeat with all four breasts, producing 4 large, thin, even cutlets. - Set Up the Breading Station
Arrange three shallow dishes or wide bowls in a line before you begin — the three-stage breading system must be set up completely before any breading begins, because once the first cutlet has started the process it should move through all three stages continuously without pausing. In the first dish, combine the all-purpose flour, 8g of fine sea salt, and several grinds of black pepper. Stir to distribute the seasoning evenly through the flour. In the second dish, crack the three eggs and beat until the yolks and whites are completely uniform with no streaks of unincorporated white remaining — unblended egg produces uneven coating adhesion. In the third dish, combine the Italian-style breadcrumbs, finely grated Parmesan, dried oregano, and an additional small pinch of salt and black pepper. Mix thoroughly to distribute the Parmesan and oregano evenly throughout the breadcrumbs. The Parmesan adds saltiness, nuttiness, and browning — its protein content contributes to Maillard reaction development during frying. The oregano adds the aromatic, slightly earthy herbal note that makes these specifically Italian-style cutlets rather than a generic breaded preparation. Arrange the dishes in flour — egg — breadcrumb order. - Bread the Cutlets Without Delay
Working with one cutlet at a time, proceed through the three stations in sequence without pausing between them. Place the cutlet in the flour dish and turn to coat both sides completely, pressing gently so the flour adheres to every surface — including the edges. Shake off any excess flour — a light, even coat is correct; a thick, clumped flour coating produces a paste-like inner breading layer rather than the thin, crunchy film that allows the egg to adhere directly to the meat surface. Transfer the flour-coated cutlet to the egg dish. Submerge fully and turn to coat both sides completely, lifting and allowing the excess egg to drip back into the dish for 3–4 seconds — excess egg dripping off in the breadcrumb dish produces breadcrumb clumps rather than an even coating. Transfer to the breadcrumb dish and press both sides firmly into the mixture — use the heel of your hand to apply even, consistent pressure across every square centimetre of both sides. The pressing motion is as important as the breadcrumbs themselves: gently placed cutlets lose significant coating during frying; firmly pressed cutlets have a mechanically adhered coating that stays intact through the frying process. Place each breaded cutlet on a clean plate and proceed to frying without delay. Breaded cutlets left to sit release moisture from the meat surface through the flour-egg layer and begin to soften the coating from the inside — the sooner they reach the hot oil after breading, the crispier the finished crust. Use the wet hand, dry hand technique throughout: designate one hand for the flour and breadcrumb stages, the other for the egg stage, to prevent the thick, gummy clumping that occurs when the same hand moves between wet and dry stations. - Heat the Oil Correctly
Pour approximately 100ml of vegetable oil into a large, heavy-bottomed skillet — cast iron or stainless steel. The oil depth should be approximately 3–4mm — enough to come partway up the sides of the cutlet and ensure even browning on the bottom surface without requiring the cutlet to be submerged. Heat over medium-high heat for 2–3 minutes. The correct oil temperature is approximately 175°C — if you do not have a thermometer, test with a pinch of breadcrumbs: they should sizzle immediately and show golden colour within 20–30 seconds. If they sink and barely sizzle, the oil is too cold — greasy, pale, crust-absorbed-oil cutlets result. If they brown immediately and darken in 5 seconds, the oil is too hot — the crust will burn before the chicken cooks through. The shimmering, lightly smoking appearance without heavy smoke is the visual indicator of correct temperature. The oil temperature is the variable that most directly determines the quality of the finished cutlet and it requires maintenance throughout the frying: the oil cools when cold chicken is added, requiring a brief recovery period between batches. - Fry the First Batch
Carefully lower 2 cutlets into the hot oil, laying them away from you to prevent oil splashing. Do not add a third — crowding drops the oil temperature significantly and causes steaming rather than frying. Leave undisturbed for exactly 3 minutes without moving or pressing. The crust sets and adheres during this undisturbed period — any movement before the crust has fully set on the underside tears it from the meat and produces uneven, patchy browning. At 3 minutes, lift one edge gently with tongs or a spatula — the underside should be a deep, uniform golden-brown. Flip decisively and cook the second side for 3 minutes. Use an instant-read thermometer to confirm the internal temperature has reached 74°C at the thickest point. Transfer to a wire rack set over a baking sheet — not to paper towels. A wire rack allows air circulation on all sides and prevents the bottom crust from steaming against the paper and softening immediately. Sprinkle immediately with a small pinch of fine salt while still hot — salt applied to a freshly fried surface adheres and seasons the crust in a way that salt applied after cooling does not. - Hold and Finish Remaining Batches
Transfer the drained, salted cutlets to a wire rack on a baking sheet and place in an oven set to 95°C to keep warm while the remaining cutlets fry. This low holding temperature maintains warmth without continuing to cook the chicken — a higher holding temperature would continue cooking the interior and a lower one would cool too rapidly. Allow the oil to return to 175°C between batches — a 1–2 minute recovery period at medium-high heat is sufficient. Add another 50ml of oil if the pan appears dry. Fry the remaining cutlets in the same way. Serve all cutlets simultaneously while the crust is at maximum crispness. - Serve with Lemon
Transfer to serving plates and add lemon wedges alongside each portion. The lemon is squeezed directly over the hot cutlet immediately before eating — the acid’s function here is not marinading or flavouring in advance but providing an immediate, sharp citrus brightness that cuts through the fried crust’s richness and the Parmesan’s saltiness in a way that no other garnish achieves. The combination of hot, crisp, Parmesan-salted crust and fresh lemon is the complete flavour experience the recipe is designed to produce.
*Notes :
- The butterflying and pounding technique deserves emphasis because it is the step most often hurried and the one whose quality most determines the result. A cutlet that is 1.5cm in the centre and 0.7cm at the edges will always produce overcooked edges and either an undercooked centre or a burnt crust — there is no correct frying time for an uneven thickness. Taking 2 additional minutes to pound each cutlet to true uniform thickness produces a cutlet where the crust is perfect and the interior is perfectly cooked simultaneously. The plastic wrap between the meat and the mallet prevents tearing and produces a smoother, more even surface.
- Italian-style breadcrumbs versus plain breadcrumbs is a real and noticeable difference. Italian-style breadcrumbs contain dried herbs, garlic powder, and usually Parmesan or Romano cheese already incorporated — they produce a seasoned, aromatic crust with more flavour depth than plain breadcrumbs. Adding Parmesan and oregano to Italian-style breadcrumbs compounds these qualities further. If only plain breadcrumbs are available, add 5g of garlic powder and 3g of dried parsley to the mix alongside the Parmesan and oregano.
- The wire rack cooling and holding method is the single most impactful quality-of-life technique in fried food preparation. Paper towels trap steam between the crust and the paper, producing a soft, slightly soggy underside within 60 seconds of placement. A wire rack allows the steam released from the hot chicken to escape in all directions, maintaining maximum crust crispness for 5–10 minutes rather than the 30–60 seconds that paper towels permit.
Why This Recipe Works
This recipe works because it sequences the three critical decisions for a perfect fried chicken cutlet in the correct order and applies the right technique to each. Uniform thickness ensures the crust colour and the internal temperature are achieved simultaneously. Correct oil temperature produces instant crust formation rather than oil absorption.
The wire rack after frying preserves the crust crispness that any other surface would immediately compromise. The lemon at serving provides the final flavour element that completes the dish.
Ingredient Breakdown
Chicken Breasts (Butterflied and Pounded)
Uniform thinness is the preparation goal — every millimetre of even thickness translates directly to even cooking and a crust that browns at the same rate as the interior cooks through.
Italian Breadcrumbs with Parmesan and Oregano
The flavoured crust — Parmesan adds saltiness, nuttiness, and browning promotion; oregano adds the aromatic, herbal identity of Italian-style preparations.
All-Purpose Flour
The adhesion primer — the flour layer is what allows the egg to bond to the meat surface rather than running off. Without it, the egg cannot hold the breadcrumbs in a continuous, adhered coating.
Beaten Eggs
The binding agent — the egg proteins set during frying and cement the breadcrumb layer to the flour-coated meat surface permanently.
Vegetable Oil at 175°C
The crust-forming medium — the precise temperature at which the crust browns and crisps without the oil being absorbed into the coating or the surface burning before the interior cooks.
Lemon Wedges
The essential acid finish — squeezed immediately before eating, its sharpness cuts the fried richness and completes the flavour.
Flavor Structure Explained
This chicken cutlets follows a layered balance model:
- Crispy savory crust (breadcrumbs, Parmesan, herbs)
- Juicy mild interior (chicken)
- Bright acidic lift (lemon)
- Fried richness (oil)
- Herbal warmth (oregano)
The crust delivers the dominant layer — deeply browned, nutty, and savory, carrying the intensity of Parmesan, herbs, and hot oil. The chicken interior provides contrast, remaining clean, juicy, and mild to balance the crust’s richness. Lemon cuts through both layers with sharp acidity, lifting and refreshing each bite. Frying oil adds a cohesive richness that enhances texture and flavor, while oregano contributes a subtle herbal warmth that rounds the profile. The full experience depends on all layers hitting at once — crisp, rich, bright, and balanced.
Common Mistakes to Avoid
- Uneven Thickness – The most consequential preparation error. A thick-centred cutlet can never be cooked correctly — the surface will always be done before the centre. Pound to true uniform thinness.
- Oil Too Cold – Cold oil is absorbed by the coating rather than forming a crust against it. The oil must be at 175°C before the first cutlet is added.
- Crowding the Pan – Two cutlets maximum per batch. More drops the temperature, produces steam, and results in pale, soggy, grease-saturated crusts.
- Not Pressing the Breadcrumbs Firmly – Gently placed breadcrumbs fall off during frying. Press firmly with the heel of your hand across every surface.
- Resting on Paper Towels – Paper traps steam and immediately softens the underside crust. Always use a wire rack.
- Letting Breaded Cutlets Sit – Breaded cutlets left more than a few minutes before frying allow moisture to migrate through the coating and soften it from the inside. Bread and fry with minimal delay.
Variations
Chicken Milanese
Remove the Parmesan and oregano from the breadcrumbs and use plain fine breadcrumbs only, seasoned with salt and pepper. Serve immediately with a dressed arugula salad piled on top of the hot cutlet — the wilting arugula from the cutlet’s heat, a drizzle of olive oil, and lemon juice is the classic Milanese presentation.
Chicken Parmigiana
The classic American-Italian transformation of the same cutlet — fried, topped with marinara, blanketed in mozzarella and Parmesan, and finished in a hot oven until bubbling. The full recipe with homemade marinara sauce is at Chicken Parmigiana.
Baked Version
Arrange breaded cutlets on a wire rack set over a baking sheet. Drizzle or spray lightly with olive oil. Bake at 220°C for 15–18 minutes, flipping once halfway through. The crust will not be as crispy as the fried version but the result is genuinely good for a lower-fat alternative.
Lemon Herb Version
Add 5g of lemon zest and 5g of finely chopped fresh flat-leaf parsley to the breadcrumb mixture for a brighter, more herbaceous crust that amplifies the lemon finishing element.
Storage & Make-Ahead
Cooked cutlets can be refrigerated for up to 3 days. To reheat them, place them on a wire rack in a 200°C oven for 8 to 10 minutes. That oven-and-rack combination is the best way to bring back some of the crust’s crispness. An air fryer at 190°C for 4 to 5 minutes also works very well. Microwaving, on the other hand, will leave the cutlets soft and slightly steamed.
Uncooked cutlets can be breaded up to 2 hours in advance and refrigerated uncovered on a wire rack before frying. The dry air in the refrigerator helps the coating set properly. Do not stack them, or the cutlets will stick together.
Breaded uncooked cutlets can also be frozen. Freeze them flat on a baking tray until solid, then transfer them to sealed bags. You can fry them directly from frozen over slightly lower heat, around 160°C, for 5 to 6 minutes per side, or thaw them overnight in the refrigerator and fry them as usual.
Frequently Asked Questions
Why butterfly rather than simply slice the breast into two separate pieces?
Butterflying keeps the cutlet in one larger piece that is easier to handle in the breading station and the pan, and produces a more visually appealing, restaurant-style presentation. Single-piece cutlets also cook more evenly than two separate smaller pieces that may vary in thickness. That said, slicing into two separate pieces works — the technique is slightly easier for first-timers.
Can I use chicken thighs instead of breasts?
Yes — boneless, skinless thighs pounded thin produce a more tender, more flavourful cutlet with a higher fat content that is more forgiving of the frying process. The technique is identical. Thighs may require slightly more pounding to reach an even thickness due to their irregular shape.
What oil is best for frying?
Any neutral, high smoke point oil — vegetable, canola, sunflower, or peanut oil. Avoid olive oil for this application as its lower smoke point produces off flavours at sustained 175°C frying temperatures.
How do I keep the first batch warm while frying the second?
Place the finished cutlets on a wire rack over a baking sheet in a 95°C oven. This temperature maintains serving warmth without continuing to cook or dry the chicken for up to 15–20 minutes while the remaining batches are fried.
Why squeeze lemon at the table rather than before serving?
Lemon juice applied in advance softens the crust through its moisture content. The acid’s flavour contribution is best when immediate — the volatile aromatic compounds in fresh lemon are most vivid at the moment of application, not after sitting for several minutes. Always squeeze at the moment of eating.
Nutrition Facts
( per serving )
Calories
~480 kcal
Protein
52 g
Fat
18 g
Carbs
24 g
Calories
~480 kcal
Protein
52 g
Fat
18 g
Carbs
24 g
Related Recipes
Related Recipes

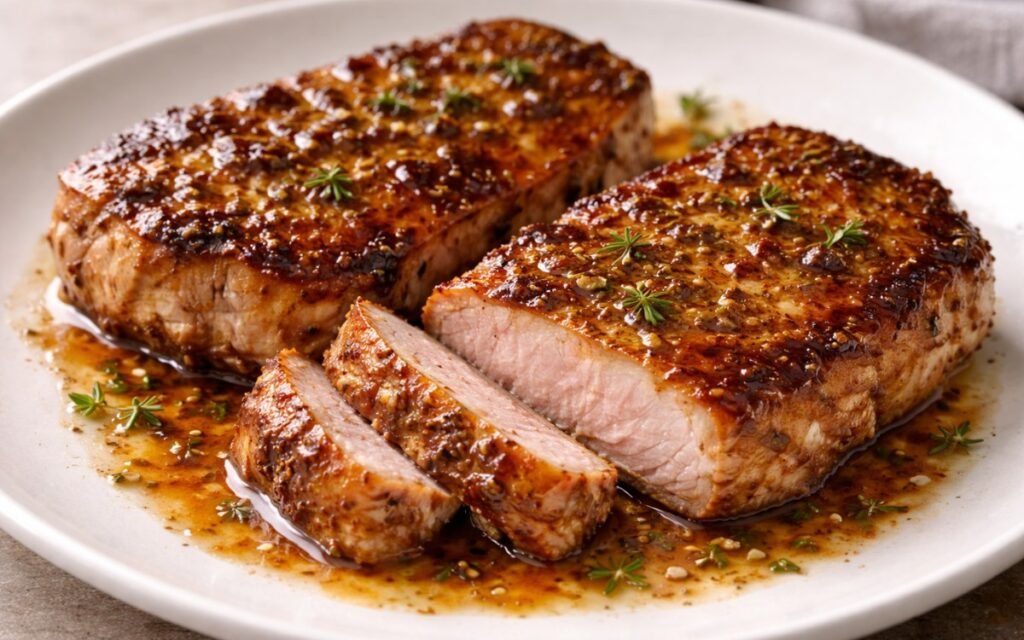
Honey Mustard Pork Chops
Sweet and tangy pork chops with caramelized honey mustard glaze, ready in under 30 minutes.
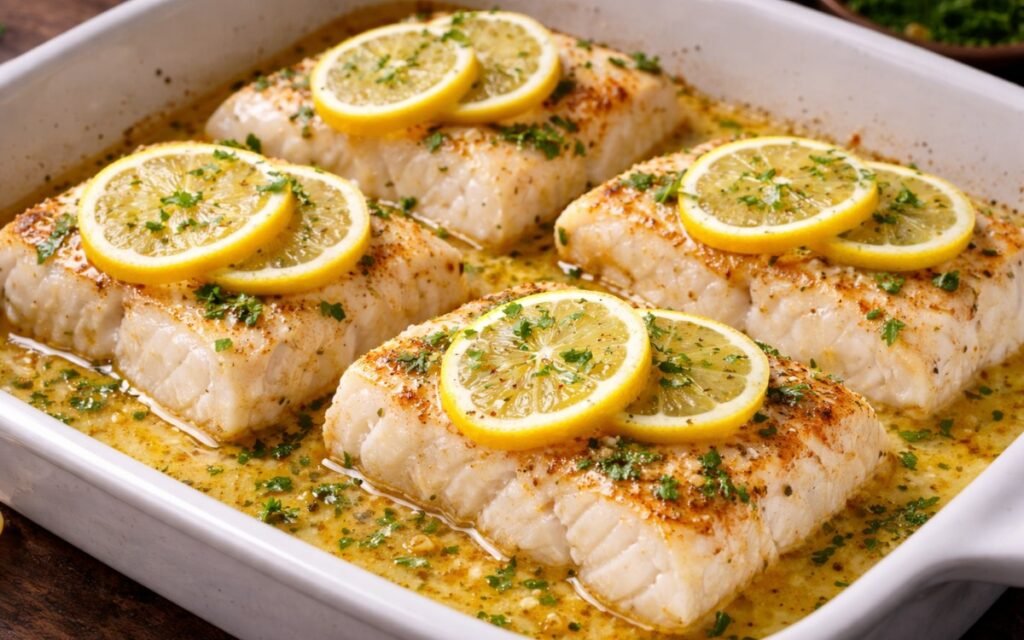
Lemon Butter Baked Cod
Tender cod baked in garlicky lemon butter—restaurant-quality seafood ready in under 30 minutes.
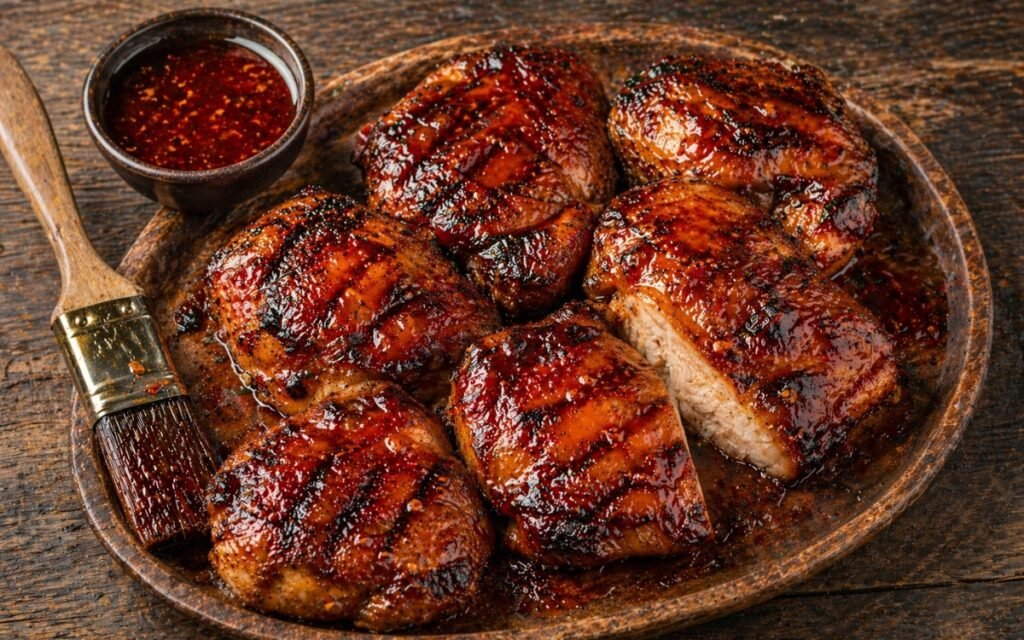
Grilled Hot Honey Chicken Thighs
Yogurt-marinated chicken thighs grilled to charred grill marks then glazed in progressive rounds with chili-infused hot honey — glossy, smoky, spicy, and caramelised in 35 minutes active time.
You might also like
You might also like
Chicken Fettuccine Alfredo
Seared chicken over fettuccine emulsified with butter, Parmigiano, and pasta water — the authentic no-cream Alfredo, 40 minutes.
Roasted Red Pepper Cream Pasta
Completely blackened peppers blended with mascarpone and smoked paprika — vivid, silky, and smoky over penne in 50 minutes.
Calabrian Chili Penne Arrabbiata
Calabrian chili paste bloomed in olive oil with pale-golden garlic, hand-crushed tomatoes simmered glossy — penne finished in the sauce, 25 minutes.


Italian Fried Chicken Cutlets
Ingredients
Method
- Working with one breast at a time, place it flat on the cutting board with your palm pressed firmly on top to stabilise it. Using a sharp knife held parallel to the cutting board, slice horizontally through the thickest part of the breast from one side almost all the way through — stopping approximately 1cm before cutting completely through. Open the breast like a book so it lies flat as a single, wider, thinner piece. If the thickness is still greater than 1cm at any point, place the opened breast between two sheets of plastic wrap or inside a zip-lock bag and pound with a meat mallet, rolling pin, or the bottom of a heavy pan using firm, even strokes from the centre outward. The target is a uniform thickness of just under 1cm throughout the entire cutlet — no thick sections at the centre and no thin, torn sections at the edges. Uniform thickness is the single most important preparation step in this recipe because it determines the uniformity of the cooking: a cutlet with a 1.5cm centre and 0.5cm edges will have dry, over-cooked thin edges and undercooked thick centres when the surface has reached the correct golden colour. Consistency in thickness means every part of the cutlet reaches 74°C at the same moment the crust reaches its ideal colour. Repeat with all four breasts, producing 4 large, thin, even cutlets.
- Arrange three shallow dishes or wide bowls in a line before you begin — the three-stage breading system must be set up completely before any breading begins, because once the first cutlet has started the process it should move through all three stages continuously without pausing. In the first dish, combine the all-purpose flour, 8g of fine sea salt, and several grinds of black pepper. Stir to distribute the seasoning evenly through the flour. In the second dish, crack the three eggs and beat until the yolks and whites are completely uniform with no streaks of unincorporated white remaining — unblended egg produces uneven coating adhesion. In the third dish, combine the Italian-style breadcrumbs, finely grated Parmesan, dried oregano, and an additional small pinch of salt and black pepper. Mix thoroughly to distribute the Parmesan and oregano evenly throughout the breadcrumbs. The Parmesan adds saltiness, nuttiness, and browning — its protein content contributes to Maillard reaction development during frying. The oregano adds the aromatic, slightly earthy herbal note that makes these specifically Italian-style cutlets rather than a generic breaded preparation. Arrange the dishes in flour — egg — breadcrumb order.
- Working with one cutlet at a time, proceed through the three stations in sequence without pausing between them. Place the cutlet in the flour dish and turn to coat both sides completely, pressing gently so the flour adheres to every surface — including the edges. Shake off any excess flour — a light, even coat is correct; a thick, clumped flour coating produces a paste-like inner breading layer rather than the thin, crunchy film that allows the egg to adhere directly to the meat surface. Transfer the flour-coated cutlet to the egg dish. Submerge fully and turn to coat both sides completely, lifting and allowing the excess egg to drip back into the dish for 3–4 seconds — excess egg dripping off in the breadcrumb dish produces breadcrumb clumps rather than an even coating. Transfer to the breadcrumb dish and press both sides firmly into the mixture — use the heel of your hand to apply even, consistent pressure across every square centimetre of both sides. The pressing motion is as important as the breadcrumbs themselves: gently placed cutlets lose significant coating during frying; firmly pressed cutlets have a mechanically adhered coating that stays intact through the frying process. Place each breaded cutlet on a clean plate and proceed to frying without delay. Breaded cutlets left to sit release moisture from the meat surface through the flour-egg layer and begin to soften the coating from the inside — the sooner they reach the hot oil after breading, the crispier the finished crust. Use the wet hand, dry hand technique throughout: designate one hand for the flour and breadcrumb stages, the other for the egg stage, to prevent the thick, gummy clumping that occurs when the same hand moves between wet and dry stations.
- Pour approximately 100ml of vegetable oil into a large, heavy-bottomed skillet — cast iron or stainless steel. The oil depth should be approximately 3–4mm — enough to come partway up the sides of the cutlet and ensure even browning on the bottom surface without requiring the cutlet to be submerged. Heat over medium-high heat for 2–3 minutes. The correct oil temperature is approximately 175°C — if you do not have a thermometer, test with a pinch of breadcrumbs: they should sizzle immediately and show golden colour within 20–30 seconds. If they sink and barely sizzle, the oil is too cold — greasy, pale, crust-absorbed-oil cutlets result. If they brown immediately and darken in 5 seconds, the oil is too hot — the crust will burn before the chicken cooks through. The shimmering, lightly smoking appearance without heavy smoke is the visual indicator of correct temperature. The oil temperature is the variable that most directly determines the quality of the finished cutlet and it requires maintenance throughout the frying: the oil cools when cold chicken is added, requiring a brief recovery period between batches.
- Carefully lower 2 cutlets into the hot oil, laying them away from you to prevent oil splashing. Do not add a third — crowding drops the oil temperature significantly and causes steaming rather than frying. Leave undisturbed for exactly 3 minutes without moving or pressing. The crust sets and adheres during this undisturbed period — any movement before the crust has fully set on the underside tears it from the meat and produces uneven, patchy browning. At 3 minutes, lift one edge gently with tongs or a spatula — the underside should be a deep, uniform golden-brown. Flip decisively and cook the second side for 3 minutes. Use an instant-read thermometer to confirm the internal temperature has reached 74°C at the thickest point. Transfer to a wire rack set over a baking sheet — not to paper towels. A wire rack allows air circulation on all sides and prevents the bottom crust from steaming against the paper and softening immediately. Sprinkle immediately with a small pinch of fine salt while still hot — salt applied to a freshly fried surface adheres and seasons the crust in a way that salt applied after cooling does not.
- Transfer the drained, salted cutlets to a wire rack on a baking sheet and place in an oven set to 95°C to keep warm while the remaining cutlets fry. This low holding temperature maintains warmth without continuing to cook the chicken — a higher holding temperature would continue cooking the interior and a lower one would cool too rapidly. Allow the oil to return to 175°C between batches — a 1–2 minute recovery period at medium-high heat is sufficient. Add another 50ml of oil if the pan appears dry. Fry the remaining cutlets in the same way. Serve all cutlets simultaneously while the crust is at maximum crispness.
- Transfer to serving plates and add lemon wedges alongside each portion. The lemon is squeezed directly over the hot cutlet immediately before eating — the acid’s function here is not marinading or flavouring in advance but providing an immediate, sharp citrus brightness that cuts through the fried crust’s richness and the Parmesan’s saltiness in a way that no other garnish achieves. The combination of hot, crisp, Parmesan-salted crust and fresh lemon is the complete flavour experience the recipe is designed to produce.