
Karaage — Japanese Fried Chicken
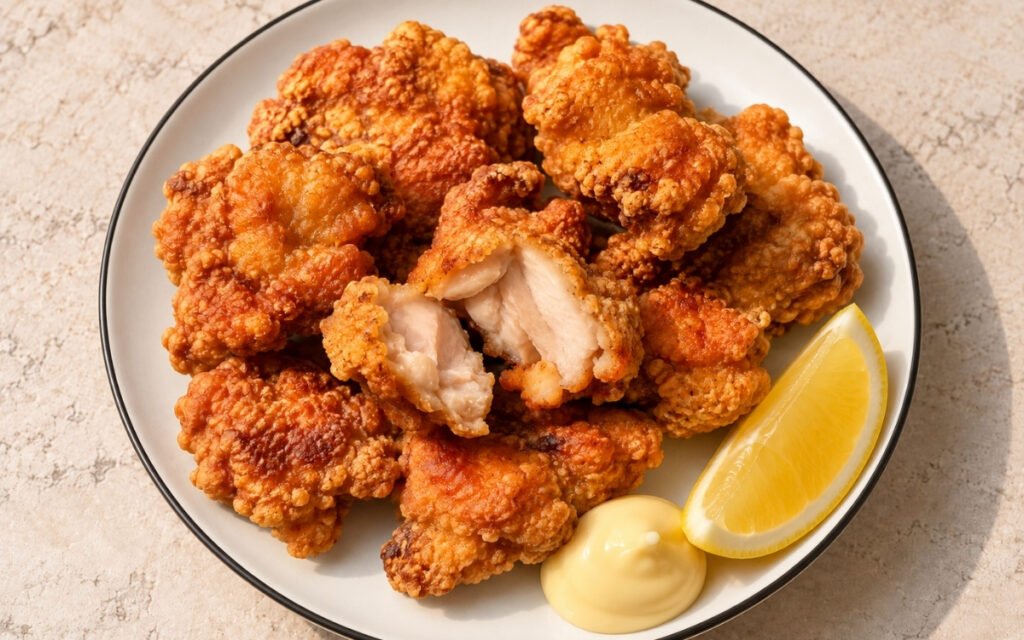
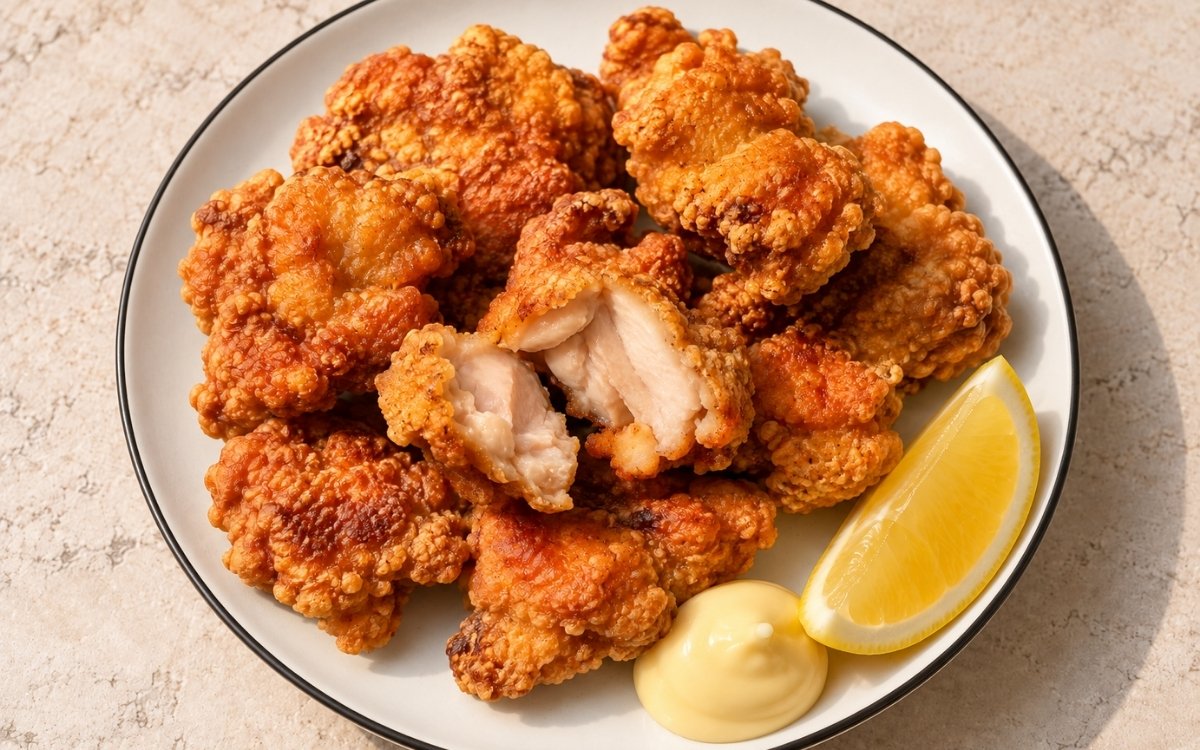
Classic Japanese karaage made with bite-sized boneless chicken thigh pieces marinated in soy sauce, sake, ginger and garlic, coated in potato starch, then double-fried until deeply golden, craggy and crisp outside while staying juicy inside, served with lemon wedges and Kewpie mayo. Double-frying the chicken in two distinct stages, a gentler first fry followed by a hotter, briefer second, is the technique this whole dish depends on for its characteristic craggy, crisp crust — the first fry cooks the chicken through and sets the crust, while the second drives off surface moisture and delivers real, loud crunch, the same two-stage-fry principle used elsewhere in this collection whenever a fried protein’s own doneness and crust development need to be handled as two genuinely separate jobs rather than one long fry. Resting the chicken between the two fries lets carryover heat finish the interior while surface steam escapes, directly setting up the second fry’s own success. Draining the marinated chicken only lightly, leaving the surface still slightly tacky, is what lets the starch coating actually cling properly without turning gummy. The payoff is a piece of fried chicken with real, defining Japanese contrast — a deeply golden, craggy, crisp exterior around juicy, well-seasoned meat.
Prep Time : 25 min
Cook Time : 20–25 min
Servings : 4
25 min
20–25 min
4
Ingredients
For the Chicken
• 1kg boneless chicken thighs, preferably skin-on if available, cut into 4–5cm bite-size pieces — 250g chicken per serving
For the Marinade
• 60ml Japanese soy sauce — this one on Amazon
• 45ml sake — this one on Amazon
• 15ml mirin — this one on Amazon
• 20g fresh ginger, finely grated
• 12g garlic, finely grated
• 8g sugar
• 5ml toasted sesame oil, optional
• ½ tsp white pepper — this one on Amazon
For the Coating
• 180–220g potato starch / katakuriko
• 30g cornstarch, optional, for a slightly lighter crust
For Frying
• Neutral oil, as needed for deep-frying
For Serving
• Lemon wedges
• Kewpie mayo — this one on Amazon
• Fine salt, optional, for finishing
This post may contain affiliate links. As an Amazon Associate I earn from qualifying purchases, at no additional cost to you.
Directions
- Cut the Chicken
Cut the chicken thighs into irregular bite-size pieces, about 4–5cm each. Keep some natural folds and uneven surfaces. Do not cut the pieces too small. Karaage should have juicy chunks, not thin nuggets. Pieces that are too small dry out before the crust becomes properly crisp. That deliberately irregular, real-sized cut protects the chicken’s own real moisture content — smaller pieces would need considerably less time to cook through, leaving them dry well before the crust has developed its full, characteristic craggy texture. - Marinate
In a bowl, mix soy sauce, sake, mirin, grated ginger, grated garlic, sugar, sesame oil if using, and white pepper. Add the chicken and massage well for 1–2 minutes so the marinade coats every piece. Cover and refrigerate for 30 minutes minimum, or 1–2 hours for better flavor. Do not marinate all day in this amount of soy sauce. The chicken can become too salty and slightly cured in texture. That specific, bounded marinating window reflects real understanding of soy sauce’s own concentrated salt content — left too long, it would actively begin curing the meat’s own texture rather than simply seasoning it. - Drain Lightly
Remove the chicken from the marinade. Let excess liquid drip off, but do not wipe the pieces dry. The surface should still be slightly tacky. The starch needs a damp surface to cling to, but the chicken should not be dripping wet. Too much liquid makes the coating gummy and heavy. That specific, deliberately tacky surface is exactly what gives the starch coating something real to adhere to — a fully dry surface would give it nothing to cling to, while dripping wet chicken would turn the coating gummy instead of crisp. - Coat with Starch
Place the potato starch in a wide bowl or tray. Add cornstarch if using. Coat each chicken piece thoroughly, pressing starch into the folds and rough edges. Shake off loose excess. Place coated chicken on a rack or tray and rest for 5–10 minutes while the oil heats. After resting, the coating should look patchy, slightly hydrated and rough, not completely dry and powdery. That rough surface becomes the craggy karaage crust. That brief resting period lets the starch begin absorbing a little of the chicken’s own surface moisture, and it’s specifically that patchy, rough hydration that transforms into karaage’s own signature craggy crust once it hits the hot oil. - First Fry
Heat oil to 160–165°C. Fry the chicken in batches for 3–4 minutes, depending on piece size. Do not crowd the pot. The first fry should cook the chicken through and set the crust. The color should be pale golden to medium golden, not deeply browned yet. Transfer to a wire rack. Do not stack fried chicken on paper towels. Steam softens the crust. Doneness cue: the chicken should be mostly cooked after the first fry, but the crust should not yet be at its final crunch. That deliberately moderate first-fry temperature gives the chicken genuine time to cook through at a manageable pace, leaving the crust’s own colour and crunch intentionally underdeveloped so the second, hotter fry has real room to finish the job. - Rest Between Fries
Rest the chicken on the rack for 3–5 minutes. This lets carryover heat finish the interior and lets surface steam escape before the second fry. This rest is part of the crisping process. Going straight into the second fry traps more moisture inside the crust. That resting window does genuine, active work beyond simple pause — letting residual heat distribute evenly through the meat while surface moisture has real time to evaporate, both of which set the crust up to actually crisp rather than steam during the second fry. - Second Fry
Increase the oil temperature to 180–190°C. Return the chicken in batches and fry for 1–2 minutes, until deeply golden brown, craggy and crisp. Transfer back to a clean wire rack. The internal temperature should reach 74°C. The second fry is short and hot. It is for crispness and color, not long cooking. That higher second-fry temperature is specifically what builds real, deep colour and maximum crispness quickly, in a genuinely brief window — since the interior is already properly cooked from the first fry, this stage exists purely to finish the crust. - Serve
Let the karaage rest for 2 minutes, then serve hot with lemon wedges and Kewpie mayo. Optional: sprinkle very lightly with fine salt only if the final flavor needs it. Serving while genuinely hot delivers the chicken at its crispest — that craggy, crunchy exterior softens steadily the moment it comes off the heat.
*Notes :
- Double-frying the chicken in two genuinely distinct stages deserves recognition as the technique responsible for karaage’s whole characteristic crust. The recipe’s own explicit distinction — the first fry cooks and sets, the second drives off moisture and delivers crunch — reflects real understanding that these are two separate jobs, each requiring its own specific temperature and timing to accomplish properly.
- Resting the chicken between the two fries deserves the same attention this technique receives throughout this collection’s other two-stage fried proteins. That window lets residual heat distribute evenly through the meat while surface moisture has genuine time to evaporate, both of which are what set the crust up to crisp properly during the second fry rather than steaming under any lingering surface wetness.
- Draining the marinated chicken only lightly, leaving it genuinely tacky rather than dry or dripping, deserves attention as a real, deliberate balance point. That specific surface condition is what lets the starch coating actually adhere in the first place — either extreme, fully dry or dripping wet, would compromise how well the coating clings and, ultimately, how it crisps.
- Cutting the chicken into genuinely real, bite-sized chunks rather than smaller nuggets deserves genuine respect as the detail responsible for karaage staying juicy throughout its two fries. Smaller pieces simply don’t have the same volume to protect their own moisture through two rounds of hot oil, drying out well before the crust has had its full chance to develop.
Why This Recipe Works
This recipe works because the chicken is cut into genuinely real, bite-sized pieces, protecting its own moisture through two separate fries. The marinade is kept to a bounded time window, seasoning the meat without curing its texture.
Draining lightly leaves the surface with just enough tack for the starch coating to actually adhere, and resting after coating lets that starch hydrate into the rough, patchy texture that becomes the crust.
The first fry cooks the chicken through at a moderate pace, and a genuine rest between fries lets residual heat and surface moisture settle before the second, hotter fry delivers real, final crispness and colour.
Ingredient Breakdown
Real, Bite-Sized Chicken Pieces
The critical technique — protects the meat’s own moisture through two separate fries, unlike smaller nuggets.
Bounded Marinating Time
The critical technique — seasons the chicken fully without the soy sauce’s own salt content curing its texture.
Lightly Drained, Tacky Chicken Surface
The critical technique — gives the starch coating something real to adhere to without turning gummy.
Rested, Hydrated Starch Coating
The critical technique — that patchy, rough texture is specifically what becomes karaage’s signature craggy crust.
Two-Stage Fry (Moderate, Then Hot)
The critical technique — separates cooking through from crisping, each handled at its own correct temperature.
Rest Between Fries
The critical technique — lets carryover heat finish the interior and surface moisture escape before the crisping fry.
Flavor Structure Explained
This karaage follows a layered balance model:
- Craggy, crisp foundation (double-fried starch coating)
- Juicy, well-seasoned centre (marinated chicken thigh)
- Warm aromatic depth (soy sauce, sake, ginger, garlic)
- Bright finishing lift (lemon wedges)
- Rich, cooling accent (Kewpie mayo)
A double-fried starch coating provides this chicken’s craggy, genuinely crisp foundation, its texture built through careful two-stage frying. Marinated chicken thigh, cut into real, substantial pieces, delivers a juicy, well-seasoned centre. Soy sauce, sake, ginger, and garlic layer in warm, classic Japanese aromatic depth throughout the marinade. A squeeze of fresh lemon at serving adds bright, cutting lift against the fried richness, and rich Kewpie mayo offers a cooling, classic accompaniment that ties the whole dish together.
Common Mistakes to Avoid
- Cutting the Chicken Pieces Too Small – This dries the meat out before the crust develops properly. Always keep pieces real, bite-sized chunks.
- Marinating for Too Long – This can make the chicken overly salty and slightly cured in texture. Always keep it within the recommended window.
- Wiping the Chicken Fully Dry Before Coating – This gives the starch nothing to cling to. Always leave the surface slightly tacky.
- Skipping the Rest Between Fries – This traps more moisture inside the crust. Always let the chicken rest on a rack for 3 to 5 minutes.
- Crowding the Pot During Either Fry – This drops the oil temperature and produces pale, greasy karaage. Always fry in properly spaced batches.
Variations
Skin-On Version
Use skin-on chicken thigh if available, per the recipe’s own note on it giving the best crisp and richness, for an even more classically indulgent finished result.
Lighter Crust Version
Include the optional cornstarch alongside the potato starch, per the recipe’s own note, for a slightly finer, lighter crunch than potato starch alone would produce.
Extra-Aromatic Version
Increase the ginger and garlic slightly in the marinade for a more pronounced, assertive aromatic character running through the finished chicken.
Salted Finish Version
Sprinkle the finished karaage very lightly with fine salt, per the recipe’s own optional suggestion, only if the overall flavour genuinely needs that final adjustment.
Storage & Make-Ahead
Boneless chicken thigh is genuinely the classical cut for this recipe because it stays juicy through the double-fry process, and skin-on thigh gives the best crisp and richness if you’re able to find it.
Potato starch gives the most typical karaage crust — dry, crisp, and craggy — though cornstarch alone works as well, producing a slightly different, finer crunch than the classical potato starch coating.
This dish is genuinely not battered; karaage is coated in starch rather than dipped in any kind of wet batter, and that dry-starch approach is central to achieving its own characteristic texture.
Double frying is essential here: the first fry cooks the chicken through and sets the crust, while the second fry drives off surface moisture and delivers the loud, genuine crispness this dish is known for.
If the oil runs too cool at either stage, the coating absorbs oil and turns heavy, and if it starts too hot, the outside darkens before the inside has finished cooking, so watch both temperatures carefully throughout the process.
Frequently Asked Questions
Why does karaage need to be fried twice instead of just once?
The first fry cooks the chicken through and sets the crust at a moderate pace. The second, hotter fry then drives off remaining surface moisture and delivers the loud, genuine crispness karaage is specifically known for — one fry alone can’t accomplish both jobs properly.
Why does the chicken need to rest between the two fries?
That resting window lets carryover heat finish cooking the interior while surface moisture has genuine time to evaporate. Skipping it traps more moisture inside the crust, working against the second fry’s own ability to crisp properly.
Why shouldn’t the marinated chicken be wiped completely dry before coating?
The starch coating needs a slightly tacky surface to actually cling to. A fully dry piece of chicken would give it nothing to adhere to, while chicken left dripping wet would turn the coating gummy instead of crisp.
Why can’t the chicken marinate for a very long time?
Soy sauce carries considerable salt content, and an extended marinade risks the chicken becoming too salty and slightly cured in texture rather than simply well-seasoned.
Are there other classic Japanese fried, curry, or Asian-inspired chicken dishes worth trying?
Pork Gyoza Dumplings offers another classic pan-fried Japanese dish worth exploring. Katsu Curry and Japanese Cucumber Salad (Sunomono) are also worth trying for other classic Japanese directions, and Korean BBQ Wings and Crispiest Fried Chicken offer other classic fried chicken dishes worth exploring.
Nutrition Facts
( per serving )
Calories
~580 kcal
Protein
48 g
Fat
30 g
Carbs
32 g
Calories
~580 kcal
Protein
38 g
Fat
30 g
Carbs
32 g
Related Recipes
Related Recipes

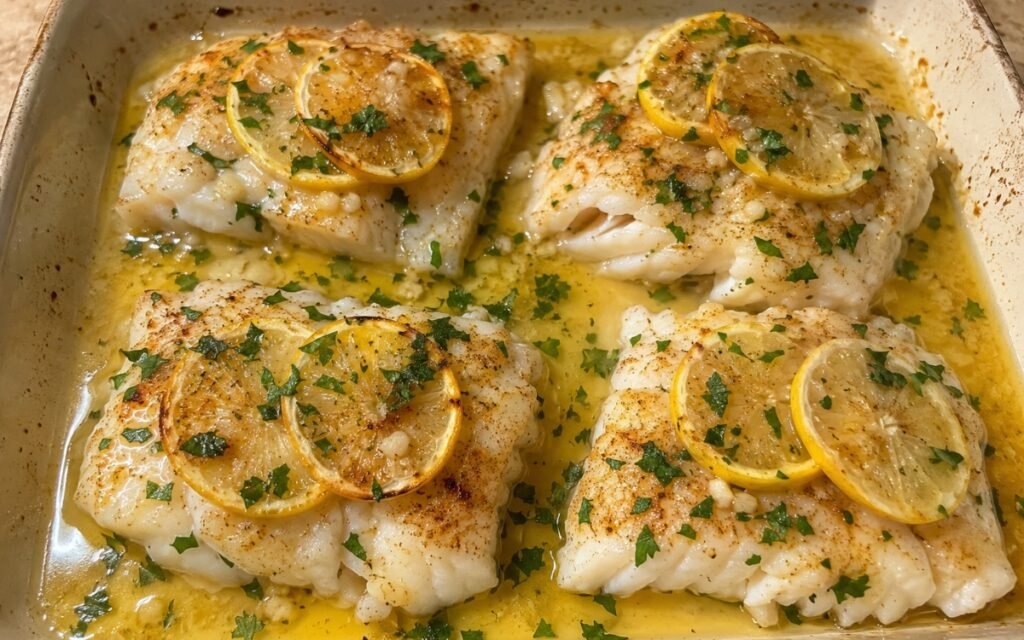
Lemon Butter Baked Cod
Cod fillets baked snugly in garlicky lemon butter, topped with lemon slices until flaky, finished with pan juices and parsley. Elegant and effortless.
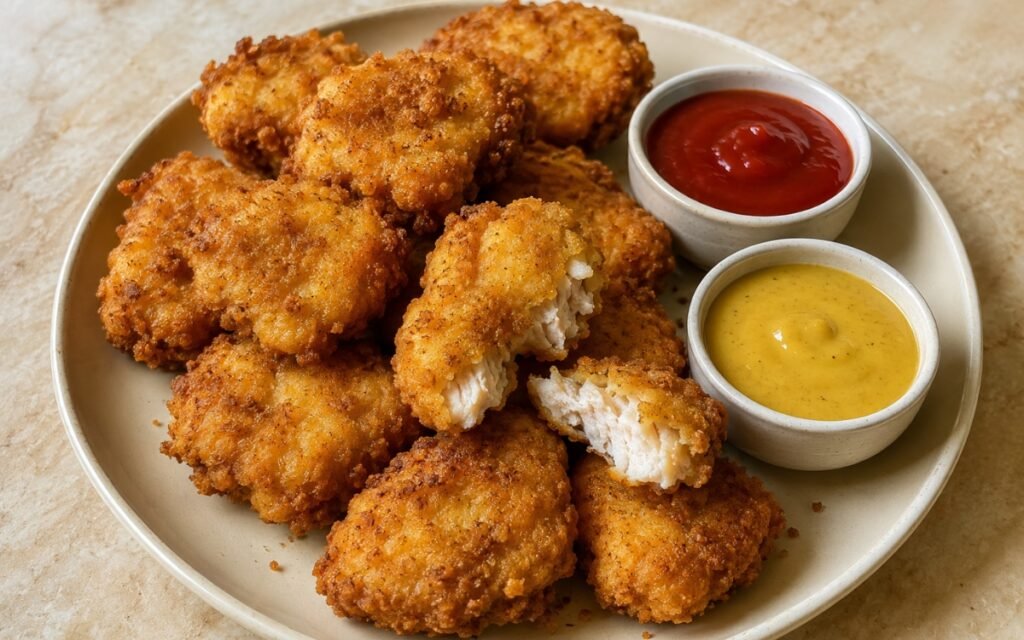
Homemade Chicken Nuggets
A juicy chicken-and-pork blend shaped into hand-formed nuggets, coated in a craggy panko-breadcrumb crust, and fried until deeply golden.
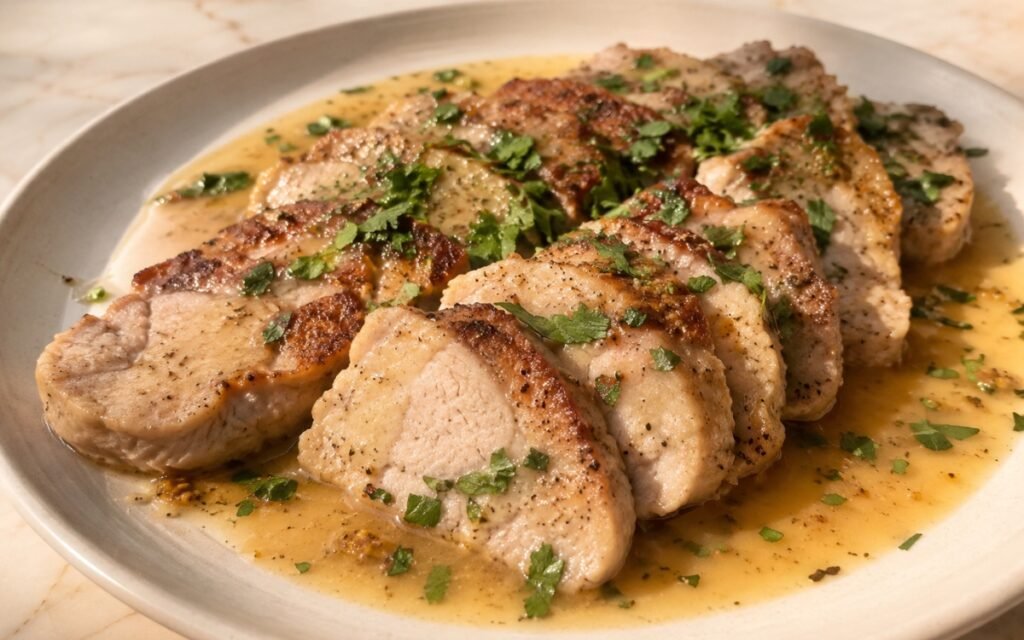
Pan-Seared Pork Medallions
Pork tenderloin sliced and pounded even, seared golden, finished with a rich Dijon pan sauce from the fond. Quick and restaurant-quality.
You might also like
You might also like
Miso Butter Sauce
Silky white miso and butter with lemon — a 10-minute umami-rich finishing sauce for everything.
Bao Buns with Crispy Fried Chicken
Soft steamed bao buns filled with extremely crisp fried chicken, quick-pickled cucumber ribbons, scallions, sesame seeds, and glossy sriracha mayo.
Coconut Rice
Jasmine rice rinsed thoroughly, cooked in fully whisked coconut milk over low heat, rested and fluffed, topped with toasted coconut and cilantro.
Karaage — Japanese Fried Chicken
Ingredients
Method
- Cut the chicken thighs into irregular bite-size pieces, about 4–5cm each. Keep some natural folds and uneven surfaces. Do not cut the pieces too small. Karaage should have juicy chunks, not thin nuggets. Pieces that are too small dry out before the crust becomes properly crisp. That deliberately irregular, real-sized cut protects the chicken’s own real moisture content — smaller pieces would need considerably less time to cook through, leaving them dry well before the crust has developed its full, characteristic craggy texture.
- In a bowl, mix soy sauce, sake, mirin, grated ginger, grated garlic, sugar, sesame oil if using, and white pepper. Add the chicken and massage well for 1–2 minutes so the marinade coats every piece. Cover and refrigerate for 30 minutes minimum, or 1–2 hours for better flavor. Do not marinate all day in this amount of soy sauce. The chicken can become too salty and slightly cured in texture. That specific, bounded marinating window reflects real understanding of soy sauce’s own concentrated salt content — left too long, it would actively begin curing the meat’s own texture rather than simply seasoning it.
- Remove the chicken from the marinade. Let excess liquid drip off, but do not wipe the pieces dry. The surface should still be slightly tacky. The starch needs a damp surface to cling to, but the chicken should not be dripping wet. Too much liquid makes the coating gummy and heavy. That specific, deliberately tacky surface is exactly what gives the starch coating something real to adhere to — a fully dry surface would give it nothing to cling to, while dripping wet chicken would turn the coating gummy instead of crisp.
- Place the potato starch in a wide bowl or tray. Add cornstarch if using. Coat each chicken piece thoroughly, pressing starch into the folds and rough edges. Shake off loose excess. Place coated chicken on a rack or tray and rest for 5–10 minutes while the oil heats. After resting, the coating should look patchy, slightly hydrated and rough, not completely dry and powdery. That rough surface becomes the craggy karaage crust. That brief resting period lets the starch begin absorbing a little of the chicken’s own surface moisture, and it’s specifically that patchy, rough hydration that transforms into karaage’s own signature craggy crust once it hits the hot oil.
- Heat oil to 160–165°C. Fry the chicken in batches for 3–4 minutes, depending on piece size. Do not crowd the pot. The first fry should cook the chicken through and set the crust. The color should be pale golden to medium golden, not deeply browned yet. Transfer to a wire rack. Do not stack fried chicken on paper towels. Steam softens the crust. Doneness cue: the chicken should be mostly cooked after the first fry, but the crust should not yet be at its final crunch. That deliberately moderate first-fry temperature gives the chicken genuine time to cook through at a manageable pace, leaving the crust’s own colour and crunch intentionally underdeveloped so the second, hotter fry has real room to finish the job.
- Rest the chicken on the rack for 3–5 minutes. This lets carryover heat finish the interior and lets surface steam escape before the second fry. This rest is part of the crisping process. Going straight into the second fry traps more moisture inside the crust. That resting window does genuine, active work beyond simple pause — letting residual heat distribute evenly through the meat while surface moisture has real time to evaporate, both of which set the crust up to actually crisp rather than steam during the second fry.
- Increase the oil temperature to 180–190°C. Return the chicken in batches and fry for 1–2 minutes, until deeply golden brown, craggy and crisp. Transfer back to a clean wire rack. The internal temperature should reach 74°C. The second fry is short and hot. It is for crispness and color, not long cooking. That higher second-fry temperature is specifically what builds real, deep colour and maximum crispness quickly, in a genuinely brief window — since the interior is already properly cooked from the first fry, this stage exists purely to finish the crust.
- Let the karaage rest for 2 minutes, then serve hot with lemon wedges and Kewpie mayo. Optional: sprinkle very lightly with fine salt only if the final flavor needs it. Serving while genuinely hot delivers the chicken at its crispest — that craggy, crunchy exterior softens steadily the moment it comes off the heat.