
Korean Soy Garlic Fried Chicken
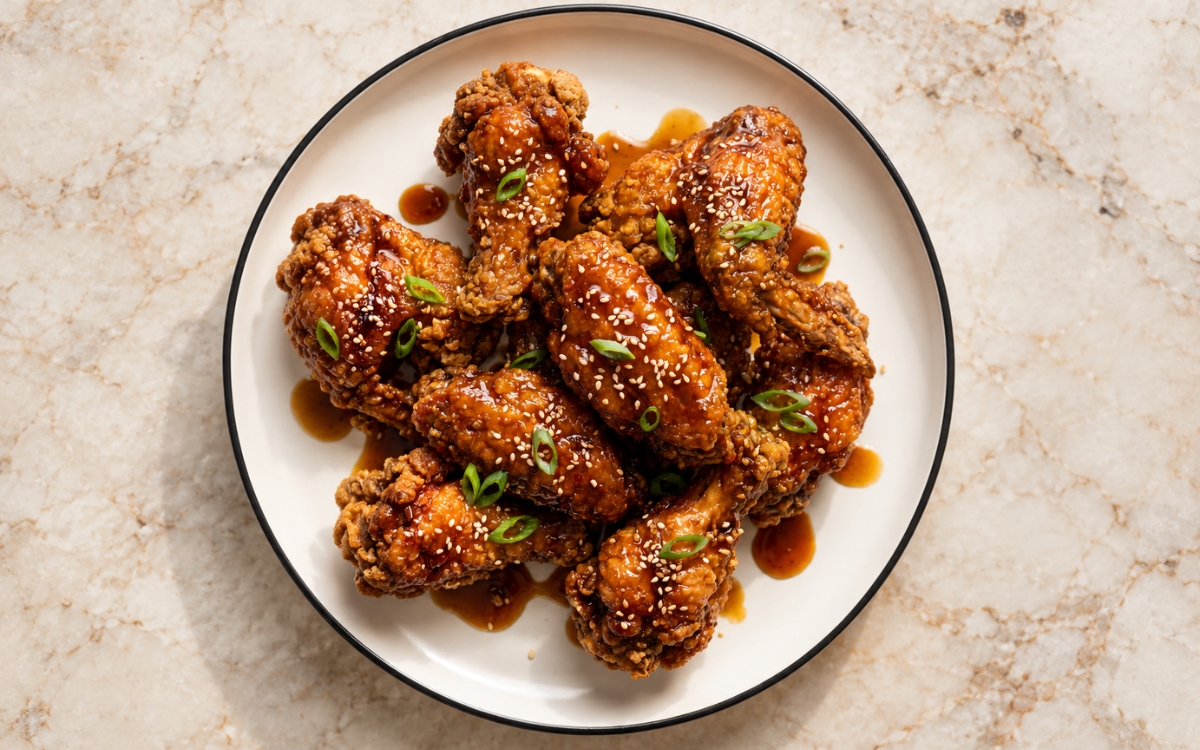
Classic Korean-style fried chicken made from split wings and drumettes, coated in a thin potato-starch crust, double-fried until deeply crisp, then tossed in a glossy dark amber soy-garlic glaze and finished with toasted sesame seeds and sliced scallions. Frying twice, first at a gentle 165°C and again at 185°C, rather than once, is the technique this whole dish depends on for a crust that shatters instead of softening — a single fry leaves moisture trapped in the coating so it turns leathery under sauce, the same drive-the-water-out-first principle used elsewhere in this collection whenever a fried coating must survive a glaze. A thin, dry potato-starch coating pressed firmly onto very dry chicken is what keeps the shell light, glassy, and distinctly brittle rather than thick, soft, and bready. Simmering the glaze for just a few minutes with gently softened garlic is what gives it clinging body and sweet-savoury depth without any bitterness. The payoff is a plate of chicken with real, audible crunch — a craggy golden crust under a lacquered garlic-soy glaze, juicy meat inside, and a fresh scatter of sesame and scallion.

Prep Time : 20 min
Total Time : 1 hr 25 min
Servings : 4
20 min
1 hr 25 min
4
Ingredients
For the Chicken
• 1.2–1.3kg chicken wings, split into drumettes and flats, tips removed if desired (16 meaty pieces total)
• 1 tsp kosher salt
• ½ tsp black pepper
• 1 tbsp rice wine or dry cooking wine
• 1 tsp fresh ginger, finely grated
For the Coating
• 120g potato starch
• 60g cornstarch
• 40g all-purpose flour
• 1 tsp baking powder
• ½ tsp kosher salt
For Frying
• Neutral frying oil, as needed
For the Soy Garlic Glaze
• 1 tbsp neutral oil
• 8 garlic cloves, very finely minced
• 60ml soy sauce
• 45g light brown sugar
• 2 tbsp honey or Korean rice syrup
• 1 tbsp mirin or rice wine
• 2 tbsp water
• 1 tsp sesame oil
• ¼ tsp black pepper
For the Garnish
• 2–3 tsp toasted sesame seeds
• 2 scallions, finely sliced
Directions
- Prep and Season the Chicken
Pat the 1.2–1.3kg of wings and drumettes very dry with paper towels, turning each piece so no damp patches remain on the skin. In a large bowl, combine the chicken with 1 tsp kosher salt, ½ tsp black pepper, 1 tbsp rice wine, and 1 tsp grated ginger, then mix well and leave for 30 minutes. Do not extend the marinade much beyond that, because a longer wet seasoning leaves the surface damp and the coating less crisp. That thorough drying is what lets the starch grip the skin directly instead of steaming off it in the oil. - Prepare the Coating
In a wide bowl or tray, whisk together 120g potato starch, 60g cornstarch, 40g all-purpose flour, 1 tsp baking powder, and ½ tsp salt until evenly combined. Toss the chicken in the mixture until every piece is completely covered, then press the dry coating firmly onto each surface so a thin, rough layer forms, and shake off only the loose excess. The coating should look thin but complete, never thick like American fried chicken, and dredged pieces should not sit long or the starch absorbs moisture and turns patchy. That potato-starch-led mix is what fries into the thin, brittle shell classic Korean fried chicken is known for. - First Fry
Heat enough neutral oil in a heavy pot to submerge the pieces to 165°C, checking with a thermometer. Fry the chicken in small batches for 6–8 minutes, depending on piece size, until lightly golden and cooked most of the way through. Lift each batch onto a wire rack rather than paper towels and rest for 8–10 minutes, because steam escaping from the underside would soften the crust. That first fry cooks the meat and sets the crust, and overcrowding the pot drops the temperature and leaves the coating greasy. - Second Fry
Raise the oil temperature to 185°C and let it recover fully before the first batch goes back in. Fry the chicken again in batches for 2–4 minutes, until deeply golden brown, crisp, and crackly, then return it to the rack. The meat should reach at least 74°C at the thickest point, and the crust should feel firm and dry before any glaze touches it; a pale or soft crust means it needs another minute. That second fry is what drives out the last moisture and gives the chicken its signature shattering crispness. - Make the Soy Garlic Glaze
Warm 1 tbsp neutral oil in a skillet or saucepan over medium-low heat, add the 8 minced garlic cloves, and cook gently for 20–30 seconds, only until fragrant and never browned. Add 60ml soy sauce, 45g light brown sugar, 2 tbsp honey or rice syrup, 1 tbsp mirin, 2 tbsp water, 1 tsp sesame oil, and ¼ tsp black pepper, then simmer for 2–4 minutes until slightly thickened and glossy. If it reduces too far, loosen it with 1–2 tbsp hot water. That gentle garlic start is what keeps the glaze sweet and aromatic, since burnt garlic turns the whole sauce bitter. - Glaze the Chicken
Add the fried chicken to a large, warm bowl and spoon over only enough glaze to coat it lightly, reserving the rest for the plate. Toss quickly until the pieces are evenly lacquered, with the craggy crust still visibly crunchy beneath the sauce. A little glaze should cling and drip onto the plate, but the coating must never look soggy. That last-moment toss is what protects the crunch, since the crust begins softening as soon as sauce touches it. - Finish and Serve
Arrange the chicken on a serving plate and sprinkle generously with 2–3 tsp toasted sesame seeds and the 2 sliced scallions. Spoon any remaining warm glaze around the chicken rather than over it, and serve immediately. If holding for a few minutes, leave the chicken uncovered so trapped steam cannot soften the crust. That immediate service matters because the dish is genuinely at its best in the first minutes after glazing, while the shell is still shattering.
*Notes :
- The double fry deserves genuine recognition as the technique most directly responsible for whether the crust stays crisp under the glaze. The first fry at 165°C cooks the meat and sets the starch shell, and the rack rest lets internal steam escape, so the second fry at 185°C only has to dehydrate and brown a shell that already exists — a single fry leaves a damp, leathery coating.
- Keeping the potato-starch coating thin and pressed on dry deserves the same attention this technique receives throughout this collection’s other fried-chicken dishes. Potato starch fries into a glassy, brittle crust where flour alone turns bready, and pieces left sitting after dredging draw moisture from the skin, which is exactly what produces a patchy, uneven finish.
- The garlic, softened gently in oil for 20–30 seconds, deserves genuine respect as the detail most directly responsible for a glaze that tastes sweet and savoury rather than bitter. Finely minced garlic scorches within seconds over high heat, and once it browns its harsh bitterness spreads through the whole pan, which is why the soy mixture goes in at the first fragrance.
- Glazing with only enough sauce, right before serving, deserves attention as a genuine, checkable readiness cue rather than a loose approximation. The craggy crust should still be clearly visible through a thin, glossy lacquer, and a little glaze pooling on the plate instead of soaking into the coating is the clearest sign the amount is right.
Why This Recipe Works
This recipe works because a short rice wine and ginger marinade seasons the meat while a very dry surface lets the thin potato-starch coating grip the skin. The 165°C first fry cooks the chicken and sets the shell, and the 185°C second fry then drives out remaining moisture for a shattering crunch. A quick glaze of gently softened garlic, soy, brown sugar, and honey simmers just thick enough to cling lightly without turning into sticky candy. Tossing it through the chicken only at the end leaves a lacquered, dark amber coat over a crust that is still crisp.
Ingredient Breakdown
Potato Starch (Not Flour Alone)
The critical ingredient choice — fries into a thin, glassy, brittle crust that gives Korean fried chicken its signature crunch.
Double Fry (165°C Then 185°C)
The critical technique — the first fry cooks and sets the crust, and the second drives out moisture for a shattering finish.
Thoroughly Dried Chicken
The critical technique — patting the wings completely dry lets the coating grip the skin and fry crisp instead of steaming.
Gently Warmed Garlic (Never Browned)
The critical safeguard — softening eight minced cloves for 20–30 seconds keeps the glaze sweet and aromatic rather than bitter.
Soy, Brown Sugar, and Honey Glaze
The flavour foundation — salty soy, caramel brown sugar, and honey simmer into a glossy, lightly clinging sauce.
Light Last-Minute Glazing
The finishing technique — tossing in only enough glaze just before serving keeps the craggy crust visible and crunchy.
Flavor Structure Explained
This Korean soy garlic fried chicken follows a layered balance model:
- Crisp, glassy crust (potato starch, cornstarch, double fry)
- Juicy, savoury core (wing and drumette meat, rice wine, ginger)
- Sweet-salty glaze (soy sauce, brown sugar, honey, mirin)
- Aromatic garlic depth (gently softened garlic, sesame oil, black pepper)
- Fresh finishing lift (toasted sesame seeds, sliced scallions)
A thin potato-starch crust gives the chicken its genuinely crisp, glassy outer layer, while the juicy wing and drumette meat seasoned with rice wine and ginger forms the savoury core. Soy sauce, brown sugar, honey, and mirin build a real sweet-salty glaze, and softened garlic with sesame oil and black pepper adds its aromatic depth. Toasted sesame seeds and sliced scallions finish the plate with a fresh lift that ties the whole dish together.
Common Mistakes to Avoid
- Skipping the Dry Pat – This leaves surface moisture that steams under the coating and weakens the finished crust. Always pat every wing and drumette thoroughly dry with paper towels before seasoning.
- Crowding the Frying Pot – This drops the oil temperature, leaving the coating pale, greasy, and soft instead of crisp. Always fry in small batches and let the oil recover to the target temperature between rounds.
- Skipping the Second Fry – This leaves moisture in the coating, so the crust turns soft and leathery once glaze touches it. Always raise the oil to 185°C and fry until deeply golden and crackly.
- Browning the Garlic – This turns the minced garlic bitter and spreads that harshness through the entire glaze. Always cook it gently for only 20–30 seconds, just until fragrant, before adding the liquids.
- Drowning the Chicken in Glaze – This soaks the crust and hides the craggy texture that makes the dish worth eating. Always add just enough glaze to coat lightly and toss quickly right before serving.
Variations
Extra-Crunch Version
After dredging, let the coated chicken rest for 5 minutes, then lightly toss it again in a little more starch before frying, building an even thicker, craggier shell.
Sticky Glaze Version
Increase the honey or Korean rice syrup in the glaze by 1 tbsp, giving a slightly stickier, more lacquered finish while keeping the same garlicky soy flavour.
Spicy Garlic Version
Stir ½–1 tsp Korean chili flakes into the glaze along with the soy sauce, adding a gentle, building heat that sits comfortably beside the sweetness without changing the crust.
Drumettes-Only Version
Use only drumettes for the full 16 pieces, giving more uniform sizes that fry evenly and make for neater, easier-to-hold pieces on the plate.
Storage & Make-Ahead
This dish is best served within minutes of glazing, so cook the chicken ahead if you like but toss it with the sauce only when everyone is ready to eat.
Leftover unglazed chicken keeps refrigerated in an airtight container for up to 2 days and can be re-crisped on a rack in a 200°C oven for 8–10 minutes until hot and crunchy again.
The soy garlic glaze can be made up to 4 days ahead and refrigerated in a sealed jar, then rewarmed gently in a saucepan with a splash of water until loose and glossy.
Season the chicken and leave it for its 30 minutes, but dredge it only just before it goes into the oil, since a coated piece left sitting absorbs moisture and fries up patchy.
Leftover glazed chicken will not be as crisp as freshly double-fried chicken, so for the best texture reheat it on a rack in a hot 200°C oven rather than in a microwave.
Frequently Asked Questions
Why is the chicken fried twice at two different temperatures?
The 165°C first fry cooks the meat and sets the crust, while the 185°C second fry drives out remaining moisture, giving the shattering crispness that a single fry at one temperature simply cannot reach.
Why is potato starch used in the coating instead of only flour?
Potato starch fries into a thin, brittle, glassy shell, whereas flour alone produces a thicker, breadier crust, so the cornstarch and small amount of flour only add structure around the starch.
Why must the garlic be cooked gently and never browned?
Finely minced garlic scorches in seconds, and burnt garlic turns the whole glaze bitter, so a brief 20–30 second warming in the oil keeps the sauce sweet, fragrant, and well balanced.
Why is the chicken glazed only right before serving?
A fried crust begins absorbing moisture the moment it meets sauce, so tossing with a light coating at the last moment keeps the crunch intact beneath the glossy glaze.
Are there other classic Korean chicken, fried rice, or street food dishes worth trying?
Korean BBQ Chicken Wings offers another classic Korean chicken direction worth exploring, and Karaage — Japanese Fried Chicken is also worth trying for a crisp Japanese take. Honey Sesame Chicken Rice Bowls and Korean Corn Dogs offer other sweet glazed and street food directions, and Korean Kimchi Fried Rice is worth exploring too.
Nutrition Facts
( Per Serving — 4 pieces )
Calories
~790 kcal
Protein
44 g
Fat
46 g
Carbs
48 g
Calories
~790 kcal
Protein
44 g
Fat
46 g
Carbs
48 g
Related Recipes
Related Recipes
-

Thai Cashew Chicken Rice Bowl
Seared chicken thighs, roasted whole cashews, red and green peppers and onion in a glossy oyster-soy sauce, served over fluffy jasmine rice.
-
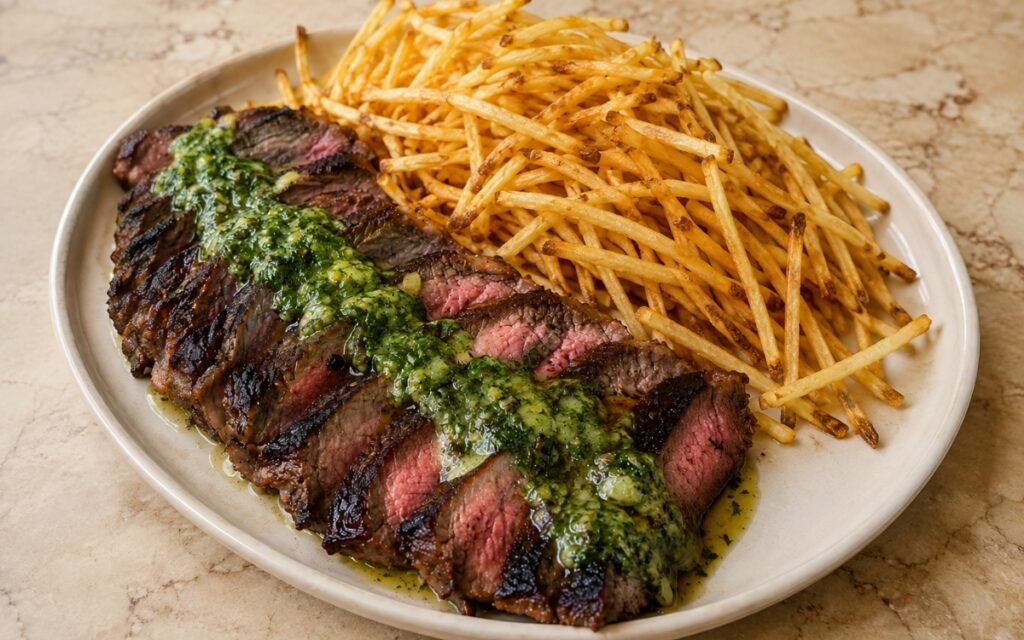
Paris Steak Frites
Seared medium-rare steak with a deep crust, double-fried shoestring frites, and a rich café de Paris-style herb butter sauce.
-
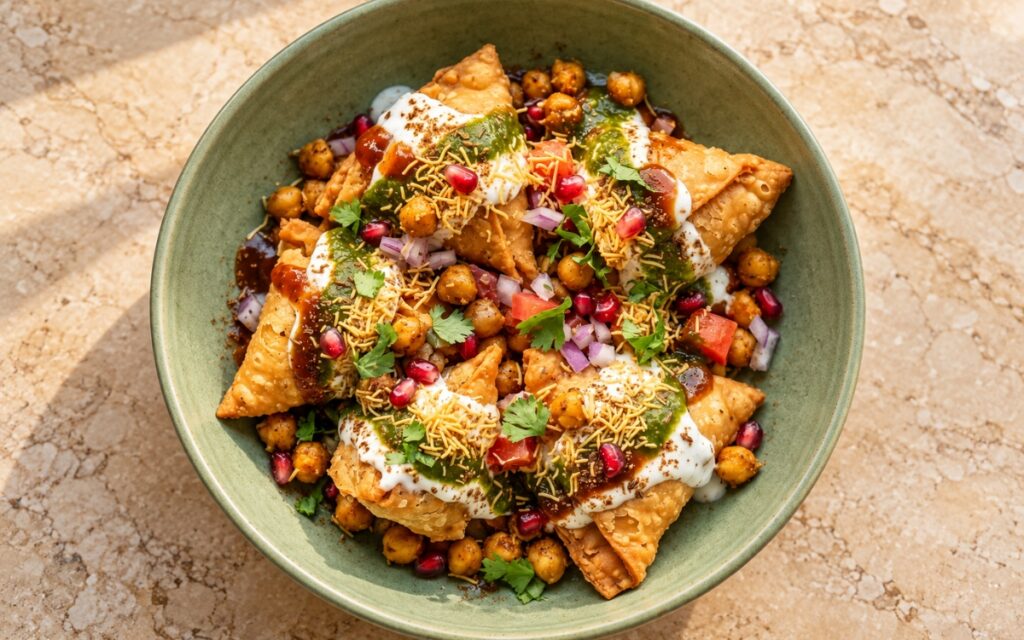
Samosa Chaat
Crisp homemade potato and pea samosas broken into bowls and topped with warm chickpeas, yogurt, green chutney, tamarind chutney, sev and chaat spices.

You might also like
You might also like
-
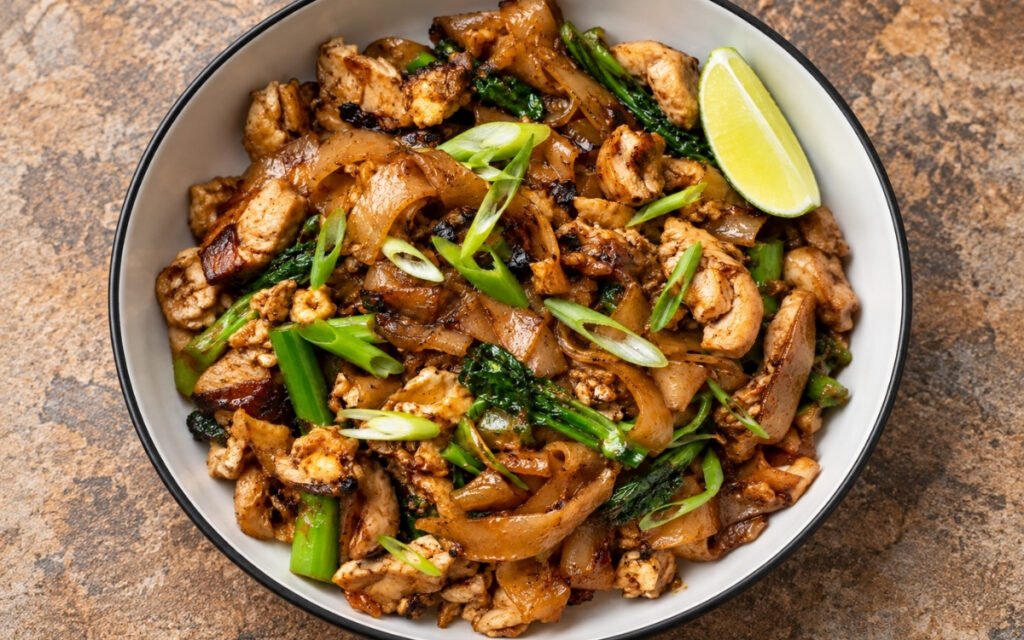
Pad See Ew — Thai Stir-Fried Wide Noodles
Wide rice noodles stir-fried with dark soy sauce, Chinese broccoli, sliced chicken, and egg over high heat for smoky wok-hei char.
-
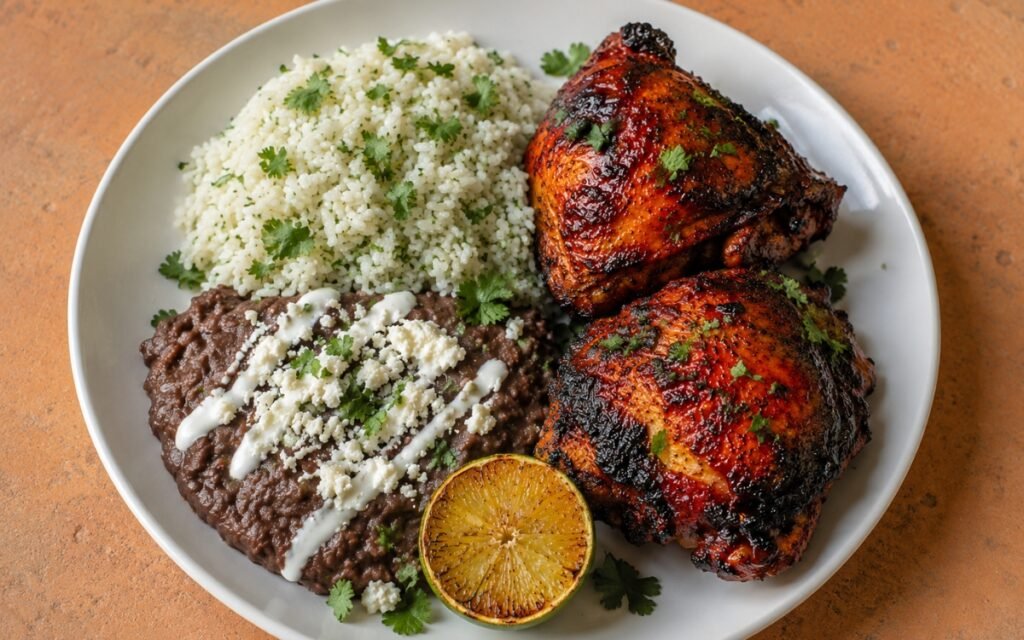
Pollo Asado with Rice and Beans
Bone-in chicken thighs marinated in achiote and citrus, grilled two-zone until deeply red and charred. Served with cilantro-lime rice and creamy black beans.
-
Huli Huli Chicken Rice Bowl
Grilled chicken thighs glazed in sticky pineapple-soy sauce, served over steamed white rice with caramelised grilled pineapple, scallions, and toasted sesame seeds.

Korean Soy Garlic Fried Chicken
Ingredients
Method
- Pat the 1.2–1.3kg of wings and drumettes very dry with paper towels, turning each piece so no damp patches remain on the skin. In a large bowl, combine the chicken with 1 tsp kosher salt, ½ tsp black pepper, 1 tbsp rice wine, and 1 tsp grated ginger, then mix well and leave for 30 minutes. Do not extend the marinade much beyond that, because a longer wet seasoning leaves the surface damp and the coating less crisp. That thorough drying is what lets the starch grip the skin directly instead of steaming off it in the oil.
- In a wide bowl or tray, whisk together 120g potato starch, 60g cornstarch, 40g all-purpose flour, 1 tsp baking powder, and ½ tsp salt until evenly combined. Toss the chicken in the mixture until every piece is completely covered, then press the dry coating firmly onto each surface so a thin, rough layer forms, and shake off only the loose excess. The coating should look thin but complete, never thick like American fried chicken, and dredged pieces should not sit long or the starch absorbs moisture and turns patchy. That potato-starch-led mix is what fries into the thin, brittle shell classic Korean fried chicken is known for.
- Heat enough neutral oil in a heavy pot to submerge the pieces to 165°C, checking with a thermometer. Fry the chicken in small batches for 6–8 minutes, depending on piece size, until lightly golden and cooked most of the way through. Lift each batch onto a wire rack rather than paper towels and rest for 8–10 minutes, because steam escaping from the underside would soften the crust. That first fry cooks the meat and sets the crust, and overcrowding the pot drops the temperature and leaves the coating greasy.
- Raise the oil temperature to 185°C and let it recover fully before the first batch goes back in. Fry the chicken again in batches for 2–4 minutes, until deeply golden brown, crisp, and crackly, then return it to the rack. The meat should reach at least 74°C at the thickest point, and the crust should feel firm and dry before any glaze touches it; a pale or soft crust means it needs another minute. That second fry is what drives out the last moisture and gives the chicken its signature shattering crispness.
- Warm 1 tbsp neutral oil in a skillet or saucepan over medium-low heat, add the 8 minced garlic cloves, and cook gently for 20–30 seconds, only until fragrant and never browned. Add 60ml soy sauce, 45g light brown sugar, 2 tbsp honey or rice syrup, 1 tbsp mirin, 2 tbsp water, 1 tsp sesame oil, and ¼ tsp black pepper, then simmer for 2–4 minutes until slightly thickened and glossy. If it reduces too far, loosen it with 1–2 tbsp hot water. That gentle garlic start is what keeps the glaze sweet and aromatic, since burnt garlic turns the whole sauce bitter.
- Add the fried chicken to a large, warm bowl and spoon over only enough glaze to coat it lightly, reserving the rest for the plate. Toss quickly until the pieces are evenly lacquered, with the craggy crust still visibly crunchy beneath the sauce. A little glaze should cling and drip onto the plate, but the coating must never look soggy. That last-moment toss is what protects the crunch, since the crust begins softening as soon as sauce touches it.
- Arrange the chicken on a serving plate and sprinkle generously with 2–3 tsp toasted sesame seeds and the 2 sliced scallions. Spoon any remaining warm glaze around the chicken rather than over it, and serve immediately. If holding for a few minutes, leave the chicken uncovered so trapped steam cannot soften the crust. That immediate service matters because the dish is genuinely at its best in the first minutes after glazing, while the shell is still shattering.