
Crispiest Fried Chicken
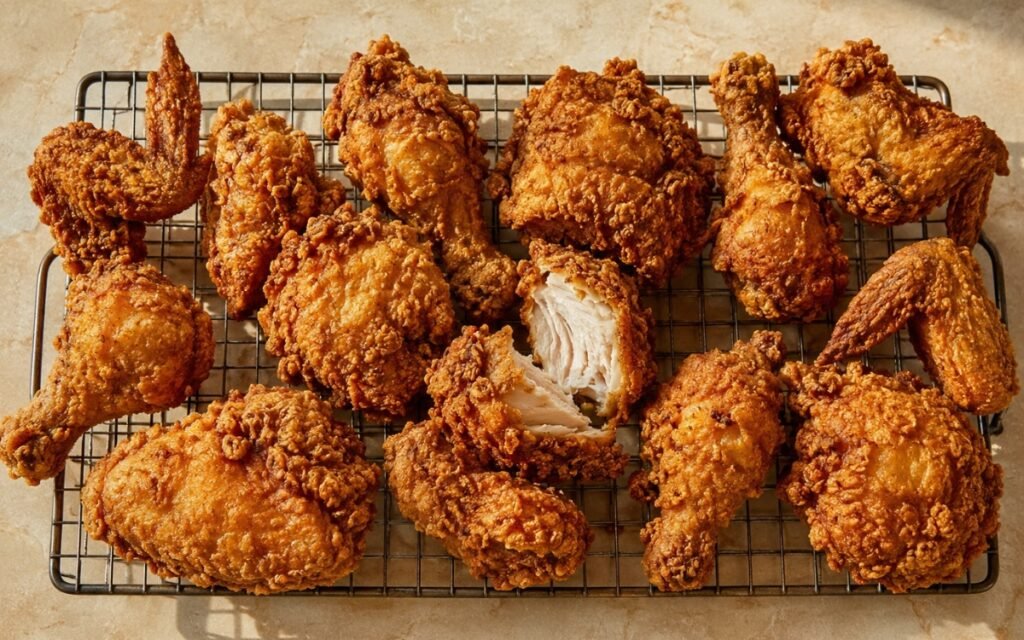
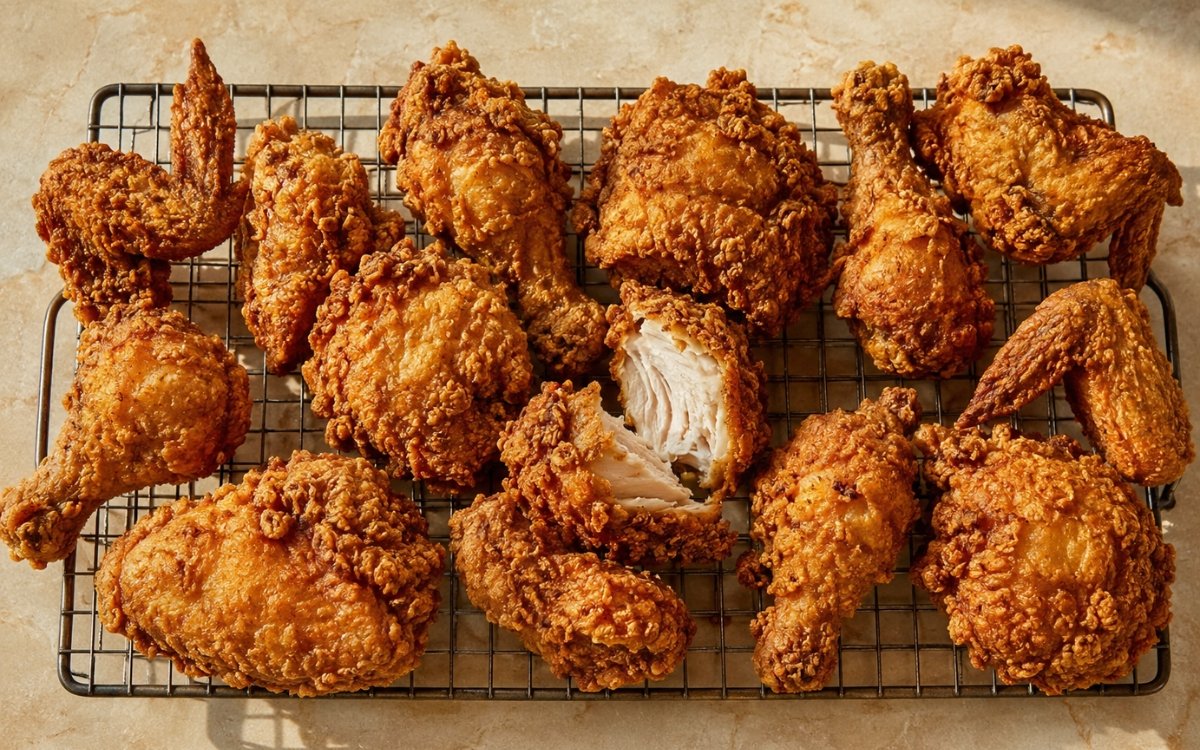
Extra-craggy fried chicken made with a spiced buttermilk brine, a dry flour-cornstarch dredge, a cold-water rehydration dip, and a double-fry technique for deeply golden, aggressively crunchy crust. The cold-water dip between dredges is the technique that separates this chicken from ordinary fried chicken — dunking the first, already-set coating briefly in ice water turns it into a sticky paste that the second dredge grabs onto and builds up into a genuinely thick, rugged crust, the same rehydrate-and-redredge principle used elsewhere in this collection whenever a coating needs real structural depth rather than a single thin layer. Pressing the dredge firmly into the meat at every stage, rather than lightly tossing, is what actually builds that crag — a gentle coating produces a thin, smooth crust with none of the bumps and ridges this recipe is built around. Frying twice, at two distinct temperatures, follows the same cooler-then-hotter logic used throughout this collection whenever a thick coating needs time to cook through before it’s pushed to full, aggressive crispness. The payoff is a piece of chicken with a genuinely rough, deeply golden, loudly crunchy exterior giving way to juicy, well-seasoned meat.
Prep Time : 35 min
Cook Time : 35–45 min
Servings : 4
35 min
35–45 min
4
Ingredients
For the Chicken
• 4 chicken drumsticks
• 4 bone-in, skin-on chicken thighs
• 8 whole chicken wings, not separated
• Fine sea salt, as needed for light pre-seasoning
For the Spiced Buttermilk Brine
• 720ml buttermilk
• 12g fine sea salt
• 8g garlic powder — this one on Amazon
• 8g onion powder — this one on Amazon
• 5g paprika powder — this one on Amazon
• 3g white pepper — this one on Amazon
• 2g cayenne pepper, optional — this one on Amazon
• 10ml hot sauce, optional
For the Dry Dredge
• 360g all-purpose flour — this one on Amazon
• 120g cornstarch
• 16g fine sea salt
• 10g garlic powder
• 10g onion powder
• 8g paprika powder
• 4g white pepper
• 3g black pepper
• 3g baking soda
For the Cold-Water Dip
• 1.5–2 litres ice-cold water
• Plenty of ice
For Frying
• Neutral oil, as needed for deep-frying
This post may contain affiliate links. As an Amazon Associate I earn from qualifying purchases, at no additional cost to you.
Directions
- Brine the Chicken
Pat the chicken pieces dry. Lightly season all sides with fine sea salt. In a large bowl, whisk together the buttermilk, salt, garlic powder, onion powder, paprika, white pepper, cayenne if using, and hot sauce if using. Add the chicken and turn every piece until fully coated. Cover and refrigerate for at least 2 hours, ideally overnight. The overnight brine is better. Two hours works, but it is the weaker version. The buttermilk seasons the meat, slightly tenderizes the surface, and gives the dredge something to grip. Buttermilk’s mild acidity works on the chicken’s surface proteins over the extended soak, tenderising gently while its slightly thickened texture also clings to the meat better than a thinner liquid would — that clinging quality is part of what gives the first dredge such a good initial surface to bond with. - Prepare the Dredge
In a wide bowl or tray, whisk together the flour, cornstarch, salt, garlic powder, onion powder, paprika, white pepper, black pepper, and baking soda. The flour gives body, the cornstarch lightens the crust, and the baking soda helps with browning and texture. Do not get clever and add too much baking soda — it will taste bitter and soapy. Cornstarch fries into a lighter, crisper texture than flour alone would produce, while the small amount of baking soda raises the batter’s pH slightly, which speeds up browning reactions in the fryer — useful in the small amount specified, but quickly unpleasant if overdone. - First Dredge
Remove one piece of chicken from the buttermilk, letting the excess drip off but not wiping it clean. Place it into the dry dredge. Press the dredge firmly into every surface, especially around joints, folds, and skin edges. This pressing step is not decoration — it is what builds the craggy crust. Shake off only the loose flour that is barely attached. Transfer the coated chicken to a wire rack and repeat with all pieces. Leaving the buttermilk clinging rather than wiping it off gives the dry dredge plenty of moisture to bind to immediately — that residual buttermilk is what turns the pressed flour into a genuinely adherent first layer rather than a loose, easily shed dusting. - Set the First Coating
Let the dredged chicken rest on the rack for 5–10 minutes. The coating should hydrate slightly and look patchy, rough, and damp in spots. If it still looks like dry loose flour everywhere, it has not set yet. This short rest lets the buttermilk clinging beneath the flour continue absorbing into the dry coating, transforming it from a powdery surface into a slightly tacky, semi-set layer — that transformation is a prerequisite for what the cold-water dip does next. - Cold-Water Dip and Second Dredge
Fill a bowl or container with ice-cold water. Working one piece at a time, lower the dredged chicken into the cold water for 10–20 seconds without moving it around aggressively. Lift it out and let the excess water drip off for a few seconds. Return the piece immediately to the dry dredge. Press the flour mixture firmly into the chicken again, building a thick, rough, uneven coating. Transfer back to the wire rack. This step is the whole trick. The cold water rehydrates the first coating into a sticky paste, then the second dredge grabs onto it and creates the heavy craggy crust. Skip it and you get normal fried chicken, not the crispiest version. The brief ice-water dunk partially dissolves the surface of the already-set first coating into a sticky, paste-like consistency without washing it away entirely — that sticky surface is exactly what gives a second layer of dry dredge something substantial to adhere to, building real thickness rather than simply repeating a thin single coat. - Rest the Final Coating
Let the fully dredged chicken rest for another 10–15 minutes while the oil heats. The crust should look rugged and uneven, with visible bumps and ridges. If the coating looks smooth, you were too gentle. Press harder next time. A visibly rough, uneven surface at this stage is the clearest indicator that enough pressure was used throughout both dredging stages — a smooth surface means the flour was patted on rather than pressed in, and that difference shows up directly in how craggy the fried crust ends up being. - First Fry
Heat the oil to 150–155°C. Fry in batches, without crowding the pot. Start with the smallest pieces and finish with the largest pieces. Approximate first-fry times: whole wings 8–10 minutes, drumsticks 10–12 minutes, thighs 13–16 minutes. The chicken should be pale golden to medium golden after the first fry, with the crust set but not yet deeply crisp. Transfer to a wire rack. Do not stack the chicken on paper towels. That steams the crust and ruins the whole point. This lower-temperature first fry is calibrated to cook the chicken through and set the thick, double-pressed crust without pushing it toward deep colour — that colour-building is deliberately saved for the second, hotter fry, the same reasoning that governs the two-stage fry for standard fries elsewhere in this collection. - Rest Before the Second Fry
Let the chicken rest on the rack for 10 minutes. This pause lets the internal heat equalize and allows surface steam to escape before the final crisping fry. Allowing residual heat to distribute more evenly through each piece during this rest reduces the risk of the second fry overcooking the exterior before the interior has fully caught up — it’s a similar logic to resting a roast before carving, applied to a fried crust instead. - Second Fry
Increase the oil temperature to 185–190°C. Fry the chicken again in batches until deeply golden-brown, craggy, and aggressively crisp. Approximate second-fry times: whole wings 2–3 minutes, drumsticks 3–4 minutes, thighs 4–6 minutes. The crust should be dark golden, rough, and crunchy across the whole surface. The internal temperature must reach: wings and drumsticks 74°C, thighs 80–85°C for better texture around the bone. Since the chicken is already fully cooked from the first fry, this second, much hotter pass exists purely to drive off remaining surface moisture and build deep, aggressive colour and crunch across the thick, double-pressed crust — it moves fast precisely because it isn’t also responsible for cooking the meat. - Drain and Serve
Transfer the fried chicken to a clean wire rack. Let it rest for 5 minutes before serving. Serve hot, while the crust is still loud and crisp. A brief final rest lets the crust’s structure fully set after the intense heat of the second fry, while staying well within the window where the chicken is still audibly, genuinely crisp when served.
*Notes :
- The cold-water dip is worth understanding as the specific mechanism that produces this recipe’s defining texture, rather than an odd extra step tacked onto a standard breading process. A single dredge, however firmly pressed, produces a relatively thin, uniform coating. Dunking that set first coating briefly in ice water partially dissolves its surface back into a sticky paste without washing it away — and it’s specifically that sticky surface that gives a second full layer of dry dredge something substantial to bond to, building the thick, uneven, genuinely craggy crust that separates this chicken from an ordinary single-dredge version.
- Pressing the dredge into the meat firmly, at both the first and second dredging stages, is a detail that’s easy to underestimate the importance of. A light toss or pat produces a thin, mostly smooth coating that fries into something closer to a standard breaded cutlet. Genuinely pressing the flour mixture into every surface — joints, folds, skin edges — is what forces the coating to build up unevenly in a way that fries into distinct bumps and ridges rather than a flat, uniform shell.
- Treating the different chicken pieces individually during both fries, rather than pulling everything from the oil at the same time, matters more than it might initially seem. Whole wings, being smaller and thinner, cook through considerably faster than bone-in thighs. Applying identical fry times across every piece risks either drying out the wings by the time the thighs are properly cooked, or leaving the thighs undercooked by the time the wings are pulled — the differentiated timing given here exists specifically to avoid that mismatch.
- The two-fry structure, with a genuine rest period between the two stages, mirrors a principle used throughout this collection for other double-fried applications, adapted here for a much thicker breaded coating. The first fry’s job is cooking the meat through and setting the crust without pushing for deep colour; the second fry’s job, once the meat is already done, is building maximum crunch and colour as efficiently as possible. Collapsing this into a single fry forces an impossible trade-off between a properly cooked interior and a properly crisp exterior.
Why This Recipe Works
This recipe works because the crust is built in genuine layers rather than a single dredge: buttermilk clings to the chicken and gives the first dry coating something to bond with, that coating is pressed firmly and allowed to set, then briefly rehydrated in ice water so a second pressed layer can build real thickness on top.
Frying twice — cooler first to cook through and set the crust, hotter second to build aggressive colour and crunch — lets the coating reach its full crispness without overcooking the meat, and treating each cut of chicken with its own appropriate timing prevents the smaller pieces from drying out while the larger ones finish.
Ingredient Breakdown
Spiced Buttermilk Brine
The seasoning and prep base — tenderises the surface gently over an extended soak and gives the first dry dredge something to properly cling to.
Flour-Cornstarch-Baking Soda Dredge
The crust’s composition — cornstarch lightens the texture, baking soda aids browning, flour provides body and structure.
Firmly Pressed Double Dredge
The critical technique — pressing rather than tossing at both stages is what builds the thick, uneven, genuinely craggy crust.
Cold-Water Rehydration Dip
The defining step — briefly dissolves the set first coating’s surface into a sticky paste that the second dredge can properly grab onto.
Two-Stage Fry with Rest
The cooking method — a cooler fry cooks through and sets the crust, a hotter fry builds maximum crunch, with a rest between to equalise heat.
Flavor Structure Explained
This fried chicken follows a layered balance model:
- Aggressively crisp foundation (double-pressed, double-fried crust)
- Warm savoury spice (garlic, onion, paprika, white pepper)
- Juicy tender centre (buttermilk-brined chicken)
- Optional gentle heat (cayenne, hot sauce)
The double-pressed, double-fried crust defines the eating experience with genuinely loud, rough crunch across every surface. Garlic powder, onion powder, paprika, and white pepper — present in both the brine and the dredge — build a consistent, warm savoury spice profile that runs through the whole piece rather than sitting only on the surface. Beneath that crust, the buttermilk-brined chicken stays juicy and well-seasoned throughout. Optional cayenne and hot sauce in the brine add a gentle, adjustable background heat for anyone who wants it.
Common Mistakes to Avoid
- Lightly Tossing the Chicken in the Dredge Instead of Pressing – This produces a thin, smooth coating rather than the thick, craggy crust this recipe depends on. Always press the dredge firmly into every surface.
- Skipping the Cold-Water Dip – Without it, you get a normal single-layer fried chicken crust, not the extra-thick, rugged version this recipe is built around. Always include the brief rehydration dip between dredges.
- Frying All Pieces for the Same Amount of Time – Wings cook through much faster than thighs. Always adjust fry times per cut to avoid dry wings or undercooked thighs.
- Skipping the Second Fry – A single fry can’t build the same aggressive crunch as the two-stage method. Always fry twice, resting between fries.
- Draining on Paper Towels – This traps steam underneath the crust and softens it. Always rest fried chicken on a wire rack instead.
Variations
Spicier Version
Include both the cayenne and hot sauce in the brine, and add a pinch more cayenne to the dry dredge for a sharper, more pronounced heat throughout.
Boneless Version
Substitute boneless, skin-on thighs for the bone-in pieces, reducing both fry times slightly and watching the internal temperature closely given the faster cook.
Extra-Savoury Version
Increase the garlic powder and onion powder in both the brine and dredge by about 25% for a more assertive savoury backbone.
Smaller Batch
Halve all quantities and use only drumsticks and wings for a faster-cooking, smaller portion size.
Storage & Make-Ahead
Raw chicken can brine in the buttermilk mixture for up to 24 hours in the refrigerator; overnight is ideal for the deepest seasoning.
Dredged, unfried chicken should be fried the same day it’s coated rather than held raw for an extended period, since the pressed coating is built specifically to go straight into hot oil.
Fried chicken can be refrigerated in an airtight container for up to 3 days. Reheat in a 190°C oven or air fryer for 10–15 minutes to restore crispness rather than using a microwave, which will soften the crust.
Frequently Asked Questions
Why does the chicken need to be dredged twice with a cold-water dip in between, rather than just once?
A single dredge, however firmly pressed, produces a relatively thin, smooth coating. The cold-water dip partially dissolves the surface of the first set coating into a sticky paste, giving a second layer of dry dredge something substantial to bond to — that’s specifically what builds the thick, uneven, genuinely craggy crust this recipe is named for.
Why press the dredge into the chicken firmly instead of just tossing it in flour?
A light toss produces a thin, mostly smooth coating that fries closer to a standard breaded cutlet. Pressing the flour mixture firmly into every surface, especially joints and edges, is what forces the coating to build up unevenly into the bumps and ridges that fry into a genuinely rough, crunchy crust.
Why do different chicken pieces need different fry times instead of one standard time for everything?
Whole wings are smaller and thinner than bone-in thighs, and they cook through considerably faster. Using the same fry time for every piece risks drying out the wings before the thighs are properly cooked, or leaving the thighs undercooked while the wings are already done.
Why is the second fry described as non-optional?
The first fry cooks the chicken through and sets the crust, but at a temperature deliberately kept low enough to avoid deep colour. The second, much hotter fry is what actually builds the aggressive, deeply golden crunch — without it, the crust stays pale and considerably less crisp.
Are there other fried chicken formats worth trying with a similar coating technique?
Chicken Fries takes this kind of crispy breading and applies it to long, thin strips rather than bone-in pieces. Nashville Hot Chicken Sandwich uses a related dredging approach, with the finished fried chicken then dipped in a fiery Nashville-style oil for extra heat, while the Spicy Fried Chicken Sandwich takes a different flavour direction with a Garlic-Sriracha Mayo. For a full fast-food-style combo, Homemade Onion Rings make a great side to fry alongside this chicken.
Nutrition Facts
( per serving )
Calories
~780 kcal
Protein
46 g
Fat
44 g
Carbs
48 g
Calories
~780 kcal
Protein
46 g
Fat
44 g
Carbs
48 g
Related Recipes
Related Recipes

Honey Lemon Pepper Wings
Crispy wings coated in glossy honey-lemon pepper glaze deliver citrus bite, heat, and buttery richness.
Shrimp Fajita
Smoked paprika and cumin-marinated shrimp seared 30–45 seconds per side in cast iron with charred tri-colour peppers and caramelised onions — the fastest fajita in the collection.
Argentine Milanesa Napolitana
Breaded, fried chicken cutlets topped with tomato sauce, smoked ham, and melted mozzarella, served with crispy double-fried fries.
You might also like
You might also like
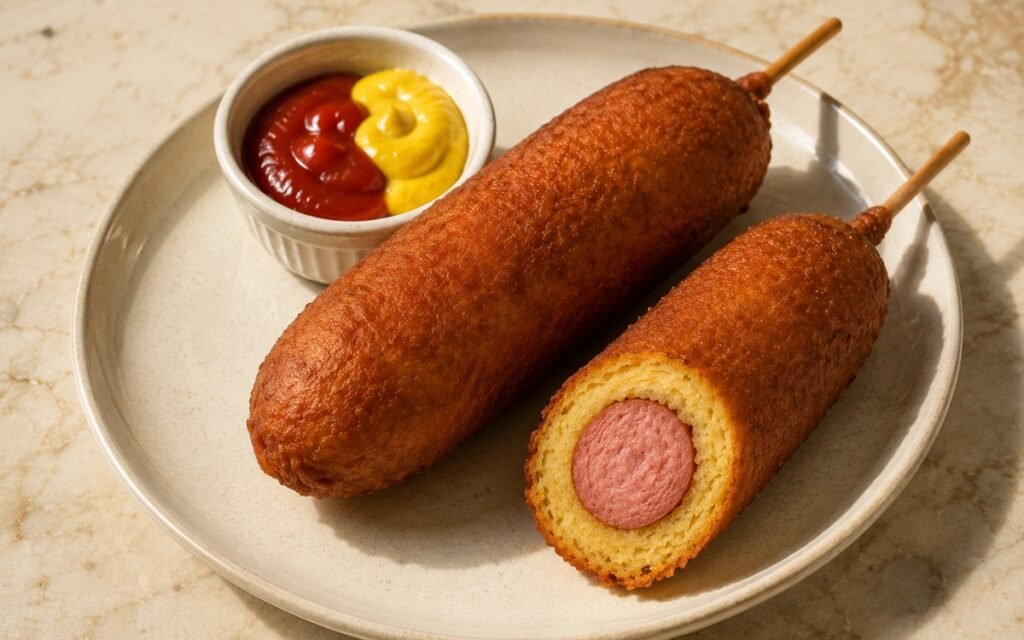
American Corn Dogs
Smoked frankfurters dusted in flour, dipped in thick cornmeal batter, and deep-fried until deeply golden, crisp, and slightly bumpy.
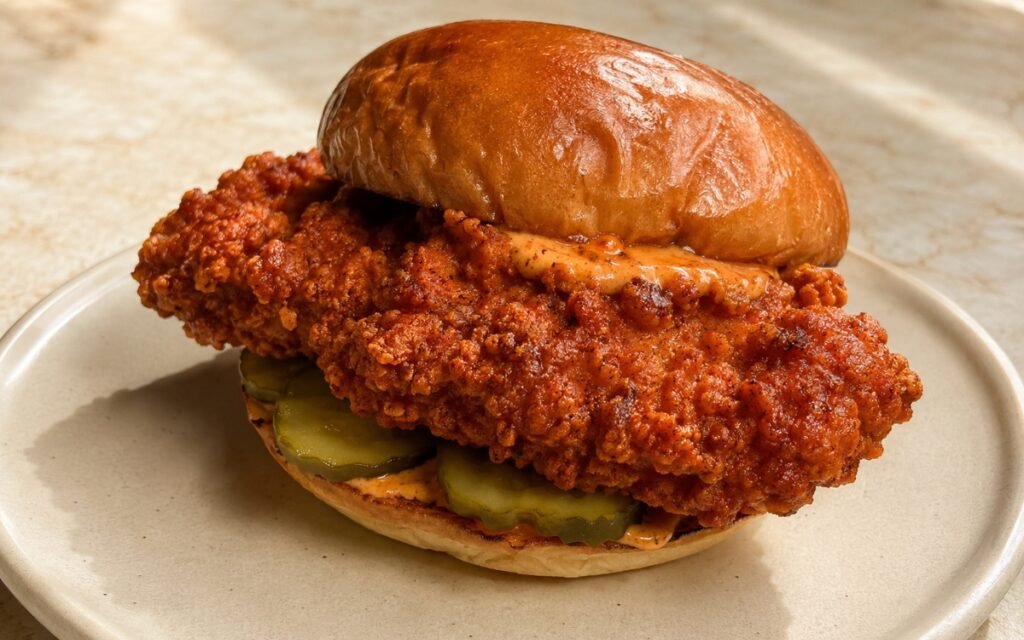
Spicy Fried Chicken Sandwich
Ultra-crispy gochujang-marinated chicken with pickles, melted cheese, and garlicky heat stacked on toasted brioche.
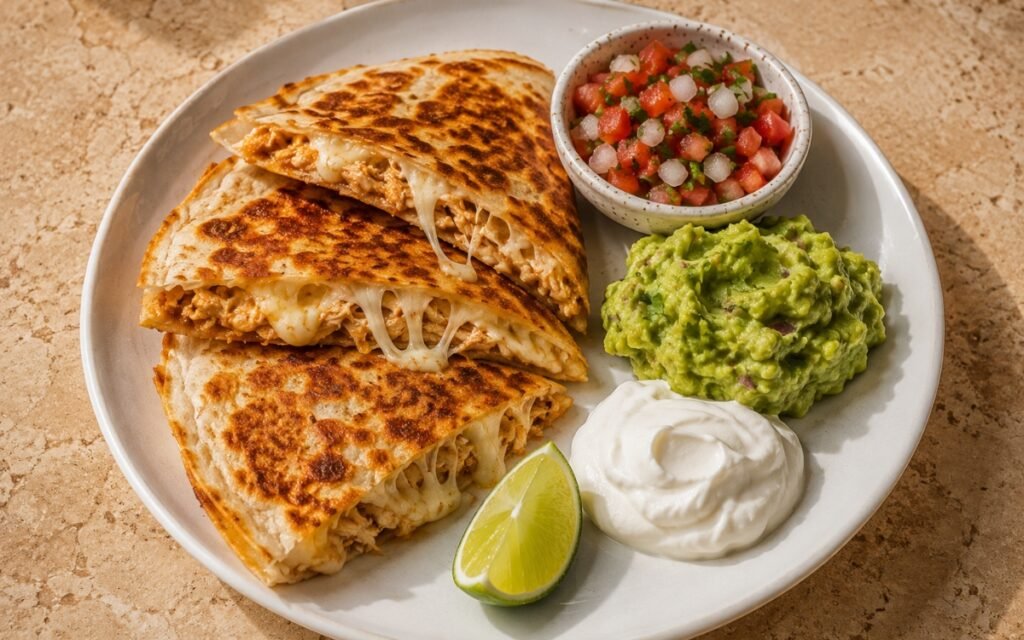
Chicken Quesadilla
Marinated chicken thighs seared, shredded, and reduced, folded into flour tortillas with a three-cheese blend, and crisped in butter until golden and blistered.
Crispiest Fried Chicken
Ingredients
Method
- Pat the chicken pieces dry. Lightly season all sides with fine sea salt. In a large bowl, whisk together the buttermilk, salt, garlic powder, onion powder, paprika, white pepper, cayenne if using, and hot sauce if using. Add the chicken and turn every piece until fully coated. Cover and refrigerate for at least 2 hours, ideally overnight. The overnight brine is better. Two hours works, but it is the weaker version. The buttermilk seasons the meat, slightly tenderizes the surface, and gives the dredge something to grip. Buttermilk’s mild acidity works on the chicken’s surface proteins over the extended soak, tenderising gently while its slightly thickened texture also clings to the meat better than a thinner liquid would — that clinging quality is part of what gives the first dredge such a good initial surface to bond with.
- In a wide bowl or tray, whisk together the flour, cornstarch, salt, garlic powder, onion powder, paprika, white pepper, black pepper, and baking soda. The flour gives body, the cornstarch lightens the crust, and the baking soda helps with browning and texture. Do not get clever and add too much baking soda — it will taste bitter and soapy. Cornstarch fries into a lighter, crisper texture than flour alone would produce, while the small amount of baking soda raises the batter’s pH slightly, which speeds up browning reactions in the fryer — useful in the small amount specified, but quickly unpleasant if overdone.
- Remove one piece of chicken from the buttermilk, letting the excess drip off but not wiping it clean. Place it into the dry dredge. Press the dredge firmly into every surface, especially around joints, folds, and skin edges. This pressing step is not decoration — it is what builds the craggy crust. Shake off only the loose flour that is barely attached. Transfer the coated chicken to a wire rack and repeat with all pieces. Leaving the buttermilk clinging rather than wiping it off gives the dry dredge plenty of moisture to bind to immediately — that residual buttermilk is what turns the pressed flour into a genuinely adherent first layer rather than a loose, easily shed dusting.
- Let the dredged chicken rest on the rack for 5–10 minutes. The coating should hydrate slightly and look patchy, rough, and damp in spots. If it still looks like dry loose flour everywhere, it has not set yet. This short rest lets the buttermilk clinging beneath the flour continue absorbing into the dry coating, transforming it from a powdery surface into a slightly tacky, semi-set layer — that transformation is a prerequisite for what the cold-water dip does next.
- Fill a bowl or container with ice-cold water. Working one piece at a time, lower the dredged chicken into the cold water for 10–20 seconds without moving it around aggressively. Lift it out and let the excess water drip off for a few seconds. Return the piece immediately to the dry dredge. Press the flour mixture firmly into the chicken again, building a thick, rough, uneven coating. Transfer back to the wire rack. This step is the whole trick. The cold water rehydrates the first coating into a sticky paste, then the second dredge grabs onto it and creates the heavy craggy crust. Skip it and you get normal fried chicken, not the crispiest version. The brief ice-water dunk partially dissolves the surface of the already-set first coating into a sticky, paste-like consistency without washing it away entirely — that sticky surface is exactly what gives a second layer of dry dredge something substantial to adhere to, building real thickness rather than simply repeating a thin single coat.
- Let the fully dredged chicken rest for another 10–15 minutes while the oil heats. The crust should look rugged and uneven, with visible bumps and ridges. If the coating looks smooth, you were too gentle. Press harder next time. A visibly rough, uneven surface at this stage is the clearest indicator that enough pressure was used throughout both dredging stages — a smooth surface means the flour was patted on rather than pressed in, and that difference shows up directly in how craggy the fried crust ends up being.
- Heat the oil to 150–155°C. Fry in batches, without crowding the pot. Start with the smallest pieces and finish with the largest pieces. Approximate first-fry times: whole wings 8–10 minutes, drumsticks 10–12 minutes, thighs 13–16 minutes. The chicken should be pale golden to medium golden after the first fry, with the crust set but not yet deeply crisp. Transfer to a wire rack. Do not stack the chicken on paper towels. That steams the crust and ruins the whole point. This lower-temperature first fry is calibrated to cook the chicken through and set the thick, double-pressed crust without pushing it toward deep colour — that colour-building is deliberately saved for the second, hotter fry, the same reasoning that governs the two-stage fry for standard fries elsewhere in this collection.
- Let the chicken rest on the rack for 10 minutes. This pause lets the internal heat equalize and allows surface steam to escape before the final crisping fry. Allowing residual heat to distribute more evenly through each piece during this rest reduces the risk of the second fry overcooking the exterior before the interior has fully caught up — it’s a similar logic to resting a roast before carving, applied to a fried crust instead.
- Increase the oil temperature to 185–190°C. Fry the chicken again in batches until deeply golden-brown, craggy, and aggressively crisp. Approximate second-fry times: whole wings 2–3 minutes, drumsticks 3–4 minutes, thighs 4–6 minutes. The crust should be dark golden, rough, and crunchy across the whole surface. The internal temperature must reach: wings and drumsticks 74°C, thighs 80–85°C for better texture around the bone. Since the chicken is already fully cooked from the first fry, this second, much hotter pass exists purely to drive off remaining surface moisture and build deep, aggressive colour and crunch across the thick, double-pressed crust — it moves fast precisely because it isn’t also responsible for cooking the meat.
- Transfer the fried chicken to a clean wire rack. Let it rest for 5 minutes before serving. Serve hot, while the crust is still loud and crisp. A brief final rest lets the crust’s structure fully set after the intense heat of the second fry, while staying well within the window where the chicken is still audibly, genuinely crisp when served.