
Suadero Tacos
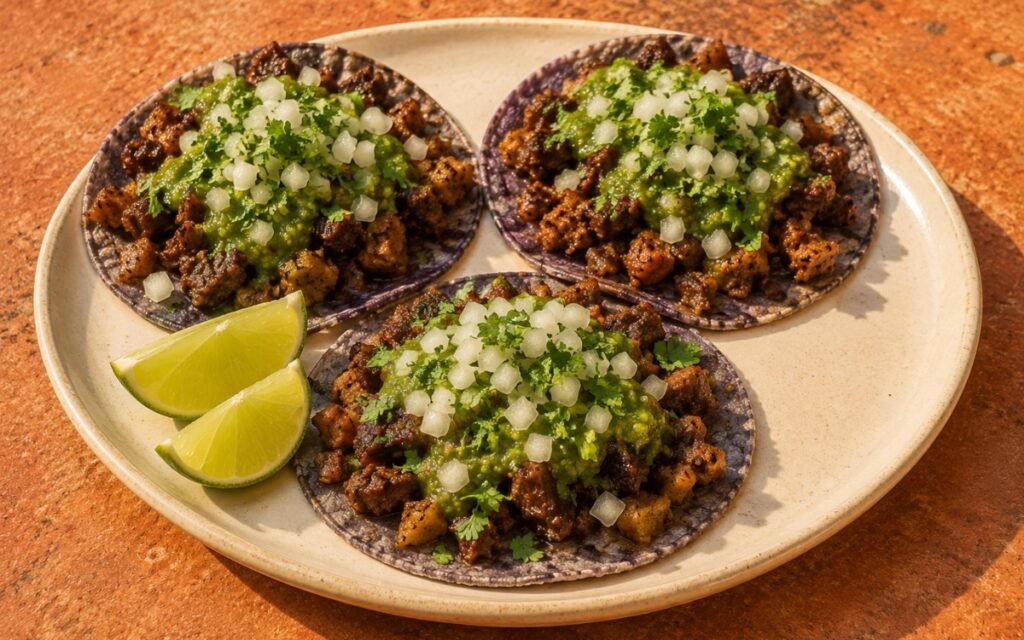
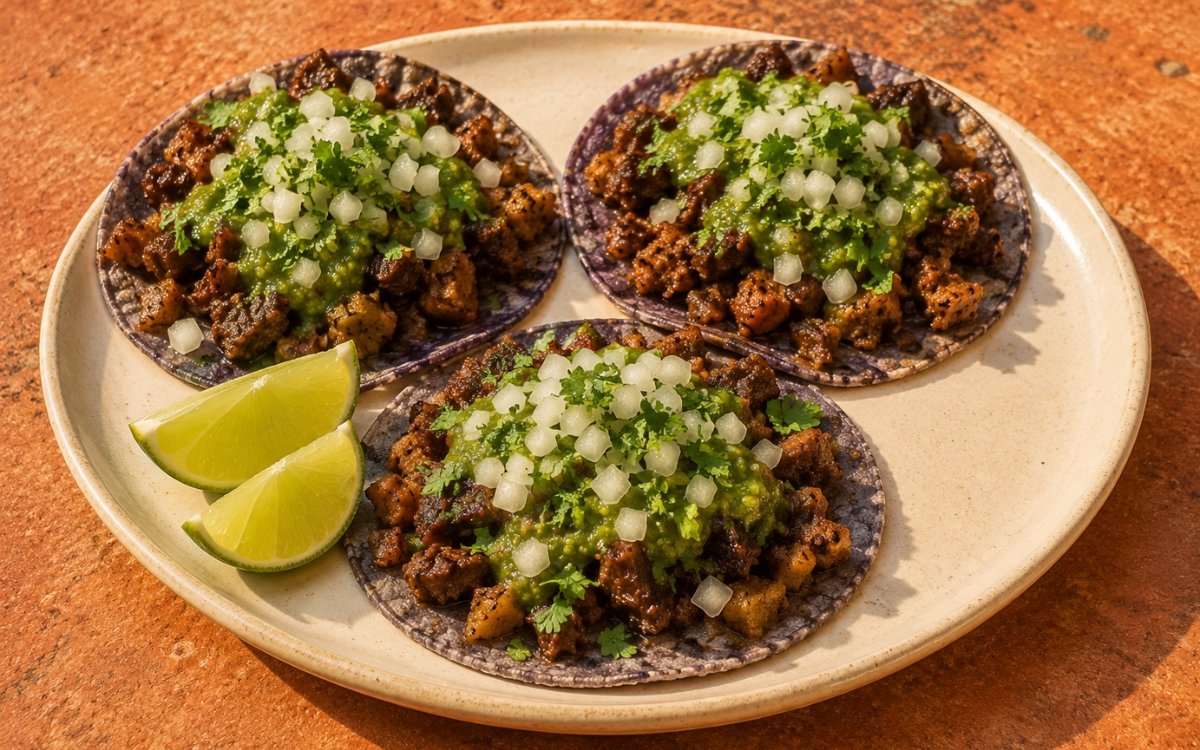
Three small blue-purple corn tortillas filled with slow-cooked suadero beef — deeply braised, chopped small, and glossy — mixed with crispy chopped chicharrón pieces for a tender-crisp texture contrast, finished with vivid green salsa verde, finely diced white onion, chopped fresh cilantro, and lime. This is Mexico City street-stall style, built on two distinct cooking stages rather than one: a long, shallow braise that keeps the beef rich and the liquid glossy rather than diluted, followed by a hard skillet-crisp that gives the chopped meat its characteristic lacquered, slightly crisp edge — braising alone would leave the suadero soft but flat, never developing the texture that defines it. The chicharrón is folded in only at the very end, the same principle used elsewhere in this collection whenever a crisp element has to be added after the fact rather than cooked alongside something wet, since even a few extra minutes of contact with hot, moist meat will soften it past the point of contrast. Blue corn masa, rather than standard yellow or white, is the specific visual and flavour marker of this style, with its slightly earthier, more mineral character against the rich beef. The payoff is a taco with genuine textural range in a single bite — soft tortilla, tender braised beef, crackling chicharrón, and a sharp, bright salsa verde cutting straight through the richness.
Prep Time : 45 min
Cook Time : 3hr, 30min
Servings : 8
45 min
3hr, 30min
8
Ingredients
For the Slow-Cooked Suadero Beef
• 2.4kg suadero beef, cut into large 8–10cm pieces — brisket point or well-marbled chuck roast work best if exact suadero is unavailable
• 24g kosher salt
• 5g freshly cracked black pepper
• 30ml neutral oil, for searing
• 80g beef tallow or lard
• 1 large white onion, quartered
• 8 garlic cloves, peeled and lightly smashed
• 3 bay leaves
• 6g ground cumin — this one on Amazon
• 4g dried Mexican oregano — this one on Amazon
• 2g smoked paprika — this one on Amazon
• 750ml water or beef stock, plus more if needed
• 30ml fresh lime juice, added after chopping
• 120ml reduced braising liquid, for glazing the chopped meat
For the Crispy Chicharrón
• 300g crispy pork chicharrón, chopped into small bite-sized pieces
• 30ml hot suadero braising fat, for tossing before serving
For the Homemade Blue Corn Tortillas — (Full recipe — see Homemade Corn Tortillas)
• 240g blue masa harina — this one on Amazon
• 3g fine sea salt
• 300g warm water, approximately 40°C
• Divide into 24 small taco tortillas, about 22g raw dough each, pressed to about 11.4cm / 4.5 inches diameter
For The Salsa Verde
• 10–12 tomatillos, husked and washed
• 1 large sweet onion, cut into 8 wedges
• 2 green jalapeños, deseeded, cut into 4 chunks each
• 3 garlic cloves, peeled and lightly smashed
• 2 tbsp extra-virgin olive oil — this one on Amazon
• Salt to taste
• Large bunch of fresh cilantro, leaves and stems included
• Juice of 1 lime
• 3 tbsp water, plus more if needed to adjust consistency
For Garnishing and Serving
• 220g white onion, finely diced
• 60g fresh cilantro, finely chopped
• 4 limes, cut into wedges
• 1 full batch salsa verde, from above
This post may contain affiliate links. As an Amazon Associate I earn from qualifying purchases, at no additional cost to you.
Directions
- Prepare the Blue Corn Tortillas
Prepare the Homemade Corn Tortilla dough according to its separate recipe, but use blue masa harina instead of regular masa harina. Mix the blue masa harina, salt, and warm water until a soft, hydrated dough forms. Rest covered for 20–30 minutes so the masa fully hydrates. Divide into 24 equal balls of about 22g each. Keep the dough covered at all times so the surface does not dry out. Press each tortilla to about 11.4cm / 4.5 inches diameter and cook on a dry hot skillet or comal until lightly charred, flexible, and cooked through. Stack immediately under a towel so the tortillas steam and stay soft. Blue masa harina behaves slightly differently from standard masa — it tends to dry out at the surface a touch faster once pressed, which is why the covering step is called out specifically here rather than left implicit. - Sear the Suadero
Pat the suadero pieces dry with paper towels. Season all over with kosher salt and black pepper. Heat the neutral oil in a large Dutch oven or heavy pot over medium-high heat until shimmering. Sear the beef in batches for 3–4 minutes per side, until deeply browned. Do not crowd the pot. Transfer browned pieces to a tray. As with any long braise, this initial sear isn’t about cooking the meat through — it’s about building a dark, flavourful fond on the bottom of the pot that becomes the backbone of the braising liquid once deglazed, which is why crowding the pot to save time actually costs flavour later. - Build the Braising Base
Reduce the heat to medium. Add the beef tallow or lard to the same pot. Add the onion and garlic and cook for 3–4 minutes, scraping up the browned bits from the bottom. Add the bay leaves, cumin, Mexican oregano, and smoked paprika, and stir for 30 seconds until fragrant. The tallow or lard adds a richer, more specifically beefy fat note than a neutral oil would at this stage — it’s a small addition, but it reinforces the meat’s own flavour rather than diluting it, and the 30-second bloom for the dry spices is enough to release their aromatic oils into the fat without scorching them. - Braise the Suadero
Return the seared suadero and any juices to the pot. Add 750ml water or beef stock. The liquid should come about halfway up the meat, not fully submerge it. Bring to a simmer, then reduce the heat to low, cover, and braise gently for 2½–3 hours, turning the beef every 45 minutes. The suadero is ready when it pulls apart with a fork but still has enough structure to chop. If the pot gets dry before the meat is tender, add more water 150ml at a time. Do not hard-boil the meat; aggressive boiling will dry it out and make the braising liquid muddy. Keeping the liquid at roughly halfway up the meat rather than fully submerging it is what produces a more concentrated, glossier braising liquid at the end — a fully submerged braise dilutes the beef’s flavour into a larger volume of liquid, while the shallow braise keeps that flavour more concentrated and reduces down faster and more richly later. - Reduce the Braising Liquid
Transfer the cooked suadero to a tray and rest for 10 minutes. Strain the braising liquid and skim off some of the fat into a separate bowl. Return the liquid to the pot and simmer uncovered for 8–12 minutes until reduced and glossy. Reserve about 120ml reduced braising liquid for glazing the chopped meat. This reduction is what turns a thin, watery braising liquid into a proper glaze — simmering uncovered drives off excess water while concentrating the collagen and flavour compounds left behind from the long braise, producing a liquid glossy and clingy enough to coat the chopped meat rather than simply moisten it. - Chop and Crisp the Suadero
Chop the rested suadero into small taco-sized pieces, keeping a mix of tender meat and fatty edges. Heat a large skillet or griddle over medium-high heat with a spoonful of the reserved braising fat. Add the chopped suadero in batches and cook for 3–5 minutes, turning occasionally, until the edges crisp and the meat becomes glossy. Add a small splash of reduced braising liquid to coat the meat, then finish with lime juice. The final texture should be juicy and lacquered, not wet. This second cooking stage is the actual defining step of suadero as a street-taco style rather than simply braised beef — the braise alone produces tender but texturally flat meat, while this hot, fast skillet finish crisps the exposed edges of the chopped pieces and glazes the rest, building the specific lacquered, slightly crisp texture suadero is known for. - Prepare the Salsa Verde
Toss the tomatillos, onion wedges, jalapeños, and garlic with olive oil and salt. Broil or roast on a hot tray until the tomatillos soften, collapse slightly, and develop charred spots, about 8–12 minutes depending on broiler strength. The onion should be browned at the edges and the garlic softened, not burned. Transfer everything to a blender with the cilantro, lime juice, and 3 tbsp water. Blend until spoonable but still slightly textured. Add more water only if needed. Taste and adjust with salt or extra lime juice. The salsa should be vivid green, bright, tangy, and loose enough to drizzle over each taco. Broiling rather than boiling the tomatillos and aromatics develops a light char and concentrates their flavour through direct dry heat, producing a noticeably brighter, more complex salsa than a simmered version — the charred spots specifically contribute a subtle smokiness that balances the salsa’s sharp acidity. - Prepare the Chicharrón
Chop the crispy chicharrón into small pieces that fit inside a taco. Just before assembly, toss the chopped chicharrón with 30ml hot suadero braising fat. This gives it flavour and shine, but do not let it sit too long or it will lose its crunch. The hot fat coats and seasons the chicharrón in seconds, adding a glossy sheen and beefy flavour without any real cooking time — timing this step for right before assembly, rather than earlier, is what protects the chicharrón’s crunch, since prolonged contact with warm fat or moisture will soften it. - Warm the Tortillas
Rewarm the blue corn tortillas on a dry skillet or comal for 15–20 seconds per side until soft and flexible. Keep covered in a towel. The tortillas should remain pliable with light char marks, not crisp like tostadas. This is a brief warm-through rather than a second full cook, since the tortillas were already fully cooked when first pressed and griddled — the goal here is purely restoring softness and warmth right before the tacos are built. - Assemble the Tacos
Place 3 warm blue corn tortillas per serving on plates. Add a generous layer of chopped glossy suadero to each tortilla. Scatter crispy chopped chicharrón over the beef. Drizzle salsa verde over each taco, then top heavily with finely diced white onion and chopped fresh cilantro. Drizzling the salsa directly over the tacos, rather than serving it only on the side, is a deliberate part of this style — the vivid green against the dark, glossy meat and the blue tortilla is as much a colour statement as a flavour one, and the salsa’s brightness is meant to hit every bite rather than being optional. - Serve
Serve immediately with lime wedges beside the tacos. Squeeze fresh lime over the tacos just before eating. The tacos should be hot, glossy, and juicy, with tender suadero, crisp chicharrón, soft blue corn tortillas, sharp onion, fresh cilantro, and bright green salsa verde. Serving without delay protects the chicharrón’s crunch above everything else on the plate — even sitting a few extra minutes under the salsa and warm meat will start softening it.
*Notes :
- Suadero’s specific texture comes from treating braising and crisping as two distinct, sequential techniques rather than one long cooking process. The braise alone, however long and gentle, produces tender but texturally uniform meat — soft throughout, with nothing to distinguish one bite from another. It’s the second stage, chopping the rested beef and finishing it hard in a skillet with a little of its own reduced fat and liquid, that builds the crisp, lacquered edges against a still-tender interior. Skipping or rushing that second stage is the single most common way to end up with beef that tastes like a good braise but doesn’t read as suadero.
- The decision to keep the braising liquid shallow — roughly halfway up the meat rather than fully submerged — is a concentration choice as much as anything else. A fully submerged braise spreads the beef’s flavour across a larger volume of liquid, diluting both the meat and the eventual sauce. The shallower braise used here keeps the beef more intensely flavoured throughout the cook and leaves a smaller, more concentrated liquid behind that reduces to a proper glaze in well under 15 minutes, rather than requiring a much longer reduction to reach the same glossy consistency.
- Timing the chicharrón’s addition matters more than it might initially seem. Chicharrón’s entire appeal in this dish is textural contrast — a genuinely crisp, crackling piece against tender, glossy beef. That contrast is fragile: even brief exposure to the hot, moist chopped meat will begin softening it, which is why it’s tossed in hot fat and added at the very last moment rather than mixed in earlier or cooked alongside the suadero.
- Blue masa harina is used here specifically for its visual and slightly earthier flavour character, and it behaves a little differently from standard masa in practice — it tends to dry out at the tortilla’s surface somewhat faster once pressed and cooked, which is why the recipe calls out keeping both the raw dough balls and the finished tortillas covered more insistently than a standard-masa recipe might. Skipping that covering step is a common way to end up with tortillas that crack when folded.
Why This Recipe Works
This recipe works because it separates suadero’s preparation into two purpose-built stages: a shallow, gentle braise that keeps the beef’s flavour concentrated and the meat tender enough to pull apart but still structured enough to chop, followed by a hard, fast skillet finish that crisps the chopped edges and glazes the rest with reduced braising liquid.
The chicharrón is added only at the final moment to protect its crunch, the salsa verde is broiled rather than boiled for a brighter, slightly smoky depth, and the blue corn tortillas provide both a distinct visual marker and an earthier flavour base for the whole plate.
Ingredient Breakdown
Suadero Beef (or Brisket Point/Chuck Substitute)
The specified cut — well-marbled and suited to a shallow braise followed by hard skillet-crisping, developing the tender-yet-structured texture suadero requires.
Beef Tallow or Lard
The braising fat — reinforces the beef’s own richness more directly than a neutral oil, contributing to the concentrated, glossy reduced liquid.
Reduced Braising Liquid
The glazing component — simmered uncovered until glossy and clingy, used to coat the chopped meat during its final crisping stage.
Crispy Chopped Chicharrón
The textural contrast — added only at the very last moment, tossed briefly in hot fat, to preserve its crunch against the tender beef.
Broiled Salsa Verde
The bright, slightly smoky counterpoint — tomatillos and aromatics charred under the broiler rather than simmered, for a more concentrated, complex green salsa.
Flavor Structure Explained
This suadero taco follows a layered balance model:
- Rich glazed foundation (braised, skillet-crisped suadero)
- Crackling textural contrast (crispy chicharrón)
- Earthy mineral base (blue corn tortillas)
- Bright sharp acidity (salsa verde, lime)
- Fresh sharp finish (white onion, cilantro)
The suadero defines the dish with deep, slow-braised beefiness finished by a glossy, slightly crisp glaze. Crispy chicharrón layers in an entirely different texture — audible crunch against tender meat — without competing for flavour space. The blue corn tortillas contribute a subtle earthy, mineral note underneath everything else. Salsa verde and a final squeeze of lime cut sharply through the richness of the beef and fat, while diced onion and fresh cilantro finish each bite with clean, raw brightness that keeps the whole taco from feeling heavy.
Common Mistakes to Avoid
- Fully Submerging the Beef During Braising – This dilutes the meat’s flavour into a larger volume of liquid and produces a thinner, less concentrated reduction. Always keep the liquid at roughly halfway up the meat.
- Skipping the Skillet-Crisping Stage – Braised beef alone is tender but texturally flat and doesn’t read as genuine suadero. Always finish the chopped meat hot and fast in a skillet with reserved fat.
- Adding the Chicharrón Too Early – Extended contact with hot, moist meat softens the chicharrón past the point of contrast within minutes. Always toss it in hot fat and add it at the very last moment before serving.
- Boiling the Braising Liquid Hard – Aggressive boiling toughens the meat and clouds the braising liquid instead of producing a clean, glossy reduction. Always keep the braise at a gentle simmer.
- Leaving the Blue Corn Dough or Tortillas Uncovered – Blue masa dries out faster at the surface than standard masa, and exposed tortillas will crack when folded. Always keep dough balls and cooked tortillas covered under a towel.
Variations
With White or Yellow Corn Tortillas
Substitute standard masa harina for the blue masa harina if unavailable — the technique and flavour stay the same, though the dish loses its specific Mexico City visual signature.
Spicier Version
Add one extra jalapeño, seeds included, to the salsa verde for a noticeably sharper, more assertive heat.
Suadero Torta
Pile the chopped, glazed suadero and crispy chicharrón into a split, toasted bolillo roll with salsa verde, onion, and cilantro for a sandwich-style version of the same flavours.
Without Chicharrón
Omit the chicharrón entirely for a simpler, purely beef-forward taco — the suadero’s own crisped edges from the skillet-finishing stage still provide some textural contrast on their own.
Storage & Make-Ahead
Braised, unchopped suadero can be refrigerated in its strained braising liquid for up to 4 days, or frozen for up to 3 months — the meat holds its texture better whole than pre-chopped.
Reduced braising liquid can be refrigerated separately in a sealed container for up to 4 days. Salsa verde can be refrigerated in a sealed container for up to 5 days.
Chicharrón should be stored in an airtight container at room temperature and tossed in hot fat only right before serving; do not pre-toss and refrigerate, as it will lose its crunch.
Tortilla dough is best used fresh the same day; pressed, cooked tortillas can be stacked and refrigerated for up to 2 days before rewarming.
The assembled tacos are not suitable for storage — chop and crisp only the suadero that will be served immediately.
Frequently Asked Questions
Why braise the suadero and then crisp it separately instead of just braising it fully tender?
A braise alone produces tender but texturally uniform meat with nothing to distinguish one bite from another. The second stage — chopping the rested beef and finishing it hard in a skillet with reserved fat and reduced liquid — is what builds the crisp, lacquered edges against a tender interior that specifically defines suadero as a street-taco style.
Why keep the braising liquid at only halfway up the meat instead of fully submerging it?
A shallow braise concentrates the beef’s flavour into a smaller volume of liquid rather than diluting it across a full submersion. That smaller, more concentrated liquid also reduces to a glossy glaze considerably faster once strained, which is what coats the chopped meat during its final crisping stage.
Why add the chicharrón only at the very end?
Chicharrón’s appeal here is entirely textural — a genuinely crisp piece against tender, glossy beef. Even a few minutes of contact with hot, moist chopped meat begins softening it, so it’s tossed in hot fat and folded in at the last possible moment to preserve that contrast through to serving.
Why broil the tomatillos and aromatics for the salsa instead of simmering them in water?
Broiling develops light char and concentrates the tomatillos’ and aromatics’ flavour through direct dry heat, producing a brighter, more complex salsa than a simmered version. The charred spots specifically contribute a subtle smokiness that balances the salsa’s sharp, tangy acidity.
What can I add to finish these tacos even further?
A few classic accompaniments work well here depending on what you want to emphasise. Spoon Salsa Roja or Pico de Gallo directly over the ready tacos alongside the salsa verde for extra brightness or a smokier, cooked-tomato layer. For a cooler, creamier addition, spread a little Classic Guacamole onto the tortilla before piling on the suadero — it adds a rich, fatty contrast that plays especially well against the crisp chicharrón.
Nutrition Facts
( per serving )
Calories
~680 kcal
Protein
46 g
Fat
36 g
Carbs
42 g
Calories
~680 kcal
Protein
46 g
Fat
36 g
Carbs
42 g
Related Recipes
Related Recipes

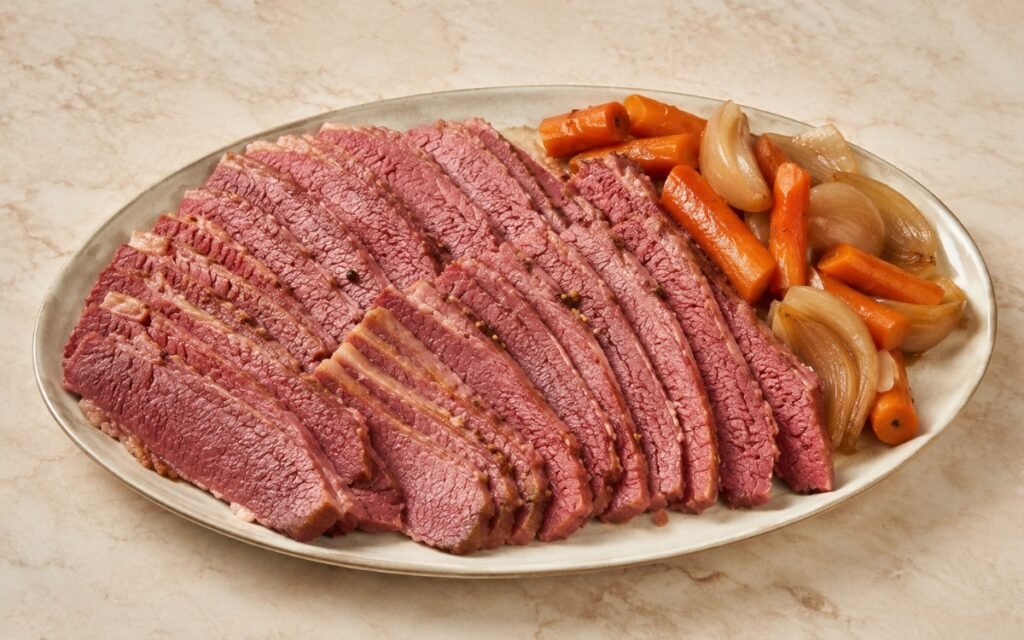
Homemade Corned Beef
Beef brisket cured in a spiced brine for a full week, then simmered gently until fork-tender, sliced thick against the grain.
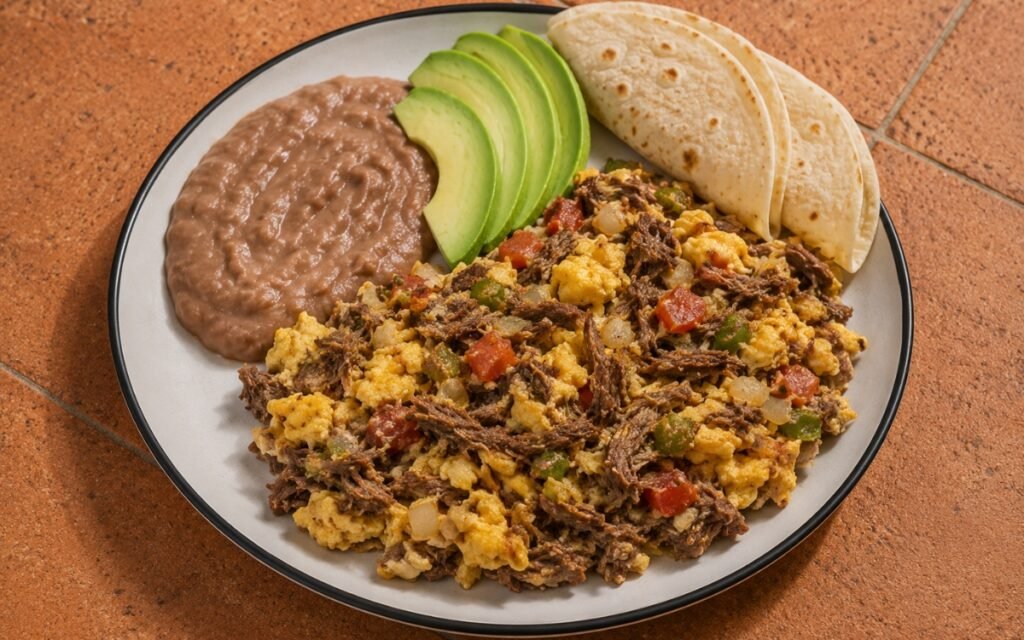
Machaca con Huevo
Scrambled eggs cooked with shredded dried beef, tomato, onion, and green chile, served with refried beans, avocado, and warm flour tortillas.
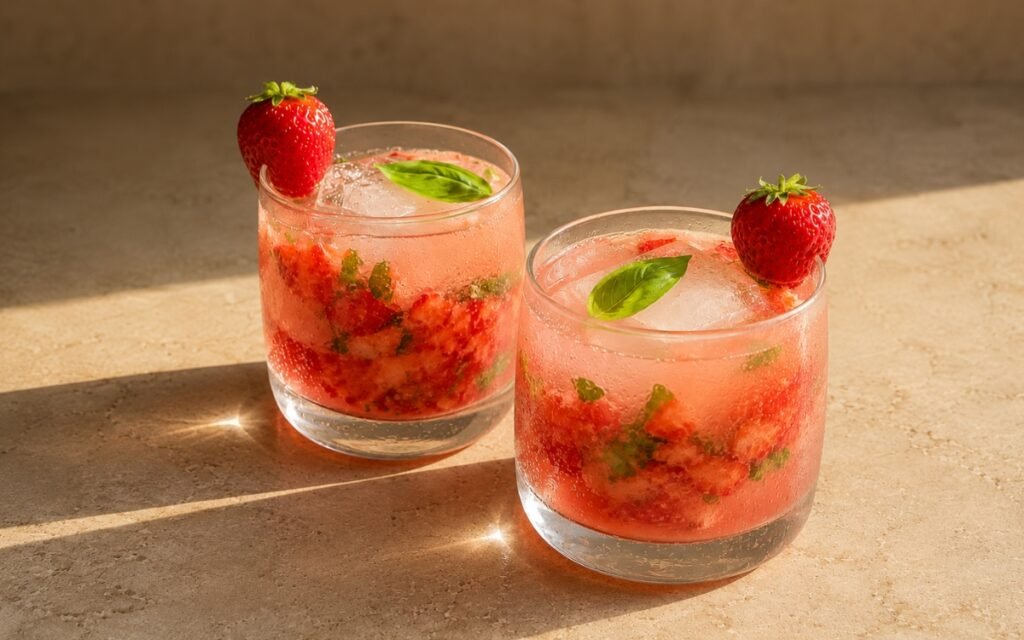
Strawberry Basil Smash Mocktail
Fresh mashed strawberries with honey, lime, and folded basil over club soda — bright and sweet.
You might also like
You might also like
Chicken Fajita
Smoked paprika and cumin-marinated chicken thighs seared in cast iron with charred tri-colour peppers and caramelised onions — the complete Tex-Mex fajita in 35 minutes.
Caldo Tlalpeño
A clear chipotle-tomato chicken broth with shredded chicken, chickpeas, carrots, and zucchini, finished with avocado and queso fresco.
Chopped Cheese
Seared ground beef and caramelized onion chopped together with melted American cheese, piled into a soft hoagie roll with lettuce and tomato.
Suadero Tacos
Ingredients
Method
- Prepare the Homemade Corn Tortilla dough according to its separate recipe, but use blue masa harina instead of regular masa harina. Mix the blue masa harina, salt, and warm water until a soft, hydrated dough forms. Rest covered for 20–30 minutes so the masa fully hydrates. Divide into 24 equal balls of about 22g each. Keep the dough covered at all times so the surface does not dry out. Press each tortilla to about 11.4cm / 4.5 inches diameter and cook on a dry hot skillet or comal until lightly charred, flexible, and cooked through. Stack immediately under a towel so the tortillas steam and stay soft. Blue masa harina behaves slightly differently from standard masa — it tends to dry out at the surface a touch faster once pressed, which is why the covering step is called out specifically here rather than left implicit.
- Pat the suadero pieces dry with paper towels. Season all over with kosher salt and black pepper. Heat the neutral oil in a large Dutch oven or heavy pot over medium-high heat until shimmering. Sear the beef in batches for 3–4 minutes per side, until deeply browned. Do not crowd the pot. Transfer browned pieces to a tray. As with any long braise, this initial sear isn’t about cooking the meat through — it’s about building a dark, flavourful fond on the bottom of the pot that becomes the backbone of the braising liquid once deglazed, which is why crowding the pot to save time actually costs flavour later.
- Reduce the heat to medium. Add the beef tallow or lard to the same pot. Add the onion and garlic and cook for 3–4 minutes, scraping up the browned bits from the bottom. Add the bay leaves, cumin, Mexican oregano, and smoked paprika, and stir for 30 seconds until fragrant. The tallow or lard adds a richer, more specifically beefy fat note than a neutral oil would at this stage — it’s a small addition, but it reinforces the meat’s own flavour rather than diluting it, and the 30-second bloom for the dry spices is enough to release their aromatic oils into the fat without scorching them.
- Return the seared suadero and any juices to the pot. Add 750ml water or beef stock. The liquid should come about halfway up the meat, not fully submerge it. Bring to a simmer, then reduce the heat to low, cover, and braise gently for 2½–3 hours, turning the beef every 45 minutes. The suadero is ready when it pulls apart with a fork but still has enough structure to chop. If the pot gets dry before the meat is tender, add more water 150ml at a time. Do not hard-boil the meat; aggressive boiling will dry it out and make the braising liquid muddy. Keeping the liquid at roughly halfway up the meat rather than fully submerging it is what produces a more concentrated, glossier braising liquid at the end — a fully submerged braise dilutes the beef’s flavour into a larger volume of liquid, while the shallow braise keeps that flavour more concentrated and reduces down faster and more richly later.
- Transfer the cooked suadero to a tray and rest for 10 minutes. Strain the braising liquid and skim off some of the fat into a separate bowl. Return the liquid to the pot and simmer uncovered for 8–12 minutes until reduced and glossy. Reserve about 120ml reduced braising liquid for glazing the chopped meat. This reduction is what turns a thin, watery braising liquid into a proper glaze — simmering uncovered drives off excess water while concentrating the collagen and flavour compounds left behind from the long braise, producing a liquid glossy and clingy enough to coat the chopped meat rather than simply moisten it.
- Chop the rested suadero into small taco-sized pieces, keeping a mix of tender meat and fatty edges. Heat a large skillet or griddle over medium-high heat with a spoonful of the reserved braising fat. Add the chopped suadero in batches and cook for 3–5 minutes, turning occasionally, until the edges crisp and the meat becomes glossy. Add a small splash of reduced braising liquid to coat the meat, then finish with lime juice. The final texture should be juicy and lacquered, not wet. This second cooking stage is the actual defining step of suadero as a street-taco style rather than simply braised beef — the braise alone produces tender but texturally flat meat, while this hot, fast skillet finish crisps the exposed edges of the chopped pieces and glazes the rest, building the specific lacquered, slightly crisp texture suadero is known for.
- Toss the tomatillos, onion wedges, jalapeños, and garlic with olive oil and salt. Broil or roast on a hot tray until the tomatillos soften, collapse slightly, and develop charred spots, about 8–12 minutes depending on broiler strength. The onion should be browned at the edges and the garlic softened, not burned. Transfer everything to a blender with the cilantro, lime juice, and 3 tbsp water. Blend until spoonable but still slightly textured. Add more water only if needed. Taste and adjust with salt or extra lime juice. The salsa should be vivid green, bright, tangy, and loose enough to drizzle over each taco. Broiling rather than boiling the tomatillos and aromatics develops a light char and concentrates their flavour through direct dry heat, producing a noticeably brighter, more complex salsa than a simmered version — the charred spots specifically contribute a subtle smokiness that balances the salsa’s sharp acidity.
- Chop the crispy chicharrón into small pieces that fit inside a taco. Just before assembly, toss the chopped chicharrón with 30ml hot suadero braising fat. This gives it flavour and shine, but do not let it sit too long or it will lose its crunch. The hot fat coats and seasons the chicharrón in seconds, adding a glossy sheen and beefy flavour without any real cooking time — timing this step for right before assembly, rather than earlier, is what protects the chicharrón’s crunch, since prolonged contact with warm fat or moisture will soften it.
- Rewarm the blue corn tortillas on a dry skillet or comal for 15–20 seconds per side until soft and flexible. Keep covered in a towel. The tortillas should remain pliable with light char marks, not crisp like tostadas. This is a brief warm-through rather than a second full cook, since the tortillas were already fully cooked when first pressed and griddled — the goal here is purely restoring softness and warmth right before the tacos are built.
- Place 3 warm blue corn tortillas per serving on plates. Add a generous layer of chopped glossy suadero to each tortilla. Scatter crispy chopped chicharrón over the beef. Drizzle salsa verde over each taco, then top heavily with finely diced white onion and chopped fresh cilantro. Drizzling the salsa directly over the tacos, rather than serving it only on the side, is a deliberate part of this style — the vivid green against the dark, glossy meat and the blue tortilla is as much a colour statement as a flavour one, and the salsa’s brightness is meant to hit every bite rather than being optional.
- Serve immediately with lime wedges beside the tacos. Squeeze fresh lime over the tacos just before eating. The tacos should be hot, glossy, and juicy, with tender suadero, crisp chicharrón, soft blue corn tortillas, sharp onion, fresh cilantro, and bright green salsa verde. Serving without delay protects the chicharrón’s crunch above everything else on the plate — even sitting a few extra minutes under the salsa and warm meat will start softening it.