
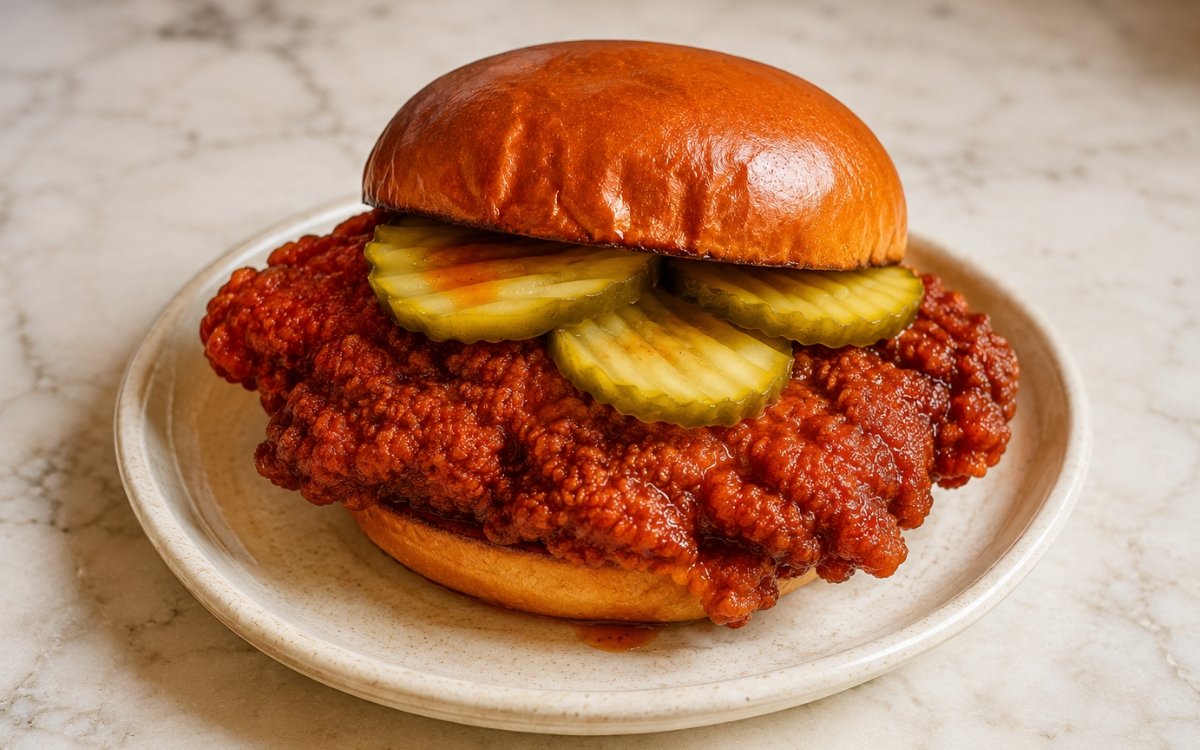
Nashville Hot Chicken Sandwich
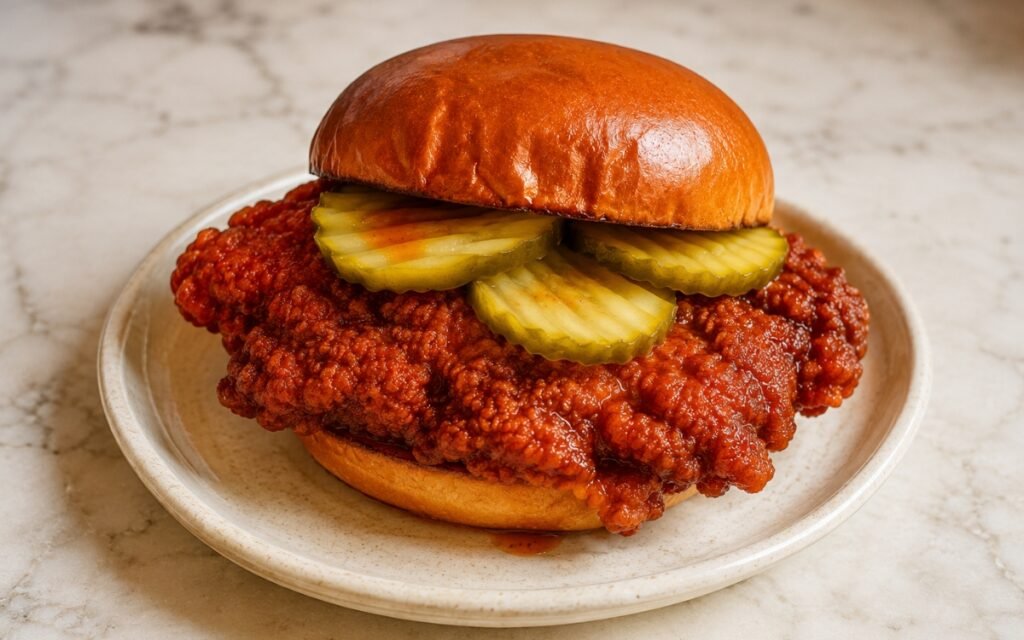
A bright, citrus-forward white sangria mocktail built with gently macerated citrus, honey, fresh orange juice, and whCrispy fried chicken sandwiches made with a spiced buttermilk brine, a double-dredge cold-water coating technique, and a classic Nashville hot cayenne-oil glaze, finished on toasted brioche buns with mayonnaise and crinkle-cut dill pickles. The cold-water dip between dredges is the technique this whole crust depends on — dunking the first, already-set coating briefly in ice water turns it into a sticky paste that a second pressed dredge can grab onto and build into a genuinely thick, rugged crust, the same rehydrate-and-redredge principle used elsewhere in this collection whenever a coating needs real structural depth rather than a thin single layer. Building the Nashville hot sauce directly from the fryer’s own hot oil, rather than a separately heated neutral oil, is what gives the glaze its authentic character and lets the cayenne and spices bloom immediately on contact. Resting the fried chicken briefly before saucing, rather than glazing it the instant it leaves the oil, protects the crust from shedding under the sauce’s weight. The payoff is a sandwich with a genuinely rugged, deeply crisp fried chicken piece glazed vivid red-orange, cooled only by simple mayonnaise and sharp dill pickles.ite verjus for real wine-like structure. Light, aromatic, and refreshingly dry — festive without the sugar overload.
Prep Time : 35 min
Cook Time : 25–30 min
Servings : 4
35 min
25–30 min
4
Ingredients
For the Chicken
• 4 large boneless skinless chicken thighs, about 900–1000g total, or 4 deboned skinless whole leg portions (thigh + drumstick)
For the Spiced Buttermilk Brine
• 480ml buttermilk
• 8g fine sea salt
• 5g garlic powder — this one on Amazon
• 5g onion powder — this one on Amazon
• 4g paprika powder — this one on Amazon
• 2g white pepper — this one on Amazon
• 2g cayenne pepper, optional
• 10ml hot sauce, optional
For the Dry Dredge
• 240g all-purpose flour — this one on Amazon
• 80g cornstarch
• 10g fine sea salt
• 7g garlic powder
• 7g onion powder
• 5g paprika powder
• 3g white pepper
• 2g black pepper
• 2g baking soda
For the Cold-Water Dip
• 1.5 litres ice-cold water
• Ice, as needed
For Frying
• Neutral oil, as needed for deep-frying
For the Nashville Hot Sauce
• 120ml hot frying oil, taken from the fryer after frying
• 18–22g cayenne pepper, depending on heat preference — this one on Amazon
• 10g brown sugar
• 5g paprika powder
• 2g garlic powder
• 1g chili powder, optional
• 3g fine sea salt
For Assembly
• 4 brioche burger buns, store-bought or homemade — see Brioche Burger Buns
• Unsalted butter, as needed for toasting the buns
• 80g mayonnaise
• 20–24 crinkle-cut dill pickle slices, about 5–6 per sandwich
This post may contain affiliate links. As an Amazon Associate I earn from qualifying purchases, at no additional cost to you.
Directions
- Prepare and Brine the Chicken
If the thighs are very uneven in thickness, trim and lightly flatten the thickest areas so each piece cooks more evenly without tearing the meat. In a large bowl, whisk together the buttermilk, salt, garlic powder, onion powder, paprika, white pepper, cayenne if using, and hot sauce if using. Add the chicken and turn to coat every piece fully. Cover and refrigerate for at least 2 hours, ideally overnight. The chicken should be fully coated in the brine and seasoned all over. Overnight gives the best flavour and the most even internal seasoning. Buttermilk’s mild acidity works gently on the meat’s surface proteins over the extended soak, tenderising while its slightly thickened texture clings to the chicken better than a thinner liquid would — that clinging quality is what gives the first dry dredge something substantial to bond with. - Prepare the Dredge and Cold-Water Dip
In a wide shallow tray or bowl, whisk together the flour, cornstarch, salt, garlic powder, onion powder, paprika, white pepper, black pepper, and baking soda until evenly combined. Fill a second bowl or container with ice-cold water and enough ice to keep it very cold. Set a wire rack over a tray nearby for holding the coated chicken. Cornstarch fries into a noticeably lighter, crisper texture than flour alone, while the small amount of baking soda raises the coating’s pH slightly, speeding up browning in the fryer — useful in this small quantity, but bitter and soapy if overdone. - First Dredge
Remove one piece of chicken from the buttermilk, letting the excess drip off but not wiping it clean. Place it into the dry dredge and press the flour mixture firmly onto all surfaces so it adheres well. Transfer the coated piece to the wire rack. Repeat with the remaining chicken. The coating should fully cover the meat, including edges and folds, with no large wet patches showing through. Leaving the buttermilk clinging rather than wiping it off gives the dry dredge plenty of moisture to bind to immediately, turning the pressed flour into a genuinely adherent first layer rather than a loose, easily shed dusting. - Set the First Coating
Let the dredged chicken rest on the wire rack for 5–10 minutes. This first rest allows the flour to hydrate from the buttermilk and begin forming the base layer of the crust. The surface should look slightly damp and pasty in spots rather than dry and powdery. This transformation from powdery to semi-set and tacky is a prerequisite for what the cold-water dip does next — a fully dry, unhydrated coating wouldn’t respond the same way to the brief ice-water dunk. - Cold-Water Dip and Second Dredge
Working one piece at a time, lower the coated chicken into the ice-cold water for 10–20 seconds without disturbing it. Lift it out, let the excess water drip off briefly, then return it immediately to the dry dredge. Press the dredge onto the surface again, building a rough, thick, craggy coating. Transfer the finished piece back to the wire rack and repeat with the remaining chicken. This stage is what creates the distinct rugged crust. After the second dredge, the chicken should look uneven, shaggy, and heavily coated. The brief ice-water dip partially dissolves the surface of the already-set first coating into a sticky paste without washing it away — that sticky surface is exactly what the second layer of dry dredge grabs onto, building genuine thickness rather than repeating a thin single coat. - Rest the Final Coating
Let the coated chicken rest on the wire rack for 10–15 minutes while you heat the oil. This second rest helps the crust attach securely so it does not shed in the fryer. Giving the fully built, double-pressed coating time to set before it ever touches oil is what keeps it intact through the shock of frying — coating that’s still loose or wet in spots is far more likely to shed into the oil. - First Fry
Heat the frying oil to 150–155°C. Fry the chicken in batches without crowding the fryer. Fry each piece for 5–6 minutes, turning as needed, until the coating is set, pale golden to medium golden, and the chicken is nearly cooked through. Transfer the chicken back to the wire rack. If you are using larger deboned whole leg portions rather than standard thighs, they may need 1–2 minutes longer on the first fry. This lower-temperature first fry cooks the chicken through and sets the thick, double-pressed crust without pushing it toward deep colour — that colour-building is deliberately saved for the second, hotter fry. - Rest Between Fries
Let the chicken rest on the wire rack for 8–10 minutes. This pause allows the crust to dry slightly and the internal heat to redistribute so the second fry crisps the exterior without overcooking the meat. Letting residual heat equalise through each piece reduces the risk of the hotter second fry overcooking the exterior before the interior has fully caught up. - Make the Nashville Hot Sauce
While the chicken rests, place the cayenne, brown sugar, paprika, garlic powder, chili powder if using, and salt in a heatproof bowl. Carefully ladle in 120ml of hot frying oil and whisk until smooth. The sauce should be glossy, loose, and vividly red-orange, with the sugar dissolved and the spices evenly suspended. Using the fryer’s own hot oil, rather than separately warmed neutral oil, is what gives this sauce its authentic character — the oil is already carrying a faint fried-chicken flavour from the frying process, and its heat immediately blooms the cayenne and other spices on contact rather than needing a separate stovetop step. - Second Fry
Increase the oil temperature to 185–190°C. Return the chicken to the fryer in batches and fry for 2–3 minutes, until deeply golden, very crisp, and fully cooked through. Transfer the chicken to the wire rack and let it rest for 1–2 minutes. The internal temperature should reach 74°C. Since the chicken is already fully cooked from the first fry, this second, much hotter pass exists purely to drive off remaining surface moisture and build deep, aggressive colour and crunch across the thick, double-pressed crust. - Coat in Nashville Hot Sauce
While still hot, transfer the fried chicken to a large bowl. Pour over the Nashville hot sauce and turn each piece carefully until evenly coated. Return the coated chicken to the wire rack for a brief 30–60 second rest so excess sauce drips off but the crust stays fully glazed. The coating should be glossy and fiery red-orange, clinging to every ridge of the crust. The brief 1–2 minute rest before saucing, rather than glazing the instant the chicken leaves the fryer, lets the crust firm up just enough that it holds together under the sauce’s weight rather than shedding. - Toast the Buns and Assemble
Split the brioche buns and toast the cut sides in a little butter until golden. Spread mayonnaise on the bottom bun of each sandwich. Place one hot chicken piece on each bun, then top with 5–6 crinkle-cut dill pickle slices. Close with the top bun. Serve immediately while the chicken is hot and crisp. Keeping the toppings simple — just mayonnaise and pickles — is a deliberate choice that lets the Nashville hot glaze remain the clear centrepiece of the sandwich, rather than competing with a more elaborate topping list.
*Notes :
- The cold-water dip is worth understanding as the specific mechanism responsible for this sandwich’s defining crust texture. A single dredge, however firmly pressed, produces a relatively thin, uniform coating. Dunking that set first coating briefly in ice water partially dissolves its surface back into a sticky paste without washing it away — and it’s specifically that sticky surface that gives a second full layer of dry dredge something substantial to bond to, building the thick, uneven, genuinely rugged crust this style of chicken is known for.
- Building the Nashville hot sauce from the fryer’s own hot oil, rather than oil warmed separately on the stovetop, is a detail specific to this dish’s authenticity rather than a matter of convenience. That oil carries a faint fried-chicken flavour from the frying process itself, and its immediate heat blooms the cayenne, paprika, and other spices on contact, producing a sauce with real depth rather than one that tastes purely of raw spice suspended in generic oil.
- Resting the fried chicken briefly — just 1–2 minutes — before it ever meets the hot sauce is a small timing detail with a real structural payoff. Chicken sauced the instant it leaves the fryer, while the crust is at its most fragile and still settling, is considerably more likely to shed pieces of coating into the sauce or lose adhesion in patches. The brief rest lets the crust firm up just enough to hold together under the sauce’s weight.
- Keeping the sandwich’s toppings deliberately simple — mayonnaise and crinkle-cut dill pickles, nothing more — is a genuine style choice rather than an underdeveloped one. Nashville hot chicken’s defining feature is its fiery, glossy glaze, and a more elaborate topping list would compete with and dilute that focus. The mayonnaise provides cooling richness and the pickles provide sharp acidity, both in service of letting the chicken and its sauce remain the clear centre of the sandwich.
Why This Recipe Works
This recipe works because the crust is built in genuine layers — buttermilk gives the first dry dredge something to bond with, that coating is pressed and set, then briefly rehydrated in ice water so a second pressed layer can build real thickness.
The two-stage fry cooks the chicken through gently before building aggressive crunch, and the Nashville hot sauce is built directly from the fryer’s own oil for authentic depth and immediate spice blooming.
A brief rest before saucing protects the crust’s adhesion, and simple, restrained toppings keep the fiery glaze as the sandwich’s clear centrepiece.
Ingredient Breakdown
Spiced Buttermilk Brine
The seasoning and prep base — tenderises gently and gives the first dry dredge something to properly cling to.
Firmly Pressed Double Dredge
The critical crust technique — pressing rather than tossing at both stages builds the thick, uneven, genuinely craggy coating.
Cold-Water Rehydration Dip
The defining step — briefly dissolves the set first coating’s surface into a sticky paste the second dredge can grab onto.
Fryer-Oil Nashville Hot Sauce
The glaze — built from the frying oil itself for authentic depth and immediate spice blooming.
Simple Mayonnaise and Dill Pickle Toppings
The finishing restraint — deliberately minimal so the fiery glaze remains the sandwich’s clear focus.
Flavor Structure Explained
This Nashville hot chicken sandwich follows a layered balance model:
- Aggressively crisp foundation (double-pressed, double-fried crust)
- Fiery glossy heat (Nashville hot sauce)
- Sweet rounding depth (brown sugar in the glaze)
- Cool creamy contrast (mayonnaise)
- Sharp tangy finish (crinkle-cut dill pickles)
The double-pressed, double-fried crust defines the sandwich with genuinely loud, rough crunch beneath the glaze. The Nashville hot sauce layers in fiery, glossy cayenne-forward heat, with a touch of brown sugar rounding that intensity rather than masking it. Mayonnaise on the bun provides cool, rich contrast against the sauce’s heat. Crinkle-cut dill pickles finish the sandwich with sharp, tangy acidity that cuts cleanly through both the fried crust’s richness and the glaze’s fire.
Common Mistakes to Avoid
- Lightly Tossing the Chicken in the Dredge Instead of Pressing – This produces a thin, smooth coating rather than the thick, rugged crust this sandwich depends on. Always press the dredge firmly into every surface.
- Skipping the Cold-Water Dip – Without it, the crust stays thin and single-layered rather than genuinely craggy. Always include the brief rehydration dip between dredges.
- Saucing the Chicken Straight From the Fryer – The crust is at its most fragile immediately after frying and can shed under the sauce’s weight. Always rest for 1–2 minutes first.
- Using Neutral Oil Instead of Fryer Oil for the Sauce – This loses the authentic depth and immediate spice-blooming effect the hot fryer oil provides. Always use oil straight from the fryer.
- Overloading the Sandwich with Extra Toppings – This competes with and dilutes the Nashville hot glaze’s role as the sandwich’s centrepiece. Always keep the toppings to mayonnaise and pickles.
Variations
Milder Version
Reduce the cayenne in the Nashville hot sauce to about half and add extra brown sugar for a gentler, sweeter glaze.
Extra-Fiery Version
Increase the cayenne to the higher end of the range and add a pinch of ground ghost or habanero powder for serious heat.
With Coleslaw
Add a scoop of tangy coleslaw alongside the pickles for extra crunch and a cooling counterpoint to the heat.
Boneless Wing Version
Cut the chicken into smaller boneless pieces before dredging and frying for a Nashville hot “bite” version served over fries or in a smaller bun.
Storage & Make-Ahead
Raw chicken can brine in the buttermilk mixture for up to 24 hours in the refrigerator; overnight is ideal.
Dredged, unfried chicken should be fried the same day it’s coated, since the pressed coating is built specifically to go straight into hot oil.
Fried, unsauced chicken can be refrigerated for up to 2 days; reheat in a hot oven to restore crispness, then sauce fresh with a freshly made glaze.
Fully sauced, assembled sandwiches are not suitable for storage — assemble and serve only what will be eaten immediately, given how quickly the crust softens under the glaze.
Frequently Asked Questions
Why does the chicken need to be dredged twice with a cold-water dip in between?
A single dredge, however firmly pressed, produces a relatively thin coating. The cold-water dip partially dissolves the surface of the first set coating into a sticky paste, giving a second layer of dry dredge something substantial to bond to — that’s specifically what builds the thick, rugged crust this style is known for.
Why is the Nashville hot sauce made with oil straight from the fryer instead of fresh neutral oil?
The fryer’s oil already carries a faint fried-chicken flavour from the cooking process, and its heat blooms the cayenne and other spices immediately on contact. Using fresh, separately heated oil loses both that depth and the immediate spice-blooming effect.
Why rest the fried chicken for a minute or two before coating it in sauce?
The crust is at its most fragile the instant it leaves the fryer, while it’s still settling. A brief rest lets it firm up enough to hold together properly once the sauce is added, reducing the risk of the coating shedding.
Why are the sandwich toppings kept so simple — just mayonnaise and pickles?
Nashville hot chicken’s defining feature is its fiery, glossy glaze. A more elaborate topping list would compete with and dilute that focus, so the simple mayonnaise and sharp pickles are chosen specifically to support rather than distract from the chicken and its sauce.
Are there other fried chicken sandwiches or sides worth trying?
The Spicy Fried Chicken Sandwich uses a related coating technique with a different flavour direction, and the Crispy Fish Sandwich applies a similar crispy, brioche-bun format to battered fish instead. Crispiest Fried Chicken shares the exact same double-dredge, cold-water-dip technique used here, applied to bone-in pieces rather than a sandwich format. For a full fast-food-style combo, Homemade Onion Rings or Crispy Baked Potato Fries both make great sides alongside this sandwich.
Nutrition Facts
( per serving )
Calories
~820 kcal
Protein
42 g
Fat
50 g
Carbs
56 g
Calories
~820 kcal
Protein
42 g
Fat
50 g
Carbs
56 g
Related Recipes
Related Recipes

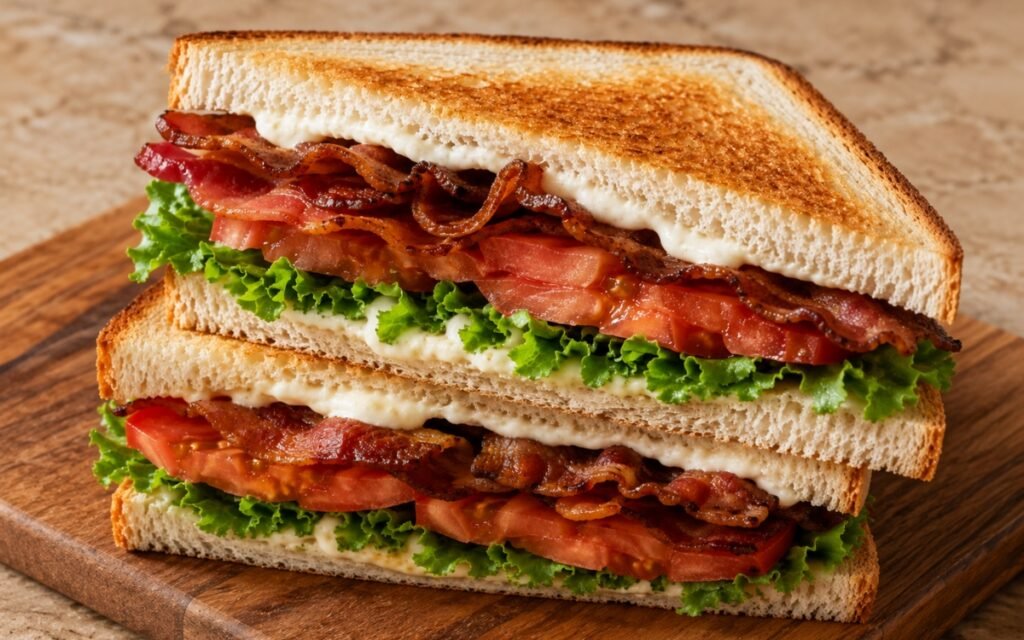
BLT Sandwich
Toasted white bread with crispy bacon, ripe tomato, crisp lettuce, and a generous layer of mayonnaise.
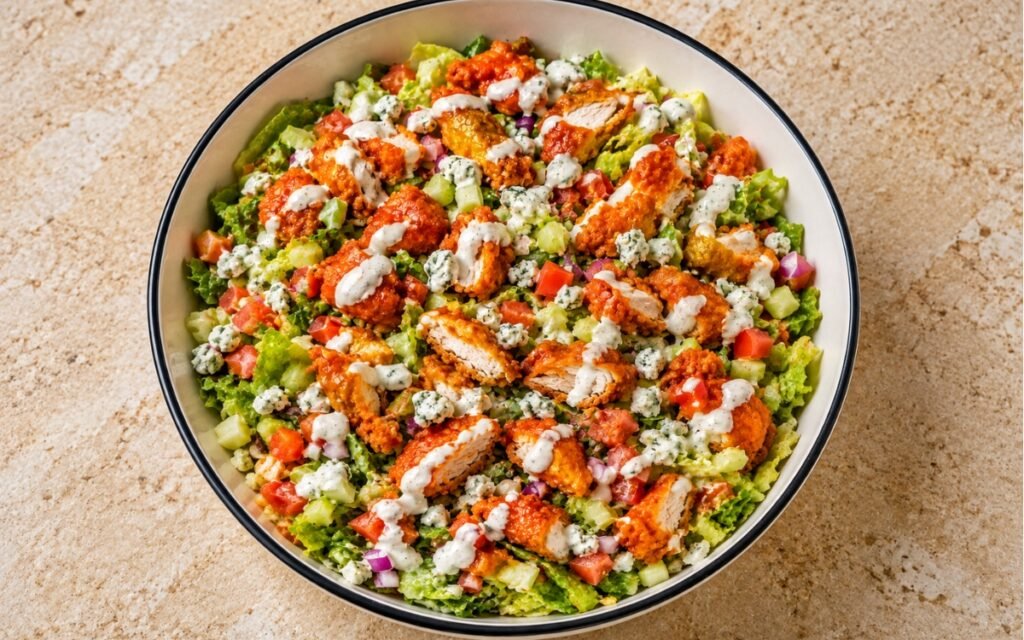
Buffalo Chicken Chopped Salad
Crispy Buffalo chicken pieces over chopped lettuce with celery, tomato, red onion, blue cheese crumbles, and creamy homemade ranch dressing.
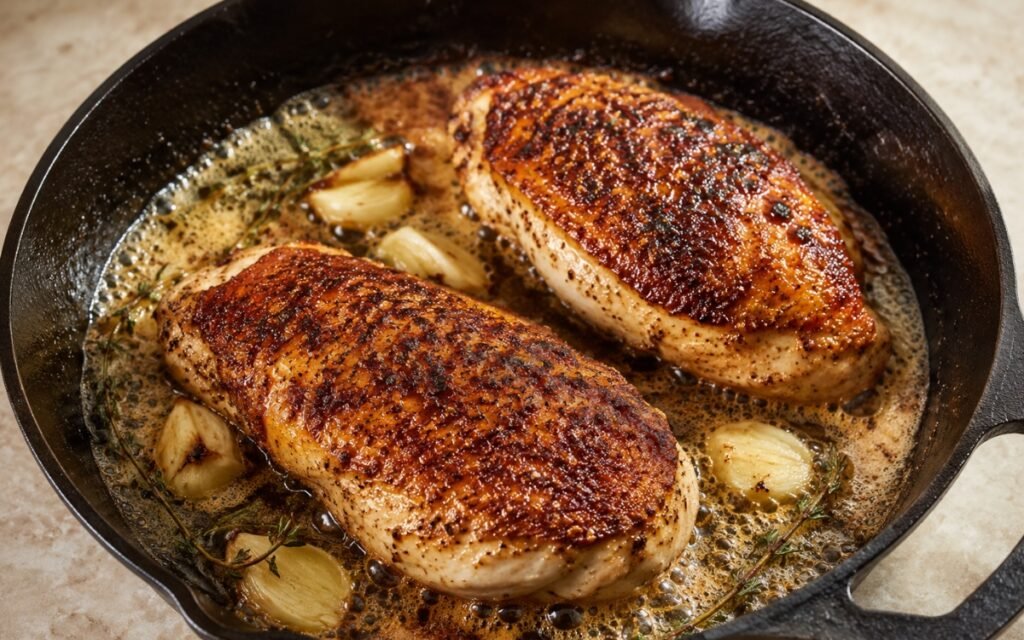
Pan-Seared Chicken Breast (Skin on)
Chicken breast pounded even, dried thoroughly, seared skin-side down undisturbed — finished with garlic thyme butter basting. Crispy skin, juicy meat.
You might also like
You might also like
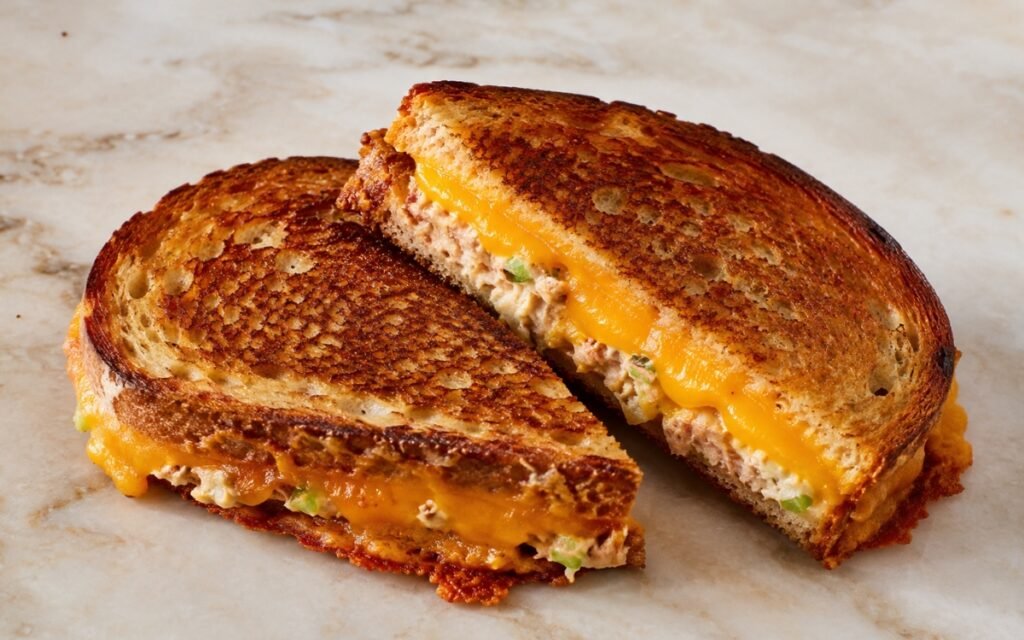
Tuna Melt
Creamy tuna salad and sharp melted cheddar griddled between buttery sourdough until deeply golden and crisp.
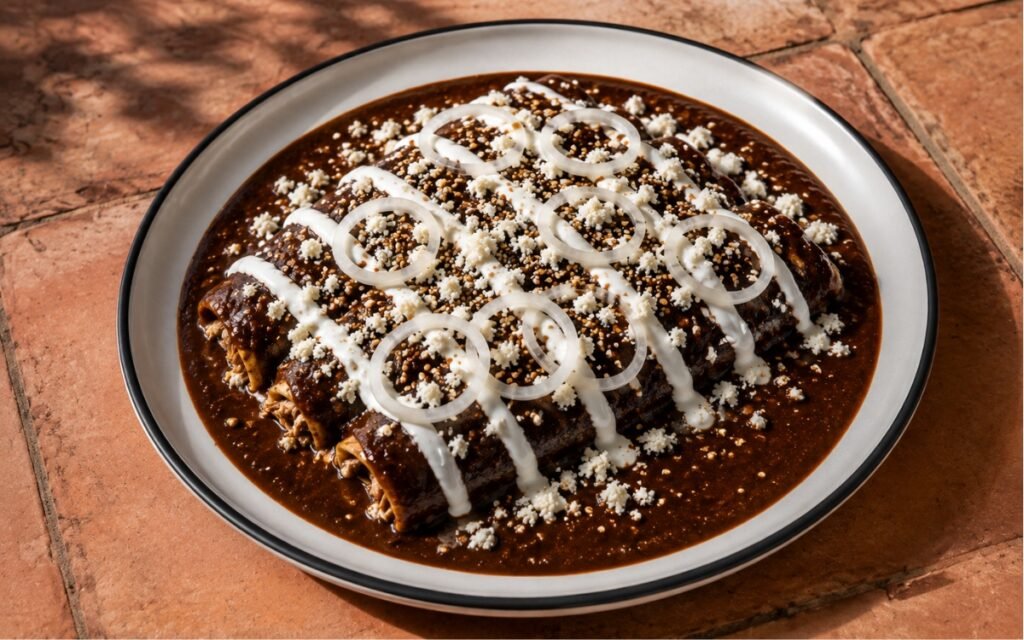
Chicken Enmoladas with Mole Poblano
Soft corn tortillas filled with tender shredded chicken, folded, and blanketed in glossy mole poblano, finished with crema and queso fresco.
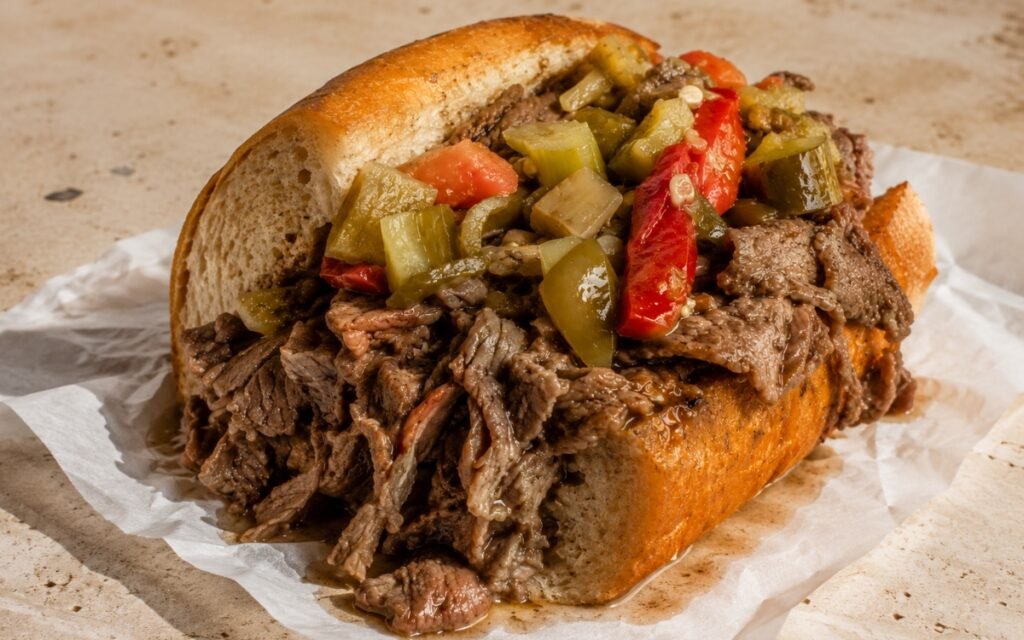
Italian Beef Sandwich
Thin-sliced roast beef warmed in a heavily seasoned au jus, piled into crusty homemade French rolls with sharp giardiniera and roasted peppers.
Nashville Hot Chicken Sandwich
Ingredients
Method
- If the thighs are very uneven in thickness, trim and lightly flatten the thickest areas so each piece cooks more evenly without tearing the meat. In a large bowl, whisk together the buttermilk, salt, garlic powder, onion powder, paprika, white pepper, cayenne if using, and hot sauce if using. Add the chicken and turn to coat every piece fully. Cover and refrigerate for at least 2 hours, ideally overnight. The chicken should be fully coated in the brine and seasoned all over. Overnight gives the best flavour and the most even internal seasoning. Buttermilk’s mild acidity works gently on the meat’s surface proteins over the extended soak, tenderising while its slightly thickened texture clings to the chicken better than a thinner liquid would — that clinging quality is what gives the first dry dredge something substantial to bond with.
- In a wide shallow tray or bowl, whisk together the flour, cornstarch, salt, garlic powder, onion powder, paprika, white pepper, black pepper, and baking soda until evenly combined. Fill a second bowl or container with ice-cold water and enough ice to keep it very cold. Set a wire rack over a tray nearby for holding the coated chicken. Cornstarch fries into a noticeably lighter, crisper texture than flour alone, while the small amount of baking soda raises the coating’s pH slightly, speeding up browning in the fryer — useful in this small quantity, but bitter and soapy if overdone.
- Remove one piece of chicken from the buttermilk, letting the excess drip off but not wiping it clean. Place it into the dry dredge and press the flour mixture firmly onto all surfaces so it adheres well. Transfer the coated piece to the wire rack. Repeat with the remaining chicken. The coating should fully cover the meat, including edges and folds, with no large wet patches showing through. Leaving the buttermilk clinging rather than wiping it off gives the dry dredge plenty of moisture to bind to immediately, turning the pressed flour into a genuinely adherent first layer rather than a loose, easily shed dusting.
- Let the dredged chicken rest on the wire rack for 5–10 minutes. This first rest allows the flour to hydrate from the buttermilk and begin forming the base layer of the crust. The surface should look slightly damp and pasty in spots rather than dry and powdery. This transformation from powdery to semi-set and tacky is a prerequisite for what the cold-water dip does next — a fully dry, unhydrated coating wouldn’t respond the same way to the brief ice-water dunk.
- Working one piece at a time, lower the coated chicken into the ice-cold water for 10–20 seconds without disturbing it. Lift it out, let the excess water drip off briefly, then return it immediately to the dry dredge. Press the dredge onto the surface again, building a rough, thick, craggy coating. Transfer the finished piece back to the wire rack and repeat with the remaining chicken. This stage is what creates the distinct rugged crust. After the second dredge, the chicken should look uneven, shaggy, and heavily coated. The brief ice-water dip partially dissolves the surface of the already-set first coating into a sticky paste without washing it away — that sticky surface is exactly what the second layer of dry dredge grabs onto, building genuine thickness rather than repeating a thin single coat.
- Let the coated chicken rest on the wire rack for 10–15 minutes while you heat the oil. This second rest helps the crust attach securely so it does not shed in the fryer. Giving the fully built, double-pressed coating time to set before it ever touches oil is what keeps it intact through the shock of frying — coating that’s still loose or wet in spots is far more likely to shed into the oil.
- Heat the frying oil to 150–155°C. Fry the chicken in batches without crowding the fryer. Fry each piece for 5–6 minutes, turning as needed, until the coating is set, pale golden to medium golden, and the chicken is nearly cooked through. Transfer the chicken back to the wire rack. If you are using larger deboned whole leg portions rather than standard thighs, they may need 1–2 minutes longer on the first fry. This lower-temperature first fry cooks the chicken through and sets the thick, double-pressed crust without pushing it toward deep colour — that colour-building is deliberately saved for the second, hotter fry.
- Let the chicken rest on the wire rack for 8–10 minutes. This pause allows the crust to dry slightly and the internal heat to redistribute so the second fry crisps the exterior without overcooking the meat. Letting residual heat equalise through each piece reduces the risk of the hotter second fry overcooking the exterior before the interior has fully caught up.
- While the chicken rests, place the cayenne, brown sugar, paprika, garlic powder, chili powder if using, and salt in a heatproof bowl. Carefully ladle in 120ml of hot frying oil and whisk until smooth. The sauce should be glossy, loose, and vividly red-orange, with the sugar dissolved and the spices evenly suspended. Using the fryer’s own hot oil, rather than separately warmed neutral oil, is what gives this sauce its authentic character — the oil is already carrying a faint fried-chicken flavour from the frying process, and its heat immediately blooms the cayenne and other spices on contact rather than needing a separate stovetop step.
- Increase the oil temperature to 185–190°C. Return the chicken to the fryer in batches and fry for 2–3 minutes, until deeply golden, very crisp, and fully cooked through. Transfer the chicken to the wire rack and let it rest for 1–2 minutes. The internal temperature should reach 74°C. Since the chicken is already fully cooked from the first fry, this second, much hotter pass exists purely to drive off remaining surface moisture and build deep, aggressive colour and crunch across the thick, double-pressed crust.
- While still hot, transfer the fried chicken to a large bowl. Pour over the Nashville hot sauce and turn each piece carefully until evenly coated. Return the coated chicken to the wire rack for a brief 30–60 second rest so excess sauce drips off but the crust stays fully glazed. The coating should be glossy and fiery red-orange, clinging to every ridge of the crust. The brief 1–2 minute rest before saucing, rather than glazing the instant the chicken leaves the fryer, lets the crust firm up just enough that it holds together under the sauce’s weight rather than shedding.
- Split the brioche buns and toast the cut sides in a little butter until golden. Spread mayonnaise on the bottom bun of each sandwich. Place one hot chicken piece on each bun, then top with 5–6 crinkle-cut dill pickle slices. Close with the top bun. Serve immediately while the chicken is hot and crisp. Keeping the toppings simple — just mayonnaise and pickles — is a deliberate choice that lets the Nashville hot glaze remain the clear centrepiece of the sandwich, rather than competing with a more elaborate topping list.