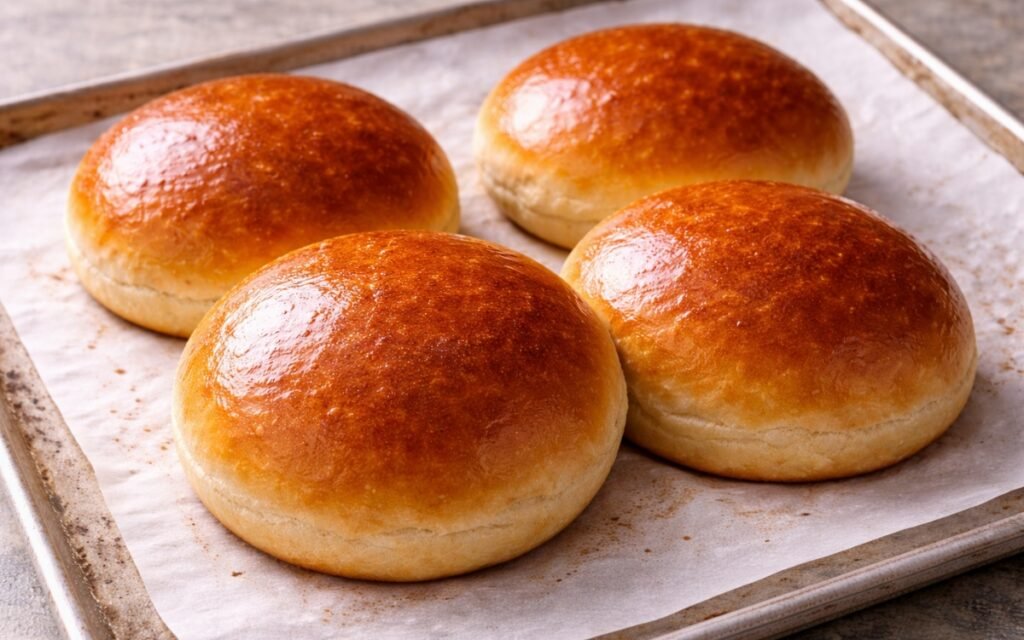
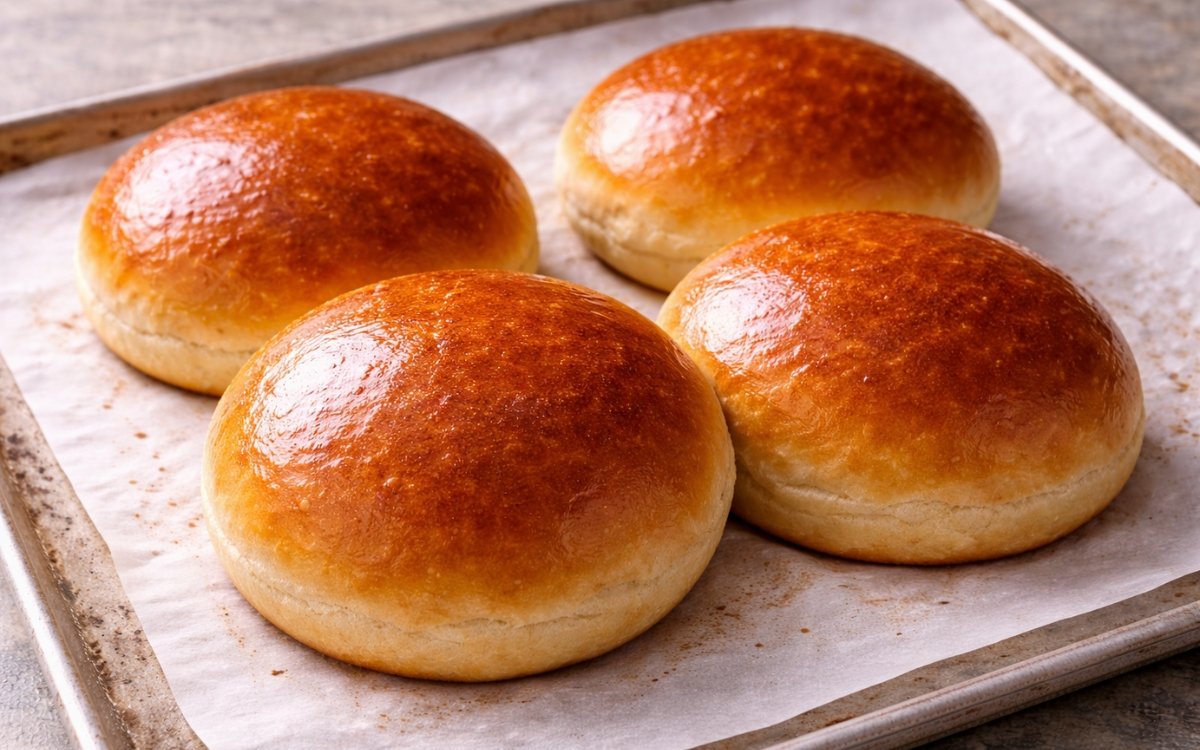
Brioche Burger Buns
Soft, rich, golden-topped brioche buns made with butter, egg, and milk — the enriched bread that turns any burger or fried chicken sandwich into something worth sitting down for. The butter and egg content produces a tender, slightly sweet crumb with a glossy crust that holds up under sauces and fillings without getting soggy. These are the companion to Classic Burger Buns — same purpose, different character. The classic bun is neutral and sturdy; the brioche is richer, softer, and more indulgent. Both have their place, and the recipe you reach for depends entirely on what you are putting between them.
Prep Time : 20 min
Cook Time : 17 min
Servings : 4
20 min
17 min
4
Ingredients
For the Dough
• 250g bread flour — this one on Amazon
• 4g fine sea salt
• 25g sugar
• 4g active dry yeast
• 30g unsalted butter, softened to room temperature — this one on Amazon
• 1 whole egg, room temperature
• 70g whole milk, warm, approximately 35°C
• 50g water, warm, approximately 35°C
For the Egg Wash
• 1 egg
• Small splash of milk or water
Optional Finish
• 20g unsalted butter, melted, for brushing immediately after baking
This post may contain affiliate links. As an Amazon Associate I earn from qualifying purchases, at no additional cost to you.
Directions
- Combine the Dry Ingredients
In a large bowl, combine the bread flour, fine sea salt, sugar, and active dry yeast. Stir briefly to distribute all four dry components evenly before any liquid is added. The yeast and salt require even distribution at this stage — concentrated contact between salt and yeast before the liquid is introduced can suppress yeast activity at the point of contact. A brief 30-second stir ensures they are dispersed evenly through the flour. Bread flour rather than all-purpose is specified for these buns because its higher protein content produces a stronger gluten network capable of supporting the weight of the enrichments — butter and egg — that are about to be incorporated. All-purpose flour produces a softer, less structured bun that does not hold its rounded shape as well during proofing and baking. - Mix the Wet Ingredients and Form the Dough
In a separate bowl or jug, whisk together the warm milk, warm water, and egg until fully combined — the egg should be fully incorporated into the liquid, not floating as separate streaks. Both the milk and water should be warm to the touch at approximately 35°C: warm enough to activate the yeast but not hot enough to damage it. Pour the liquid mixture over the dry ingredients. Add the softened butter — at room temperature, not melted — at the same time. Melted butter added to the dough at this stage incorporates differently from softened butter: melted butter is entirely liquid and coats the flour particles before the gluten can fully develop, weakening the structure. Softened butter is pliable but still holds its shape, allowing it to be worked progressively into the gluten network during kneading rather than coating everything before development begins. Mix with your hand or a dough scraper until a rough, cohesive dough forms with no dry flour remaining at the bottom of the bowl. - Knead to Full Development
Transfer the rough dough to a clean work surface and knead for 8–10 minutes by hand, or use a stand mixer fitted with a dough hook at medium-low speed for 8 minutes. The dough will feel noticeably sticky at the beginning of the kneading process — more so than a lean dough without butter and egg — and this stickiness is correct and expected for a brioche-style enriched dough. The fat from the butter and the lecithin from the egg yolk both coat the developing gluten strands and increase surface tackiness during early kneading. Resist the urge to add flour: adding flour at this stage changes the recipe’s hydration balance and produces a denser, less tender bun. Work through the stickiness — as the gluten network develops and the butter is fully incorporated over 8–10 minutes of kneading, the dough will progressively tighten, become smoother, and pull away from the work surface more cleanly. The finished dough should feel smooth, elastic, and slightly glossy — supple and soft without being sticky when pressed. It should stretch a few centimetres when pulled without tearing. - First Rise
Shape the kneaded dough into a smooth ball and transfer to a lightly greased bowl. Turn once to coat all surfaces in a thin film of oil, which prevents the surface from drying out during the rise. Cover with plastic wrap or a damp kitchen towel. Allow to rise at room temperature — ideally 24–26°C — for 1–2 hours until the dough has clearly doubled in size. The enrichment from the butter, egg, and sugar all affect the fermentation rate: the fat and egg moderately slow the yeast’s activity compared to a lean dough, while the sugar provides additional fuel that accelerates it. The net effect is a rise time similar to a lean dough at 1–2 hours but producing a more flavourful, more complex crumb due to the enrichment’s interaction with the developing gluten and yeast activity. - Divide and Shape
Turn the risen dough out onto a lightly floured work surface. Divide into 4 equal portions — weigh them for consistency, each approximately 105g. Consistent weight produces buns that bake evenly in the same time rather than some over-baking while others remain slightly under. Shape each portion into a tight, smooth ball: cup your hand over the dough piece and roll in a tight circular motion on the work surface, applying gentle downward pressure that tucks the edges underneath and builds surface tension on the top. The smoothness and tightness of the ball’s surface determines the evenness of the bun’s shape after proofing and baking — a rough, loose ball produces an uneven, asymmetric bun; a tight, smooth ball produces a round, even one. Place the shaped balls on a parchment-lined baking sheet with sufficient space between each for expansion — at least 6–7cm between each ball. Gently flatten each ball with the palm of your hand to create a wide, slightly flat disc shape approximately 10–11cm in diameter. This flattening is important: an unflattened ball proofs and bakes into a dome shape rather than the wide, flat burger bun shape. The slight flattening guides the expansion outward rather than upward during proofing. - Second Rise
Cover the shaped buns loosely with plastic wrap or a clean cloth — lightly greased plastic wrap is preferable as it can be laid over the buns without adhering to their surface. Allow to proof at room temperature for 45–60 minutes until visibly puffy, noticeably expanded, and soft and airy to a very gentle press. The second proof is the stage that most directly determines the softness and airiness of the finished bun’s crumb. During this period the yeast continues producing CO2 that inflates the gluten network, and the gluten relaxes into the wider, more rounded shape that the baking will set permanently. A bun that is under-proofed at this stage will have a denser, slightly tight crumb and will spring upward aggressively in the oven rather than expanding evenly in all directions. A bun that is significantly over-proofed will collapse slightly in the oven as the weakened gluten network cannot support the gas structure. The correct endpoint is puffy and light-feeling, with a gentle press leaving an indentation that springs back slowly. - Egg Wash and Bake
Preheat the oven to 190°C (375°F) in the final 20 minutes of the second proof. In a small bowl, whisk the egg with a small splash of milk until completely smooth — no streaks of unincorporated egg white should remain, as these will produce uneven colour on the bun surface. Using a pastry brush, apply a thin, even coat of egg wash to the top and sides of each proofed bun. The egg wash is what produces the characteristic deep golden, glossy surface of brioche-style bread — the egg proteins and sugars caramelise during baking to create a Maillard-reaction browning that is richer and more appealing than uncoated bread produces at the same temperature. Apply with light, even strokes without pressing down on the buns — pressing deflates the proofed gas structure. Bake for 16–18 minutes until the tops are evenly, deeply golden brown and the buns sound slightly hollow when tapped on the base. Pale buns are under-baked and their crumb will be slightly gummy. - Cool and Optional Butter Finish
Transfer the baked buns to a wire rack immediately. For extra softness — the technique that produces the characteristically yielding, pillowy surface of the best brioche buns — brush the top surface of each bun lightly with melted butter while still warm, within the first 2 minutes of removing from the oven. The warm bun surface absorbs the melted butter, which adds richness, prevents the crust from firming and toughening as it cools, and produces the soft, slightly shiny, almost melt-in-the-mouth surface that distinguishes a truly excellent brioche bun from a merely good one. Allow to cool for at least 20 minutes before slicing — cutting a hot enriched bread compresses the still-setting crumb and produces a gummy interior.
*Notes :
- The difference between brioche buns and classic burger buns is not simply richness — it is a fundamental difference in crumb structure and eating character. Classic burger buns have a more neutral, bread-like crumb that provides structural support without contributing flavour, making them ideal for sandwiches where the filling’s flavour should be primary. Brioche buns have a tender, slightly sweet crumb enriched with butter and egg that contributes its own distinct flavour and a softer, more yielding texture that compresses pleasantly under the weight of fillings. Neither is objectively better — the choice is application-dependent. A very heavily sauced, complex burger is better served by a classic bun that provides neutral support; a simpler burger or a fried chicken sandwich where the bun’s richness is a desired contribution is better served by brioche.
- The softened butter technique rather than melted is worth understanding mechanically. When softened butter is worked into a developing gluten network through kneading, it is incorporated as small, distributed fat particles that coat and lubricate individual gluten strands. This produces a tender, extensible gluten network that produces soft, fine crumb. Melted butter introduced to the flour before gluten development coats the flour particles and inhibits gluten formation — producing a more cake-like, crumbly structure rather than the bread-like, slightly chewy character that makes a brioche bun suitable for holding a burger together.
Why This Recipe Works
This recipe works because the ratio of enrichments — 30g butter, 1 egg, 70g milk — is calibrated specifically for burger bun applications rather than for a full brioche loaf. A full brioche recipe at the same weight of flour would use 100–150g of butter, producing a dough so enriched it requires refrigeration to handle and produces a very soft, very delicate bread unsuited to holding a burger.
At 30g, the butter provides sufficient richness for the characteristic brioche flavour and soft crumb without making the bun structurally fragile. The egg and milk provide the colour, tenderness, and flavour depth. Bread flour provides the structural strength to hold the enrichments in a gluten network strong enough to produce a proper burger bun shape.
Ingredient Breakdown
Bread Flour
Higher protein content produces the stronger gluten network needed to support the enrichments and maintain the rounded bun shape through proofing and baking.
Butter (Softened, Incorporated Through Kneading)
The primary richness element — worked into the gluten network rather than melted into the liquid, producing a tender, extensible crumb structure rather than a crumbly one.
Whole Egg
Contributes lecithin for gluten network lubrication, protein for structure, fat from the yolk for richness, and the golden colour characteristic of brioche.
Whole Milk
The enriching liquid — fat and protein in the milk produce a more tender, more flavourful crumb than water alone.
Sugar
Feeds the yeast and contributes to the Maillard browning during baking — at 25g it produces a faint sweetness that is part of brioche’s character without tipping into dessert territory.
Egg Wash
The visual finish — the deep golden, glossy surface that makes brioche immediately recognisable and visually distinct from lean bread.
Flavor Structure Explained
This brioche buns follow a layered balance model:
- Soft sweet base (brioche crumb)
- Buttery richness (butter)
- Subtle savory depth (egg)
- Caramelized crust (egg wash, sugar)
- Balanced sweetness (sugar)
The crumb establishes the foundation with a soft, slightly sweet profile that defines brioche’s identity. Butter adds smooth, rounded richness throughout, giving the bread its signature depth. Egg contributes a faint savory note that keeps the sweetness from feeling flat. Sugar provides background sweetness, which becomes more pronounced in the crust through caramelisation. The egg wash creates a deeper, more complex outer layer, adding flavor and visual richness. The result is a bun that feels complete and intentional — rich but controlled, supportive rather than dominant.
Common Mistakes to Avoid
- Adding Flour to Manage Early Stickiness – The stickiness during early kneading is from the butter and egg enrichment and resolves through kneading — adding flour changes the recipe’s balance and produces a denser bun. Work through it.
- Using Melted Rather Than Softened Butter – Melted butter coats the flour and inhibits gluten formation before it develops. Softened butter incorporated through kneading produces a better crumb structure. Always use room-temperature soft butter.
- Under-kneading – Insufficient gluten development means the enriched dough cannot hold its shape during proofing — the buns spread flat rather than holding a rounded dome. Knead for the full 8–10 minutes.
- Not Flattening Before the Second Proof – Unflattened balls proof and bake into dome shapes rather than wide, flat buns. Flatten to approximately 10–11cm before the second proof.
- Under-proofing at the Second Rise – The crumb density of the finished bun is directly determined by the second proof. Under-proofed buns have a tight, slightly dense crumb. Allow the full 45–60 minutes until visibly puffy.
- Cutting While Hot – The enriched crumb is still setting during the first 20 minutes after baking. Cutting too early produces a gummy, compressed interior.
Variations
Sesame Seeded
After applying the egg wash, scatter white sesame seeds generously across the top surface before baking. The sesame seeds toast during baking and add nutty depth and the classic visual identity of a traditional burger bun.
Poppy Seeded
Apply poppy seeds over the egg-washed surface the same way as sesame — their slightly bitter, nutty character pairs particularly well with the brioche’s sweetness.
Garlic Herb Brioche Burger Buns
After brushing with melted butter immediately post-baking, add 5g of finely minced garlic and 5g of finely chopped fresh parsley to the melted butter before brushing. The garlic-herb butter is absorbed into the warm surface and produces a savoury version particularly suited to steak burgers and fried chicken sandwiches.
Mini Slider Buns
Divide the dough into 8 equal portions of approximately 52g each instead of 4. Reduce the second proof to 30–40 minutes and the baking time to 13–14 minutes. The mini buns are perfectly sized for sliders and party applications.
Storage & Make-Ahead
Baked buns can be stored in a sealed bag at room temperature for up to 3 days. Thanks to their butter content, they stay soft longer than a lean bun would, which is one of the benefits of an enriched dough.
They can also be frozen in a sealed bag for up to 1 month. To use, thaw them at room temperature for about 1 hour, or split and toast them directly from frozen for 2 to 3 minutes. The butter helps protect the crumb from the moisture loss that can make lean breads dry after freezing.
For a make-ahead option, let the dough complete its first rise, then shape the buns and place them on a parchment-lined tray. Cover them tightly and refrigerate for up to 16 hours before the second proof. When ready to bake, remove them from the refrigerator and let them proof at room temperature for 60 to 75 minutes, which is slightly longer than usual because they are starting cold. Then egg wash and bake as normal. This cold overnight rest also adds a subtle depth of flavor through slower fermentation.
Frequently Asked Questions
What is the difference between brioche buns and classic burger buns?
Brioche buns are enriched with butter, egg, and milk, producing a tender, slightly sweet crumb with a soft, yielding texture and a golden, glossy crust. Classic Burger Buns have a more neutral, bread-like crumb without enrichment — structurally sturdy and flavour-neutral. Brioche contributes its own flavour to the eating experience; classic buns provide support without contribution. Both are excellent — the choice depends on what you are putting inside them.
Why does my dough feel so sticky?
The butter and egg enrichment makes brioche-style dough stickier than lean dough at equivalent hydration — this is normal and expected. It resolves through kneading as the gluten network incorporates the fat. Do not add flour. Continue kneading and the dough will tighten within 3–4 minutes.
Can I use all-purpose flour instead of bread flour?
Yes, but the buns will be slightly softer and less able to hold their rounded shape during proofing and baking. The lower protein content produces a weaker gluten network that spreads more readily. Bread flour produces a noticeably more structured bun that holds its shape better.
What should I use these for?
These buns were specifically designed for the Double Smash Burger and the Spicy Fried Chicken Sandwich — both of which benefit from the brioche’s richness and soft crumb. The smash burger’s bold, caramelised beef and sauce benefit from a bun that contributes its own buttery depth. The fried chicken sandwich’s crunch and heat pair naturally with the brioche’s soft, yielding texture and slight sweetness.
Can I add sesame seeds before baking?
Yes — scatter them over the egg-washed surface immediately before the buns go into the oven. They will toast and adhere during baking. No additional glue is needed — the egg wash provides sufficient adhesion.
Nutrition Facts
( per serving )
Calories
~310 kcal
Protein
90 g
Fat
9 g
Carbs
48 g
Calories
~310 kcal
Protein
9 g
Fat
9 g
Carbs
48 g
Related Recipes
Related Recipes

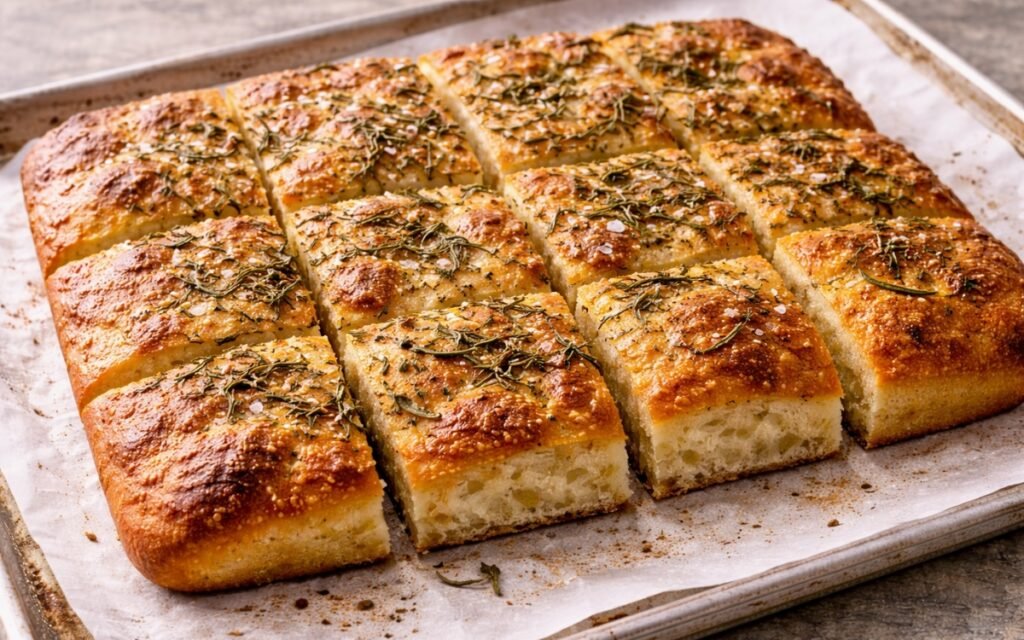
Focaccia
00 flour, semolina, and generous olive oil cold-fermented for 48–72 hours — focaccia with a crackling crust, cloud-soft interior, and the complex flavour only time can produce.
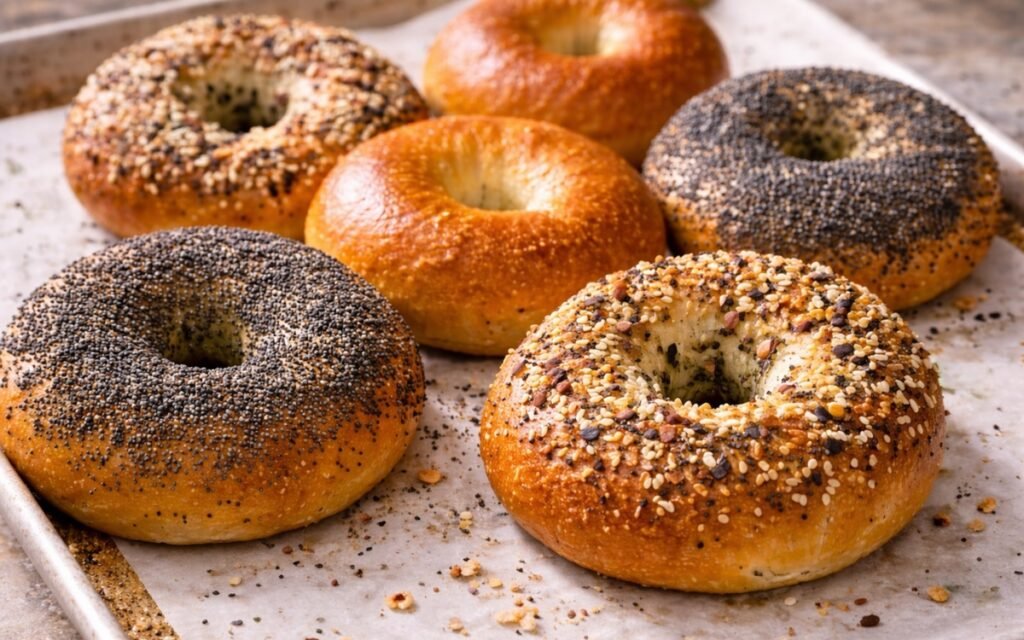
Everything Bagels
Barley malt dough, overnight cold proof, boiling bath, and everything seasoning — authentic chewy bagels that make every other version seem like an approximation.
Homemade Corn Tortillas
Masa harina, water, and salt — pressed thin, char-cooked, and stacked under a cloth. Soft, pliable corn tortillas in 45 minutes from three ingredients.

You might also like
You might also like
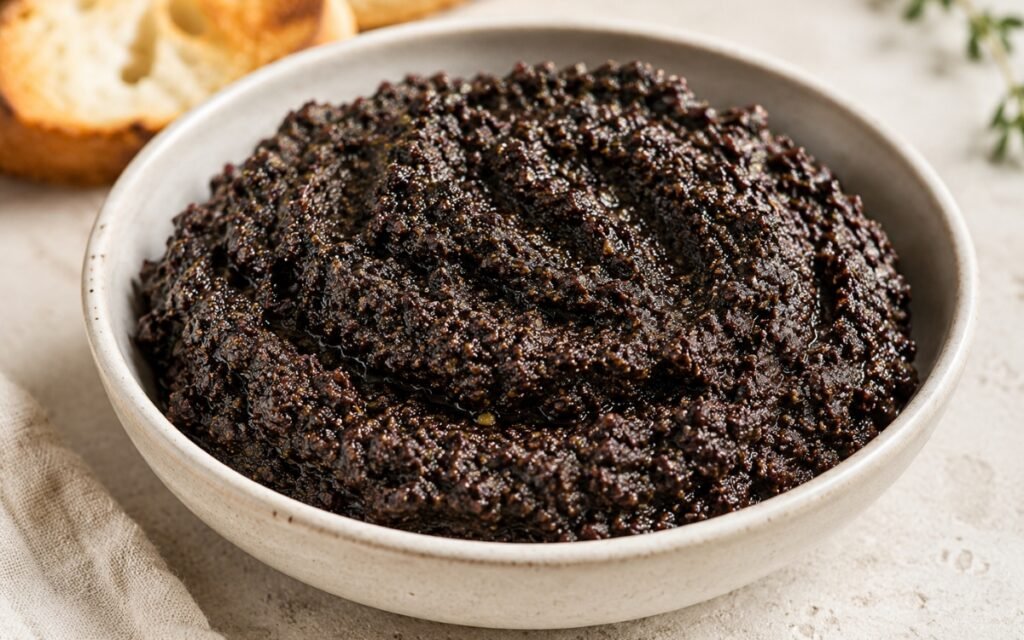
Black Olive Tapenade
Garlic and anchovies pulsed first, well-drained black olives and capers pulsed to a coarse texture — lemon zest, thyme, and olive oil through. No salt before tasting. Rested 20 minutes. The Provençal spread done correctly.
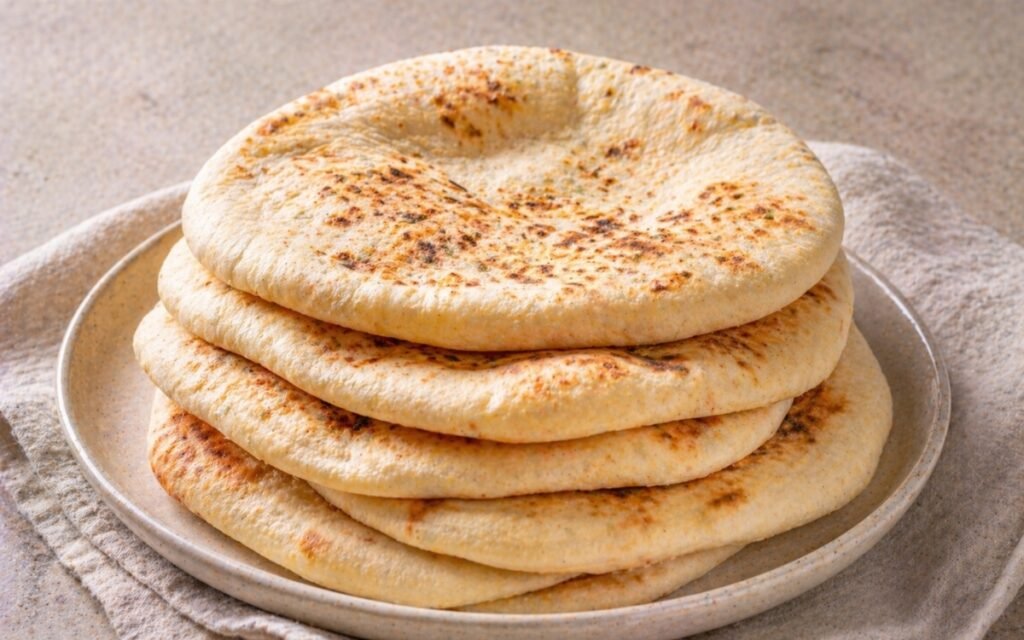
Homemade Pita Flatbread
Properly kneaded, evenly rolled, and cooked on a scorching surface — soft, pocket-forming pita flatbread in 2 hours, with oven and cast iron methods explained step by step.
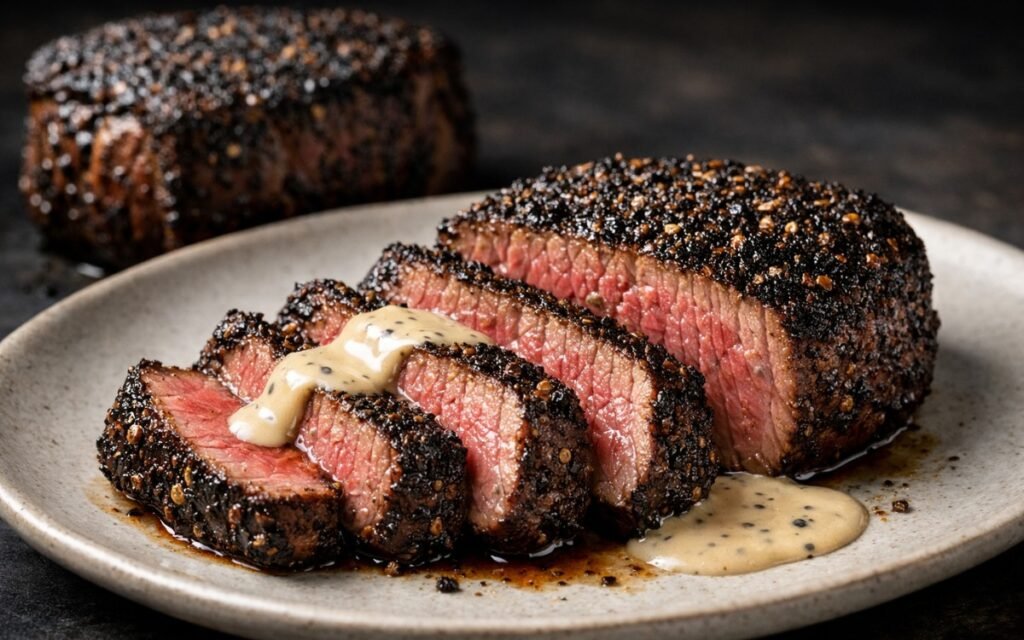
Peppercorn Crusted Steak
Tender steak coated in crushed black peppercorns, seared with butter, and finished with brandy sauce.
Brioche Burger Buns
Ingredients
Method
- In a large bowl, combine the bread flour, fine sea salt, sugar, and active dry yeast. Stir briefly to distribute all four dry components evenly before any liquid is added. The yeast and salt require even distribution at this stage — concentrated contact between salt and yeast before the liquid is introduced can suppress yeast activity at the point of contact. A brief 30-second stir ensures they are dispersed evenly through the flour. Bread flour rather than all-purpose is specified for these buns because its higher protein content produces a stronger gluten network capable of supporting the weight of the enrichments — butter and egg — that are about to be incorporated. All-purpose flour produces a softer, less structured bun that does not hold its rounded shape as well during proofing and baking.
- In a separate bowl or jug, whisk together the warm milk, warm water, and egg until fully combined — the egg should be fully incorporated into the liquid, not floating as separate streaks. Both the milk and water should be warm to the touch at approximately 35°C: warm enough to activate the yeast but not hot enough to damage it. Pour the liquid mixture over the dry ingredients. Add the softened butter — at room temperature, not melted — at the same time. Melted butter added to the dough at this stage incorporates differently from softened butter: melted butter is entirely liquid and coats the flour particles before the gluten can fully develop, weakening the structure. Softened butter is pliable but still holds its shape, allowing it to be worked progressively into the gluten network during kneading rather than coating everything before development begins. Mix with your hand or a dough scraper until a rough, cohesive dough forms with no dry flour remaining at the bottom of the bowl.
- Transfer the rough dough to a clean work surface and knead for 8–10 minutes by hand, or use a stand mixer fitted with a dough hook at medium-low speed for 8 minutes. The dough will feel noticeably sticky at the beginning of the kneading process — more so than a lean dough without butter and egg — and this stickiness is correct and expected for a brioche-style enriched dough. The fat from the butter and the lecithin from the egg yolk both coat the developing gluten strands and increase surface tackiness during early kneading. Resist the urge to add flour: adding flour at this stage changes the recipe’s hydration balance and produces a denser, less tender bun. Work through the stickiness — as the gluten network develops and the butter is fully incorporated over 8–10 minutes of kneading, the dough will progressively tighten, become smoother, and pull away from the work surface more cleanly. The finished dough should feel smooth, elastic, and slightly glossy — supple and soft without being sticky when pressed. It should stretch a few centimetres when pulled without tearing.
- Shape the kneaded dough into a smooth ball and transfer to a lightly greased bowl. Turn once to coat all surfaces in a thin film of oil, which prevents the surface from drying out during the rise. Cover with plastic wrap or a damp kitchen towel. Allow to rise at room temperature — ideally 24–26°C — for 1–2 hours until the dough has clearly doubled in size. The enrichment from the butter, egg, and sugar all affect the fermentation rate: the fat and egg moderately slow the yeast’s activity compared to a lean dough, while the sugar provides additional fuel that accelerates it. The net effect is a rise time similar to a lean dough at 1–2 hours but producing a more flavourful, more complex crumb due to the enrichment’s interaction with the developing gluten and yeast activity.
- Turn the risen dough out onto a lightly floured work surface. Divide into 4 equal portions — weigh them for consistency, each approximately 105g. Consistent weight produces buns that bake evenly in the same time rather than some over-baking while others remain slightly under. Shape each portion into a tight, smooth ball: cup your hand over the dough piece and roll in a tight circular motion on the work surface, applying gentle downward pressure that tucks the edges underneath and builds surface tension on the top. The smoothness and tightness of the ball’s surface determines the evenness of the bun’s shape after proofing and baking — a rough, loose ball produces an uneven, asymmetric bun; a tight, smooth ball produces a round, even one. Place the shaped balls on a parchment-lined baking sheet with sufficient space between each for expansion — at least 6–7cm between each ball. Gently flatten each ball with the palm of your hand to create a wide, slightly flat disc shape approximately 10–11cm in diameter. This flattening is important: an unflattened ball proofs and bakes into a dome shape rather than the wide, flat burger bun shape. The slight flattening guides the expansion outward rather than upward during proofing.
- Cover the shaped buns loosely with plastic wrap or a clean cloth — lightly greased plastic wrap is preferable as it can be laid over the buns without adhering to their surface. Allow to proof at room temperature for 45–60 minutes until visibly puffy, noticeably expanded, and soft and airy to a very gentle press. The second proof is the stage that most directly determines the softness and airiness of the finished bun’s crumb. During this period the yeast continues producing CO2 that inflates the gluten network, and the gluten relaxes into the wider, more rounded shape that the baking will set permanently. A bun that is under-proofed at this stage will have a denser, slightly tight crumb and will spring upward aggressively in the oven rather than expanding evenly in all directions. A bun that is significantly over-proofed will collapse slightly in the oven as the weakened gluten network cannot support the gas structure. The correct endpoint is puffy and light-feeling, with a gentle press leaving an indentation that springs back slowly.
- Preheat the oven to 190°C (375°F) in the final 20 minutes of the second proof. In a small bowl, whisk the egg with a small splash of milk until completely smooth — no streaks of unincorporated egg white should remain, as these will produce uneven colour on the bun surface. Using a pastry brush, apply a thin, even coat of egg wash to the top and sides of each proofed bun. The egg wash is what produces the characteristic deep golden, glossy surface of brioche-style bread — the egg proteins and sugars caramelise during baking to create a Maillard-reaction browning that is richer and more appealing than uncoated bread produces at the same temperature. Apply with light, even strokes without pressing down on the buns — pressing deflates the proofed gas structure. Bake for 16–18 minutes until the tops are evenly, deeply golden brown and the buns sound slightly hollow when tapped on the base. Pale buns are under-baked and their crumb will be slightly gummy.
- Transfer the baked buns to a wire rack immediately. For extra softness — the technique that produces the characteristically yielding, pillowy surface of the best brioche buns — brush the top surface of each bun lightly with melted butter while still warm, within the first 2 minutes of removing from the oven. The warm bun surface absorbs the melted butter, which adds richness, prevents the crust from firming and toughening as it cools, and produces the soft, slightly shiny, almost melt-in-the-mouth surface that distinguishes a truly excellent brioche bun from a merely good one. Allow to cool for at least 20 minutes before slicing — cutting a hot enriched bread compresses the still-setting crumb and produces a gummy interior.