
Japanese Katsudon
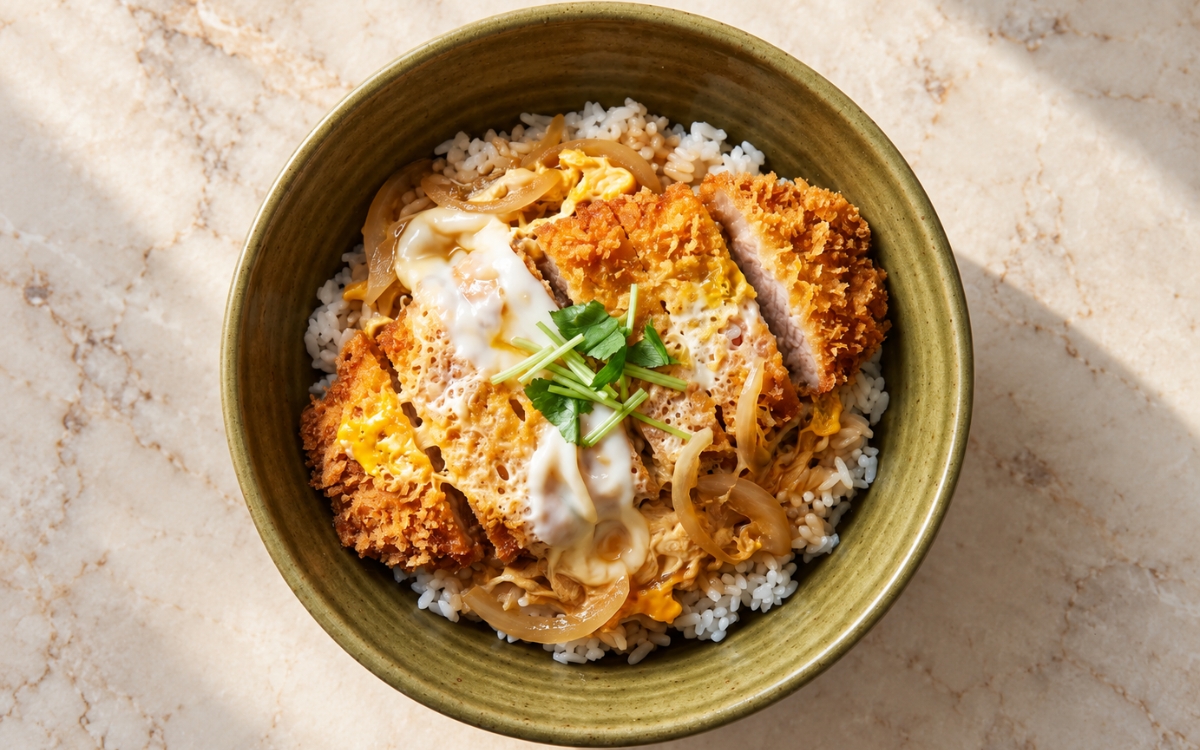
A classic Japanese rice bowl built from a crisp, golden pork tonkatsu cutlet sliced into strips, simmered briefly with soft, translucent onion in a light soy-dashi broth, then finished with softly set, custardy egg and laid over hot short-grain rice. Frying the cutlet fully first and simmering it only briefly afterwards, rather than stewing it in the broth like a braise, is the technique this whole katsudon depends on for a coating that softens underneath yet keeps crisp golden edges on top — a longer simmer soaks the entire crumb into mush, the same fry-first-then-finish-briefly principle used elsewhere in this collection whenever a crisp coating has to meet a hot sauce. Softening the onion in the broth before the cutlet goes in is what sweetens the sauce and keeps the slices tender without browning them. Pouring lightly beaten egg over and around the cutlet, then covering the pan for under a minute, is what leaves custardy ribbons and a few slightly runny patches instead of a firm omelette. The payoff is a bowl with real, layered contrast — crunchy-edged, juicy pork, sweet soft onion, glossy custardy egg, and tender rice that has absorbed just enough savoury broth to carry every bite.

Prep Time : 30 min
Total Time : 1 hr 5 min
Servings : 4
30 min
1 hr 5 min
4
Ingredients
For the Rice
• 360g Japanese short-grain rice
• Water, as needed for cooking the rice
For the Pork Cutlets
• 4 pieces boneless pork loin or center-cut pork chops, about 170–200g each
• Salt, to taste
• Black pepper, to taste
For the Breading
• 80g all-purpose flour
• 3 large eggs
• 1 tbsp water
• 180–220g panko breadcrumbs
For Frying
• Neutral oil, for deep frying
For the Katsudon Broth
• 500ml dashi
• 60ml soy sauce
• 60ml mirin
• 2 tbsp sugar
For the Onion and Egg Layer
• 2 medium yellow onions, halved and thinly sliced
• 8 large eggs, lightly beaten just enough to combine whites and yolks
For the Garnish
• 2–3 tbsp thinly sliced green onions, or mitsuba if available
Directions
- Cook the Rice
Rinse the 360g of Japanese short-grain rice in cold water, swirling and draining several times, until the water runs mostly clear, then drain well. Cook it with water measured according to your rice cooker or usual method, using short-grain rice rather than jasmine, and start it before anything else so it finishes while the pork is frying. Rest the rice covered for 10 minutes after cooking, then fluff it gently with a paddle, keeping the grains moist and tender rather than dry. That moist, lightly sticky texture is what lets the rice absorb a little broth later without turning pasty. - Prep the Pork
Trim the excess fat from the 4 pork cutlets, about 170–200g each, and make 2–3 small cuts through the outer fat edge of each one so the cutlet stays flat instead of curling in the oil. If needed, lightly pound the pork to an even thickness of about 1.5 cm, then season both sides with salt and black pepper. Set the cutlets aside while you arrange the breading station. That even thickness is what lets the whole cutlet cook through at the same rate, so the thin edges do not dry out before the centre is done. - Bread the Cutlets
Set out three shallow bowls: 80g of all-purpose flour in the first, 3 eggs beaten with 1 tbsp of water in the second, and 180–220g of panko in the third. Dredge each cutlet in the flour and shake off the excess, dip it in the egg, then press it into the panko, coating it thoroughly and pressing gently so the crumbs adhere. Use coarse panko rather than fine breadcrumbs, and rest the coated cutlets on a tray. That shaken-off flour layer is what stops the coating separating from the pork, and the coarse panko is what gives the craggy tonkatsu crust katsudon needs. - Fry the Tonkatsu
Heat enough neutral oil for deep frying in a deep, heavy pot to 170–175°C. Fry the cutlets 1–2 at a time, depending on pot size, for about 3–4 minutes per side, until deeply golden and cooked through to at least 63°C in the centre, with the pork still juicy. Transfer each cutlet to a rack and rest for 3–5 minutes, then slice it into strips, keeping the pieces aligned in cutlet shape for easy transfer later. Do not overcrowd the oil, or the temperature drops and the crust turns greasy. That rest on a rack, rather than on paper towels, keeps the underside crisp while the juices settle, so slicing afterwards leaves the pork moist. - Mix the Katsudon Broth
In a bowl or measuring jug, combine the 500ml of dashi, 60ml of soy sauce, 60ml of mirin, and 2 tbsp of sugar, then stir until the sugar fully dissolves. Taste it: the broth should be light and savoury, slightly sweet, and never harshly salty, because it will concentrate a little as it simmers. Keep the jug beside the stove, since each bowl uses about 120–140ml. This is a simmering broth rather than a thick sauce, and that thin, balanced consistency is what seasons the onion and the underside of the cutlet without drowning the crisp crumb. - Simmer the Onion
For the most classical result, cook each bowl separately in a small skillet, or cook 2 servings at a time in a larger pan if you need to. For each serving, add about 120–140ml of broth to the pan along with one-quarter of the sliced onions, and have one sliced cutlet, 2 lightly beaten eggs, and a bowl of hot rice ready beside the stove. Bring the broth to a gentle simmer and cook for 2–4 minutes, until the onion softens and turns translucent without falling apart or browning. That head start is what lets the onion sweeten the broth before the cutlet goes in, so the crumb only needs a very brief soak. - Add the Cutlet and Egg
Lay the sliced cutlet over the onion and simmer for 30–60 seconds, so the underside absorbs some broth and softens slightly while the top edges stay crisp. Pour the 2 lightly beaten eggs over and around the cutlet, aiming for uneven coverage so some pork remains visible. Cover the pan and cook on low for 30–60 seconds, just until the egg is softly set with custardy ribbons and a few slightly runny patches. Add the egg only when everything else is ready, because it cooks fast. That short, gentle finish keeps the egg glossy and the crust partly crisp, since a hard boil toughens the egg and soaks the crumb through. - Build the Bowls and Serve
Divide the hot rice among 4 bowls, about 190–200g of cooked rice each, and slide each finished cutlet-onion-egg mixture over the rice in one piece, spooning in some of the broth from the pan. Garnish with the thinly sliced green onions, or with mitsuba added at the very end so it stays fresh and aromatic, and serve immediately. Repeat the onion, cutlet, and egg stages for each remaining bowl, so every serving is assembled just before it is eaten. That small amount of broth seasons and moistens the rice without flooding the bowl, leaving soft egg, juicy pork, some broth-soaked crumb, and a few still-crisp golden edges.
*Notes :
- Frying the tonkatsu properly before it ever meets the broth deserves genuine recognition as the technique most directly responsible for the texture of the finished bowl. A genuinely deep golden cutlet holds a crisp crust that can survive a brief simmer, whereas a pale, under-fried cutlet dissolves into a soggy crumb the moment it touches the hot liquid.
- Cooking each bowl separately in a small skillet deserves the same attention this technique receives throughout this collection’s other quick skillet dishes. A shallow pan keeps the broth, onion, and egg within easy reach and makes the exact moment to cover the pan obvious, whereas four portions in one large pan spread the egg thin and hide the doneness window.
- A gentle simmer deserves genuine respect as the detail most directly responsible for tender egg and a crust that stays partly crisp. A hard boil toughens the egg into dry curds and soaks the breading through, which is why the burner stays low from the moment the cutlet goes into the pan and the egg is poured over it.
- The softly set egg deserves attention as a genuine, checkable doneness cue rather than a loose approximation of timing. Glossy, custardy ribbons with a few slightly runny patches mean the pan is ready to leave the heat, because residual heat keeps setting the egg on the way to the table and a fully firm egg ends up dry.
Why This Recipe Works
This recipe works because the cutlet is fried fully and rested on a rack before it meets the broth, so the crust is crisp enough to survive a brief simmer. The onion softens first in a balanced broth of dashi, soy sauce, mirin, and sugar, which sweetens the liquid and seasons the pork gently. Cooking one bowl at a time keeps the egg easy to judge, and covering the pan for under a minute sets it into custardy ribbons rather than a firm layer. Short-grain rice underneath absorbs just enough broth to carry every bite, leaving soft egg, juicy pork, and a few genuinely crisp golden edges.
Ingredient Breakdown
Fried Tonkatsu Rested on a Rack
The critical technique — a deeply golden crust fried first holds its crunch through a brief simmer instead of dissolving.
Boneless Pork Loin (Even Thickness)
The critical ingredient choice — loin is the classical cutlet, and even thickness cooks it through evenly and keeps it juicy.
Panko Breadcrumbs (Not Fine Crumbs)
The structural choice — coarse flakes fry into a craggy, airy crust, where fine crumbs turn dense and greasy.
Soy-Dashi Katsudon Broth
The flavour foundation — dashi, soy sauce, mirin, and sugar make a light, slightly sweet simmering broth.
Gently Softened Yellow Onion
The core flavour-building stage — simmering until translucent releases sweetness into the broth without browning or falling apart.
Lightly Beaten Eggs (Softly Set)
The critical timing technique — loosely combined egg sets into custardy ribbons when cooked briefly.
Japanese Short-Grain Rice (Not Jasmine)
The structural foundation — moist, slightly sticky grains absorb a little broth and support the topping without turning pasty.
Flavor Structure Explained
This Japanese katsudon follows a layered balance model:
- Crisp, savoury core (fried pork cutlet, golden panko crust)
- Light umami broth (dashi, soy sauce)
- Gentle sweet balance (mirin, sugar, simmered onion)
- Silky, custardy finish (softly set egg)
- Soft, starchy foundation (Japanese short-grain rice)
- Fresh green lift (green onion or mitsuba)
The fried pork cutlet provides the savoury core, its golden panko crust staying partly crisp where it sits above the broth. Dashi and soy sauce add a light layer of umami, while mirin, sugar, and the softened onion round the sauce with gentle sweetness so it never turns harsh. Softly set egg drapes everything in a silky finish, and hot short-grain rice absorbs the broth and balances each bite. Green onion or mitsuba adds a fresh note that ties the katsudon together.
Common Mistakes to Avoid
- Skipping the Rest After Frying – This lets juices run out when sliced, leaving dry pork and a soft crust. Always rest the cutlets on a rack for 3–5 minutes before slicing.
- Simmering the Cutlet Too Long – This soaks the breading completely, so the crust turns soggy and the contrast disappears. Always simmer the sliced cutlet for only 30–60 seconds.
- Boiling the Broth Hard – This toughens the egg into dry curds and over-softens the crust. Always keep the simmer gentle and the heat low once the egg goes in.
- Adding the Cutlet Before the Onion Softens – This leaves underdone onion and gives the crumb too long in the liquid. Always cook the onion until translucent first, then lay the cutlet over it.
- Overcrowding the Frying Oil – This drops the oil temperature, so the crust absorbs grease instead of crisping. Always fry 1–2 cutlets at a time and keep the oil at 170–175°C.
Variations
Mitsuba Version
Garnish each bowl with mitsuba instead of green onions, as the recipe’s own note suggests, adding it at the very end so the herb stays fresh and aromatic.
Two-Bowl Pan Version
Cook 2 servings at a time in a larger pan, as the recipe’s own note allows, trading slightly less egg control for finishing all four bowls in two rounds.
Heavier Portion Version
Increase the rice slightly beyond the 360g, as the recipe’s own note suggests, so each bowl becomes a heavier main dish with extra rice to soak up the broth.
Center-Cut Pork Chop Version
Use boneless center-cut pork chops in place of loin, trimming the fat and pounding to an even 1.5 cm thickness, so the cutlet still fries and slices cleanly into tidy strips.
Storage & Make-Ahead
Katsudon is best eaten within minutes of assembly, because the egg keeps setting from residual heat and the crumb keeps absorbing broth, so plan to serve each bowl immediately while the egg is silky and the rice is hot.
Cook the rice ahead and keep it warm in the cooker, or cool leftover rice quickly and refrigerate it in an airtight container for up to 2 days, then reheat it until steaming hot with a splash of water.
The broth can be mixed up to 2 days ahead and refrigerated in a covered jar, and the onions can be sliced a day ahead, while the breaded cutlets can wait on a tray in the refrigerator for up to 2 hours before frying.
Leftover fried cutlets keep in an airtight container in the refrigerator for up to 1 day and are best re-crisped on a rack in a 200°C oven for 8–10 minutes before they are sliced and briefly simmered in the broth.
Fully assembled katsudon does not store well because the egg firms and the crumb turns soggy, so finish each bowl fresh rather than refrigerating or freezing it, and keep any unused broth covered in the refrigerator for up to 2 days.
Frequently Asked Questions
Why is the tonkatsu fried completely before it is simmered in the broth?
Frying first sets a deeply golden, crisp crust, so the cutlet can take a brief 30–60 second simmer and keep some crunch, whereas a cutlet fried only lightly would dissolve into a soggy crumb.
Why should the cutlet only simmer for 30–60 seconds before the egg goes in?
That short window lets the underside absorb broth and soften slightly while the top edges stay crisp, whereas a longer soak turns the whole breading soggy and erases the texture contrast that defines katsudon.
Why is the egg only lightly beaten and added at the very end?
A loose beat, just enough to combine whites and yolks, leaves streaks that set into custardy ribbons, and adding the egg last means it cooks in under a minute instead of overcooking while the other components finish.
Why are the pork cutlets scored and pounded to an even thickness?
Small cuts through the outer fat edge stop the cutlet curling in the oil, and an even 1.5 cm thickness lets the pork cook through at the same rate, staying juicy instead of drying at the thin edges.
Are there other classic Japanese cutlet, rice bowl, or curry dishes worth trying?
Tonkatsu with Cabbage Slaw offers another classic Japanese cutlet direction worth exploring, while Japanese Oyakodon is also worth trying for another rice bowl. Katsu Curry — Japanese Pork Cutlet Curry and Japanese Cucumber Salad (Sunomono) offer other cutlet and side-dish directions, and Japanese Curry Udon offers a curry noodle dish.
Nutrition Facts
( Per Serving — 1 bowl )
Calories
~1020 kcal
Protein
62 g
Fat
38 g
Carbs
128 g
Calories
~1020 kcal
Protein
62 g
Fat
38 g
Carbs
128 g
Related Recipes
Related Recipes
-

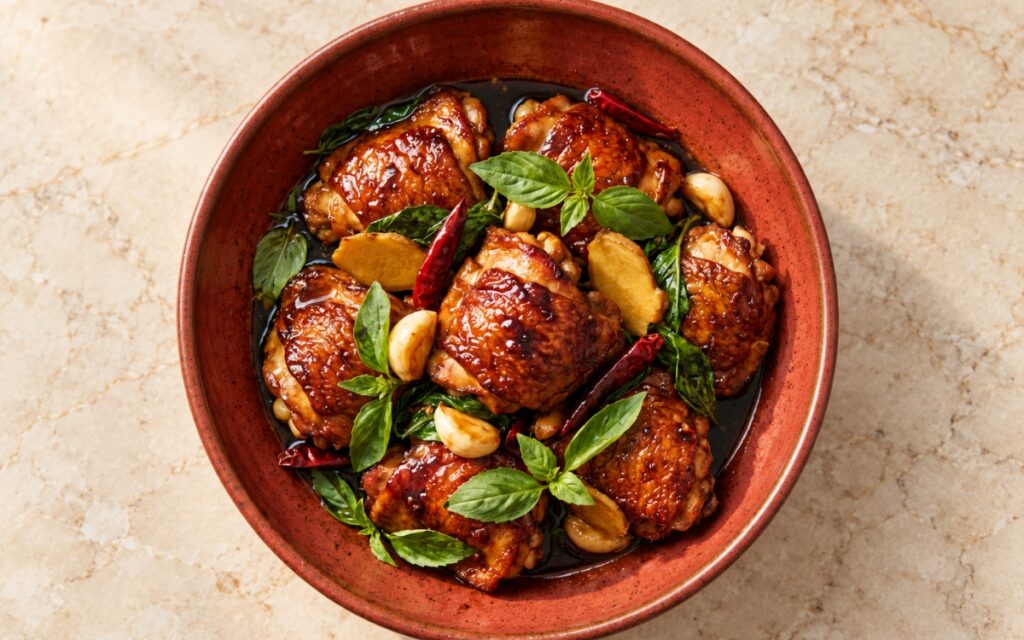
Taiwanese Three Cup Chicken (San Bei Ji)
Glossy soy-braised chicken thighs with whole garlic cloves, thick ginger, dried red chilies, and fresh Thai basil in a dark, syrupy sauce.
-
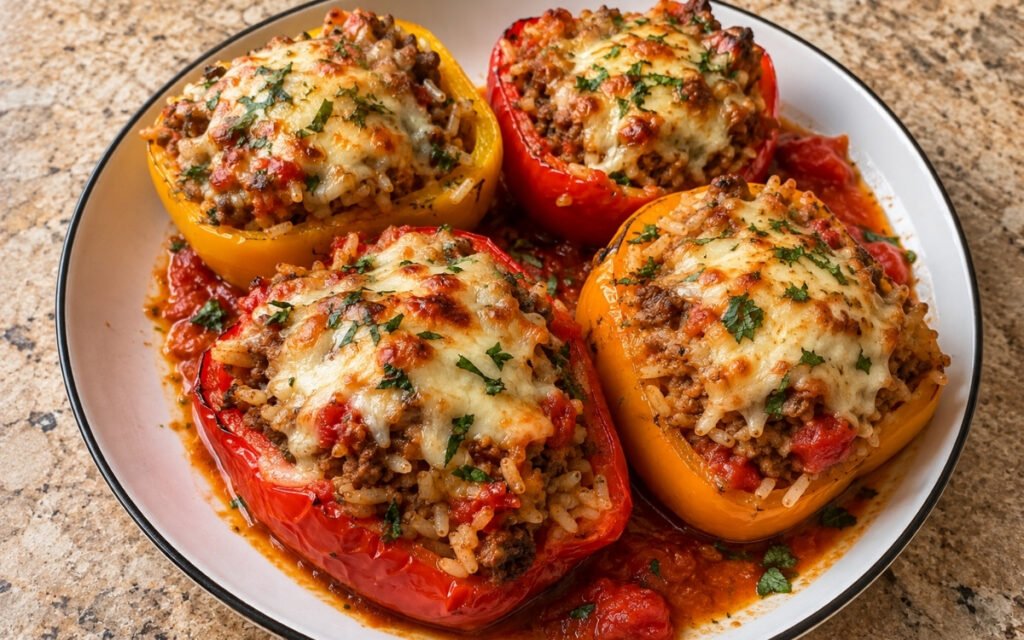
Italian Stuffed Peppers
Halved bell peppers filled with beef, pork, rice, onion, garlic, tomato sauce, herbs and cheese, baked over tomato sauce until tender.
-
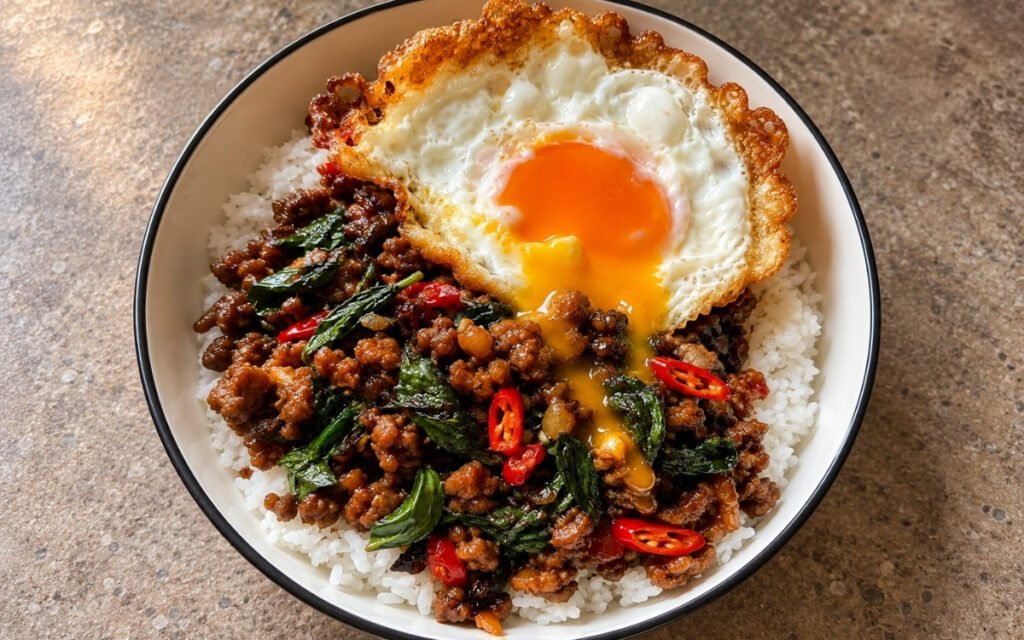
Pad Krapao — Thai Basil Stir-Fry
Hard-caramelized minced pork with garlic, chilies, glossy sauce, and Thai holy basil, served over jasmine rice with a crispy fried egg.
You might also like
You might also like
-
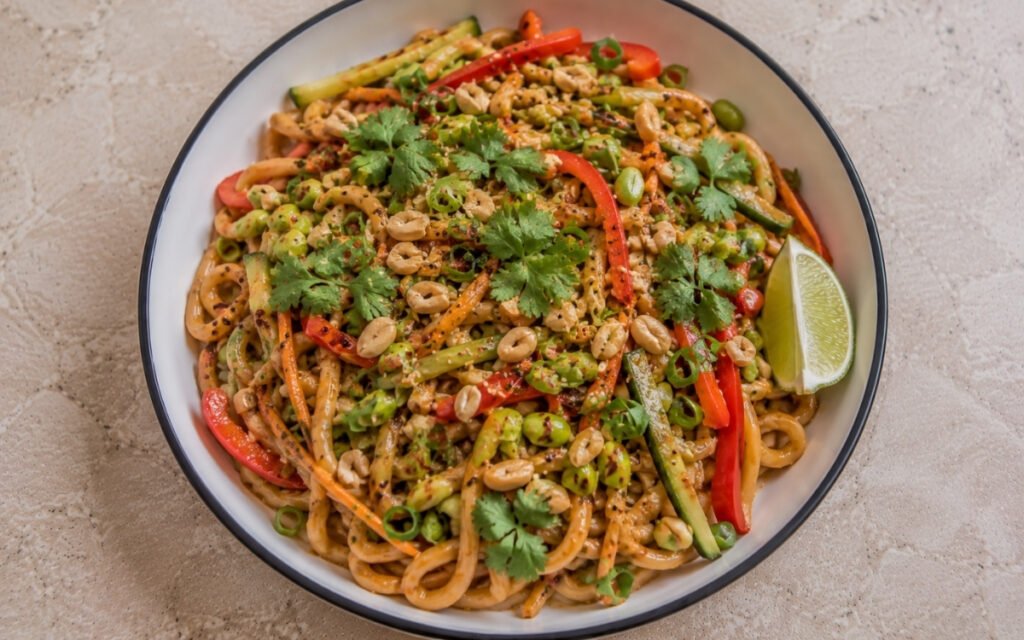
Spicy Peanut Butter Noodles
Udon in a peanut sauce spiked with bird’s eye chilies and Sichuan peppercorns — better the next day.
-
BBQ Baby Back Ribs
Spice-rubbed baby back ribs slow-baked until tender, then grilled and glazed in layers with a smoky chipotle barbecue sauce.
-
Sichuan Chili Oil Wontons
Juicy pork wontons served in a glossy Sichuan red oil sauce of chili oil, soy and black vinegar, topped with scallions, cilantro and peanuts.

Japanese Katsudon
Ingredients
Method
- Rinse the 360g of Japanese short-grain rice in cold water, swirling and draining several times, until the water runs mostly clear, then drain well. Cook it with water measured according to your rice cooker or usual method, using short-grain rice rather than jasmine, and start it before anything else so it finishes while the pork is frying. Rest the rice covered for 10 minutes after cooking, then fluff it gently with a paddle, keeping the grains moist and tender rather than dry. That moist, lightly sticky texture is what lets the rice absorb a little broth later without turning pasty.
- Trim the excess fat from the 4 pork cutlets, about 170–200g each, and make 2–3 small cuts through the outer fat edge of each one so the cutlet stays flat instead of curling in the oil. If needed, lightly pound the pork to an even thickness of about 1.5 cm, then season both sides with salt and black pepper. Set the cutlets aside while you arrange the breading station. That even thickness is what lets the whole cutlet cook through at the same rate, so the thin edges do not dry out before the centre is done.
- Set out three shallow bowls: 80g of all-purpose flour in the first, 3 eggs beaten with 1 tbsp of water in the second, and 180–220g of panko in the third. Dredge each cutlet in the flour and shake off the excess, dip it in the egg, then press it into the panko, coating it thoroughly and pressing gently so the crumbs adhere. Use coarse panko rather than fine breadcrumbs, and rest the coated cutlets on a tray. That shaken-off flour layer is what stops the coating separating from the pork, and the coarse panko is what gives the craggy tonkatsu crust katsudon needs.
- Heat enough neutral oil for deep frying in a deep, heavy pot to 170–175°C. Fry the cutlets 1–2 at a time, depending on pot size, for about 3–4 minutes per side, until deeply golden and cooked through to at least 63°C in the centre, with the pork still juicy. Transfer each cutlet to a rack and rest for 3–5 minutes, then slice it into strips, keeping the pieces aligned in cutlet shape for easy transfer later. Do not overcrowd the oil, or the temperature drops and the crust turns greasy. That rest on a rack, rather than on paper towels, keeps the underside crisp while the juices settle, so slicing afterwards leaves the pork moist.
- In a bowl or measuring jug, combine the 500ml of dashi, 60ml of soy sauce, 60ml of mirin, and 2 tbsp of sugar, then stir until the sugar fully dissolves. Taste it: the broth should be light and savoury, slightly sweet, and never harshly salty, because it will concentrate a little as it simmers. Keep the jug beside the stove, since each bowl uses about 120–140ml. This is a simmering broth rather than a thick sauce, and that thin, balanced consistency is what seasons the onion and the underside of the cutlet without drowning the crisp crumb.
- For the most classical result, cook each bowl separately in a small skillet, or cook 2 servings at a time in a larger pan if you need to. For each serving, add about 120–140ml of broth to the pan along with one-quarter of the sliced onions, and have one sliced cutlet, 2 lightly beaten eggs, and a bowl of hot rice ready beside the stove. Bring the broth to a gentle simmer and cook for 2–4 minutes, until the onion softens and turns translucent without falling apart or browning. That head start is what lets the onion sweeten the broth before the cutlet goes in, so the crumb only needs a very brief soak.
- Lay the sliced cutlet over the onion and simmer for 30–60 seconds, so the underside absorbs some broth and softens slightly while the top edges stay crisp. Pour the 2 lightly beaten eggs over and around the cutlet, aiming for uneven coverage so some pork remains visible. Cover the pan and cook on low for 30–60 seconds, just until the egg is softly set with custardy ribbons and a few slightly runny patches. Add the egg only when everything else is ready, because it cooks fast. That short, gentle finish keeps the egg glossy and the crust partly crisp, since a hard boil toughens the egg and soaks the crumb through.
- Divide the hot rice among 4 bowls, about 190–200g of cooked rice each, and slide each finished cutlet-onion-egg mixture over the rice in one piece, spooning in some of the broth from the pan. Garnish with the thinly sliced green onions, or with mitsuba added at the very end so it stays fresh and aromatic, and serve immediately. Repeat the onion, cutlet, and egg stages for each remaining bowl, so every serving is assembled just before it is eaten. That small amount of broth seasons and moistens the rice without flooding the bowl, leaving soft egg, juicy pork, some broth-soaked crumb, and a few still-crisp golden edges.