
Italian Stuffed Peppers
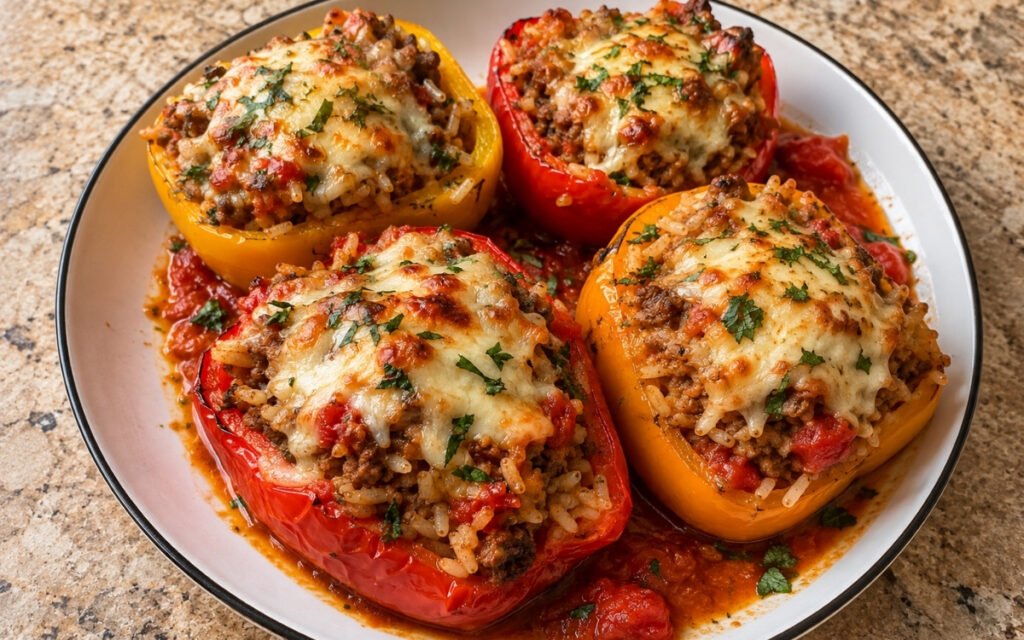
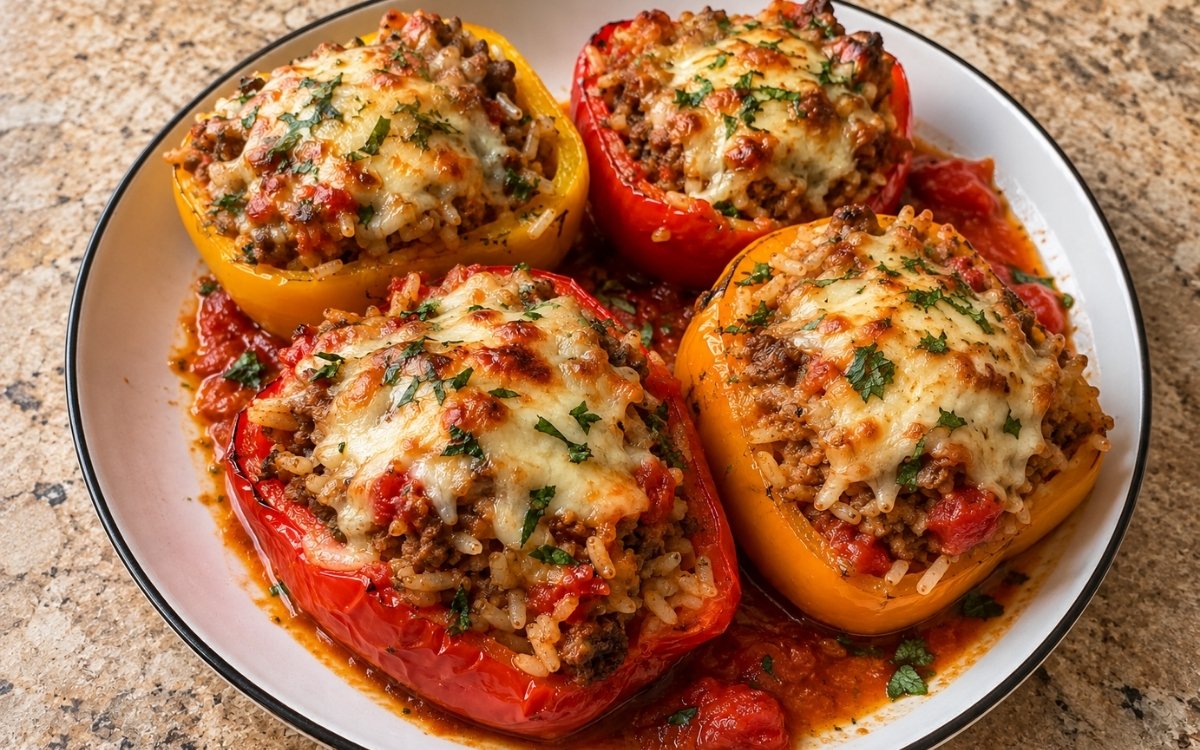
Halved bell peppers filled with a savory mixture of beef, pork, rice, onion, garlic, tomato sauce, herbs and cheese, then baked over a layer of tomato sauce until the peppers are tender and the tops are lightly browned. The filling should be fully cooked, juicy and cohesive before stuffing so the peppers bake evenly without drying out. Pre-baking the peppers for a genuine 15 minutes before they’re ever stuffed is the technique this whole dish depends on for peppers and filling that finish together — without that head start, the filling would be ready long before the peppers themselves have fully softened, the same pre-bake-the-vessel-first principle used elsewhere in this collection whenever a stuffed dish’s own container needs a genuine cooking head start relative to its already-cooked filling. Cooking the filling fully before it ever goes into the peppers is what protects the final bake from having to do double duty — heating an undercooked filling through while also tenderizing the pepper. Packing the filling firmly enough to hold its shape, without compressing it hard, is what keeps it juicy and cohesive rather than dense and dry. The payoff is a dish with real, hearty contrast — tender, sweet peppers holding a rich, savoury, cheese-studded meat and rice filling, all finished with melted, lightly browned cheese.
Prep Time : 30 min
Cook Time : 1 hr, 10 min
Servings : 4
30 min
1 hr, 10 min
4
Ingredients
For the Peppers
• 4 large bell peppers, mixed colors if desired
• 1 tbsp olive oil — this one on Amazon
• ½ tsp salt
• ¼ tsp black pepper
For the Rice
• 150g uncooked long-grain white rice or other regular white rice
• Water, as needed
• ½ tsp salt
For the Filling
• 1 tbsp olive oil
• 1 medium yellow onion, finely diced
• 4 garlic cloves, minced
• 250g ground beef 85/15
• 250g ground pork shoulder
• 1¼ tsp fine salt, or to taste
• ¾ tsp black pepper
• 1 tsp dried oregano — this one on Amazon
• ½ tsp dried basil — this one on Amazon
• ¼ tsp chili flakes, optional
• 2 tbsp tomato paste
• 300g tomato passata or crushed tomatoes
• 2 tbsp chopped fresh parsley
• 40g Parmigiano-Reggiano, finely grated — this one on Amazon
• 180g low-moisture mozzarella, shredded or diced — this one on Amazon
• 1 large egg, lightly beaten
For the Baking Sauce and Topping
• 350g tomato passata or crushed tomatoes
• 2 tbsp water, if needed to loosen
• 1 tbsp olive oil
• Pinch of salt
• 120g low-moisture mozzarella, shredded
• 20g Parmigiano-Reggiano, finely grated
• 1 tbsp chopped fresh parsley, for finishing
This post may contain affiliate links. As an Amazon Associate I earn from qualifying purchases, at no additional cost to you.
Directions
- Prepare the Peppers
Preheat the oven to 190°C / 375°F. Halve the bell peppers lengthwise through the stems to make 8 halves. Remove the seeds and white membranes. If needed, trim a very thin slice from the outside bottom of any unstable half so it sits flat, but do not cut through the flesh. Place the pepper halves cut-side up in a baking dish or snug oven-safe dish large enough to hold them in one layer. Drizzle with 1 tbsp olive oil and season with ½ tsp salt and ¼ tsp black pepper. Bake for 15 minutes to give them a head start. The peppers should just begin to soften but still hold their shape well. Do not fully cook them yet. That genuine head start is exactly what accounts for the peppers’ own longer cooking time relative to an already-fully-cooked filling — without it, the final bake would need to fully tenderize the peppers while the filling risks drying out well before they’re ready. - Cook the Rice
While the peppers pre-bake, cook the rice in salted water until just tender. Drain well and spread briefly so excess steam escapes. You want about 450g cooked rice. The rice should be cooked but not wet or mushy. Excess water makes the filling loose. Spreading the drained rice briefly, rather than leaving it piled in the pot, lets residual steam escape rather than continuing to soften and wet the grains further. - Make the Filling Base
Heat 1 tbsp olive oil in a large skillet over medium heat. Add the onion and cook for 5–7 minutes until softened and lightly translucent. Add the garlic and cook for 30 seconds. Add the ground beef and ground pork. Season with 1¼ tsp salt, ¾ tsp black pepper, oregano, dried basil, and chili flakes if using. Cook for 8–10 minutes, breaking the meat up well, until browned and no pink remains. If there is a lot of rendered fat, spoon off the excess, leaving about 1–2 tbsp in the pan. Stir in the tomato paste and cook for 1–2 minutes until slightly darkened. Add 300g passata or crushed tomatoes and simmer for 5–7 minutes until slightly thickened. The filling mixture should be rich and moist, but not watery. Most of the free liquid should be absorbed or reduced. That deliberate reduction protects the finished, stuffed peppers from turning watery once baked — any excess liquid left in the filling at this stage would only have more time to seep out and pool during the extended bake still ahead. - Finish the Filling
Remove the skillet from the heat. Add the cooked rice, parsley, 40g Parmigiano-Reggiano, 180g mozzarella, and the beaten egg. Mix thoroughly. Taste and adjust seasoning. The filling should hold together when spooned and look moist, not loose. If it seems too wet, let it sit for 5 minutes or add a small spoonful of grated Parmesan. If too stiff, add 1–2 tbsp tomato sauce. That beaten egg, folded in specifically off the heat rather than over direct heat, is what binds the whole mixture into a cohesive filling — added while still hot, it would begin scrambling rather than binding evenly throughout. - Prepare the Baking Dish
Spread 350g passata or crushed tomatoes in the bottom of the baking dish around and under the peppers. Stir in 1 tbsp olive oil, a pinch of salt, and 2 tbsp water only if the sauce is very thick. The sauce should form a shallow layer to keep the peppers moist as they bake. That shallow sauce layer beneath the peppers does real, active work throughout the bake — keeping the peppers’ own exterior moist and preventing them from drying out or scorching against the direct heat of the dish. - Stuff the Peppers
Remove the partially baked peppers from the oven. Fill each pepper half generously with the meat-rice mixture, mounding it slightly. Pack the filling firmly enough so it stays in place, but do not compress it hard. Top evenly with 120g mozzarella and 20g Parmigiano-Reggiano. Each pepper should be well-filled and slightly domed, with cheese covering the top but not falling heavily into the sauce. That specific balance — firm enough to hold shape, gentle enough to avoid compacting — is what keeps the filling genuinely juicy and cohesive rather than pressed into something dense and dry. - Bake
Cover the dish loosely with foil and bake at 190°C / 375°F for 25 minutes. Uncover and bake for another 15–20 minutes, until the peppers are tender, the filling is hot through, and the cheese is melted and lightly browned. If needed, finish under the broiler for 1–2 minutes for extra color. The peppers should be fully tender when pierced with a knife, but not collapsed. The filling should register piping hot in the center. That initial covered stage traps steam directly against the peppers, helping them soften fully, while the later uncovered stage lets the cheese on top actually melt and develop real, browned colour instead of steaming under the foil. - Rest and Serve
Rest for 10 minutes before serving. Spoon some of the tomato sauce from the dish around or over the peppers and finish with chopped parsley. That brief rest lets the filling’s own residual heat settle and the peppers firm up just slightly, making them considerably easier to lift and serve cleanly without collapsing.
*Notes :
- Pre-baking the peppers for a genuine 15 minutes before they’re ever stuffed deserves recognition as the technique most directly responsible for whether the peppers and filling finish cooking together. The recipe’s own explicit note that skipping this step risks the filling being ready long before the peppers are fully tender reflects a real, practical timing mismatch this early bake exists specifically to correct.
- Cooking the filling fully, including reducing it until most of the free liquid is absorbed, before it ever goes into the peppers deserves the same attention this technique receives throughout this collection’s other stuffed, baked dishes. That thorough pre-cooking means the final bake’s real job is heating through, tenderizing the pepper, and melting the cheese — not trying to cook raw filling and soften a vegetable simultaneously.
- Packing the filling firmly enough to hold its shape, while deliberately avoiding hard compression, deserves genuine attention as a real, deliberate balance point. Filling pressed too hard bakes up dense and dry, while filling packed too loosely risks slumping or spilling out — the recipe’s own specific guidance protects against both extremes at once.
- The two-stage baking approach — covered first, then uncovered — deserves recognition as a deliberate technique addressing two distinct needs within the same bake. The covered stage traps steam to help the peppers soften fully, while the uncovered stage that follows gives the cheese on top real, open exposure to develop genuine melted, browned colour rather than steaming beneath the foil.
Why This Recipe Works
This recipe works because the peppers are given a genuine head start through pre-baking, letting them finish tender at the same time as the already-fully-cooked filling. The filling itself is cooked and reduced completely before stuffing, protecting the final bake from having to do double duty.
A beaten egg, folded in off the heat, binds the mixture into a cohesive filling that holds its shape without turning dense. The two-stage covered-then-uncovered bake softens the peppers fully while still letting the cheese develop real, browned colour on top, and a brief rest afterward makes for clean, easy serving.
Ingredient Breakdown
Pre-Baked Bell Peppers (15 Minutes)
The critical technique — a genuine head start that lets the peppers finish tender alongside an already-cooked filling.
Fully Cooked, Reduced Filling
The critical technique — protects the final bake from needing to cook raw meat and rice at the same time as tenderizing the pepper.
Egg-Bound Filling (Added Off Heat)
The critical technique — binds the mixture into a cohesive whole without scrambling under direct heat.
Firmly But Not Aggressively Packed Filling
The critical technique — a specific balance that keeps the filling juicy and cohesive rather than dense.
Shallow Baking Sauce Layer
The structural technique — keeps the peppers moist throughout the extended bake, protecting against drying or scorching.
Two-Stage Covered-Then-Uncovered Bake
The critical technique — softens the peppers fully while letting the cheese develop genuine melted, browned colour.
Flavor Structure Explained
This Italian stuffed pepper follows a layered balance model:
- Tender, sweet foundation (pre-baked, oven-softened bell peppers)
- Rich, savoury body (beef and pork filling, reduced tomato)
- Hearty starch (cooked rice)
- Warm background spice (oregano, dried basil, optional chili flakes)
- Melted, browned finish (mozzarella, Parmigiano-Reggiano)
Pre-baked, tender bell peppers provide this dish’s sweet, softened foundation. A reduced beef and pork filling, bound with egg and cheese, contributes rich, savoury body throughout. Cooked rice adds real, hearty starch to every stuffed half. Oregano, dried basil, and optional chili flakes layer in warm, classic background spice. Melted mozzarella and Parmigiano-Reggiano finish the dish with a browned, cheesy top, tying every hearty component of this classic Italian-American bake together.
Common Mistakes to Avoid
- Skipping the Pepper Pre-Bake – This risks the filling being ready long before the peppers soften. Always give the peppers their full 15-minute head start.
- Stuffing With Undercooked or Watery Filling – This forces the final bake to compensate, risking dry peppers or a wet filling. Always cook and reduce the filling fully first.
- Adding the Egg While the Filling Is Still Hot – This scrambles the egg rather than binding the mixture. Always add it off the heat, once the skillet is removed.
- Compressing the Filling Too Hard While Stuffing – This bakes up dense and dry rather than juicy. Always pack it firmly but without hard compression.
- Skipping the Covered Stage of Baking – This can leave the peppers underdone before the top over-browns. Always cover for the first 25 minutes.
Variations
Beef-Only Version
Use all ground beef 85/15 in place of the pork shoulder if preferred, accepting a leaner, slightly less rich finished filling than the classic beef-and-pork combination provides.
Make-Ahead Version
Stuff the peppers and refrigerate them for up to 24 hours before baking, per the recipe’s own guidance, adding a few extra minutes to the covered baking time if starting from cold.
Extra-Spicy Version
Increase the chili flakes in the filling for a more assertive, lingering heat running throughout the finished dish.
Broiler-Finished Version
If the tops need extra colour once the uncovered bake finishes, switch briefly to the broiler for 1 to 2 minutes, per the recipe’s own suggestion, watching closely for genuine browning without burning.
Storage & Make-Ahead
Use large, blocky peppers with broad cavities for this recipe, since that shape holds considerably more filling and also sits more stably in the baking dish than narrower or more irregularly shaped peppers would.
A beef and pork mix gives a fuller, more classically rounded flavour than using beef alone, and cooking the filling completely before stuffing matters directly, since the final bake’s real job is heating through, tenderizing the pepper, and melting the cheese rather than finishing raw meat.
Low-moisture mozzarella works better than fresh mozzarella throughout this recipe, since it melts cleanly without releasing the excess water fresh mozzarella would introduce into both the filling and the topping.
The filling itself should read as juicy and cohesive, never dry and crumbly, but it also shouldn’t be wet enough to leak or slump once stuffed, so aim for that specific middle ground when adjusting the mixture’s consistency before filling the peppers.
These stuffed peppers reheat well, covered at 180°C / 350°F until hot through, and for make-ahead prep, they can be fully stuffed and refrigerated up to 24 hours before baking, with a few extra minutes added to the covered baking time if going in cold.
Frequently Asked Questions
Why do the peppers need to be pre-baked before they’re stuffed?
Without that genuine 15-minute head start, the already-cooked filling would be ready to serve long before the peppers themselves have had enough time to soften and become tender in the final bake.
Why does the filling need to be fully cooked and reduced before it goes into the peppers?
That thorough pre-cooking means the final bake only needs to heat the filling through, tenderize the peppers, and melt the cheese on top, rather than also having to finish cooking raw meat and rice at the same time.
Why is the egg added to the filling only after the skillet is removed from the heat?
Adding it while the pan is still hot would begin scrambling the egg rather than letting it bind evenly throughout the filling as a genuine cohesive mixture.
Why does the dish bake covered first, then uncovered?
The covered stage traps steam directly against the peppers, helping them soften fully. The uncovered stage that follows gives the cheese on top real, open exposure to melt and develop genuine browned colour instead of steaming under foil.
Are there other classic baked pasta, stuffed vegetable, or Italian comfort food dishes worth trying?
Pasta al Forno and Baked Ziti both offer other hearty, cheese-topped baked pasta directions worth exploring. Tomato Pasta with Ricotta and Italian Sausage is also worth trying for another rich, meat-forward pasta, and Chiles Rellenos in Tomato Sauce and Sicilian Caponata offer other classic stuffed pepper and vegetable-forward dishes worth exploring.
Nutrition Facts
( Per Serving — 2 pepper halves )
Calories
~620 kcal
Protein
34 g
Fat
28 g
Carbs
54 g
Calories
~620 kcal
Protein
34 g
Fat
28 g
Carbs
54 g
Related Recipes
Related Recipes

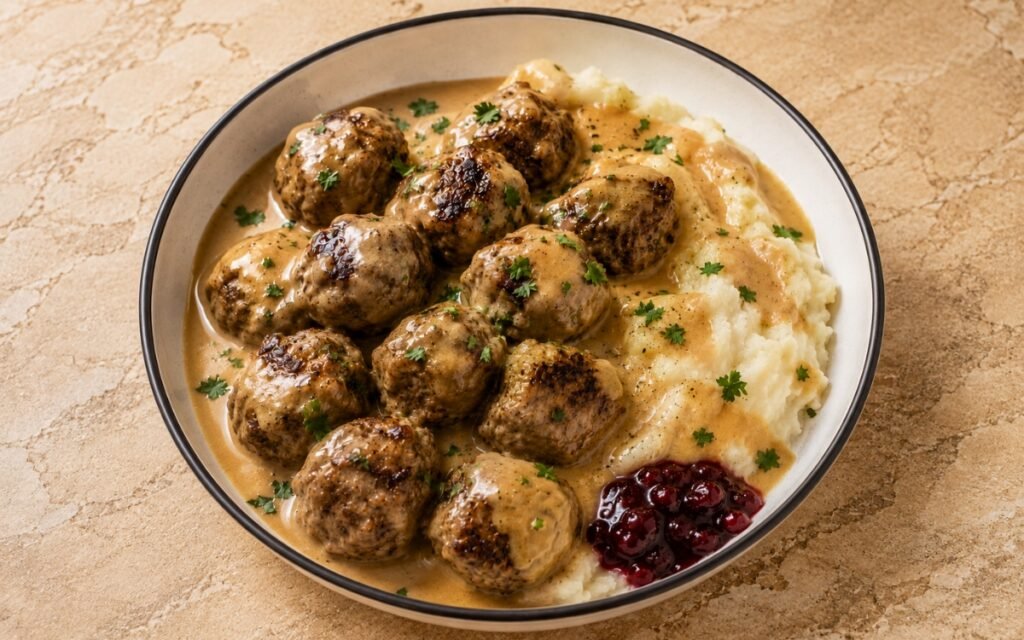
Swedish Meatballs
Tender panade-enriched beef and pork meatballs, gently spiced with allspice and nutmeg, in a creamy brown gravy over mashed potatoes.
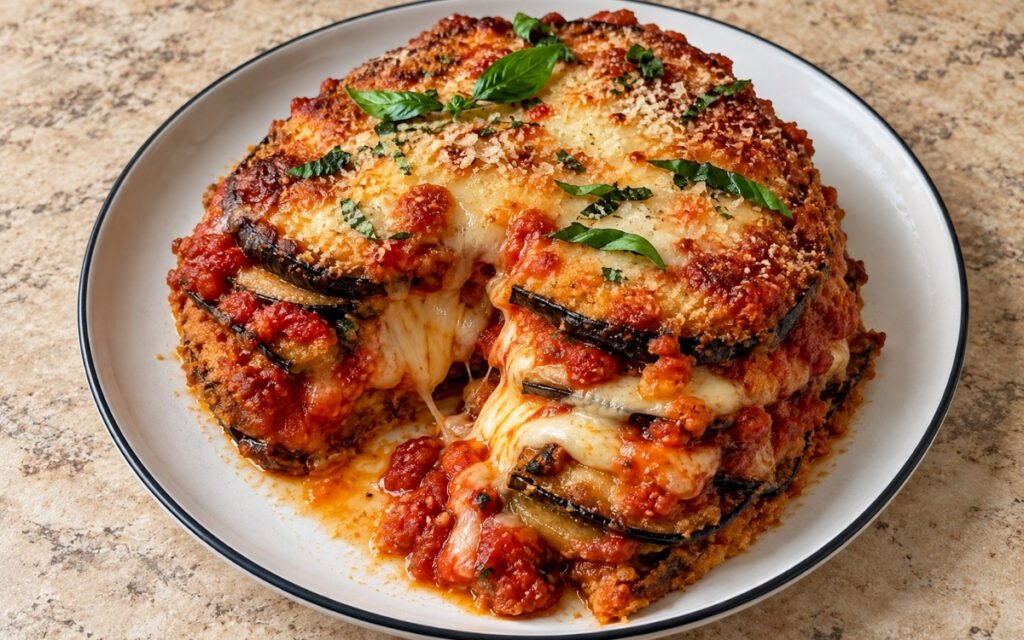
Eggplant Parmesan
Breaded fried eggplant slices layered with tomato sauce, mozzarella, Parmesan, and basil, then baked until bubbling and deeply flavorful.
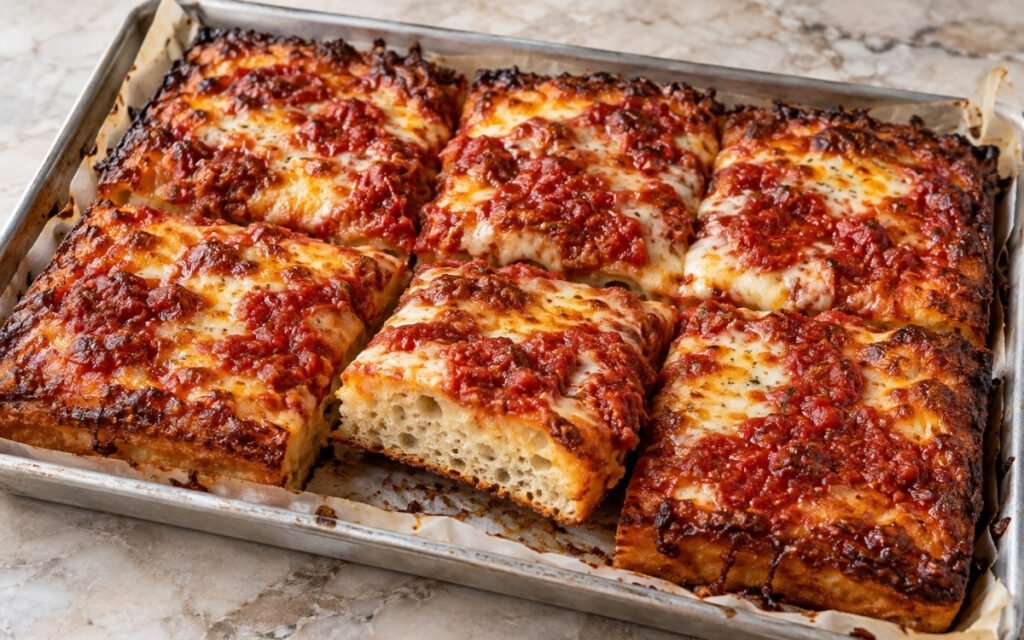
Sicilian-Style Sheet Pan Pizza
Thick, airy, focaccia-like crust baked in a well-oiled pan, topped with mozzarella and rich tomato sauce, finished with crisp caramelized edges.
You might also like
You might also like
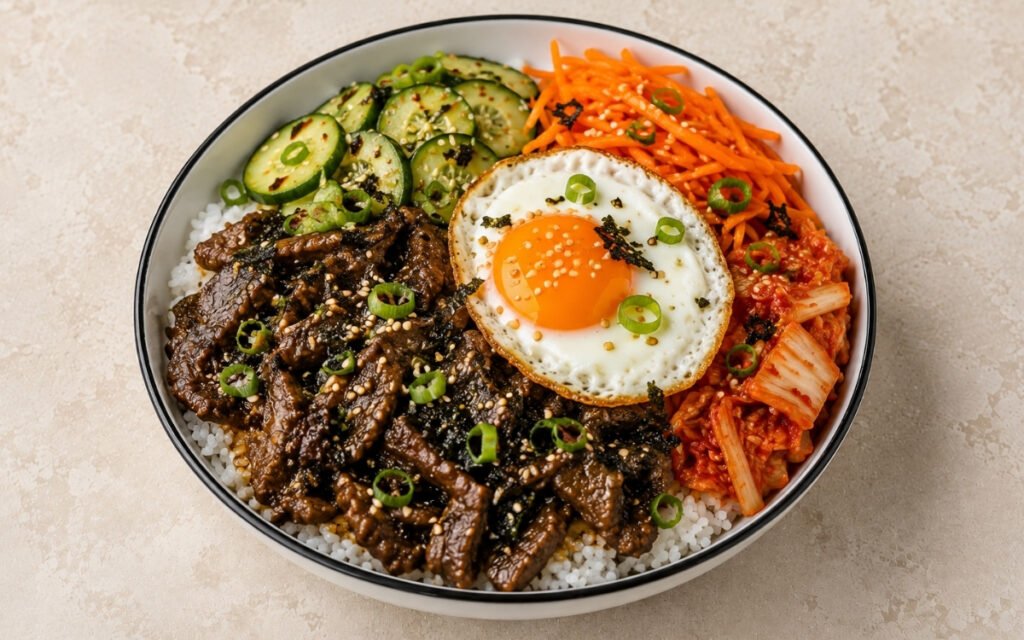
Korean Beef Bulgogi Rice Bowl
Paper-thin ribeye marinated with Asian pear and seared in two undisturbed batches for the caramelised bulgogi crust — over rice with pickled cucumbers, kimchi, and runny egg.
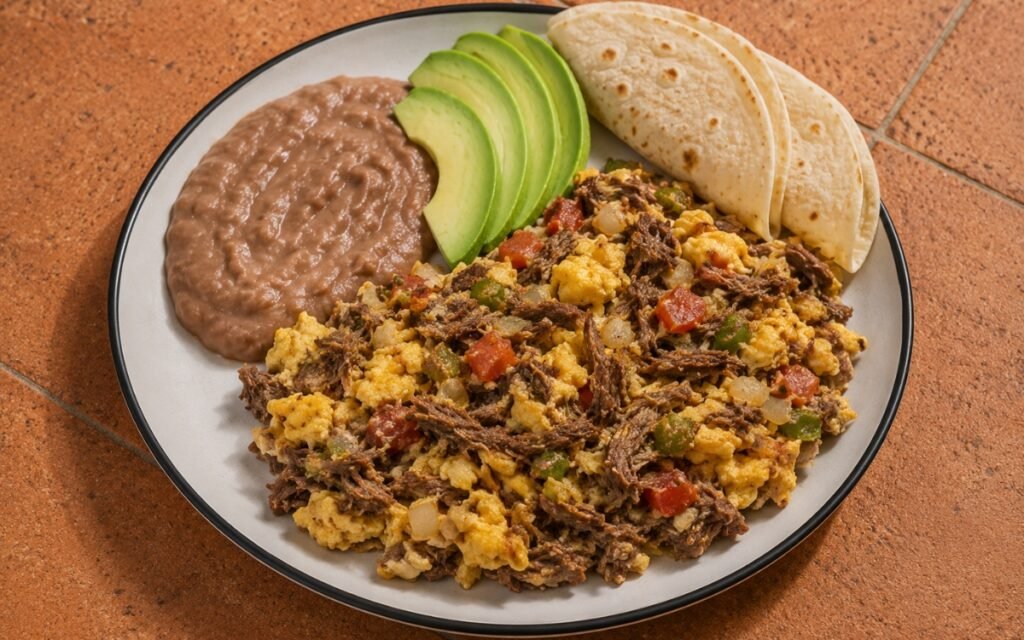
Machaca con Huevo
Scrambled eggs cooked with shredded dried beef, tomato, onion, and green chile, served with refried beans, avocado, and warm flour tortillas.
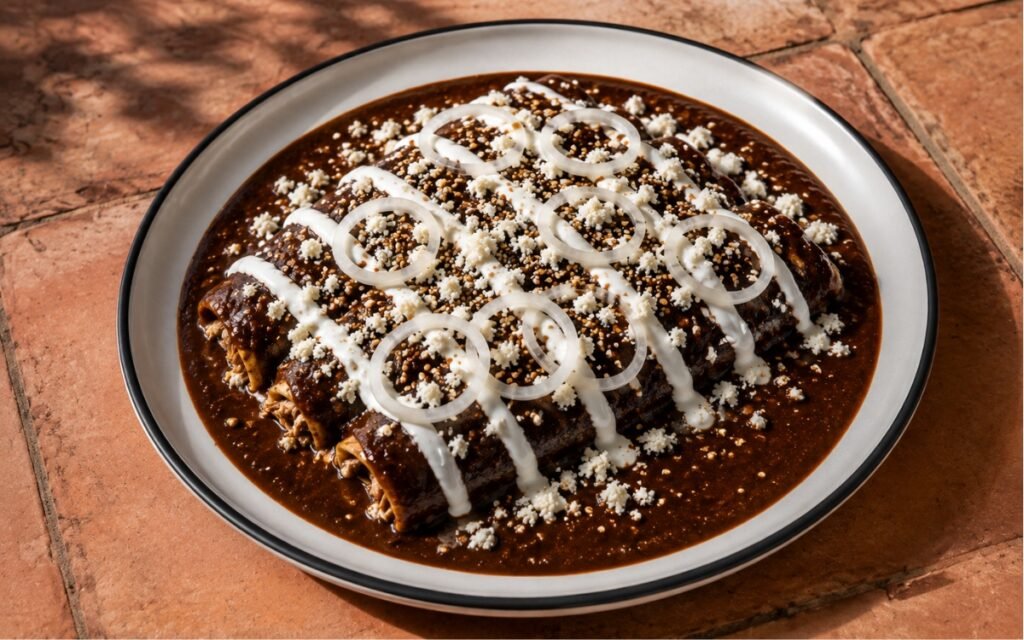
Chicken Enmoladas with Mole Poblano
Soft corn tortillas filled with tender shredded chicken, folded, and blanketed in glossy mole poblano, finished with crema and queso fresco.
Italian Stuffed Peppers
Ingredients
Method
- Preheat the oven to 190°C / 375°F. Halve the bell peppers lengthwise through the stems to make 8 halves. Remove the seeds and white membranes. If needed, trim a very thin slice from the outside bottom of any unstable half so it sits flat, but do not cut through the flesh. Place the pepper halves cut-side up in a baking dish or snug oven-safe dish large enough to hold them in one layer. Drizzle with 1 tbsp olive oil and season with ½ tsp salt and ¼ tsp black pepper. Bake for 15 minutes to give them a head start. The peppers should just begin to soften but still hold their shape well. Do not fully cook them yet. That genuine head start is exactly what accounts for the peppers’ own longer cooking time relative to an already-fully-cooked filling — without it, the final bake would need to fully tenderize the peppers while the filling risks drying out well before they’re ready.
- While the peppers pre-bake, cook the rice in salted water until just tender. Drain well and spread briefly so excess steam escapes. You want about 450g cooked rice. The rice should be cooked but not wet or mushy. Excess water makes the filling loose. Spreading the drained rice briefly, rather than leaving it piled in the pot, lets residual steam escape rather than continuing to soften and wet the grains further.
- Heat 1 tbsp olive oil in a large skillet over medium heat. Add the onion and cook for 5–7 minutes until softened and lightly translucent. Add the garlic and cook for 30 seconds. Add the ground beef and ground pork. Season with 1¼ tsp salt, ¾ tsp black pepper, oregano, dried basil, and chili flakes if using. Cook for 8–10 minutes, breaking the meat up well, until browned and no pink remains. If there is a lot of rendered fat, spoon off the excess, leaving about 1–2 tbsp in the pan. Stir in the tomato paste and cook for 1–2 minutes until slightly darkened. Add 300g passata or crushed tomatoes and simmer for 5–7 minutes until slightly thickened. The filling mixture should be rich and moist, but not watery. Most of the free liquid should be absorbed or reduced. That deliberate reduction protects the finished, stuffed peppers from turning watery once baked — any excess liquid left in the filling at this stage would only have more time to seep out and pool during the extended bake still ahead.
- Remove the skillet from the heat. Add the cooked rice, parsley, 40g Parmigiano-Reggiano, 180g mozzarella, and the beaten egg. Mix thoroughly. Taste and adjust seasoning. The filling should hold together when spooned and look moist, not loose. If it seems too wet, let it sit for 5 minutes or add a small spoonful of grated Parmesan. If too stiff, add 1–2 tbsp tomato sauce. That beaten egg, folded in specifically off the heat rather than over direct heat, is what binds the whole mixture into a cohesive filling — added while still hot, it would begin scrambling rather than binding evenly throughout.
- Spread 350g passata or crushed tomatoes in the bottom of the baking dish around and under the peppers. Stir in 1 tbsp olive oil, a pinch of salt, and 2 tbsp water only if the sauce is very thick. The sauce should form a shallow layer to keep the peppers moist as they bake. That shallow sauce layer beneath the peppers does real, active work throughout the bake — keeping the peppers’ own exterior moist and preventing them from drying out or scorching against the direct heat of the dish.
- Remove the partially baked peppers from the oven. Fill each pepper half generously with the meat-rice mixture, mounding it slightly. Pack the filling firmly enough so it stays in place, but do not compress it hard. Top evenly with 120g mozzarella and 20g Parmigiano-Reggiano. Each pepper should be well-filled and slightly domed, with cheese covering the top but not falling heavily into the sauce. That specific balance — firm enough to hold shape, gentle enough to avoid compacting — is what keeps the filling genuinely juicy and cohesive rather than pressed into something dense and dry.
- Cover the dish loosely with foil and bake at 190°C / 375°F for 25 minutes. Uncover and bake for another 15–20 minutes, until the peppers are tender, the filling is hot through, and the cheese is melted and lightly browned. If needed, finish under the broiler for 1–2 minutes for extra color. The peppers should be fully tender when pierced with a knife, but not collapsed. The filling should register piping hot in the center. That initial covered stage traps steam directly against the peppers, helping them soften fully, while the later uncovered stage lets the cheese on top actually melt and develop real, browned colour instead of steaming under the foil.
- Rest for 10 minutes before serving. Spoon some of the tomato sauce from the dish around or over the peppers and finish with chopped parsley. That brief rest lets the filling’s own residual heat settle and the peppers firm up just slightly, making them considerably easier to lift and serve cleanly without collapsing.