Classic Bone-in Pork Chops
Bone-in pork chops seared to a deep golden crust and finished with garlic, thyme, and browned butter. This method focuses on precise temperature control and fat rendering to deliver juicy, tender meat with a rich, aromatic finish. Done properly, pork chops stop being dry and become one of the most consistent, high-reward cuts you can cook.

Prep Time : 40 min
Cook Time : 15 min
Servings : 4
40 min
15 min
4
Ingredients
For the Pork Chops
• 900g bone-in pork chops (4 chops, about 2.5cm thick)
• 10g fine sea salt — this one on Amazon
• 5g freshly ground black pepper
• 4g garlic powder
• 3g smoked paprika
For Searing and Basting
• 30ml Avocado oil — this one on Amazon
• 40g unsalted butter
• 4 garlic cloves, smashed
• 6 sprigs fresh thyme
This post may contain affiliate links. As an Amazon Associate I earn from qualifying purchases, at no additional cost to you.
Directions
- Temper the Pork Chops
Remove the pork chops from the refrigerator 30 minutes before cooking and leave them uncovered on a tray. This reduces the temperature gap between the exterior and interior, allowing more even cooking. Pat the chops completely dry on all sides — especially along the fat edge — because moisture will prevent proper browning and delay crust formation. - Season Generously
Combine salt, black pepper, garlic powder, and smoked paprika, then season the chops thoroughly on all sides. Press the seasoning into the meat so it adheres properly. The surface should look fully coated, not lightly dusted. Proper seasoning is what allows the pork to stand on its own without relying on sauces. - Heat the Skillet
Heat vegetable oil in a cast iron skillet over medium-high heat until shimmering. The pan should be hot enough to create immediate contact searing, but not smoking aggressively. Pork requires controlled heat — too high and the exterior burns before the interior reaches temperature, too low and you lose the crust entirely. - Sear the First Side
Place the pork chops into the pan and leave them completely undisturbed for 4 minutes. This is where the crust forms. Movement at this stage breaks contact with the pan and interrupts browning. As the surface dries and heats, it begins forming a deep golden crust that defines both texture and flavor. - Flip and Baste
Flip the chops and immediately add butter, smashed garlic, and thyme to the pan. Tilt the pan slightly and begin basting continuously with the foaming butter. Maintain control over the heat — the butter should foam and brown lightly, not burn. This step layers fat and aromatics onto the meat while gently finishing the cooking process. - Render the Fat Edge
Using tongs, hold the pork chops upright on their fat cap for 1–2 minutes. This allows the fat to render and crisp instead of remaining chewy. Properly rendered fat transforms both flavor and texture and is often the difference between average and restaurant-level pork. - Check Internal Temperature
Insert a thermometer into the thickest part of the chop and remove it from heat at 63°C (145°F). This is the USDA-recommended safe temperature for whole cuts of pork when followed by a short rest. - Rest and Serve
Transfer the pork chops to a cutting board and let them rest for 5 minutes. This allows juices to redistribute and carryover heat to stabilize the internal structure. Spoon the browned butter, garlic, and thyme over the chops just before serving for maximum flavor.
*Notes :
- Modern pork is significantly leaner than it used to be, which means it cooks faster and dries out more easily if overcooked. The outdated idea that pork must be cooked until completely well-done is no longer accurate — today, whole cuts like chops are safe at 63°C with a short rest, which preserves juiciness and tenderness.
- Bone-in chops are preferable because the bone slows heat transfer slightly, giving you a larger window to develop a crust without overcooking the interior. They also carry more flavor due to the surrounding connective tissue.
- Render the fat cap by holding the chops upright in the pan for 1-2 minutes Thickness is critical. Around 2.5cm gives enough control to build a crust while still hitting the correct internal temperature. Thin chops overcook too quickly and leave no margin for error.
- Butter basting is not just for richness — it creates a more even heat environment and allows fat-soluble aromatics to coat the surface, building a deeper, more integrated flavor profile.
Why This Recipe Works
This method works because it balances high heat for crust formation with controlled finishing for internal doneness. The initial sear develops flavor through browning, while butter basting prevents the exterior from overcooking before the center reaches temperature.
Pulling the pork at 63°C ensures safety while preserving moisture, which is critical for a lean cut like pork chops The resting phase then stabilizes juices and completes the cooking process without additional heat exposure.
Ingredient Breakdown
Bone-In Pork Chops
Moderate-fat cut where the bone slows cooking and adds flavor, improving juiciness and control.
Fine Sea Salt
Enhances natural pork flavor and improves moisture retention during cooking.
Black Pepper
Adds mild spice and balances the natural sweetness of pork.
Garlic Powder
Creates a consistent savory layer across the surface.
Smoked Paprika
Adds color and a subtle smoky depth that complements searing.
Vegetable Oil
Neutral, high-heat fat used for initial searing without burning.
Unsalted Butter
Added during basting — enriches flavor and carries aromatics across the surface.
Smashed Garlic
Infuses the butter with flavor without burning in high heat.
Fresh Thyme
Adds a slightly earthy, aromatic note that complements pork’s natural sweetness.
Flavor Structure Explained
This dish follows a simple but focused structure:
- Savory base (mild pork flavor acting as a neutral foundation)
- Caramelized crust (deep golden sear creating concentrated savory notes)
- Fat layering (butter basting combined with rendered pork fat)
- Aromatic infusion (garlic and thyme carried through hot fat)
- Spice backbone (paprika, garlic powder, and pepper adding warmth)
Pork itself is relatively mild, which makes the crust and fat the dominant elements. The sear provides intensity and contrast, while butter fills in richness that lean pork lacks. Garlic and thyme sit just behind the main flavors, adding depth without overpowering. The spice layer ensures the meat doesn’t feel flat, giving structure to what would otherwise be a very neutral protein.
Common Mistakes to Avoid
- Not drying the pork – Surface moisture prevents proper searing and results in a pale, soft exterior.
- Cooking straight from the fridge – Cold centers lead to overcooked exteriors before the inside is done.
- Using chops that are too thin – You lose all control over doneness and the meat dries out quickly.
- Pan not hot enough – The pork releases moisture and steams instead of forming a crust.
- Skipping fat rendering – Leaves the fat cap chewy instead of crisp and flavorful.
- Overcooking past 63°C – Lean pork quickly becomes dry and tough once pushed too far.
Variations
Dry Brined Pork Chops
Salt the chops 12–24 hours in advance and leave uncovered in the fridge to improve seasoning penetration and surface dryness for a better crust.
Reverse Sear Method
Cook gently in the oven first, then finish in a hot pan for more even doneness edge-to-edge.
Mustard-Herb Finish
Brush with Dijon mustard and fresh herbs after cooking for a sharper, more complex finish.
Cast Iron to Oven Finish
Start with a hard sear, then transfer to oven to finish more gently without risking over-browning.
Smoked Paprika Upgrade
Increase smoked paprika and add chili flakes for a deeper, slightly spicy crust profile.
Storage & Make-Ahead
Store cooked pork chops in an airtight container in the refrigerator for up to 3 days. Reheat gently in a pan with butter to avoid drying out. Slice thin for sandwiches or serve cold in salads. Freezing after cooking is not recommended due to texture loss.
Frequently Asked Questions
What is the correct temperature for pork chops?
63°C (145°F) with a short rest is the modern standard for safety and juiciness.
Why are my pork chops dry?
Most likely overcooking — pork has very little fat compared to beef and dries out quickly.
Is slightly pink pork safe?
Yes, as long as it has reached the correct internal temperature, slight pinkness is normal and safe.
Do I need bone-in chops?
Not required, but they are more forgiving and have better flavor.
What should I serve with this?
For a natural pairing: Creamy Mashed Potatoes provide a soft, rich base that complements the browned butter. Honey Shallot Vinaigrette cuts through the fat with acidity and sweatness. A Fresh Cucumber Dill Salad adds brightness and contrast, while Butter Rice or Roasted Vegetables Salad round out the plate.
Nutrition Facts
( per serving )
Calories
~395 kcal
Protein
44 g
Fat
23 g
Carbs
1 g
Calories
~395 kcal
Protein
44 g
Fat
23g
Carbs
1 g
Related Recipes
Related Recipes

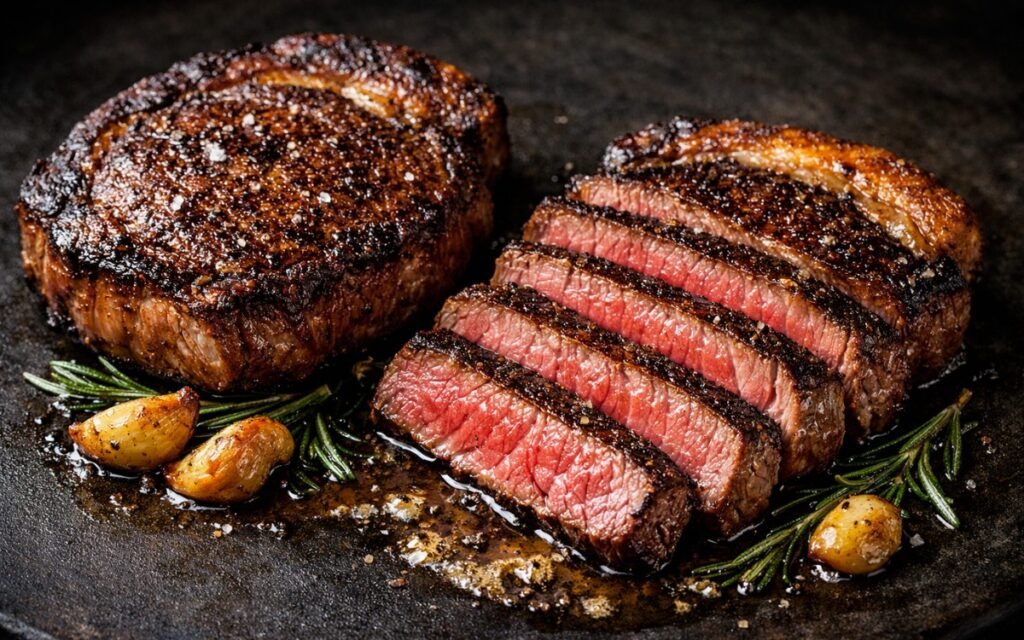
Classic Ribeye Steak
Marbled ribeye seared to perfection and basted with garlic herb butter for steakhouse flavor.
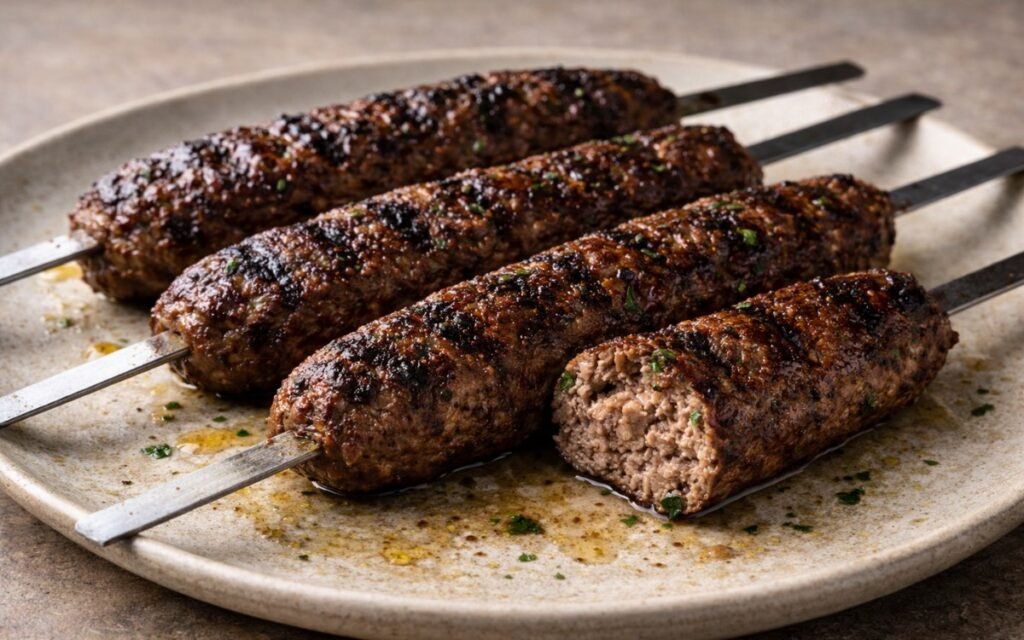
Simple Beef Kofta Skewers
Middle Eastern-spiced ground beef skewers—aromatic, juicy, and perfectly charred on the grill.
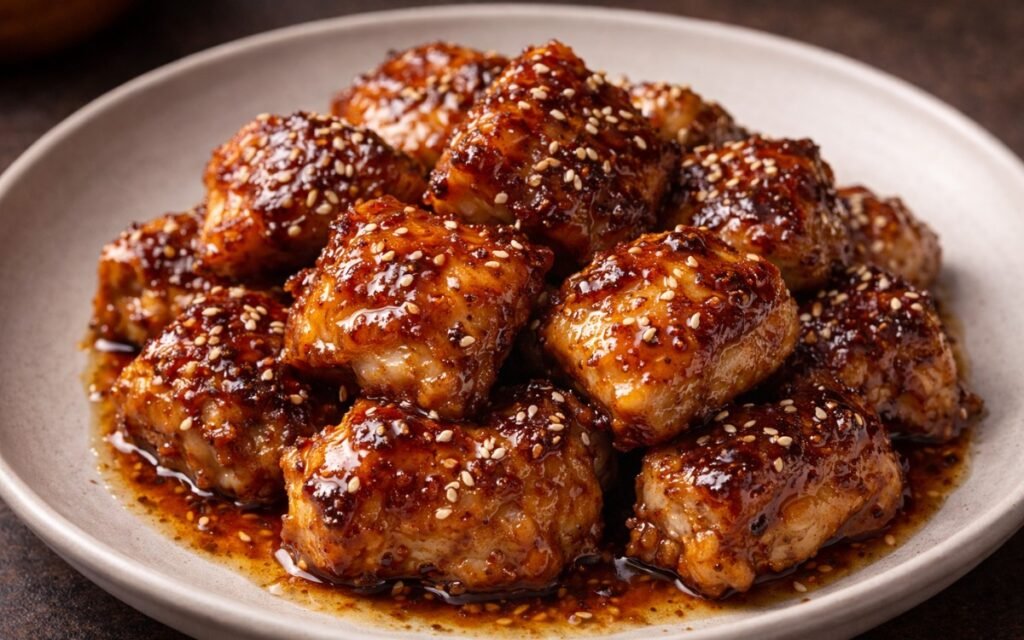
Crispy Honey Garlic Chicken
Crispy chicken thighs tossed in sticky honey-garlic glaze with ginger, sesame, and caramelized edges.
You might also like
You might also like
Easy Authentic Carbonara Pasta
Six ingredients, the 45-second cooling window, and continuous tossing — authentic Roman egg emulsion, no cream needed.
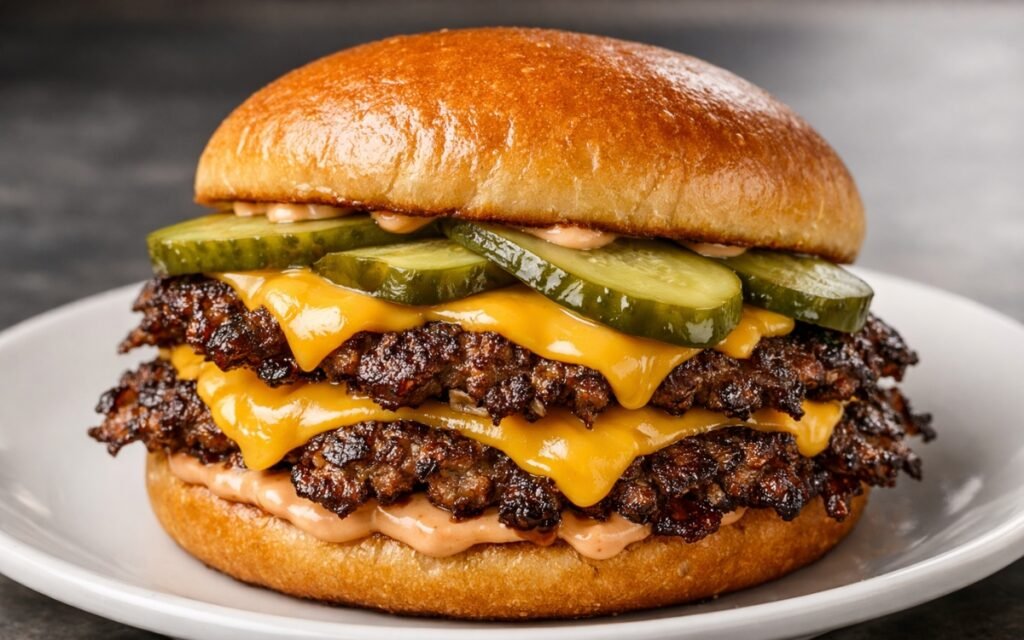
Double Smash Burger
Ultra-crispy beef patties with molten cheese, buttery bun, and tangy sauce channel classic diner indulgence.
Pasta alla Zozzona (Roman Hidden Classic)
Guanciale, sausage, passata, and a carbonara egg emulsion in rigatoni — Rome’s dirty pasta in 40 minutes.


Classic Bone-in Pork Chops
Ingredients
Method
- Remove the pork chops from the refrigerator 30 minutes before cooking and leave them uncovered on a tray. This reduces the temperature gap between the exterior and interior, allowing more even cooking. Pat the chops completely dry on all sides — especially along the fat edge — because moisture will prevent proper browning and delay crust formation.
- Combine salt, black pepper, garlic powder, and smoked paprika, then season the chops thoroughly on all sides. Press the seasoning into the meat so it adheres properly. The surface should look fully coated, not lightly dusted. Proper seasoning is what allows the pork to stand on its own without relying on sauces.
- Heat vegetable oil in a cast iron skillet over medium-high heat until shimmering. The pan should be hot enough to create immediate contact searing, but not smoking aggressively. Pork requires controlled heat — too high and the exterior burns before the interior reaches temperature, too low and you lose the crust entirely.
- Place the pork chops into the pan and leave them completely undisturbed for 4 minutes. This is where the crust forms. Movement at this stage breaks contact with the pan and interrupts browning. As the surface dries and heats, it begins forming a deep golden crust that defines both texture and flavor.
- Flip the chops and immediately add butter, smashed garlic, and thyme to the pan. Tilt the pan slightly and begin basting continuously with the foaming butter. Maintain control over the heat — the butter should foam and brown lightly, not burn. This step layers fat and aromatics onto the meat while gently finishing the cooking process.
- Using tongs, hold the pork chops upright on their fat cap for 1–2 minutes. This allows the fat to render and crisp instead of remaining chewy. Properly rendered fat transforms both flavor and texture and is often the difference between average and restaurant-level pork.
- Insert a thermometer into the thickest part of the chop and remove it from heat at 63°C (145°F). This is the USDA-recommended safe temperature for whole cuts of pork when followed by a short rest
- Transfer the pork chops to a cutting board and let them rest for 5 minutes. This allows juices to redistribute and carryover heat to stabilize the internal structure. Spoon the browned butter, garlic, and thyme over the chops just before serving for maximum flavor.