Ingredients
Method
Temper the Pork Chops
- Remove the pork chops from the refrigerator 30 minutes before cooking and leave them uncovered on a tray. This reduces the temperature gap between the exterior and interior, allowing more even cooking. Pat the chops completely dry on all sides — especially along the fat edge — because moisture will prevent proper browning and delay crust formation.
Season Generously
- Combine the salt, black pepper, garlic powder, and smoked paprika, then season the chops thoroughly on all sides. Press the seasoning into the meat so it adheres properly. The surface should look fully coated, not lightly dusted. Proper seasoning is what allows the pork to stand on its own without relying on sauces.
Heat the Skillet
- Heat the vegetable oil in a cast iron skillet over medium-high heat until shimmering. The pan should be hot enough to create immediate contact searing, but not smoking aggressively. Pork requires controlled heat — too high and the exterior burns before the interior reaches temperature, too low and you lose the crust entirely.
Sear the First Side
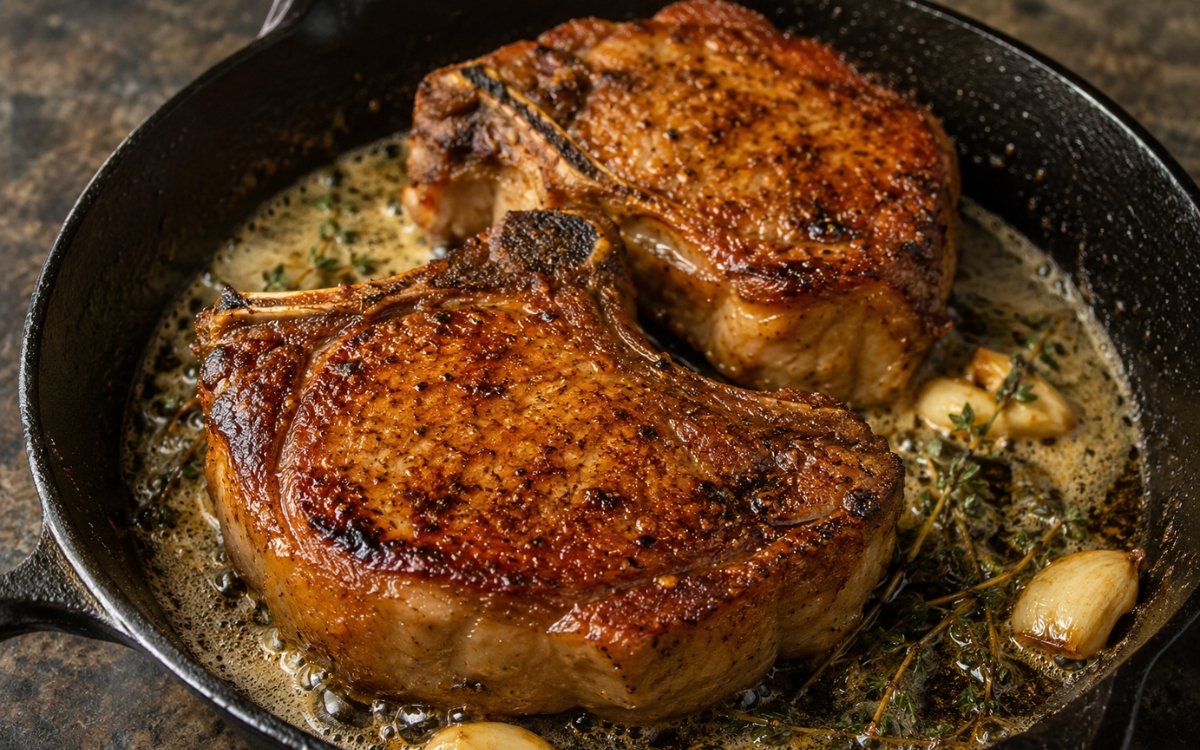
- Place the pork chops into the pan and leave them completely undisturbed for 4 minutes. This is where the crust forms. Movement at this stage breaks contact with the pan and interrupts browning. As the surface dries and heats, it begins forming a deep golden crust that defines both texture and flavor.
Flip and Baste
- Flip the chops and immediately add the butter, smashed garlic, and thyme to the pan. Tilt the pan slightly and begin basting continuously with the foaming butter. Maintain control over the heat — the butter should foam and brown lightly, not burn. This step layers fat and aromatics onto the meat while gently finishing the cooking process.
Render the Fat Edge
- Using tongs, hold the pork chops upright on their fat cap for 1–2 minutes. This allows the fat to render and crisp instead of remaining chewy. Properly rendered fat transforms both flavor and texture and is often the difference between average and restaurant-level pork.
Check Internal Temperature
- Insert a thermometer into the thickest part of the chop and remove it from heat at 63°C (145°F). This is the USDA-recommended safe temperature for whole cuts of pork when followed by a short rest.
Rest and Serve
- Transfer the pork chops to a cutting board and let them rest for 5 minutes. This allows juices to redistribute and carryover heat to stabilize the internal structure. Spoon the browned butter, garlic, and thyme over the chops just before serving for maximum flavor.
Notes
Tempering pork chops matters just as much as it does for beef, and arguably more so given pork's narrower margin for overcooking. A cold chop straight from the refrigerator sears unevenly, developing a well-browned exterior while the interior lags noticeably behind, increasing the risk of pulling the chop either too early for the crust or too late for the interior.
Rendering the fat cap separately, by standing the chops upright for 1–2 minutes, is a step frequently skipped but genuinely worthwhile. That strip of fat along the edge doesn't render adequately during flat-side searing alone, and left unrendered it stays chewy and unpleasant rather than crisp and flavorful.
The 63°C (145°F) pull temperature reflects current USDA guidance for whole cuts of pork, followed by a rest period — this is meaningfully lower than older recommendations and results in noticeably juicier, less dry pork than the historical "well-done" standard many home cooks still default to out of habit.