
Chicken and Waffles
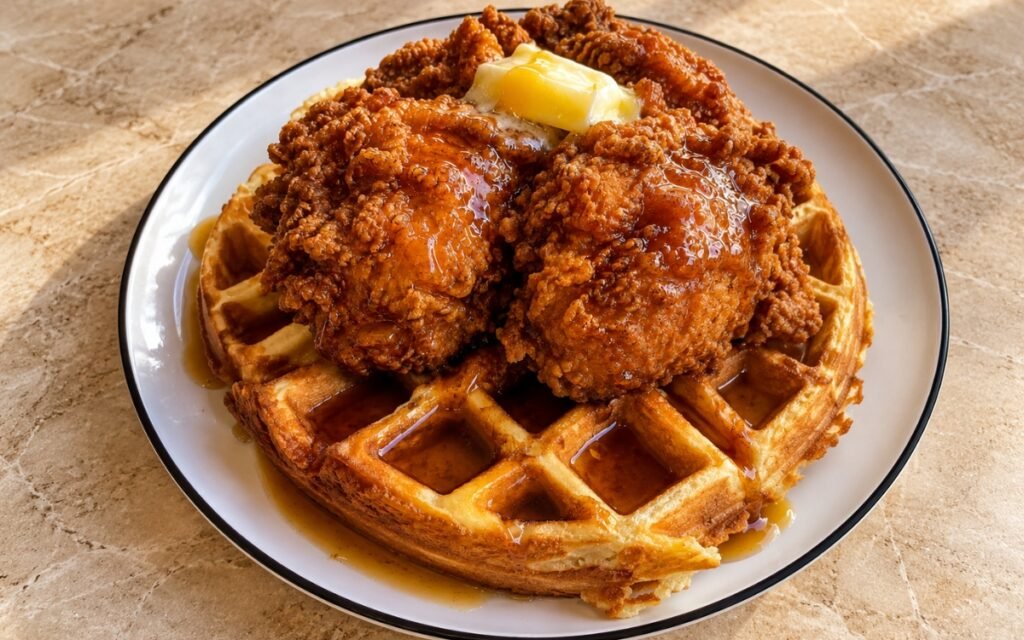
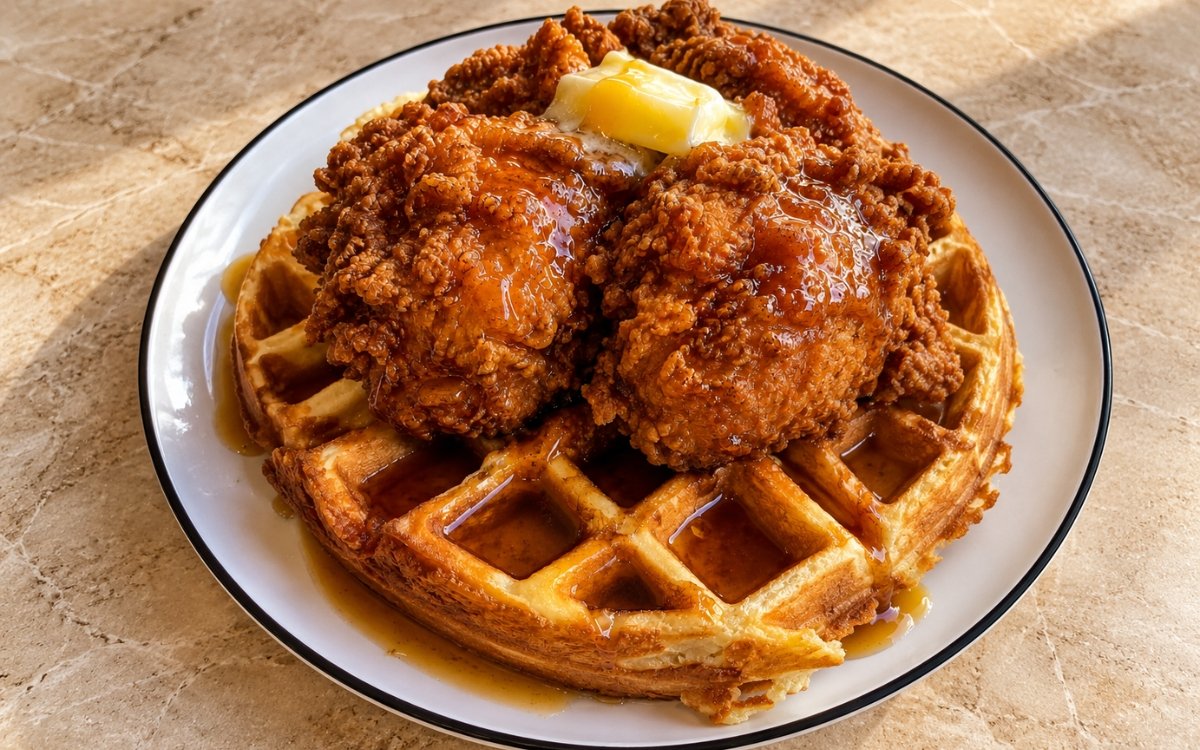
Golden crispy boneless fried chicken thighs served over thick Belgian-style waffles with butter and maple syrup. The key is using the full double-dredge fried chicken technique, but adjusting the fry time for boneless skinless thighs so the crust gets craggy and crisp while the chicken stays juicy. Dipping the first-dredged chicken briefly in ice-cold water before a second dredge is the technique this whole crust depends on for its genuinely craggy, thick texture — that cold water turns the initial coating into a sticky layer the second dredge can properly build onto, the same cold-water-double-dredge principle used elsewhere in this collection whenever fried chicken needs a real, rugged crust rather than a thin, smooth one. Frying the chicken in two distinct stages — a gentler first fry to set the crust and cook the interior, followed by a hotter second fry only for colour and final crispness — is what produces deep golden crunch without drying out the meat. Keeping the waffles on a rack rather than stacked is what protects their crisp edges from turning soft under trapped steam. The payoff is a plate with real, classic contrast — thick, crisp-edged waffles beneath deeply golden, craggy fried chicken, finished with melting butter and maple syrup.
Prep Time : 35 min
Cook Time : 35 min
Servings : 4
35 min
35 min
4
Ingredients
For the Boneless Fried Chicken
• 4 boneless skinless chicken thighs, about 600 to 700g total
• Fine sea salt, for lightly seasoning before brining
For the Spiced Buttermilk Brine
• 360ml buttermilk — this one on Amazon
• 6g fine sea salt
• 4g garlic powder — this one on Amazon
• 4g onion powder — this one on Amazon
• 3g paprika powder
• 2g white pepper
• 1g cayenne pepper, optional — this one on Amazon
• 5ml hot sauce, optional
For the Dry Dredge
• 180g all-purpose flour
• 60g cornstarch
• 8g fine sea salt
• 5g garlic powder
• 5g onion powder
• 4g paprika powder — this one on Amazon
• 2g white pepper — this one on Amazon
• 2g black pepper
• 1.5g baking soda
For the Cold-Water Dip
• 1 litre ice-cold water
• Plenty of ice
For Frying
• Neutral oil, as needed for deep-frying
For the Waffles
• 260g all-purpose flour — this one on Amazon
• 25g granulated sugar
• 10g baking powder
• 3g baking soda
• 5g fine sea salt
• 2 large eggs
• 420ml buttermilk
• 80g unsalted butter, melted and slightly cooled — this one on Amazon
• 5ml vanilla extract, optional
• Neutral oil or melted butter, for the waffle iron
For Serving
• 40g butter, cut into small pieces
• Maple syrup, for serving
• Extra black pepper, optional
This post may contain affiliate links. As an Amazon Associate I earn from qualifying purchases, at no additional cost to you.
Directions
- Brine the Chicken
Pat the chicken thighs dry and season lightly with fine sea salt. In a bowl, whisk together the buttermilk, salt, garlic powder, onion powder, paprika, white pepper, cayenne if using, and hot sauce if using. Add the chicken thighs and turn until fully coated. Cover and refrigerate for at least 2 hours, ideally overnight. Overnight is better. Two hours works, but it is the weaker version. The buttermilk seasons the chicken and gives the dredge something to grip. That extended time lets the buttermilk’s mild acidity work gradually into the meat, seasoning it throughout rather than just on the surface, while also leaving a tacky residue the dry dredge can properly adhere to. - Prepare the Waffle Batter
In a large bowl, whisk together the flour, sugar, baking powder, baking soda, and salt. In a separate bowl, whisk together the eggs, buttermilk, melted butter, and vanilla if using. Pour the wet ingredients into the dry ingredients and stir just until combined. The batter should be thick but pourable, with a few small lumps. Let the batter rest for 10 to 15 minutes while you prepare the chicken coating. Do not beat the batter smooth. Overmixed waffle batter makes dense, bready waffles instead of crisp-edged and fluffy waffles. Stopping the mixing the moment the ingredients come together, rather than continuing for a smoother-looking batter, is what protects the finished waffles from toughening — flour’s gluten develops more the longer it’s worked, and this batter has genuinely little need for that extra structure. - Prepare the Dredge
In a wide bowl or tray, whisk together the flour, cornstarch, salt, garlic powder, onion powder, paprika, white pepper, black pepper, and baking soda. The mixture should look completely even, with no streaks of plain flour or spices. The cornstarch lightens the crust, and the small amount of baking soda helps browning. Do not increase the baking soda or the coating can taste bitter. Cornstarch’s own lower protein content, compared to flour alone, is what produces a genuinely lighter, crisper fried texture, while the small measured amount of baking soda promotes real browning without tipping into the bitterness a larger amount would introduce. - First Dredge the Chicken
Remove one chicken thigh from the buttermilk, letting excess drip off but not wiping it clean. Place it into the dry dredge and press the flour mixture firmly into every surface. Shake off only the loose flour that is barely attached. Transfer to a wire rack and repeat with the remaining chicken. Let the dredged chicken rest for 5 to 10 minutes, until the coating looks patchy, rough, and slightly damp in spots. If the coating still looks like loose dry flour everywhere, it has not hydrated enough yet. That short rest helps the crust cling instead of falling off in the oil. That brief rest lets the buttermilk residue still clinging to the chicken begin actually binding with the dry coating, giving the crust real adhesion before it ever meets the shock of hot oil. - Cold-Water Dip and Second Dredge
Fill a bowl with ice-cold water. Working one piece at a time, lower the dredged chicken into the cold water for 10 to 15 seconds without moving it aggressively. Lift it out, let excess water drip off for a few seconds, then return it immediately to the dry dredge. Press the flour mixture firmly into the chicken again, building a thick, rough, craggy coating. Transfer back to the wire rack and repeat with the remaining chicken. This is the main crust step. The cold water turns the first coating into a sticky layer, and the second dredge builds the heavy craggy crust. That cold-water dip dissolves just enough of the first coating’s surface to turn it genuinely tacky, giving the second layer of dry dredge something real to cling to — this is specifically what builds the thick, rugged crust this style of fried chicken depends on. - Rest the Final Coating
Let the fully dredged chicken rest on the rack for 10 to 15 minutes while the oil heats. The coating should look rugged, uneven, and slightly hydrated. If the coating looks smooth, it was not pressed on firmly enough. A rough surface now becomes a craggy fried crust later. That surface irregularity is a genuine, visual confirmation the double-dredge process worked as intended — a smooth coating at this stage would fry up correspondingly smoother and less texturally interesting. - Cook the Waffles
Heat the waffle iron and lightly grease it. Cook the batter according to your waffle iron, usually 3 to 5 minutes per waffle, until deeply golden, crisp at the edges, and cooked through. Transfer the waffles to a rack in a low oven around 90–100°C while you fry the chicken. Do not stack hot waffles on a plate. Steam makes them soft. A rack keeps the edges crisp. Stacking hot waffles traps their own released steam against each other, and that trapped moisture is exactly what softens their otherwise crisp edges — a rack lets that steam escape freely instead. - First Fry the Chicken
Heat the oil to 155–160°C. Fry the chicken thighs in batches, without crowding, for about 4 to 5 minutes, until the crust is set and pale to medium golden. Transfer to a clean wire rack. Boneless thighs cook faster than bone-in chicken. This first fry sets the crust and starts cooking the meat without driving the exterior too dark. That first, gentler fry gives the meat genuine time to cook through at a moderate pace, deliberately leaving the exterior colour underdeveloped for now so the second, hotter fry has real room to build deep, dark crispness without overcooking the interior. - Rest Before the Second Fry
Let the chicken rest on the rack for 8 to 10 minutes. This lets the internal heat even out and lets surface steam escape before the final crisping fry. That resting window does genuine, active work beyond simple pause — it lets residual heat distribute evenly through the meat while surface moisture has real time to evaporate, both of which set the crust up to crisp properly rather than steam during the second fry. - Second Fry the Chicken
Increase the oil temperature to 185–190°C. Fry the chicken again for 2 to 3 minutes, until deeply golden-brown, craggy, and very crisp. The chicken is done when the internal temperature reaches 74°C at the thickest point. Transfer to a clean wire rack and let rest for 3 to 5 minutes. Stop as soon as the crust is deep golden and the chicken hits 74°C. Boneless thighs are forgiving, but they can still dry out if you keep frying after they are done. That higher second-fry temperature is specifically what builds real, deep colour and maximum crispness quickly, in a genuinely brief window — since the interior is already properly cooked from the first fry, this stage exists purely to finish the crust. - Assemble and Serve
Place one hot waffle on each plate. Top each waffle with one piece of crispy fried chicken. Add a small piece of butter on top and drizzle with maple syrup. Finish with a little black pepper if desired. Serve immediately while the chicken crust is crisp and the waffles are still warm. Frying the chicken only after the waffles are already cooked and held warm is what lets that crust arrive at the plate at its absolute loudest and crispiest, rather than softening during any extended wait.
*Notes :
- The cold-water dip between the two dredging stages deserves genuine recognition as the single technique most responsible for this fried chicken’s real, craggy crust. That brief immersion dissolves just enough of the first coating’s own surface to turn it properly tacky, giving the second layer of dry dredge something real to bind onto — skipping this step, or rushing through it, would leave the crust considerably thinner and smoother than the rugged, craggy result this recipe is specifically built around.
- Frying the chicken in two distinct stages — a gentler first fry, then a hotter, briefer second fry — deserves the same attention this collection gives to every two-stage fried protein. The first fry is deliberately calibrated to cook the interior through at a moderate pace, without pushing the exterior too dark too early; the second, hotter fry then has real room to build deep colour and maximum crispness in a genuinely brief window, since the meat’s own doneness is already largely handled.
- The resting period between the two fries deserves genuine respect as more than simple patience. That window lets the meat’s own internal heat distribute evenly while surface moisture has real time to evaporate — both of which set the crust up to crisp properly during the second fry rather than steaming under any lingering surface wetness.
- Keeping the finished waffles on a wire rack rather than stacking them, as the recipe’s own notes emphasise, deserves attention as a small but genuinely consequential detail. Stacked waffles trap their own released steam against one another, and that trapped moisture is directly what softens their otherwise crisp edges — a rack lets that steam escape freely instead.
Why This Recipe Works
This recipe works because the chicken is brined properly, seasoning it throughout while leaving a tacky surface the dredge can grip. The cold-water dip between dredges is what builds the crust’s genuine, craggy thickness, and the two-stage fry lets the interior cook through gently before a brief, hot second fry delivers maximum crispness and colour.
The waffle batter is mixed only until combined, protecting its own tenderness, and kept crisp on a rack rather than stacked. Frying the chicken only after the waffles are already made delivers the whole plate with its crust at peak crispness right at serving.
Ingredient Breakdown
Overnight Buttermilk Brine
The critical technique — seasons the chicken throughout while leaving a tacky surface the dry dredge can properly grip.
Cold-Water Double Dredge
The critical technique — the cold dip turns the first coating tacky, letting the second dredge build a genuinely thick, craggy crust.
Two-Stage Fry (Gentle, Then Hot)
The critical technique — the first fry cooks the interior gently, the second delivers deep colour and crispness quickly.
Resting Period Between Fries
The critical technique — evens out internal heat and lets surface moisture evaporate, setting the crust up to crisp properly.
Rack-Held Waffles
The finishing technique — protects crisp edges from the softening effect of trapped steam that stacking would cause.
Flavor Structure Explained
This chicken and waffles dish follows a layered balance model:
- Crisp, crackling foundation (double-dredged, twice-fried chicken)
- Warm spiced depth (buttermilk brine, dredge seasonings)
- Sweet fluffy base (Belgian-style waffles)
- Rich buttery finish (melting butter, maple syrup)
- Optional sharp accent (black pepper, hot honey variation)
Double-dredged, twice-fried chicken provides this dish’s crisp, genuinely crackling foundation, its craggy crust built through careful, deliberate technique. The buttermilk brine and seasoned dredge layer in warm, classic spiced depth throughout. Thick, Belgian-style waffles offer a sweet, fluffy base beneath the chicken. Melting butter and maple syrup finish the plate with rich, classic sweetness, and an optional scatter of black pepper adds a final, sharp accent that ties the whole dish together.
Common Mistakes to Avoid
- Skipping or Shortening the Buttermilk Brine – This leaves the chicken under-seasoned and the dredge with less to grip. Always brine for at least 2 hours, ideally overnight.
- Skipping the Cold-Water Dip Between Dredges – This produces a thinner, smoother crust rather than a genuinely craggy one. Always dip briefly before the second dredge.
- Overmixing the Waffle Batter – This produces dense, bready waffles rather than crisp-edged, fluffy ones. Always stop as soon as the ingredients are combined.
- Frying at Only One Temperature – This risks either an underdeveloped crust or overcooked meat. Always use the two-stage fry, gentle then hot.
- Stacking the Finished Waffles – This traps steam and softens their crisp edges. Always keep them on a rack.
Variations
Hot Honey Version
Substitute warmed hot honey for maple syrup, per the recipe’s own note, for a spicier finished dish.
Extra-Spicy Chicken Version
Increase the cayenne in the brine, or add extra hot sauce, for more heat throughout the chicken.
Bone-In Version
Follow the full Crispiest Fried Chicken method with bone-in pieces, adjusting fry times accordingly, for a heartier, more traditional result.
Mini Waffle Version
Use a mini waffle iron for smaller, individually portioned waffles suited to a more casual serving style.
Storage & Make-Ahead
This fried chicken technique is scaled from the Crispiest Fried Chicken method, but adjusted for boneless skinless chicken thighs.
Boneless thighs are the best choice here because they stay juicy, cook quickly, and sit neatly on waffles.
Fry the chicken after the waffles are cooked so the crust is served at its loudest and crispiest.
Frequently Asked Questions
Why does the chicken need to dip in cold water between the two dredging stages?
That brief immersion dissolves just enough of the first coating’s surface to turn it properly tacky. This gives the second layer of dry dredge something real to bind onto, which is specifically what builds the thick, craggy crust this style of fried chicken depends on.
Why is the chicken fried in two separate stages instead of just once?
The first, gentler fry cooks the interior through at a moderate pace without darkening the exterior too much. The second, hotter fry then has real room to build deep colour and maximum crispness quickly, since the meat’s own doneness is already handled.
Why does the chicken need to rest between the two fries?
That resting window lets the meat’s internal heat distribute evenly while surface moisture has real time to evaporate. Both of these set the crust up to crisp properly during the second fry rather than steaming under any lingering surface wetness.
Why shouldn’t the finished waffles be stacked on a plate?
Stacked waffles trap their own released steam against one another, and that trapped moisture softens their otherwise crisp edges. A rack lets that steam escape freely instead.
Are there other crispy fried chicken, waffle, or Southern breakfast dishes worth trying?
Crispiest Fried Chicken is the full bone-in method this recipe’s technique is scaled from. Classic Belgian Waffles with Berries is also worth trying on its own, and Hot Buffalo Wings and Classic Southern Buttermilk Biscuits are worth exploring for other classic Southern-inspired dishes.
Nutrition Facts
( per serving )
Calories
~820 kcal
Protein
36 g
Fat
38 g
Carbs
82 g
Calories
~820 kcal
Protein
36 g
Fat
38 g
Carbs
82 g
Related Recipes
Related Recipes

La Bandera Dominicana
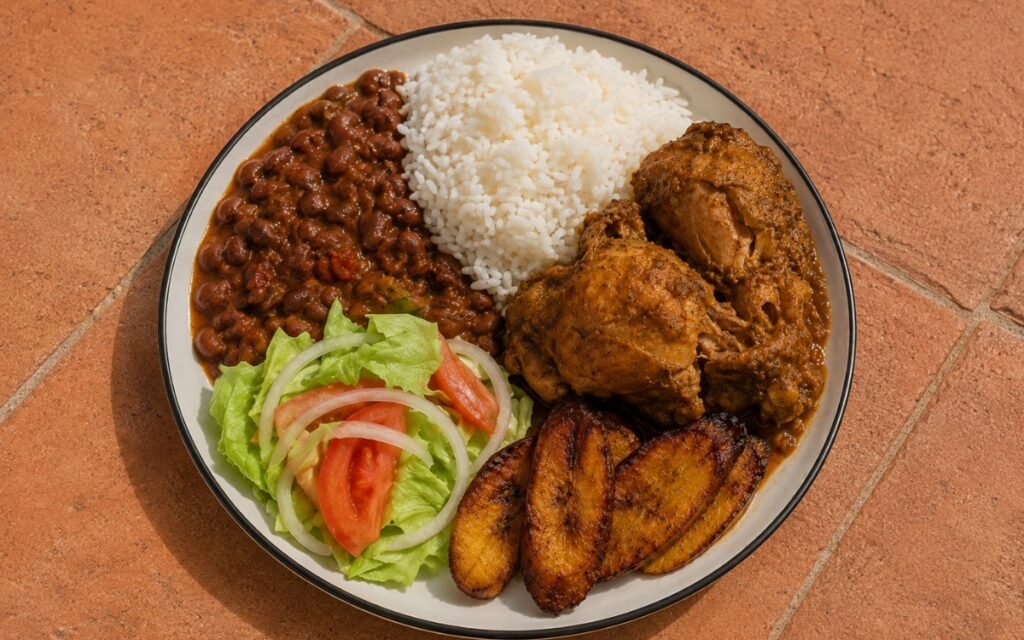
Fluffy white rice, stewed red beans, caramelised braised chicken, sweet fried plantains, and fresh salad, each kept distinct on the plate.
Hot Buffalo Wings
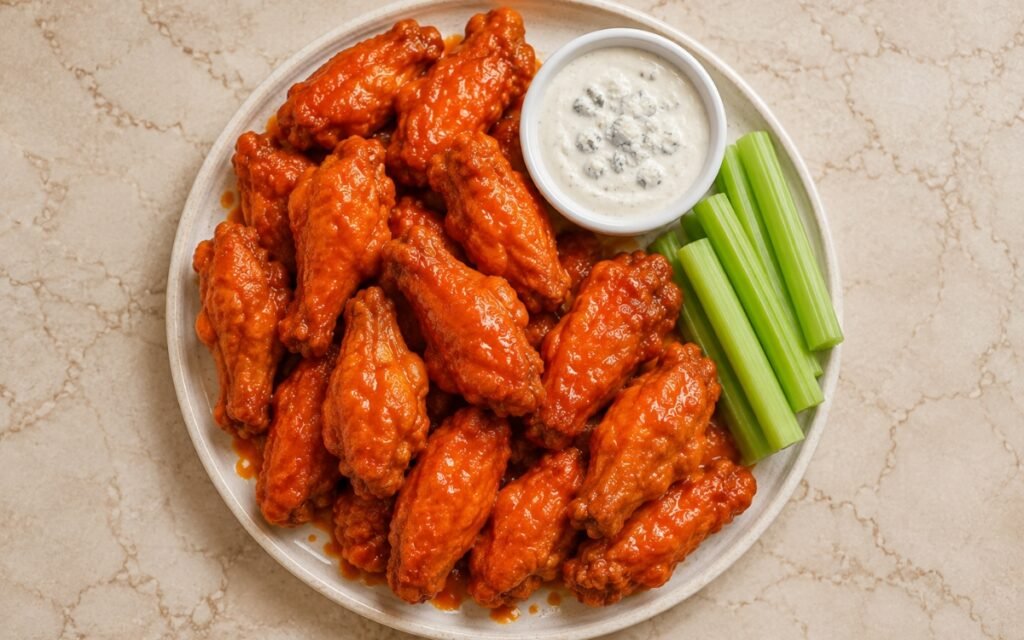
Double-fried chicken wings tossed hot in a glossy butter-and-hot-sauce Buffalo coating, served with blue cheese dressing and celery.
Breakfast Tacos
Warm corn tortillas with soft scrambled eggs, melted cheese, crispy bacon or crumbly chorizo, avocado, salsa, and lime.

You might also like
You might also like
Lemon Ricotta Pancakes
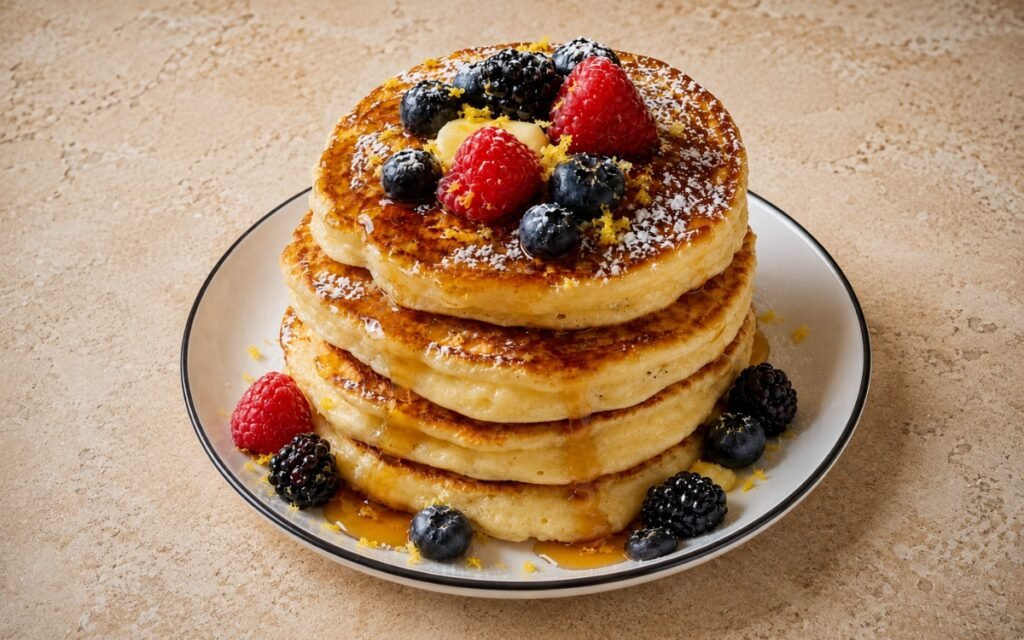
Fluffy lemon ricotta pancakes with golden edges and soft, tender interiors, finished with fresh berries, lemon zest, and maple syrup.
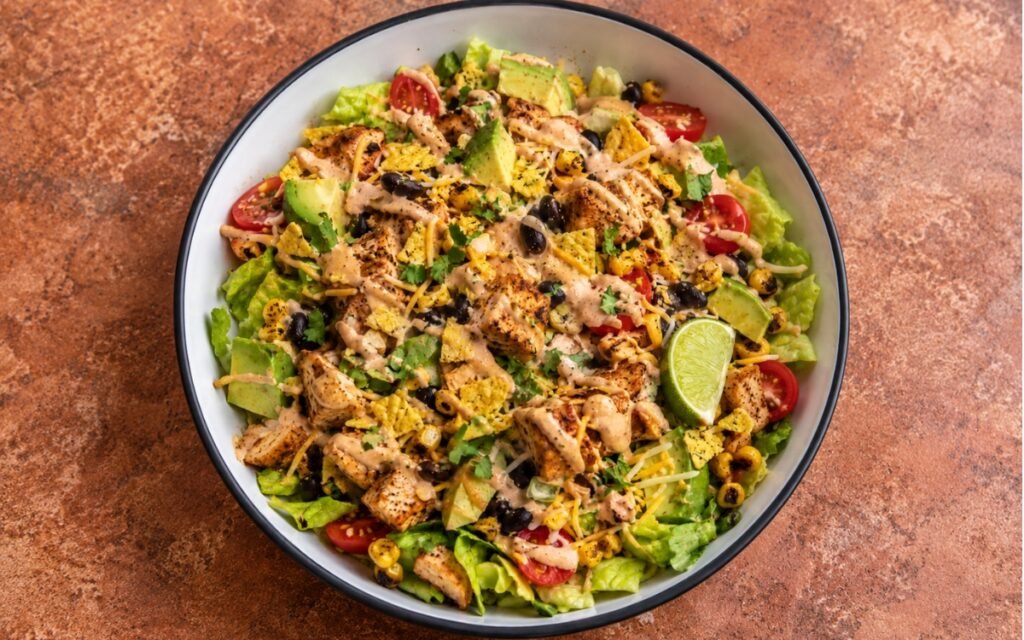
Mexican Chicken Taco Salad
Seasoned chicken breast, chopped lettuce, black beans, charred corn, cherry tomatoes, avocado, shredded cheese, and crushed tortilla chips with chipotle crema.
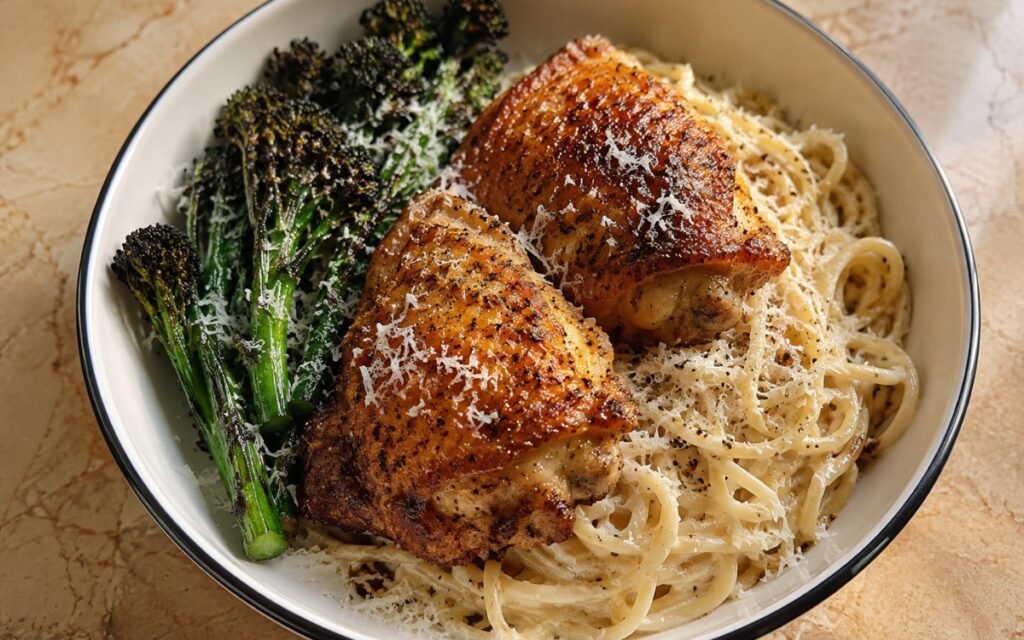
Baked Chicken Thighs with Cheesy Spaghetti
Smoked paprika crispy chicken thighs, cacio e pepe spaghetti with tempered cheese paste, and charred broccolini — one bowl, Parmesan over everything, 55 minutes.
Chicken and Waffles
Ingredients
Method
- Pat the chicken thighs dry and season lightly with fine sea salt. In a bowl, whisk together the buttermilk, salt, garlic powder, onion powder, paprika, white pepper, cayenne if using, and hot sauce if using. Add the chicken thighs and turn until fully coated. Cover and refrigerate for at least 2 hours, ideally overnight. Overnight is better. Two hours works, but it is the weaker version. The buttermilk seasons the chicken and gives the dredge something to grip. That extended time lets the buttermilk’s mild acidity work gradually into the meat, seasoning it throughout rather than just on the surface, while also leaving a tacky residue the dry dredge can properly adhere to.
- In a large bowl, whisk together the flour, sugar, baking powder, baking soda, and salt. In a separate bowl, whisk together the eggs, buttermilk, melted butter, and vanilla if using. Pour the wet ingredients into the dry ingredients and stir just until combined. The batter should be thick but pourable, with a few small lumps. Let the batter rest for 10 to 15 minutes while you prepare the chicken coating. Do not beat the batter smooth. Overmixed waffle batter makes dense, bready waffles instead of crisp-edged and fluffy waffles. Stopping the mixing the moment the ingredients come together, rather than continuing for a smoother-looking batter, is what protects the finished waffles from toughening — flour’s gluten develops more the longer it’s worked, and this batter has genuinely little need for that extra structure.
- In a wide bowl or tray, whisk together the flour, cornstarch, salt, garlic powder, onion powder, paprika, white pepper, black pepper, and baking soda. The mixture should look completely even, with no streaks of plain flour or spices. The cornstarch lightens the crust, and the small amount of baking soda helps browning. Do not increase the baking soda or the coating can taste bitter. Cornstarch’s own lower protein content, compared to flour alone, is what produces a genuinely lighter, crisper fried texture, while the small measured amount of baking soda promotes real browning without tipping into the bitterness a larger amount would introduce.
- Remove one chicken thigh from the buttermilk, letting excess drip off but not wiping it clean. Place it into the dry dredge and press the flour mixture firmly into every surface. Shake off only the loose flour that is barely attached. Transfer to a wire rack and repeat with the remaining chicken. Let the dredged chicken rest for 5 to 10 minutes, until the coating looks patchy, rough, and slightly damp in spots. If the coating still looks like loose dry flour everywhere, it has not hydrated enough yet. That short rest helps the crust cling instead of falling off in the oil. That brief rest lets the buttermilk residue still clinging to the chicken begin actually binding with the dry coating, giving the crust real adhesion before it ever meets the shock of hot oil.
- Fill a bowl with ice-cold water. Working one piece at a time, lower the dredged chicken into the cold water for 10 to 15 seconds without moving it aggressively. Lift it out, let excess water drip off for a few seconds, then return it immediately to the dry dredge. Press the flour mixture firmly into the chicken again, building a thick, rough, craggy coating. Transfer back to the wire rack and repeat with the remaining chicken. This is the main crust step. The cold water turns the first coating into a sticky layer, and the second dredge builds the heavy craggy crust. That cold-water dip dissolves just enough of the first coating’s surface to turn it genuinely tacky, giving the second layer of dry dredge something real to cling to — this is specifically what builds the thick, rugged crust this style of fried chicken depends on.
- Let the fully dredged chicken rest on the rack for 10 to 15 minutes while the oil heats. The coating should look rugged, uneven, and slightly hydrated. If the coating looks smooth, it was not pressed on firmly enough. A rough surface now becomes a craggy fried crust later. That surface irregularity is a genuine, visual confirmation the double-dredge process worked as intended — a smooth coating at this stage would fry up correspondingly smoother and less texturally interesting.
- Heat the waffle iron and lightly grease it. Cook the batter according to your waffle iron, usually 3 to 5 minutes per waffle, until deeply golden, crisp at the edges, and cooked through. Transfer the waffles to a rack in a low oven around 90–100°C while you fry the chicken. Do not stack hot waffles on a plate. Steam makes them soft. A rack keeps the edges crisp. Stacking hot waffles traps their own released steam against each other, and that trapped moisture is exactly what softens their otherwise crisp edges — a rack lets that steam escape freely instead.
- Heat the oil to 155–160°C. Fry the chicken thighs in batches, without crowding, for about 4 to 5 minutes, until the crust is set and pale to medium golden. Transfer to a clean wire rack. Boneless thighs cook faster than bone-in chicken. This first fry sets the crust and starts cooking the meat without driving the exterior too dark. That first, gentler fry gives the meat genuine time to cook through at a moderate pace, deliberately leaving the exterior colour underdeveloped for now so the second, hotter fry has real room to build deep, dark crispness without overcooking the interior.
- Let the chicken rest on the rack for 8 to 10 minutes. This lets the internal heat even out and lets surface steam escape before the final crisping fry. That resting window does genuine, active work beyond simple pause — it lets residual heat distribute evenly through the meat while surface moisture has real time to evaporate, both of which set the crust up to crisp properly rather than steam during the second fry.
- Increase the oil temperature to 185–190°C. Fry the chicken again for 2 to 3 minutes, until deeply golden-brown, craggy, and very crisp. The chicken is done when the internal temperature reaches 74°C at the thickest point. Transfer to a clean wire rack and let rest for 3 to 5 minutes. Stop as soon as the crust is deep golden and the chicken hits 74°C. Boneless thighs are forgiving, but they can still dry out if you keep frying after they are done. That higher second-fry temperature is specifically what builds real, deep colour and maximum crispness quickly, in a genuinely brief window — since the interior is already properly cooked from the first fry, this stage exists purely to finish the crust.
- Place one hot waffle on each plate. Top each waffle with one piece of crispy fried chicken. Add a small piece of butter on top and drizzle with maple syrup. Finish with a little black pepper if desired. Serve immediately while the chicken crust is crisp and the waffles are still warm. Frying the chicken only after the waffles are already cooked and held warm is what lets that crust arrive at the plate at its absolute loudest and crispiest, rather than softening during any extended wait.