Chana Masala
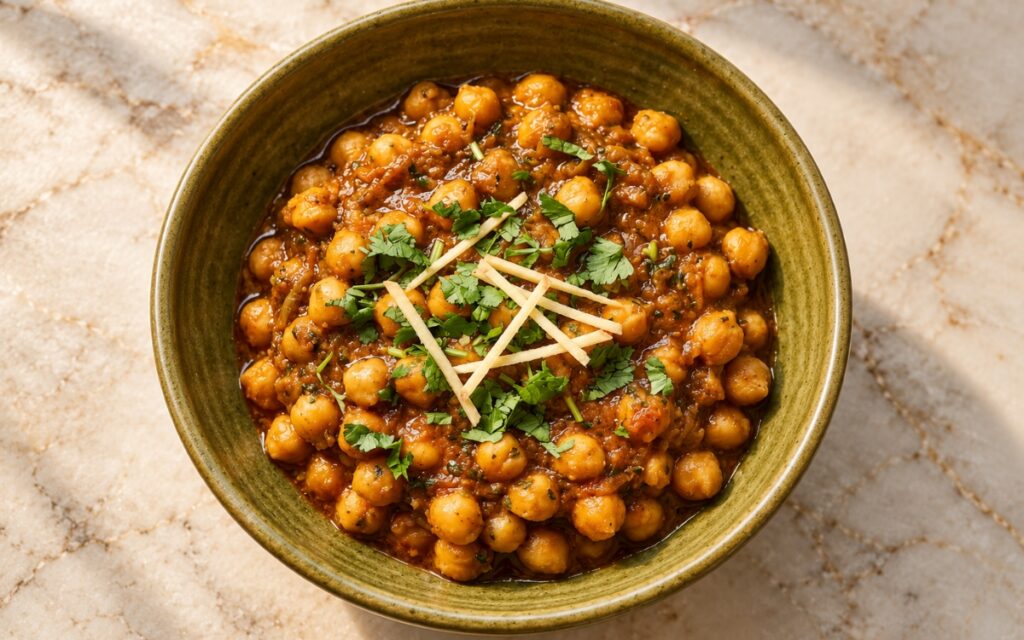
A classical-style chana masala with chickpeas simmered in a thick onion-tomato masala until deeply flavored, glossy, and well coated. The gravy stays hearty rather than soupy, with visible texture, spice oil at the edges, and enough body to cling to the chickpeas. Finished with cilantro and thin ginger matchsticks.
- Prep Time : 20 min
- Total Time : 9 hr 35 min
- Servings : 4
Ingredients
For the Chickpeas
- 300 g dried chickpeas
- 1.5 L water, for soaking
- 1.2 L fresh water, for cooking
- 1 tsp salt
- 1 black tea bag or 1 tsp loose black tea tied in muslin, optional, for darker classical color
- 1 bay leaf
- 2 green cardamom pods
- 1 black cardamom pod, optional
For the Masala Base
- 3 tbsp neutral oil or ghee
- 1 tsp cumin seeds
- 1 medium bay leaf
- 2 medium onions, finely chopped
- 2 green chilies, finely chopped
- 1 tbsp ginger-garlic paste
- 3 medium tomatoes, finely chopped or pureed
- 1 tbsp tomato paste, optional, for extra depth
- 1 tsp fine salt, plus more to taste
For the Ground Spices
- 2 tsp ground coriander
- 1 tsp ground cumin
- ½ tsp turmeric
- 1 to 1½ tsp Kashmiri chili powder
- ¼ to ½ tsp hot chili powder, optional
- 1 tsp chana masala powder
- ½ tsp garam masala
- 1 tsp amchur
- ½ tsp crushed kasuri methi, optional
For Finishing
- 120–180 ml hot chickpea cooking liquid or hot water
- ½ to 1 tsp lemon juice, if needed
- 1 tbsp chopped cilantro stems
- 2 tbsp chopped cilantro leaves
- 15 g fresh ginger, cut into thin matchsticks
Directions
- Soak and Cook the Chickpeas
Rinse the chickpeas well, then soak them in 1.5 L water for 8–12 hours, until they’ve noticeably expanded and softened slightly. Drain and rinse again. Transfer the soaked chickpeas to a pot with 1.2 L fresh water, the salt, the optional tea bag, bay leaf, green cardamom, and black cardamom if using. Bring to a boil, skim off any foam, then reduce to a gentle simmer. Cover partially and cook for 50–70 minutes, until the chickpeas are fully tender all the way through — they should mash easily between your fingers with no chalky center left. Undercooked chickpeas never quite come together with the sauce later, so this stage is worth getting right. Reserve at least 300 ml of the cooking liquid, then discard the whole spices and tea bag. - Build the Onion Base
Heat the oil or ghee in a wide sauté pan or kadai over medium heat. Add the cumin seeds and bay leaf and let them sizzle for 20–30 seconds. Add the onions and cook for 10–14 minutes, stirring often, until deep golden brown but not burnt — this stage builds most of the dish’s depth, and onions left pale leave the finished curry tasting flat and sweet instead of rich. Add the green chilies and ginger-garlic paste and cook for 1 minute, stirring constantly, until fragrant and the raw smell is gone. - Bhuno the Tomato Masala
Add the tomatoes, the optional tomato paste, and the salt. Cook over medium heat for 8–12 minutes, stirring often, until the tomatoes break down and the mixture thickens. Add the coriander, cumin, turmeric, Kashmiri chili powder, hot chili powder if using, chana masala powder, and garam masala, cooking for 1–2 minutes, stirring constantly, adding a small splash of hot water if the pan looks dry so the spices don’t scorch. Keep cooking the masala until it looks thick and glossy and starts releasing a little oil around the edges — this bhuno stage is one of the main points where the dish’s flavor actually develops. - Add Chickpeas and Develop Body
Add the cooked chickpeas and 120 ml of the reserved cooking liquid, stirring well to coat everything in the masala. Mash about a quarter of the chickpeas lightly with a potato masher or the back of a spoon directly in the pan, leaving the rest whole — this is what thickens the masala naturally and gives the curry its hearty, clingy texture, rather than any added flour or starch. Simmer uncovered over low to medium-low heat for 15–20 minutes, stirring regularly so the bottom doesn’t catch, adding more reserved cooking liquid only as needed. By the end, the masala should coat the chickpeas thickly and show a light sheen of oil in spots rather than looking watery. - Finish the Curry
Stir in the amchur, crushed kasuri methi if using, and chopped cilantro stems, then simmer for 1 minute more and taste. Adjust the seasoning with more salt if needed, and add ½ to 1 teaspoon lemon juice only if the curry needs brightness — if it tastes too sharp instead, let it simmer another 2–3 minutes rather than adding more acid. Turn off the heat and let the curry rest for 5–10 minutes before serving, which gives the chickpeas time to absorb the masala and the texture time to tighten slightly. - Garnish and Serve
Spoon the chana masala into bowls and garnish with the chopped cilantro leaves and ginger matchsticks. Serve hot. The finished dish should look thick, richly spiced, and glossy, with the chickpeas well coated and the masala visibly textured rather than smooth like a puree.
*Notes :
- Dried chickpeas give the best texture and flavor for this dish, though canned chickpeas work as a shortcut — use about two 400 g cans, drained and rinsed, and simmer them directly in the finished masala for 20–25 minutes with a little water or stock so they have time to absorb the flavor they’d otherwise pick up from cooking in their own seasoned liquid.
- The chickpeas need to be fully tender before they ever meet the masala. Even slightly undercooked chickpeas stay separate from the sauce instead of absorbing it, leaving them tasting dull on the inside no matter how long the masala simmers afterward.
- Deep golden brown onions are the real marker to aim for here, not just translucent ones — that extra cooking time is what builds the dish’s depth, and stopping too early leaves the curry tasting flatter and sweeter than it should.
- Mashing a portion of the chickpeas directly in the pan is the main technique responsible for this curry’s thick, clingy body. It’s a simpler route to that texture than adding flour or starch, and it keeps the dish’s flavor concentrated rather than diluted.
Why This Recipe Works
Cooking the onions until deep golden brown builds a foundation of sweetness and depth that pale, undercooked onions simply can’t replicate. The bhuno stage — cooking the tomato and spice mixture until it thickens and releases oil at the edges — concentrates the masala’s flavor before the chickpeas are ever added, which is what gives the finished dish its richness. Mashing a portion of the chickpeas directly in the pan thickens the sauce naturally, letting it cling to the whole chickpeas instead of staying thin and separate. Resting the curry briefly at the end gives the chickpeas time to keep absorbing the masala even after the heat is off, which is part of why this dish often tastes even better the next day.
Ingredient Breakdown
Dried chickpeas, soaked and cooked from scratch
Give a firmer, more absorbent texture than canned chickpeas, which is part of what makes the finished curry feel properly cohesive.
Deep golden brown onions
The foundation of the dish’s depth; stopping at translucent instead leaves the curry tasting flatter and sweeter.
Bhuno-cooked tomato masala
Concentrated until thick and glossy before the chickpeas go in, this stage builds most of the dish’s underlying richness.
Mashed portion of the chickpeas
Thickens the sauce naturally, giving the curry its hearty, clingy body without any added flour or starch.
Amchur
The most classical souring agent in this dish, used instead of lemon juice except as a final adjustment if the curry still needs brightness.
Flavor Structure Explained
This curry follows a layered balance model:
- Mild, earthy centerpiece (slow-cooked chickpeas)
- Sweet, savory base (deeply browned onions)
- Tangy warmth (bhuno-cooked tomato masala)
- Hearty, clinging body (partially mashed chickpeas)
- Final brightness (amchur and cilantro-ginger garnish)
Slow-cooked chickpeas serve as this curry’s mild, earthy centerpiece, their texture built through a long soak and simmer before they ever meet the masala. Deeply browned onions provide the sweet, savory base that anchors the whole dish. The bhuno-cooked tomato masala contributes a tangy warmth, concentrated through extended cooking before the chickpeas are added. Partially mashed chickpeas build a hearty, clinging body into the sauce without any added flour or starch. A final brightness from amchur and the cilantro-ginger garnish cuts through the richness built up over the rest of the cook.
Common Mistakes to Avoid
- Undercooking the chickpeas – This leaves them chalky and separate from the sauce instead of absorbing it; always cook until they mash easily with no hard center.
- Stopping the onions at translucent instead of deep golden brown – This leaves the curry tasting flat and sweet instead of rich; always give them the full 10–14 minutes.
- Rushing the bhuno stage – This leaves a raw tomato taste running through the finished curry; always cook until the masala looks thick, glossy, and starts releasing oil at the edges.
- Mashing all the chickpeas instead of a portion – This turns the texture into more of a puree than a hearty, textured curry; always mash only about a quarter of them.
Variations
Canned Chickpea Shortcut Version
Use two drained 400 g cans of chickpeas in place of the dried, soaked version, simmering them in the finished masala for 20–25 minutes with a little water or stock.
Extra-Tangy Version
Increase the amchur slightly or finish with a bit more lemon juice for a brighter, more pronounced sour note.
Spinach-Added Version
Stir in a few handfuls of fresh spinach during the final simmer for a heartier, greens-forward variation of the same base.
Smoky Version
Add a pinch of smoked paprika alongside the Kashmiri chili powder for a deeper, smokier background note.
Storage & Make-Ahead
Cook the chickpeas up to 2 days ahead and store them in their cooking liquid in the refrigerator, which makes assembling the masala faster on the day you plan to finish the dish.
Store the finished chana masala in an airtight container in the refrigerator for up to 4 days — the flavor often deepens further after a day or two as the masala continues settling into the chickpeas.
Reheat gently on the stovetop over low heat, adding a splash of water or reserved cooking liquid if the curry has thickened too much in the fridge.
Freeze the finished curry for up to 3 months, thawing in the refrigerator overnight before reheating gently on the stove.
Frequently Asked Questions
Can I use canned chickpeas instead of dried?
Yes. Use about two 400 g cans, drained and rinsed, and simmer them in the finished masala for 20–25 minutes with a little water or stock so they absorb flavor the way freshly cooked chickpeas would from their own cooking liquid.
Why does my curry taste flat instead of rich?
This usually means the onions didn’t get dark enough, or the tomato masala didn’t cook long enough during the bhuno stage. Both steps need their full time to build real depth.
Why is my curry watery instead of thick?
The chickpeas may not have been mashed enough, or the final simmer may need more time to reduce. Mashing a bit more of them directly in the pan is the quickest fix.
Does this curry need to rest before serving?
A short 5–10 minute rest helps, and the curry often tastes even better the next day once the masala has fully settled into the chickpeas overnight.
What else pairs well with this chana masala?
Indian Butter Chickpea Bowls and Dal Makhani share a similar slow-built masala approach if you want to round out a vegetarian Indian spread, and Samosa Chaat makes a good starter for the same meal. Aloo Gobi is a simple vegetable side that fits naturally alongside, and Garlic Turmeric Yellow Rice is an easy base to serve the chana masala over.
Nutrition Facts
( Per Serving )
- Calories
- ~420 kcal
- Protein
- 15 g
- Fat
- 15 g
- Carbs
- 56 g
-

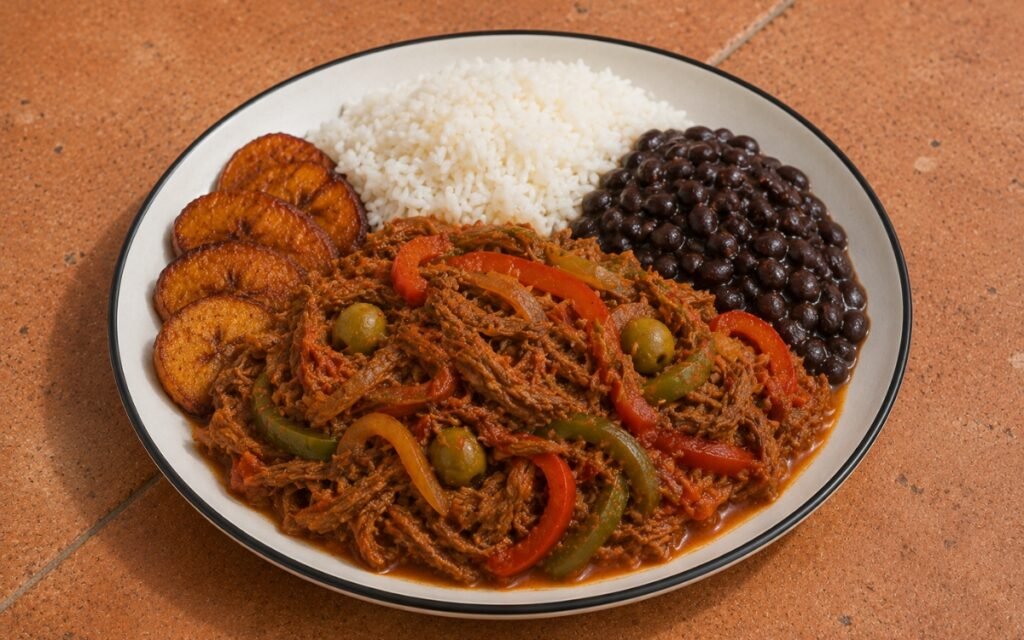
Ropa Vieja Cubana
Slow-braised, shredded beef simmered in a rich tomato sauce with peppers, onion, and green olives, served with white rice, black beans, and fried plantains.
-
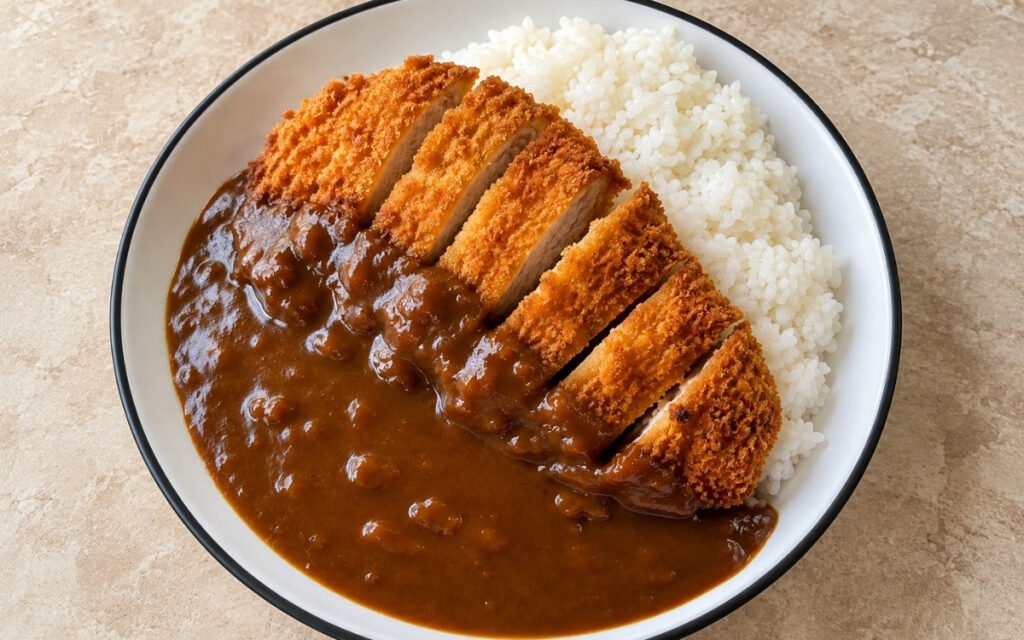
Katsu Curry — Japanese Pork Cutlet Curry
Crisp golden panko-breaded pork cutlets, fluffy white rice, and a thick glossy dark-brown curry sauce, savory-sweet and rich.
-
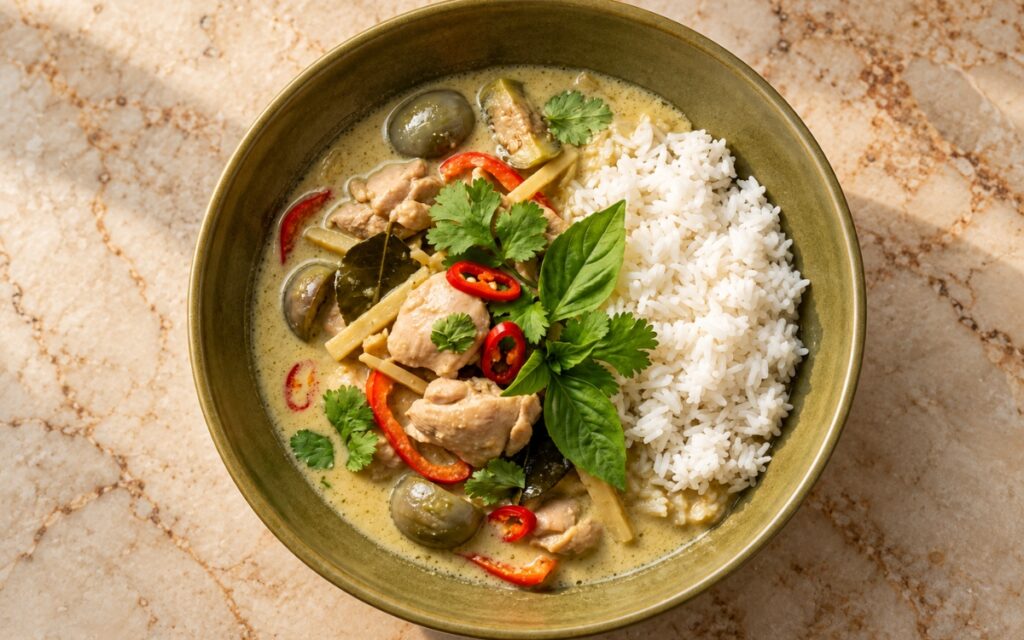
Thai Green Curry Chicken
Chicken thighs simmered in a creamy green coconut curry with Thai eggplant, red pepper, lime leaves and Thai basil, served with jasmine rice.
-
Braised Beef Chuck Steak
Tough chuck steak transforms into fork-tender perfection through slow braising with wine and aromatics.
-
Red Lentil Dal Tadka
Classical red lentil dal simmered until creamy, finished with a sizzling hot ghee tadka of cumin, garlic, and dried red chilies.
-
Dominican Pollo Guisado
A classic Dominican braise of browned bone-in chicken in a glossy reddish-orange tomato sauce with onions and peppers, served over fluffy white rice.