
Steam-Roasted Pork Belly with Vietnamese-ish Herb Sauce
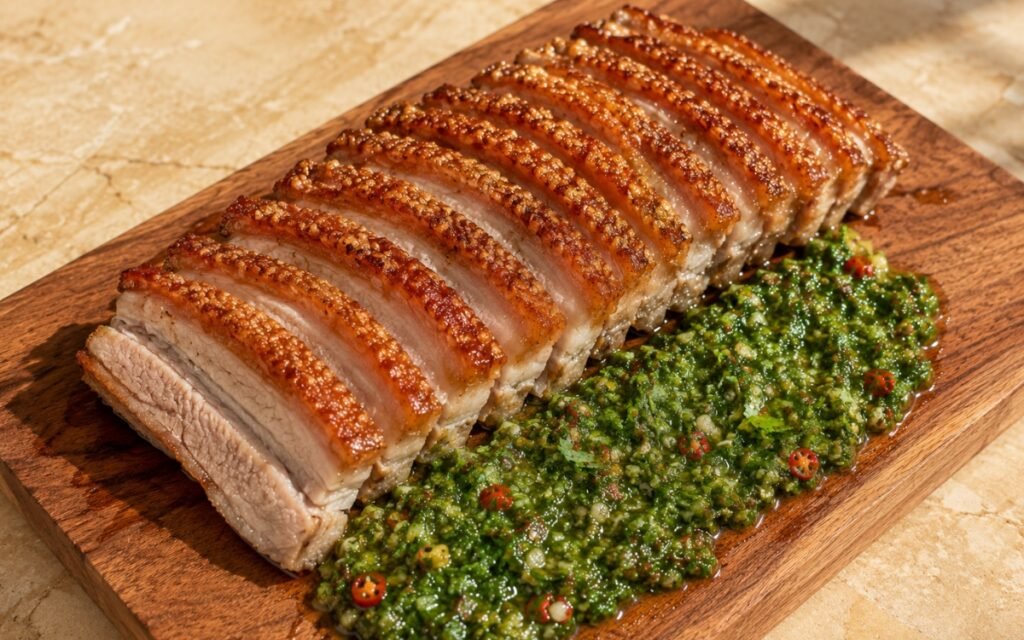
A whole skin-on pork belly cooked in two stages: first a gentle steam-roast to tenderize the meat and render the fat, then a high-heat finish to turn the skin into deep golden crackling, sliced thick and served with a vivid herb sauce built on cilantro, mint, chili, fish sauce, lime, and oil. Enclosing the pork with boiling water beneath the rack and sealing it under foil is the technique that separates this recipe from a standard roast — that trapped steam gently tenderises the meat and renders fat without drying the belly out, the same steam-then-crisp principle used elsewhere in this collection whenever a fatty cut needs maximum tenderness before any high-heat finish is applied. Keeping every trace of wet seasoning strictly on the meat side, while the skin gets only dry salt and a vinegar brush, protects that skin’s ability to blister once the aggressive final heat arrives. Drying the skin overnight beforehand, and again briefly after the steam stage, is what allows the final high-heat finish to produce genuinely crisp, audible crackling rather than something merely browned. The payoff is a pork belly with soft, juicy meat under aggressively crisp crackling, sliced thick and paired with a sharp, punchy herb sauce built specifically to cut through its richness.
Prep Time : 25 min
Cook Time : 2 hr, 15 min
Servings : 4
25 min
2 hr, 15 min
4
Ingredients
For the Pork Belly
• 1kg skin-on pork belly, preferably in an even slab
• 12g fine sea salt, divided
• 6g sugar, about 1½ tsp
• 1 tsp white pepper — this one on Amazon
• 1 tsp garlic powder — this one on Amazon
• ½ tsp onion powder — this one on Amazon
• 1 tbsp rice vinegar or white vinegar — this one on Amazon
• 500–750ml boiling water, for the roasting tray
For the Vietnamese-ish Herb Sauce
• 1 large handful fresh cilantro, leaves and tender stems, finely chopped
• 1 medium handful fresh mint leaves, finely chopped
• 1 small handful scallions, finely sliced
• 1 small shallot, very finely minced
• 1–2 red chilies, finely sliced or finely chopped
• 1 garlic clove, very finely grated or minced
• 30ml fish sauce — this one on Amazon
• 25ml lime juice
• 1 tsp sugar
• 45–60ml neutral oil
• Freshly ground black pepper, to taste
For Serving
• Extra lime wedges, optional
This post may contain affiliate links. As an Amazon Associate I earn from qualifying purchases, at no additional cost to you.
Directions
- Prepare and Dry the Pork Belly
Pat the pork belly very dry. Place it skin-side up. Using a skewer, cake tester, or the tip of a very sharp knife, prick the skin all over without piercing deeply into the meat. The goal is to create many small channels in the skin so the fat can render and the surface can blister into crackling. Turn the pork belly over. Mix 8g of the salt, the sugar, white pepper, garlic powder, and onion powder. Rub this seasoning thoroughly over the meat side and sides only. Do not rub this onto the skin. Turn the pork skin-side up again. Brush the skin with the vinegar, then sprinkle evenly with the remaining 4g salt. Place the pork belly uncovered on a rack set over a tray and refrigerate for 8 hours minimum, ideally overnight. Before cooking, the skin should look dry, slightly tight, and matte. If it still looks damp or tacky, it needs more drying time. Dry skin is one of the main things that gives you proper crackling. Pricking the skin creates small channels that give trapped fat and steam somewhere to escape during roasting, which is what allows the surface to blister into distinct bubbles rather than staying flat and dense. - Steam-Roast the Pork Belly
Preheat the oven to 160°C. Place the pork belly skin-side up on a rack set inside a roasting tray. Carefully pour the boiling water into the tray underneath the rack so the water does not touch the pork. Cover the tray tightly with foil. Roast for 1 hour 15 minutes to 1 hour 30 minutes. During this stage, the enclosed steam gently softens the meat and renders the fat without drying the belly out. Remove the tray from the oven and carefully uncover it. The pork should now feel noticeably softer, and some fat will have rendered. Remove any water remaining in the tray. After the steam-roast phase, the meat should not be falling apart, but it should be tender enough that a knife slips in with only light resistance. If it still feels firm and tight, continue covered for another 10–15 minutes. Sealing the tray with foil traps the steam rising from the boiling water directly around the pork, creating a genuinely humid cooking environment that tenderises the meat far more gently than dry oven heat alone — the water itself never touches the pork, so this stage is purely about steam, not braising. - Dry and Crisp the Skin
Return the uncovered pork belly to the oven at 180°C for 20 minutes to dry the skin fully after the steam phase. Then increase the temperature to 240°C, or switch to a broiler/grill finish, and cook for 20–30 minutes more until the skin is deeply golden, blistered, and very crisp. Rotate the tray if needed so it browns evenly. Watch closely during the final stage. Some areas may blister faster than others. The skin should be audibly crisp when tapped and visibly puffed or crackled across the surface. If it is browned but still leathery, it has not crisped enough yet and needs more high heat. That intermediate 180°C stage exists specifically to dry off any residual surface moisture the steam phase left behind before the truly aggressive heat begins — skipping straight from steaming to the hottest setting would fight against skin that’s still too damp to properly blister. - Rest and Slice
Transfer the pork belly to a board and let it rest for 10–15 minutes. This helps the juices settle and keeps the meat from flooding the board when sliced. Slice into thick pieces, about 2–2.5cm wide, so each piece has a good strip of crackling, fat, and meat. If you slice immediately out of the oven, the juices run and the layers can separate more easily. A short rest helps the belly slice cleanly and stay juicy. This rest lets the pressure built up in the meat’s fibres during roasting even back out across the whole piece, rather than releasing in a rush the moment a knife cuts through. - Make the Herb Sauce
While the pork rests, make the sauce. In a bowl, combine the cilantro, mint, scallions, shallot, chili, and garlic. In a separate small bowl or cup, mix the fish sauce, lime juice, sugar, and oil until the sugar dissolves. Pour this over the herbs and mix well. Add a few grinds of black pepper. Let the sauce sit for 5–10 minutes before serving so the herbs lightly soften and the flavors come together. The sauce should be loose and spoonable with visible sheen, not dry like a chopped salad and not thin like plain dressing. It should taste bright, salty, herbal, lightly spicy, and sharp enough to cut through the pork fat. This brief rest lets the fish sauce and lime juice begin softening the raw shallot and chili’s sharpest edges, rounding the sauce’s flavour before it’s finally spooned over the rich pork. - Serve
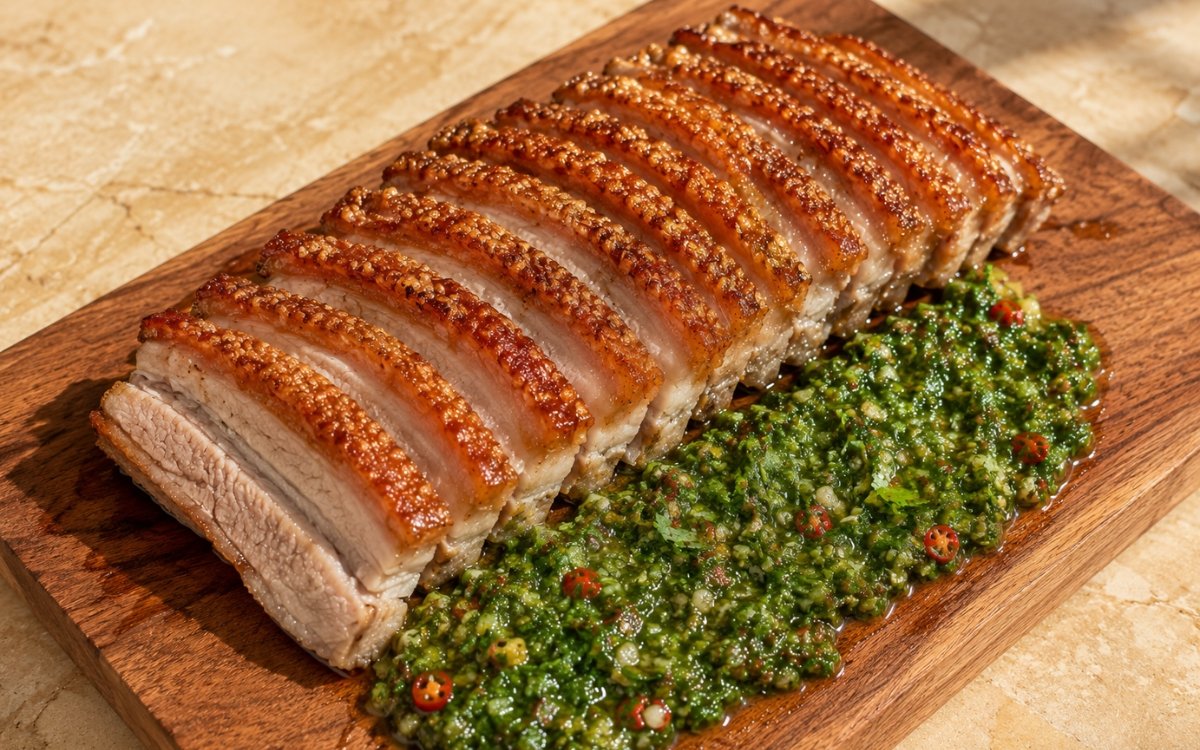
Fan the sliced pork belly across a board or platter. Spoon some of the herb sauce alongside or over one side of the pork, keeping some extra on the side so the crackling stays crisp for anyone who wants it dry. Serve immediately while the pork is still warm and the crackling is at its crispest. Keeping some sauce off to the side rather than pouring it fully over every piece protects the crackling from softening on contact — anyone who wants extra can spoon it on themselves, right before eating.
*Notes :
- The steam-roasting stage is worth understanding as a genuinely different cooking method from a standard dry roast, not simply a covered version of the same thing. The boiling water beneath the rack generates steam that surrounds the pork without ever touching it directly, tenderising the meat and rendering fat in a considerably gentler, moister environment than dry oven heat provides on its own. This is what allows the belly to become tender without drying out, setting up the skin-crisping stages that follow.
- The brief 180°C drying stage between the steam-roast and the final high-heat crisp is a detail worth taking seriously despite its short duration. The enclosed steam phase inevitably leaves some residual moisture on the skin’s surface, even with careful technique, and jumping straight from that humid environment to the hottest setting would work against proper crisping. This intermediate stage exists specifically to dry that moisture off before the aggressive final heat is applied.
- Keeping wet seasoning strictly confined to the meat side throughout preparation is a rule worth following without exception. Any moisture that reaches the skin, whether from the initial seasoning or later handling, works directly against the entire multi-stage drying and crisping process this recipe is built around — the separation between wet-seasoned meat and dry-treated skin is fundamental to the technique succeeding at all.
- The herb sauce’s assertive, punchy character is a deliberate calibration rather than an accident of proportions. Pork belly is genuinely rich, and a sauce built to taste balanced on its own, tasted alone with a spoon, will read as noticeably milder once it’s asked to cut through that fat. The sauce is intentionally built to taste a little more intense than seems necessary in isolation, specifically because of the richness it’s meant to counter.
Why This Recipe Works
This recipe works because it treats tenderising and crisping as two entirely separate technical problems rather than one continuous roast: the enclosed steam stage gently tenderises the meat and renders fat without any risk of drying it out, and only once that’s complete does the multi-step drying and high-heat finish take over to build genuinely crisp crackling.
Keeping wet seasoning strictly off the skin throughout protects that crisping ability at every stage, and resting before slicing preserves the meat’s juiciness. The intentionally punchy herb sauce, built to taste sharper than seems necessary on its own, is exactly what’s needed to cut through the pork’s rich fat.
Ingredient Breakdown
Skin-On Pork Belly, Skin Kept Strictly Dry
The specified cut and prep — wet seasoning confined to the meat side only, skin treated with dry salt and vinegar for proper crisping.
Boiling Water Beneath the Rack
The steaming mechanism — generates enclosed steam that tenderises the meat and renders fat without the water ever touching the pork directly.
Multi-Stage Drying and Crisping
The critical technique — an intermediate dry-out stage followed by aggressive high heat, together producing genuinely audible, blistered crackling.
Rested Pork Belly
The pre-slice step — settles the meat’s juices so the belly slices cleanly and stays juicy rather than flooding the board.
Intentionally Punchy Herb Sauce
The finishing accompaniment — built sharper and more intense than it would need to be on its own, specifically to cut through the pork’s richness.
Flavor Structure Explained
This crispy pork belly follows a layered balance model:
- Crisp savoury foundation (crackling skin)
- Rich juicy centre (steam-tenderised meat and fat)
- Warm background spice (white pepper, garlic and onion powder)
- Bright herbal sharpness (cilantro, mint, chili in the sauce)
- Sharp salty-sour finish (fish sauce, lime)
The crackling skin defines the dish with genuine crunch and deep, savoury flavour built up over the long, careful cook. Beneath it, the steam-tenderised meat and rendered fat provide rich, juicy satisfaction, seasoned throughout with warm background spice. The herb sauce alongside cuts sharply through that richness with bright cilantro, mint, and chili, bound together by fish sauce and lime juice’s sharp, salty-sour punch. Together, the rich pork and the intensely fresh sauce create a pairing built entirely around contrast.
Common Mistakes to Avoid
- Letting Water Touch the Pork During Steam-Roasting – This would braise rather than steam the belly, changing the texture entirely. Always keep the water level beneath the rack, never touching the meat.
- Skipping the Intermediate Drying Stage – Residual moisture from the steam phase works against proper crisping if the aggressive final heat is applied too soon. Always dry at 180°C first.
- Getting Wet Seasoning on the Skin – This directly prevents proper crisping regardless of subsequent drying. Always keep marinade confined to the meat side only.
- Slicing the Pork Immediately Off the Rack – This releases juices onto the board rather than keeping them in the meat. Always rest for 10–15 minutes first.
- Making the Herb Sauce Too Mild – A sauce that tastes balanced on its own reads as flat once it meets the pork’s richness. Always let it taste a little more intense than expected in isolation.
Variations
Extra-Spicy Herb Sauce
Increase the red chilies and add a small pinch of chili flakes for a sharper, more assertive heat throughout the sauce.
With Maggi Seasoning
Add a few drops of Maggi seasoning to the herb sauce for a more Vietnamese-leaning finish, used sparingly.
24-Hour Dry Version
Extend the uncovered refrigerator drying time to 24 hours instead of overnight for even more aggressive, reliable crackling.
Rice Bowl Version
Serve the sliced pork belly and herb sauce over steamed jasmine rice with pickled vegetables for a full meal presentation.
Storage & Make-Ahead
Raw, seasoned pork belly must dry uncovered in the refrigerator for the full 8 hours, ideally overnight, before roasting.
Roasted, unsliced pork belly can be refrigerated for up to 3 days; the skin will soften somewhat and is best re-crisped briefly under a hot broiler before serving.
The herb sauce is best made fresh close to serving; it can be refrigerated for a few hours, though the herbs will continue softening the longer it sits.
Fully sliced, sauced pork belly is not suitable for storage — slice and sauce only what will be eaten immediately, given how quickly the crackling softens.
Frequently Asked Questions
Why steam-roast the pork belly instead of just roasting it dry the whole time?
The enclosed steam from the boiling water beneath the rack tenderises the meat and renders fat in a much gentler, moister environment than dry heat alone provides. This lets the belly become tender without drying out, setting up the later stages that focus entirely on crisping the skin.
Why does the pork need an intermediate drying stage at 180°C before the final high-heat crisp?
The enclosed steam phase leaves some residual moisture on the skin’s surface even with careful technique. Jumping straight from that humid stage to the hottest oven setting would work against proper crisping, so this intermediate stage dries the surface first.
Why does the wet seasoning need to stay off the skin entirely?
Any moisture reaching the skin, at any point in preparation, works directly against the multi-stage drying and crisping process the whole recipe depends on. Keeping the meat’s wet seasoning strictly separate from the dry-treated skin is fundamental to getting proper crackling.
Why does the herb sauce need to taste more intense than seems necessary?
Pork belly is genuinely rich, and a sauce that tastes balanced on its own will read as noticeably milder once it has to cut through that fat. The sauce is deliberately built sharper and punchier than it would need to be tasted alone.
Are there other crispy pork dishes or a good pairing with fresh herb sauce worth trying?
Homemade Chicharrones, Crispy Pork Belly Chicharrón, and Crispy Pork Bánh Mì Sandwich all share a related focus on crisping pork skin through careful drying and technique, each worth exploring if you enjoy this style of dish. For a different, meatier cut paired with its own herb sauce, Argentine Chimichurri Steak offers a similar contrast between rich, charred meat and a sharp, fresh herb sauce alongside it.
Nutrition Facts
( per serving )
Calories
~720 kcal
Protein
34 g
Fat
58 g
Carbs
6 g
Calories
~720 kcal
Protein
34 g
Fat
58 g
Carbs
6 g
Related Recipes
Related Recipes

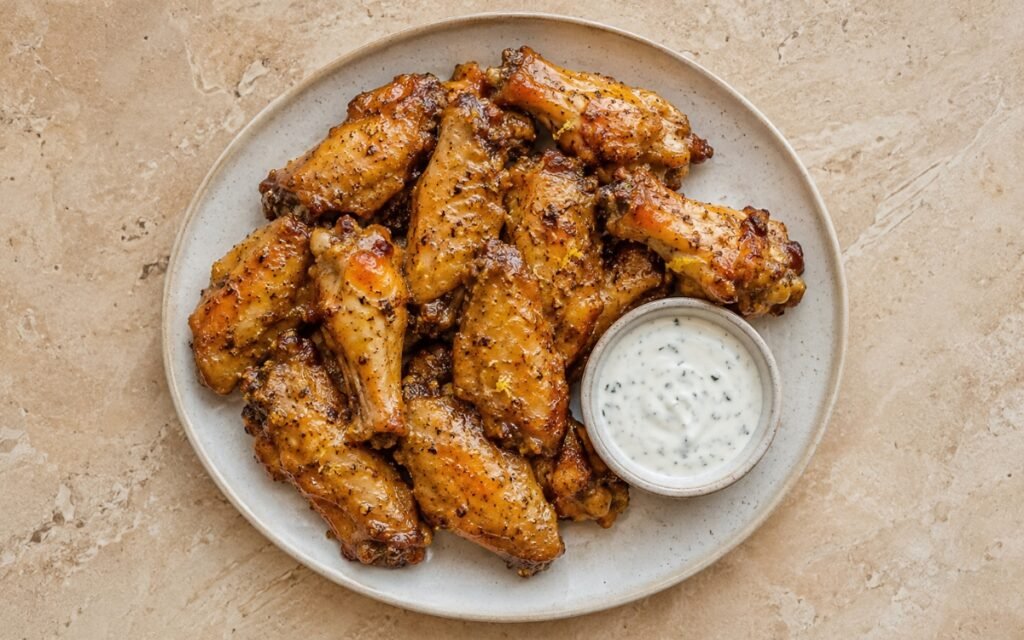
Honey Lemon Pepper Wings
Crispy wings coated in glossy honey-lemon pepper glaze deliver citrus bite, heat, and buttery richness.
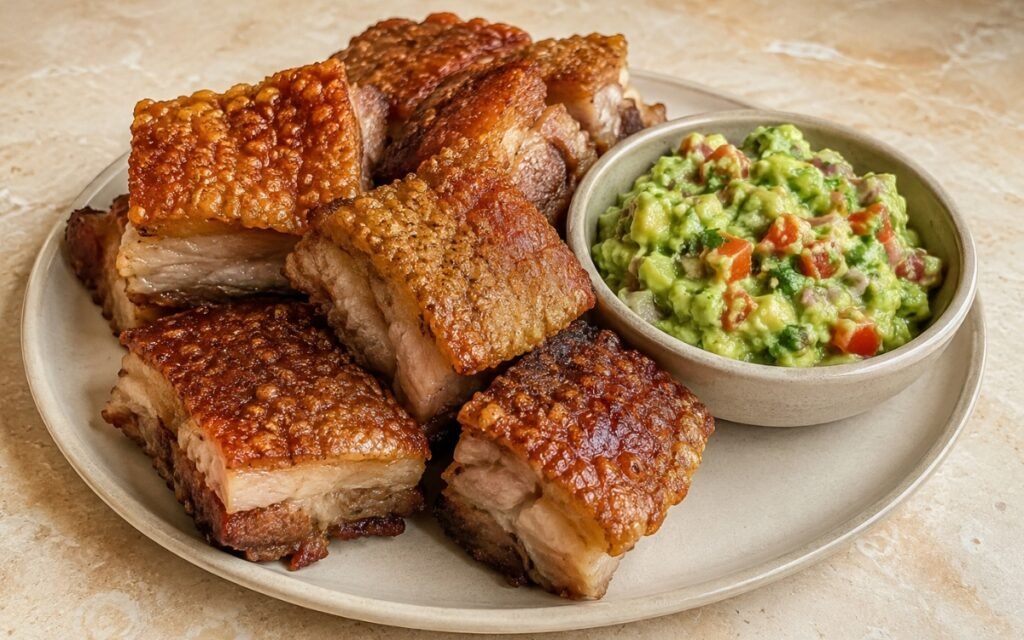
Crispy Pork Belly Chicharrón
Skin-on pork belly simmered, dried, and double-fried until the skin is blistered and crisp over rendered fat and tender meat, served with chunky guacamole.
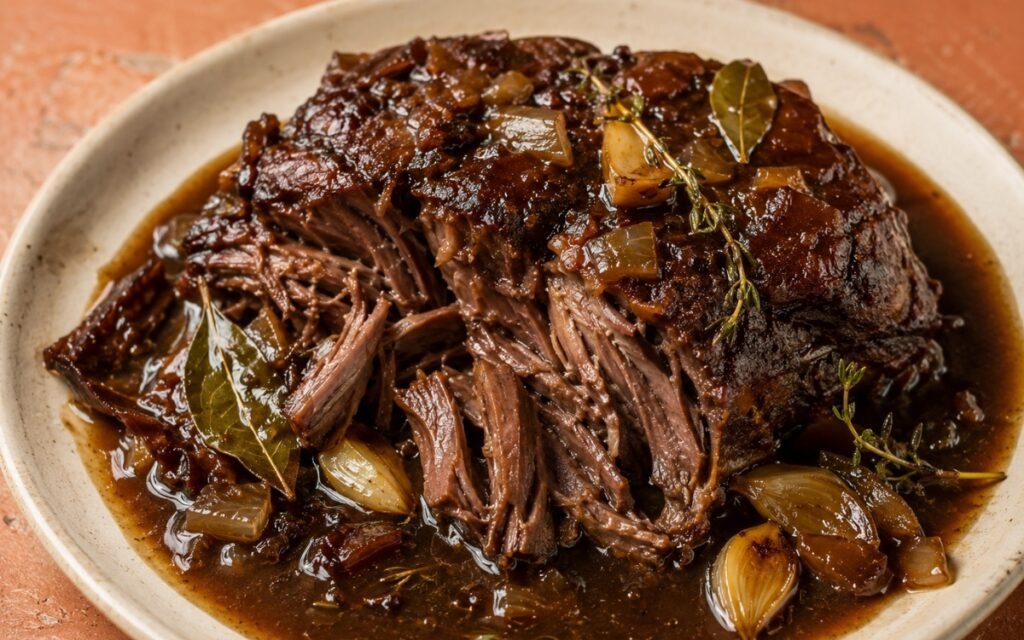
Braised Beef Chuck Steak
Tough chuck steak transforms into fork-tender perfection through slow braising with wine and aromatics.
You might also like
You might also like
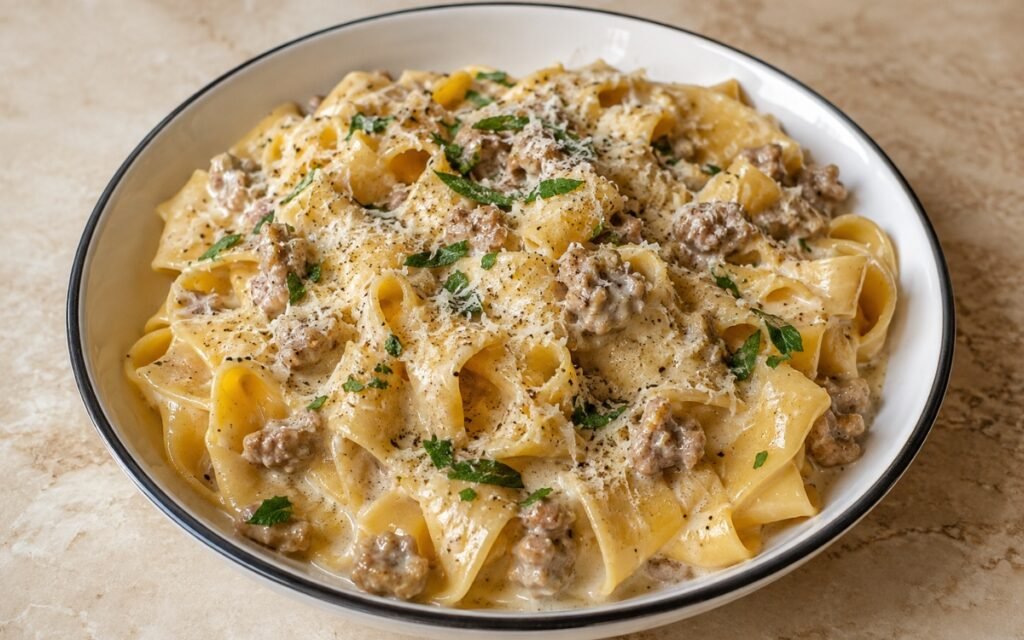
Pappardelle White Sausage Ragù
Wide pappardelle ribbons coated in a pale, glossy sausage ragù emulsified from browned sausage fat, pasta water, and Parmigiano-Reggiano.
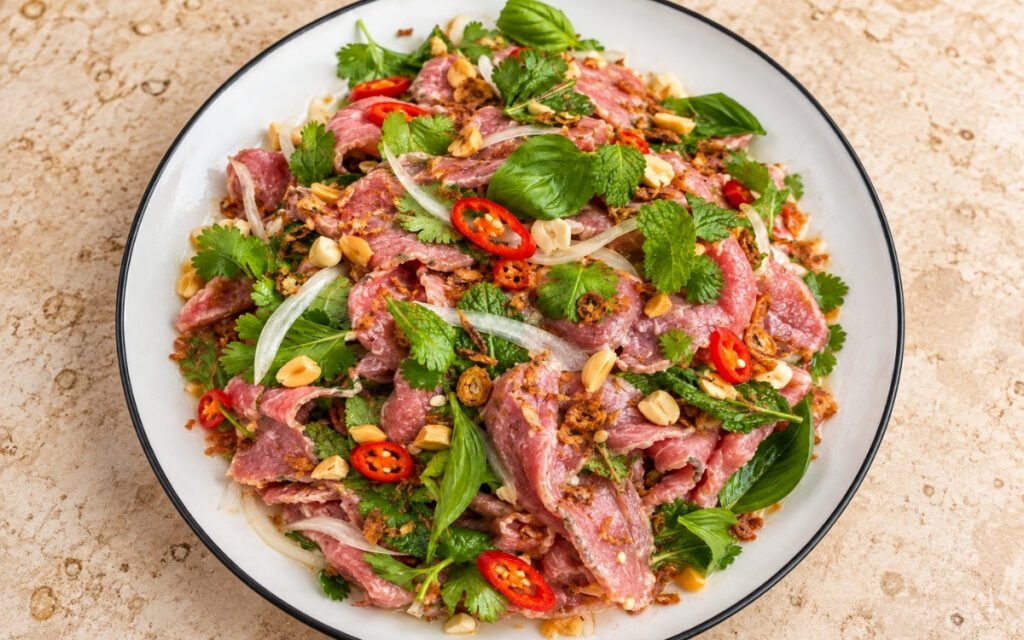
Vietnamese Rare Beef Salad — Bò Tái Chanh
Very thinly sliced tender beef briefly cured in lime juice, tossed with fish sauce dressing, fresh herbs, roasted peanuts and crispy fried shallots.
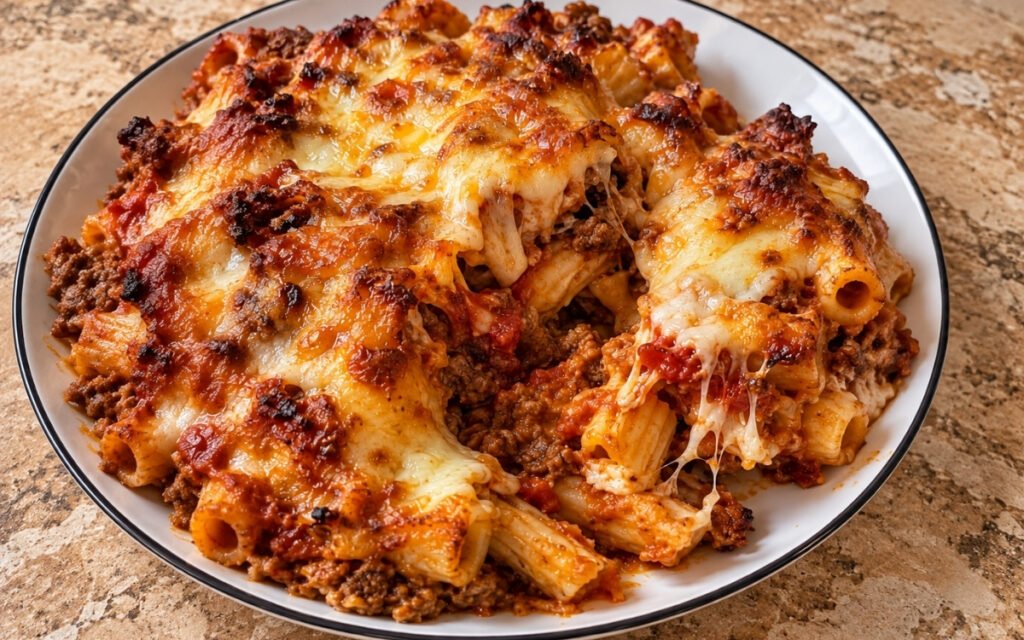
Pasta al Forno
Rigatoni or penne in a rich beef and pork tomato sauce with melted mozzarella and a browned cheesy top, baked until bubbling.
Steam-Roasted Pork Belly with Vietnamese-ish Herb Sauce
Ingredients
Method
- Pat the pork belly very dry. Place it skin-side up. Using a skewer, cake tester, or the tip of a very sharp knife, prick the skin all over without piercing deeply into the meat. The goal is to create many small channels in the skin so the fat can render and the surface can blister into crackling. Turn the pork belly over. Mix 8g of the salt, the sugar, white pepper, garlic powder, and onion powder. Rub this seasoning thoroughly over the meat side and sides only. Do not rub this onto the skin. Turn the pork skin-side up again. Brush the skin with the vinegar, then sprinkle evenly with the remaining 4g salt. Place the pork belly uncovered on a rack set over a tray and refrigerate for 8 hours minimum, ideally overnight. Before cooking, the skin should look dry, slightly tight, and matte. If it still looks damp or tacky, it needs more drying time. Dry skin is one of the main things that gives you proper crackling. Pricking the skin creates small channels that give trapped fat and steam somewhere to escape during roasting, which is what allows the surface to blister into distinct bubbles rather than staying flat and dense.
- Preheat the oven to 160°C. Place the pork belly skin-side up on a rack set inside a roasting tray. Carefully pour the boiling water into the tray underneath the rack so the water does not touch the pork. Cover the tray tightly with foil. Roast for 1 hour 15 minutes to 1 hour 30 minutes. During this stage, the enclosed steam gently softens the meat and renders the fat without drying the belly out. Remove the tray from the oven and carefully uncover it. The pork should now feel noticeably softer, and some fat will have rendered. Remove any water remaining in the tray. After the steam-roast phase, the meat should not be falling apart, but it should be tender enough that a knife slips in with only light resistance. If it still feels firm and tight, continue covered for another 10–15 minutes. Sealing the tray with foil traps the steam rising from the boiling water directly around the pork, creating a genuinely humid cooking environment that tenderises the meat far more gently than dry oven heat alone — the water itself never touches the pork, so this stage is purely about steam, not braising.
- Return the uncovered pork belly to the oven at 180°C for 20 minutes to dry the skin fully after the steam phase. Then increase the temperature to 240°C, or switch to a broiler/grill finish, and cook for 20–30 minutes more until the skin is deeply golden, blistered, and very crisp. Rotate the tray if needed so it browns evenly. Watch closely during the final stage. Some areas may blister faster than others. The skin should be audibly crisp when tapped and visibly puffed or crackled across the surface. If it is browned but still leathery, it has not crisped enough yet and needs more high heat. That intermediate 180°C stage exists specifically to dry off any residual surface moisture the steam phase left behind before the truly aggressive heat begins — skipping straight from steaming to the hottest setting would fight against skin that’s still too damp to properly blister.
- Transfer the pork belly to a board and let it rest for 10–15 minutes. This helps the juices settle and keeps the meat from flooding the board when sliced. Slice into thick pieces, about 2–2.5cm wide, so each piece has a good strip of crackling, fat, and meat. If you slice immediately out of the oven, the juices run and the layers can separate more easily. A short rest helps the belly slice cleanly and stay juicy. This rest lets the pressure built up in the meat’s fibres during roasting even back out across the whole piece, rather than releasing in a rush the moment a knife cuts through.
- While the pork rests, make the sauce. In a bowl, combine the cilantro, mint, scallions, shallot, chili, and garlic. In a separate small bowl or cup, mix the fish sauce, lime juice, sugar, and oil until the sugar dissolves. Pour this over the herbs and mix well. Add a few grinds of black pepper. Let the sauce sit for 5–10 minutes before serving so the herbs lightly soften and the flavors come together. The sauce should be loose and spoonable with visible sheen, not dry like a chopped salad and not thin like plain dressing. It should taste bright, salty, herbal, lightly spicy, and sharp enough to cut through the pork fat. This brief rest lets the fish sauce and lime juice begin softening the raw shallot and chili’s sharpest edges, rounding the sauce’s flavour before it’s finally spooned over the rich pork.
- Fan the sliced pork belly across a board or platter. Spoon some of the herb sauce alongside or over one side of the pork, keeping some extra on the side so the crackling stays crisp for anyone who wants it dry. Serve immediately while the pork is still warm and the crackling is at its crispest. Keeping some sauce off to the side rather than pouring it fully over every piece protects the crackling from softening on contact — anyone who wants extra can spoon it on themselves, right before eating.