
Pan-Fried Pork Buns / Sheng Jian Bao
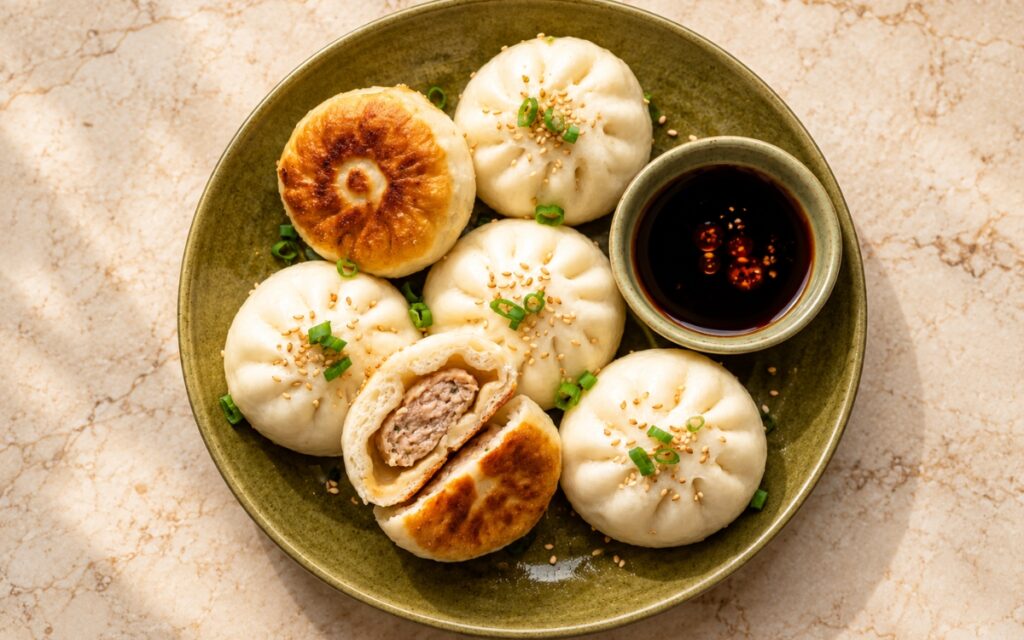
Classic Shanghai-style Sheng Jian Bao are small, softly yeasted pork buns with pale pleated tops and deeply golden, crisp-fried bases, wrapped around a juicy seasoned pork filling and served with a sharp black vinegar and soy dip, the key being a thin tender dough that stays soft above and crisp below. Folding cold, firm pork-skin aspic into the seasoned pork, rather than stirring in plain stock or extra water, is the technique this whole bun dish depends on for its juiciness — a stock that never sets cannot be diced and simply leaks away, so the filling cooks dry, the same gelatin-first principle used elsewhere in this collection whenever a liquid has to travel inside a solid. Steaming the buns in the covered pan with a shallow splash of water is what cooks the filling through while the tops stay soft and pale. Uncovering the pan at the end is what evaporates the last water and builds the crisp base. The payoff is a pan-fried bun with real, contrasting texture — a soft pale top, a thin crackling base, a hot juicy pork centre and the sharp bite of black vinegar.
Prep Time : 1 hr 30 min
Total Time : 4 hr 25 min
Servings : 4
1 hr 30 min
4 hr 25 min
4
Ingredients
For the Soup Aspic
• 500g pork skin and/or pork bones and trimmings
• 1,200ml water
• 2 scallions, cut into large pieces
• 15g fresh ginger, sliced
• 1 tbsp Shaoxing wine
For the Dough
• 400g all-purpose flour
• 5g instant yeast
• 20g sugar
• 4g fine salt
• 220g lukewarm water, about 38°C
• 10g neutral oil
For the Pork Filling
• 500g ground pork, preferably shoulder, 20–30% fat, well chilled
• 180–220g chilled soup aspic, diced small
• 2 scallions, finely chopped
• 15g fresh ginger, very finely minced or grated
• 2 tbsp light soy sauce
• 1 tbsp Shaoxing wine
• 1 tsp dark soy sauce
• 1 tsp sugar
• 1 tsp sesame oil
• ¾ tsp fine salt
• ½ tsp ground white pepper
• 60ml cold water, added gradually only if needed
For Pan-Frying and Finishing
• 2 tbsp neutral oil, plus more as needed
• 180–220ml water per batch, for steaming in the pan
• 2 tbsp toasted sesame seeds
• 2–3 scallions, finely sliced
For the Dipping Sauce
• 4 tbsp Chinese black vinegar
• 2 tbsp light soy sauce
• A few drops of chilli oil, optional
Directions
- Make the Soup Aspic
Put the 500g of pork skin and/or bones in a pot, cover with cold water, bring to a boil and boil for 5 minutes, then drain and rinse everything well. Return it to a clean pot with the 1,200ml of water, 2 scallions, 15g of ginger and 1 tbsp of Shaoxing wine, and simmer gently for 2–2½ hours, until the liquid is noticeably reduced and sticky. Strain into a shallow container, leave it unsalted so the filling carries the seasoning, and chill until fully set and firm. Dice it small only once it is cold. That slow reduction and shallow chilling is what gives a genuinely firm jelly that cuts into neat cubes instead of running into the pork. - Make the Dough
While the aspic chills, mix the 400g of flour, 5g of yeast, 20g of sugar and 4g of fine salt in a large bowl. Add the 220g of lukewarm water and 10g of oil, then knead for 8–10 minutes until the dough is smooth and soft but not sticky. Cover and leave it for 1–1¼ hours, until slightly puffy; it does not need to double. Keep the dough on the drier side, because a wet dough is difficult to pleat and seal. That moderate rise is what keeps the bun thin, genuinely tender and compact instead of bready and airy. - Mix the Filling
Put the 500g of well-chilled ground pork in a chilled bowl with the chopped scallions, ginger, 2 tbsp of light soy sauce, Shaoxing wine, dark soy sauce, sugar, sesame oil, fine salt and white pepper. Stir vigorously in one direction for several minutes until the mixture turns sticky, cohesive and tacky. If it feels loose, add the 60ml of cold water a little at a time, mixing until each addition is absorbed. Fold in the 180–220g of diced aspic last and refrigerate the filling until you are ready to shape. That one-directional mixing is what emulsifies the meat so it genuinely holds the juices released later. - Divide and Roll the Wrappers
Punch the risen dough down lightly, then divide it into 24 equal pieces of about 27g each, keeping the pieces covered with a cloth so the surface does not dry. Roll each piece into a round wrapper about 9cm wide, leaving the centre slightly thicker and the edge thinner. Divide the chilled filling evenly between the wrappers, about 30–33g each, and cover the stack of rolled wrappers as you work. That thicker centre is what supports the melting aspic and helps prevent soup from leaking through the base. - Fill and Pleat
Place a portion of filling in the centre of each wrapper and pleat the edge closed at the top in small, even folds, pinching firmly so the top is completely sealed. Do not overstuff; each finished bun should look plump, compact and dumpling-sized, with a smooth flat bottom. Set the buns on a lightly floured tray, cover loosely and rest them for 15–20 minutes. If any filling has softened while you shape, return the tray to the refrigerator for a few minutes. That tight seal is what keeps the juices inside the bun during cooking. - Pan-Fry the Bases
Heat a heavy nonstick or well-seasoned skillet over medium heat and add a thin layer of oil, using a little of the 2 tbsp for each batch. Arrange the buns with the smooth flat bottoms down and the pleated tops up, leaving a little space between them. Fry for 2–3 minutes, without moving them, until the bottoms begin to take on colour. Work in batches rather than crowding the pan, so every base sits flat against the oil. That initial fry in hot oil is what starts the golden crust before any water goes in. - Steam and Crisp the Bottoms
Carefully add 180–220ml of water, enough to come about 0.8–1cm up the sides of the buns, and cover immediately, because it will splatter. Steam-fry for 8–10 minutes until the water is mostly absorbed and the buns are cooked through, adding a small splash more if it evaporates early. Uncover and cook 2–4 minutes longer until the bottoms are deeply golden and crisp, scattering on the sesame seeds and sliced scallions near the end, and lower the heat if the bases darken too fast. That covered steaming followed by an uncovered finish is what gives a soft pale top over a genuinely crisp base. - Make the Dipping Sauce and Serve
Stir the 4 tbsp of black vinegar and 2 tbsp of light soy sauce together in a small bowl, adding a few drops of chilli oil only if you want heat. Lift the buns out of the pan with a thin spatula as soon as the bases are crisp and arrange them crisp side up on a warm plate, with the dipping sauce beside them. Bite carefully, because the filling and any soup inside are very hot. That immediate serving is what keeps the bottoms crackling and the filling juicy.
*Notes :
- Setting the aspic firm deserves genuine recognition as the technique most directly responsible for whether the buns turn out juicy at all. Pork skin and bones release collagen that only gels when the stock is reduced and fully chilled — a stock that stays liquid cannot be diced into solid cubes, so the filling cooks up dry and plain.
- Mixing the filling in one direction and folding the aspic in last deserves the same attention this technique receives throughout this collection’s other dumpling and meatball fillings. Vigorous stirring builds a sticky, emulsified paste that genuinely traps moisture, whereas gentle, patient folding keeps the aspic cubes whole instead of mashing them into a loose, greasy, watery mixture that cooks dry.
- Wrapper thickness and sealing deserve genuine respect as the details most directly responsible for whether juices stay inside the bun. A slightly thicker centre carries the weight of the melting aspic, while a pinched, fully closed top stops the hot liquid from escaping, which is why leaks come from wrappers that are too thin, a weak seal or a filling that has warmed.
- Judging the pan by sight and sound deserves attention as a genuine, checkable readiness cue rather than a loose timer. Water that is mostly absorbed and a bottom that turns deeply golden show the buns are cooked through, whereas pale bases mean the pan was too cool or the uncovered finish too short, and bases that darken early mean the heat is too high.
Why This Recipe Works
This recipe works because the pork skin and bones are reduced until the stock sets firm, so diced aspic stays solid inside a cold filling and melts into juice only during cooking. The pork is mixed in one direction until tacky, which keeps the filling bouncy and moist. A modestly proofed, soft dough is rolled with a thicker centre, so the wrapper stays thin but holds the filling. Frying, steaming under a lid and then crisping uncovered cooks the buns through while building a crackling base beneath a soft, pale top, which is the genuine contrast the bun is known for.
Ingredient Breakdown
Firm Pork Aspic (Fully Set)
The critical technique — cold cubes stay solid in the filling, then melt into juice while cooking.
Fatty Pork Shoulder (20–30% Fat)
The critical ingredient choice — the fat keeps the filling genuinely tender and moist, where lean pork turns dry.
Moderately Proofed Dough (Not Fully Doubled)
The structural foundation — a soft, slightly puffy dough rolls thin and pleats neatly, never bready or airy.
Thicker-Centre Wrappers (About 9cm)
The structural choice — the sturdier middle supports the melting aspic while the thin edge pleats neatly.
Fry, Steam, Then Crisp
The critical timing technique — a quick fry, covered steam and uncovered finish cook the buns and crisp the base.
Black Vinegar and Soy Dip
The flavour contrast — sharp, malty acidity and salty depth cut through the rich pork so every bite stays balanced.
Toasted Sesame and Sliced Scallions
The finishing touch — they add nutty crunch and fresh green sharpness to the golden bases.
Flavor Structure Explained
This Sheng Jian Bao follows a layered balance model:
- Rich, juicy foundation (fatty pork shoulder, pork aspic, Shaoxing wine)
- Aromatic lift (fresh ginger, scallions, white pepper, sesame oil)
- Seasoned depth (light soy sauce, dark soy sauce, sugar, fine salt)
- Soft, crisp contrast (thin yeasted dough, pan-fried golden base)
- Sharp finishing note (Chinese black vinegar, soy dip, toasted sesame, sliced scallions)
The pork, aspic and Shaoxing wine supply the rich, savoury base, while ginger, scallions, white pepper and sesame oil add a clean aromatic lift. Soy, sugar and salt round the seasoning so the filling tastes deep rather than flat. The soft yeasted top and crisp golden base give the genuine textural contrast, and the black vinegar dip with sesame and scallions adds the sharp, nutty finish that ties the bun together.
Common Mistakes to Avoid
- Skipping the Full Chill on the Aspic – This leaves a soft stock that cannot be diced, so the buns cook up with a dry, plain filling. Always chill it until completely firm.
- Using Lean Pork for the Filling – This makes the filling dry, dense and tough once the aspic melts out of it. Always use pork shoulder with about 20–30% fat.
- Overstuffing or Leaving the Pleats Open – This stretches the thin dough or leaves a gap, so the hot juices leak into the pan. Always portion evenly and pinch the top tightly closed.
- Frying on Heat That Is Too High – This darkens the bases before the filling is cooked through, leaving bitter bottoms and raw centres. Always lower the heat if the bases colour too fast.
- Skipping the Uncovered Crisping Time – This leaves the bases pale and soft because the last water never evaporates. Always uncover the pan for the final 2–4 minutes until deeply golden.
Variations
Shrimp and Pork Version
Replace about 100g of the ground pork with finely chopped raw shrimp for a sweeter, more delicate filling, keeping the aspic, seasoning and cooking method unchanged.
Chilli Oil Dip Version
Add a few drops of chilli oil to the black vinegar and soy sauce for a warmer, spicier dip that still keeps the buns’ pork flavour in front.
Frozen Batch Version
Freeze the shaped buns on a tray until solid, bag them, and pan-fry straight from frozen with a little extra water and a few more minutes of covered steaming.
Mini Bun Version
Roll smaller wrappers around less filling for bite-sized buns that cook through in a shorter covered steaming time and suit parties and sharing.
Storage & Make-Ahead
Simmer and set the pork aspic up to 2 days ahead and keep it covered in the refrigerator, where it stays genuinely firm and cuts cleanly into small cubes for the filling on the day you shape the buns.
Mix the pork filling, with the aspic folded in last, and hold it well chilled and covered for a few hours before shaping, so the fat and aspic stay firm and the wrappers close easily.
Keep shaped buns on a floured tray, loosely covered, for no more than the 15–20 minute rest before frying, since longer standing softens the filling and can leave the wrappers sticky and slack.
Freeze the shaped buns on a lined tray until solid, then store them in a sealed bag for up to 1 month and fry them straight from frozen with a few extra minutes of steaming.
Serve the buns immediately while the bases are crisp, and re-crisp refrigerated leftovers within 2 days in a lightly oiled pan with a splash of water, covered, then uncovered for a few minutes.
Frequently Asked Questions
Why must the aspic set completely firm before it goes into the filling?
Only a firm, gelatin-rich aspic can be diced into solid cubes that stay intact in the cold pork, then melt into juice as the buns cook. A stock that stays liquid leaves the filling dry.
Why does the dough only need a moderate rise rather than doubling?
A slightly puffy dough stays soft and pliable, so it rolls into thin wrappers that pleat and seal easily. A very airy dough turns bready and bulky, and thin wrappers tear.
Why are the buns fried, then steamed under a lid, then uncovered?
The short fry colours the bases, the covered steam cooks the filling through while keeping the tops soft, and the uncovered finish evaporates the last water so the bottoms turn crisp.
Why do the buns go into the pan with the pleated tops facing up?
The smooth flat bottom makes full contact with the hot oil for a genuinely even golden crust, while the pleated top stays out of the oil and remains soft, pale and tender.
Are there other classic Chinese, dumpling, or bao dishes worth trying?
Pork Soup Dumplings / Xiao Long Bao offers another classic Shanghai pork direction worth exploring. Japanese Pork Gyoza — Pan-Fried Dumplings and Baked Char Siu Bao are also worth trying for other pork dumpling and bun directions, and Bao Buns — Braised Pork Belly (Gua Bao) and Chinese Scallion Pancakes offer other savoury dishes worth exploring.
Nutrition Facts
( Per Serving — 6 buns )
Calories
~810 kcal
Protein
37 g
Fat
37 g
Carbs
85 g
Calories
~810 kcal
Protein
37 g
Fat
37 g
Carbs
85 g
Related Recipes
Related Recipes
-

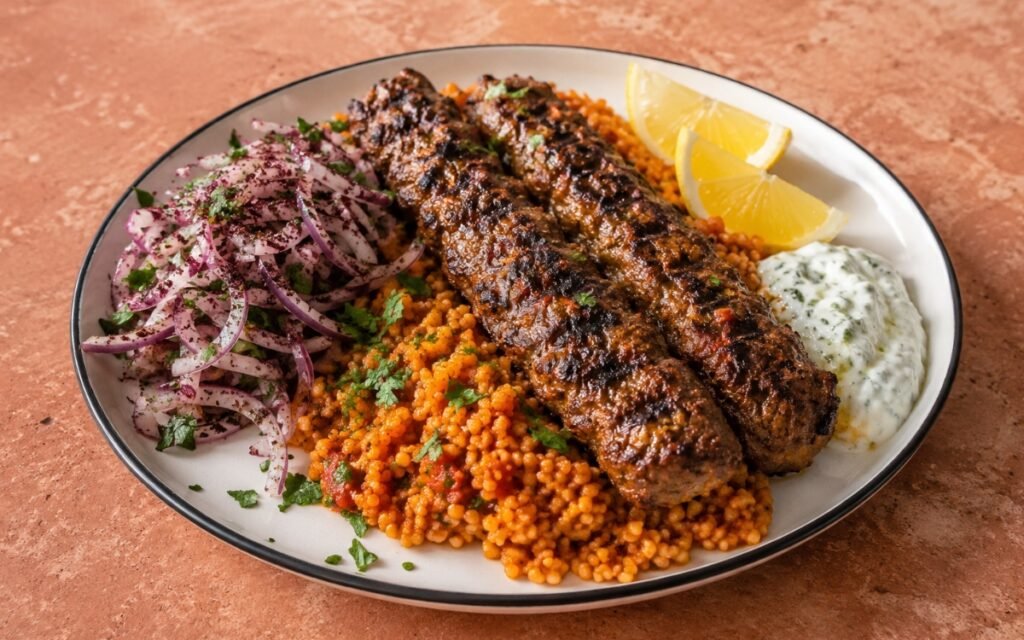
Turkish Adana Kebab with Tomato Couscous
Charred ground lamb Adana kebabs with pul biber on flat skewers, served over spiced tomato couscous with sumac onions.
-
Neapolitan-Style Margherita Pizza
Puffy, leopard-spotted Neapolitan crust with bright uncooked tomato sauce, melted fresh mozzarella, and basil, made from half a batch of pizza dough.
-
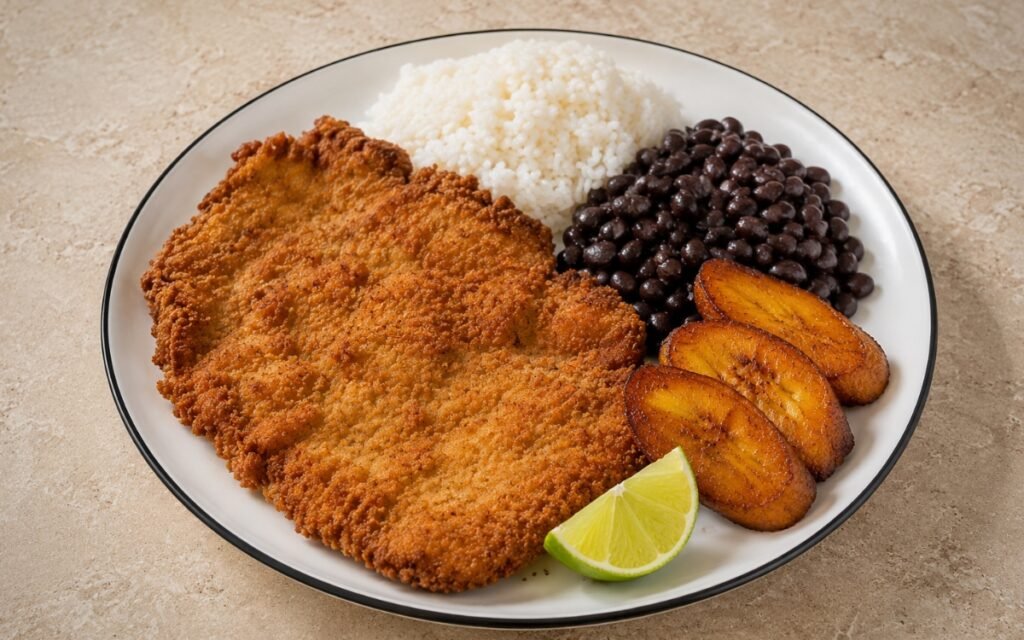
Cuban Bistec Empanizado
Thin, breaded, and fried beef cutlets marinated with garlic and citrus, served with fluffy white rice, black beans, and sweet fried plantains.

You might also like
You might also like
-
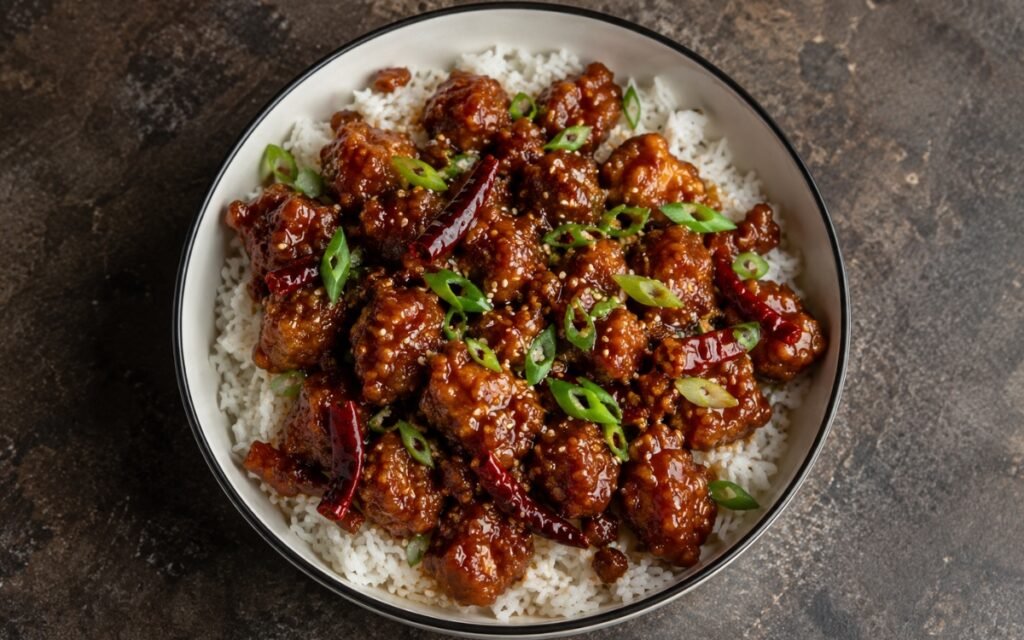
General Tso’s Chicken Rice Bowl
Golden fried chicken coated in sticky sweet-spicy General Tso’s sauce, served over jasmine rice with scallions and sesame.
-
Taiwanese Three Cup Chicken (San Bei Ji)
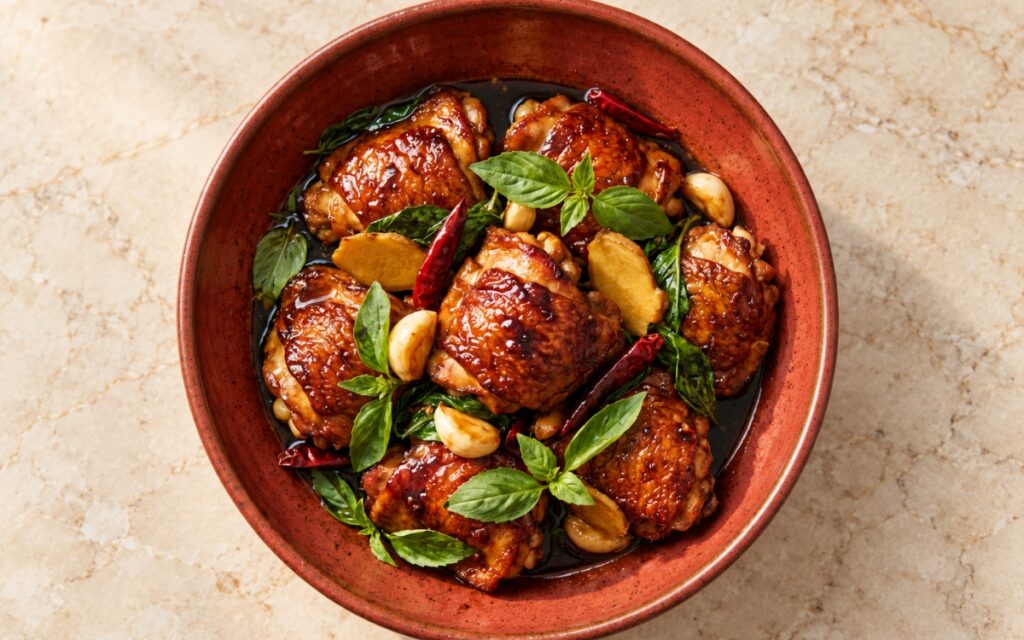
Glossy soy-braised chicken thighs with whole garlic cloves, thick ginger, dried red chilies, and fresh Thai basil in a dark, syrupy sauce.
-
Classic Breakfast Biscuit Sandwich
A tender buttermilk biscuit filled with a browned breakfast sausage patty, soft folded scrambled egg, and melted American cheese.


Pan-Fried Pork Buns / Sheng Jian Bao
Ingredients
Method
- Put the 500g of pork skin and/or bones in a pot, cover with cold water, bring to a boil and boil for 5 minutes, then drain and rinse everything well. Return it to a clean pot with the 1,200ml of water, 2 scallions, 15g of ginger and 1 tbsp of Shaoxing wine, and simmer gently for 2–2½ hours, until the liquid is noticeably reduced and sticky. Strain into a shallow container, leave it unsalted so the filling carries the seasoning, and chill until fully set and firm. Dice it small only once it is cold. That slow reduction and shallow chilling is what gives a genuinely firm jelly that cuts into neat cubes instead of running into the pork.
- While the aspic chills, mix the 400g of flour, 5g of yeast, 20g of sugar and 4g of fine salt in a large bowl. Add the 220g of lukewarm water and 10g of oil, then knead for 8–10 minutes until the dough is smooth and soft but not sticky. Cover and leave it for 1–1¼ hours, until slightly puffy; it does not need to double. Keep the dough on the drier side, because a wet dough is difficult to pleat and seal. That moderate rise is what keeps the bun thin, genuinely tender and compact instead of bready and airy.
- Put the 500g of well-chilled ground pork in a chilled bowl with the chopped scallions, ginger, 2 tbsp of light soy sauce, Shaoxing wine, dark soy sauce, sugar, sesame oil, fine salt and white pepper. Stir vigorously in one direction for several minutes until the mixture turns sticky, cohesive and tacky. If it feels loose, add the 60ml of cold water a little at a time, mixing until each addition is absorbed. Fold in the 180–220g of diced aspic last and refrigerate the filling until you are ready to shape. That one-directional mixing is what emulsifies the meat so it genuinely holds the juices released later.
- Punch the risen dough down lightly, then divide it into 24 equal pieces of about 27g each, keeping the pieces covered with a cloth so the surface does not dry. Roll each piece into a round wrapper about 9cm wide, leaving the centre slightly thicker and the edge thinner. Divide the chilled filling evenly between the wrappers, about 30–33g each, and cover the stack of rolled wrappers as you work. That thicker centre is what supports the melting aspic and helps prevent soup from leaking through the base.
- Place a portion of filling in the centre of each wrapper and pleat the edge closed at the top in small, even folds, pinching firmly so the top is completely sealed. Do not overstuff; each finished bun should look plump, compact and dumpling-sized, with a smooth flat bottom. Set the buns on a lightly floured tray, cover loosely and rest them for 15–20 minutes. If any filling has softened while you shape, return the tray to the refrigerator for a few minutes. That tight seal is what keeps the juices inside the bun during cooking.
- Heat a heavy nonstick or well-seasoned skillet over medium heat and add a thin layer of oil, using a little of the 2 tbsp for each batch. Arrange the buns with the smooth flat bottoms down and the pleated tops up, leaving a little space between them. Fry for 2–3 minutes, without moving them, until the bottoms begin to take on colour. Work in batches rather than crowding the pan, so every base sits flat against the oil. That initial fry in hot oil is what starts the golden crust before any water goes in.
- Carefully add 180–220ml of water, enough to come about 0.8–1cm up the sides of the buns, and cover immediately, because it will splatter. Steam-fry for 8–10 minutes until the water is mostly absorbed and the buns are cooked through, adding a small splash more if it evaporates early. Uncover and cook 2–4 minutes longer until the bottoms are deeply golden and crisp, scattering on the sesame seeds and sliced scallions near the end, and lower the heat if the bases darken too fast. That covered steaming followed by an uncovered finish is what gives a soft pale top over a genuinely crisp base.
- Stir the 4 tbsp of black vinegar and 2 tbsp of light soy sauce together in a small bowl, adding a few drops of chilli oil only if you want heat. Lift the buns out of the pan with a thin spatula as soon as the bases are crisp and arrange them crisp side up on a warm plate, with the dipping sauce beside them. Bite carefully, because the filling and any soup inside are very hot. That immediate serving is what keeps the bottoms crackling and the filling juicy.