
Baked Char Siu Bao
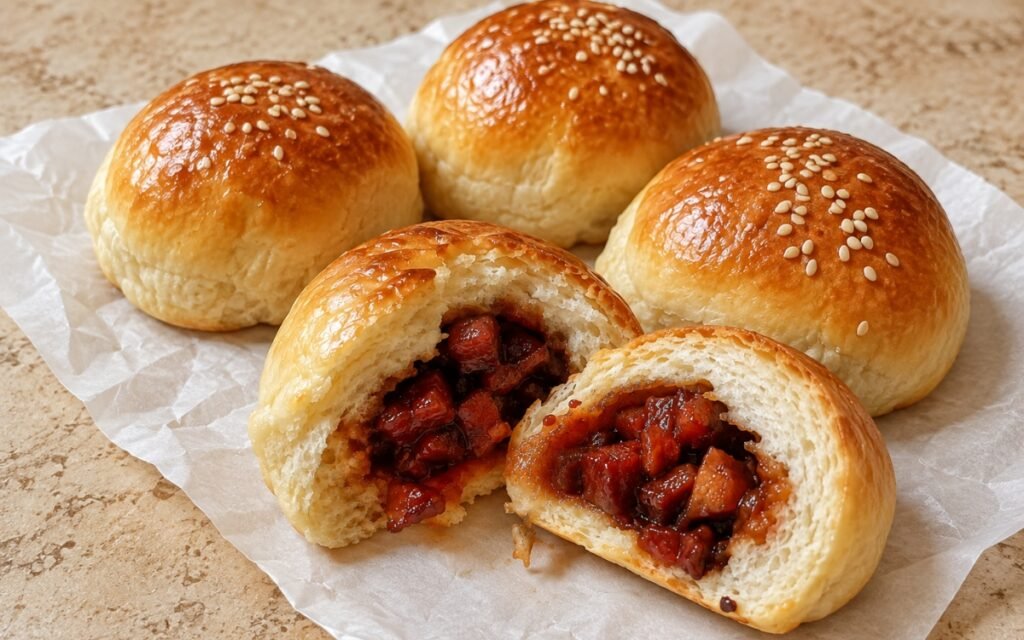
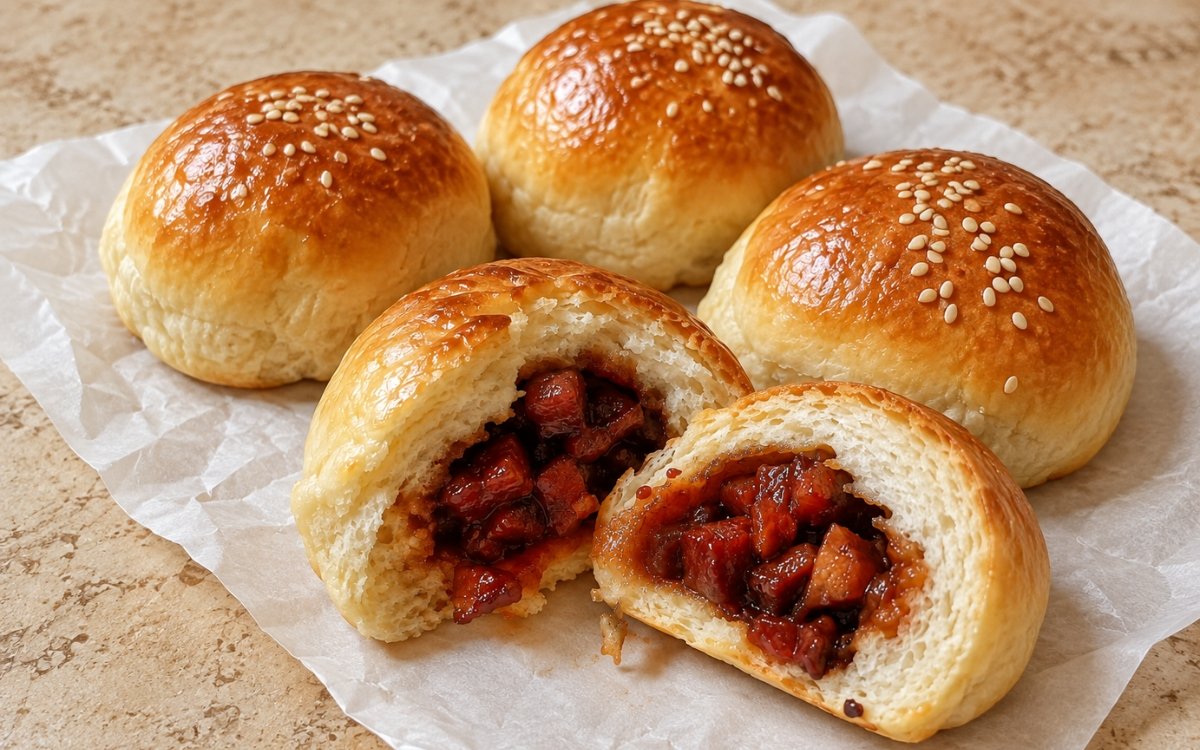
Soft, fluffy baked Chinese BBQ pork buns with a glossy egg-washed top and a sweet-savory char siu filling. The key is a soft enriched dough, a thick cooled filling, and a full final proof so the buns bake up light rather than dense. Cooling the char siu filling fully, until genuinely cold, before it ever meets the dough is the technique this whole bun depends on for a clean seal and a proper bake — warm filling softens the dough and makes it considerably harder to seal, risking leaks during proofing or baking, the same cold-filling-for-clean-sealing principle used elsewhere in this collection whenever a warm, cooked filling needs to meet soft, enriched dough without compromising it. Thickening the filling into a genuinely glossy, spoonable sauce, rather than something loose, is what keeps it from leaking out during shaping and baking. Giving the dough a full first rise and a proper final proof is what produces the soft, fluffy texture char siu bao depends on rather than a dense, tight crumb. The payoff is a bun with real, classic contrast — a soft, glossy, egg-washed top over fluffy, light dough wrapped around a thick, sticky, sweet-savory pork filling.
Prep Time : 35 min
Bake Time : 15–18 min
Servings : 4
35 min
15–18 min
4
Ingredients
For the Char Siu Filling
• 450g cooked char siu pork, cut into small 0.5–1cm dice
• 15g neutral oil
• 80g onion, very finely diced
• 18g all-purpose flour
• 180g chicken stock or water
• 35g oyster sauce — this one on Amazon
• 25g hoisin sauce — this one on Amazon
• 15g light soy sauce
• 8g dark soy sauce — this one on Amazon
• 30g sugar
• 10g sesame oil — this one on Amazon
• 1g white pepper
For the Dough
• 500g all-purpose flour or bread flour — this one on Amazon
• 7g instant yeast
• 70g sugar
• 6g fine sea salt
• 240g warm milk, about 30–35°C — this one on Amazon
• 1 large egg
For Shaping and Finishing
• Extra flour as needed for light dusting
• 1 egg, beaten, for egg wash
• 1–2 tbsp white sesame seeds, optional but recommended
This post may contain affiliate links. As an Amazon Associate I earn from qualifying purchases, at no additional cost to you.
Directions
- Make the Filling
Heat the oil in a pan over medium heat. Add the onion and cook for 2–3 minutes until softened but not browned. Add the flour and stir for about 30 seconds so it absorbs the fat and coats the onion evenly. Add the stock, oyster sauce, hoisin, light soy, dark soy, sugar, sesame oil, and white pepper. Stir well and cook until the mixture thickens into a glossy sauce. Add the diced char siu and fold to coat evenly. Cook for another 1–2 minutes until the filling is thick, sticky, and spoonable rather than loose. Transfer to a bowl and cool completely, then chill until cold. The filling must be fully cold and thick before shaping. Warm filling makes the dough hard to seal and can leak during proofing or baking. Cooking the flour into the fat before any liquid is added coats the starch and removes its raw taste, which is directly what allows the sauce to thicken smoothly once the stock joins rather than turning lumpy or thin. - Make the Dough
In a large bowl or the bowl of a stand mixer, combine the flour, yeast, sugar, and salt. Add the warm milk and egg. Mix until a shaggy dough forms. Knead for 5–6 minutes until the dough begins to smooth out, then add the softened butter in pieces. Continue kneading for another 8–10 minutes until the dough is smooth, elastic, and soft. It should be slightly tacky but not wet. If kneading by hand, expect the dough to feel messy when the butter goes in, then come back together as you continue working it. Adding the butter gradually, in pieces, rather than all at once, lets the gluten network absorb each addition before the next arrives — dumping it in together would coat too much of the flour in fat at once, actively working against the structure this enriched dough still needs to develop. - First Rise
Shape the dough into a ball and place it in a lightly greased bowl. Cover and let rise for 1–1½ hours, or until doubled in size. A full first rise matters here. Under-risen dough gives compact buns with a tight crumb instead of the soft fluffy texture char siu bao should have. That full rise gives the yeast genuine time to build the lightness responsible for the bun’s eventual soft, fluffy structure — cutting it short would leave the dough without enough developed lift to bake up properly light. - Divide and Shape
Turn the dough out onto a lightly floured surface and divide into 12 equal pieces, about 73–75g each. Shape each piece into a ball and let them rest, covered, for 10 minutes so they relax and roll out more easily. Flatten each piece into a round about 10–11cm wide, keeping the center slightly thicker than the edges. Place about 35–40g of the cold char siu filling in the center. Bring the edges up around the filling and pinch firmly to seal. Make sure the seam is completely closed. Place each bun seam-side down on a parchment-lined tray, leaving space between them. Do not overfill. Too much filling makes the buns burst or flatten. Keeping the round’s center slightly thicker than its edges gives the base of each bun enough dough to actually support the filling’s own weight, while the thinner edges gather and seal more easily around it. - Final Proof
Cover the shaped buns lightly and let proof for 45–60 minutes, until puffy and noticeably lighter. They should not be doubled like dinner rolls, but they should look expanded and soft. If baked too early, they will split and stay dense. That specific, checkable target — puffy and lighter, but not fully doubled — reflects real understanding of what this particular dough needs: enough proofing to bake up soft and light, without needing the same full doubling a plainer dinner roll would require. - Egg Wash and Bake
Preheat the oven to 180°C. Brush the tops gently with beaten egg and sprinkle lightly with sesame seeds if using. Bake for 15–18 minutes, until the buns are glossy, deeply golden, and fully baked through. The tops should take on a rich egg-washed color while the sides stay pale and soft. Brushing gently, rather than firmly, protects the fragile, fully proofed dough from being pressed down and losing some of the trapped gas responsible for its own eventual softness. - Cool Slightly and Serve
Let the buns cool on the tray for 5 minutes, then transfer to a rack. Serve warm or just slightly cooled. The filling should be thick and glossy inside, not runny, and the dough should be soft, fluffy, and light. That brief cooling period lets the filling’s own residual heat settle slightly, making the buns easier to handle and eat without the sticky sauce spilling out the moment they’re bitten into.
*Notes :
- Cooling the char siu filling fully before it ever meets the dough deserves genuine recognition as the technique responsible for whether these buns actually seal and bake properly. Warm filling in direct contact with the soft, enriched dough would soften it considerably faster than intended, working directly against the dough’s own ability to hold a clean, secure seal — that risk carries all the way through proofing and baking, where a compromised seal can open and leak.
- Thickening the filling into a genuinely glossy, spoonable sauce, rather than something loose or watery, deserves the same attention this technique receives throughout this collection’s other filled dough dishes. That specific, checkable texture is what keeps the filling contained once wrapped, rather than leaking out through any small gap during the proofing and baking still ahead.
- Adding the butter to the dough gradually, in pieces, deserves genuine respect as the technique responsible for building real structure into an otherwise rich, enriched dough. The gluten network needs to absorb each addition of fat before it can properly accept more, and adding it all at once would overwhelm that structure before it’s had the chance to develop.
- The recipe’s own specific final-proof target — puffy and lighter, but not fully doubled — deserves attention as a genuine, checkable readiness cue distinct from a plainer bread dough’s needs. Baking these buns before they reach that point risks them splitting and staying dense, since they wouldn’t yet carry enough built-up lightness to expand cleanly under the oven’s heat.
Why This Recipe Works
This recipe works because the filling is cooked until genuinely thick and glossy, then cooled completely before it ever meets the dough, protecting the dough’s own ability to seal cleanly. The butter is added to the dough gradually, letting the gluten network properly develop even as the dough becomes progressively richer.
A full first rise and a properly judged final proof — puffy and lighter without needing to fully double — give the buns real, built-in softness and lightness. A gentle egg wash protects that fragile, proofed dough, and a brief cooling period after baking makes the finished buns easier to handle without spilling their sticky filling.
Ingredient Breakdown
Thick, Glossy, Fully Cooled Char Siu Filling
The critical technique — a genuinely thick, spoonable texture and full cooling protect the dough’s ability to seal cleanly.
Gradually Incorporated Butter
The critical technique — added in pieces so the gluten network absorbs each addition, protecting structure in a rich, enriched dough.
Full First Rise
The critical technique — gives the yeast genuine time to build the lightness responsible for the bun’s soft, fluffy structure.
Judged Final Proof (Puffy, Not Fully Doubled)
The critical technique — a specific readiness target distinct from a plainer dough’s needs, protecting against splitting or density.
Gentle Egg Wash
The finishing technique — applied lightly to protect the fragile, fully proofed dough from losing trapped gas.
Flavor Structure Explained
This baked char siu bao follows a layered balance model:
- Glossy, deeply golden top (gentle egg wash, careful baking)
- Soft, fluffy dough (full first rise, judged final proof)
- Sweet-savory sticky centre (thick, glossy char siu filling)
- Warm background depth (oyster sauce, hoisin, soy, sesame oil)
The gentle egg wash and careful baking build this bun’s glossy, deeply golden top. A full first rise and properly judged final proof give the enriched dough its soft, genuinely fluffy structure. A thick, glossy char siu filling defines the bun’s sweet-savory, sticky centre. Oyster sauce, hoisin, soy sauce, and sesame oil layer in warm, classic background depth throughout the filling, tying every component together into one distinctly satisfying baked bun.
Common Mistakes to Avoid
- Shaping the Buns With Warm Filling – This softens the dough and risks leaks during proofing or baking. Always cool the filling completely first.
- Leaving the Filling Too Loose – This makes it prone to leaking out during shaping and baking. Always cook it until thick, glossy, and spoonable.
- Adding All the Butter to the Dough at Once – This overwhelms the gluten network before it’s properly developed. Always add it gradually, in pieces.
- Baking Before the Final Proof Is Complete – This causes the buns to split and stay dense. Always wait until they look puffy and noticeably lighter.
- Brushing the Egg Wash Too Firmly – This can deflate the fragile, fully proofed dough. Always brush gently and evenly.
Variations
Extra-Shiny Version
Brush the hot buns very lightly with a thin glaze made from 1 tbsp warm water and 1 tsp sugar right after baking, per the recipe’s own suggestion, for extra shine.
Steamed Version
Steam the shaped buns instead of baking for a softer, more traditional dim sum-style texture.
Extra-Savory Version
Increase the dark soy sauce slightly for a deeper colour and more pronounced savoury flavour in the filling.
Mini Version
Divide the dough into 16 to 18 smaller pieces for bite-sized buns suited to a party spread.
Storage & Make-Ahead
Cold filling is non-negotiable. It keeps the buns easy to seal and helps them hold shape.
Use small char siu cubes, not shredded pork. That gives the classic chunky filling.
These reheat well for a few minutes in a low oven or briefly in the microwave.
Frequently Asked Questions
Why does the char siu filling need to be fully cold before the buns are shaped?
Warm filling in direct contact with the soft, enriched dough softens it considerably faster than intended, working against the dough’s own ability to hold a clean, secure seal. That risk carries through proofing and baking, where a weak seal can open and leak.
Why does the filling need to be so thick and glossy rather than looser?
That specific, spoonable texture is what keeps the filling contained once wrapped inside the dough, rather than leaking out through any small gap during proofing and baking.
Why is the butter added to the dough gradually instead of all at once?
The dough’s gluten network needs to absorb each addition of fat before it can properly accept more. Adding it all together would overwhelm that structure before it’s had the chance to develop properly.
Why does the final proof have such a specific target — puffy but not fully doubled?
Baking the buns before reaching that point risks them splitting and staying dense, since they wouldn’t yet carry enough built-up lightness to expand cleanly under the oven’s heat. This target reflects what this specific enriched dough actually needs.
Are there other soft bun, Asian-inspired, or savory filled bread dishes worth trying?
Baked Beef Piroshki offers a related, savoury filled dough worth exploring in a different style. Japanese Milk Bread / Shokupan is also worth trying for another soft, enriched dough project, and Sweet and Sour Chicken and Chicken Chow Mein are worth exploring for other classic Chinese-inspired dishes.
Nutrition Facts
( Per Serving — 3 buns )
Calories
~620 kcal
Protein
26 g
Fat
20 g
Carbs
82 g
Calories
~620 kcal
Protein
26 g
Fat
20 g
Carbs
82 g
Related Recipes
Related Recipes

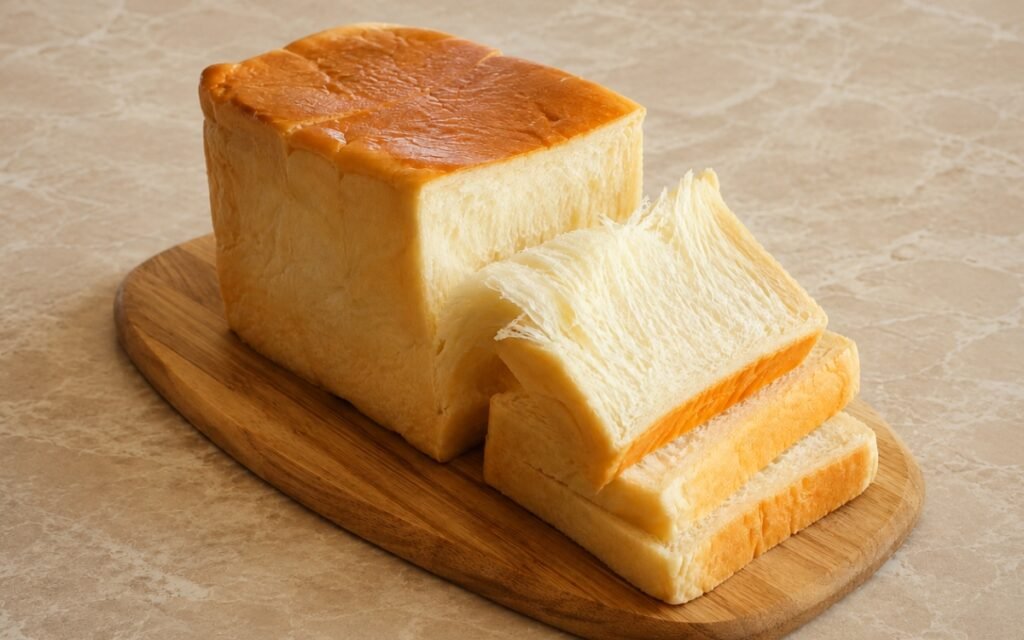
Japanese Milk Bread / Three-Part Shokupan
A tall, ultra-soft shokupan loaf shaped from three even portions that rise into a classic three-domed pull-apart top.
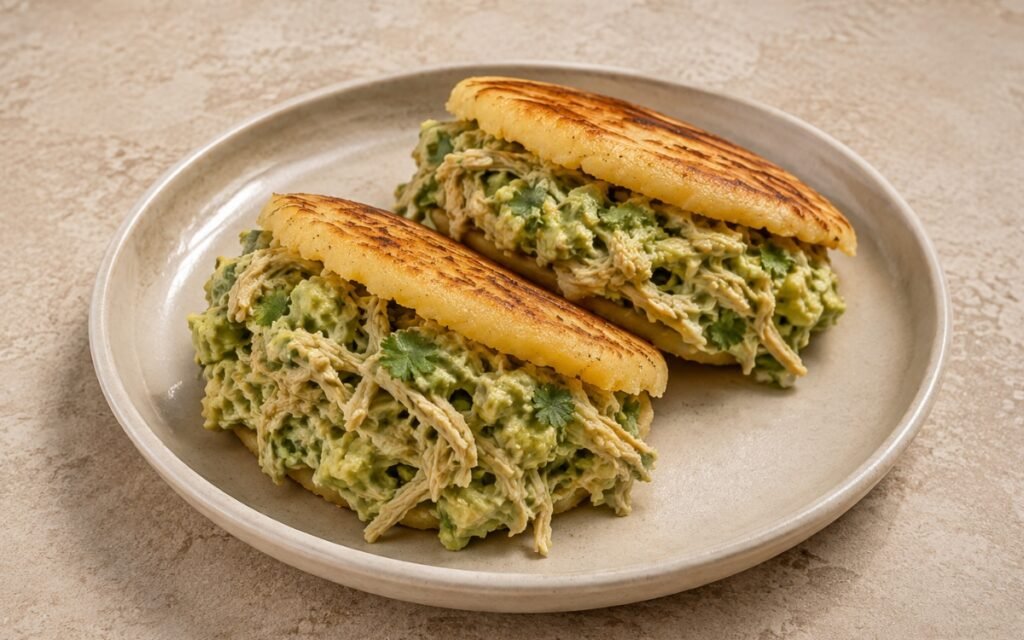
Arepas Reina Pepiada
Crisp, golden masarepa arepas split open and generously stuffed with a creamy shredded chicken and avocado filling.
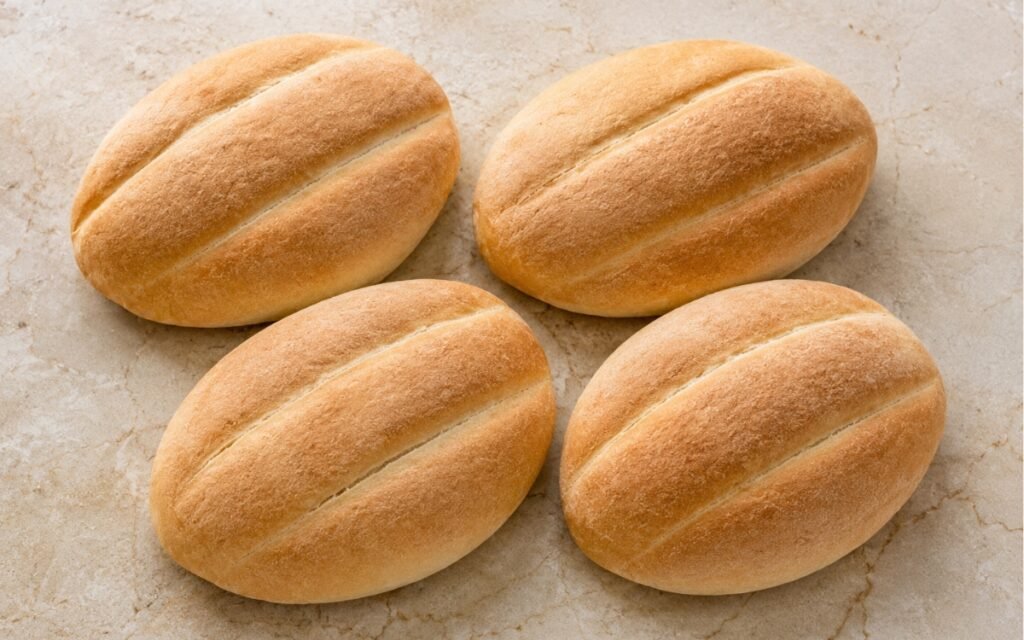
Telera Rolls
Soft, structured Mexican torta rolls with deep signature grooves, baked with steam for a thin, lightly crisp crust.
You might also like
You might also like
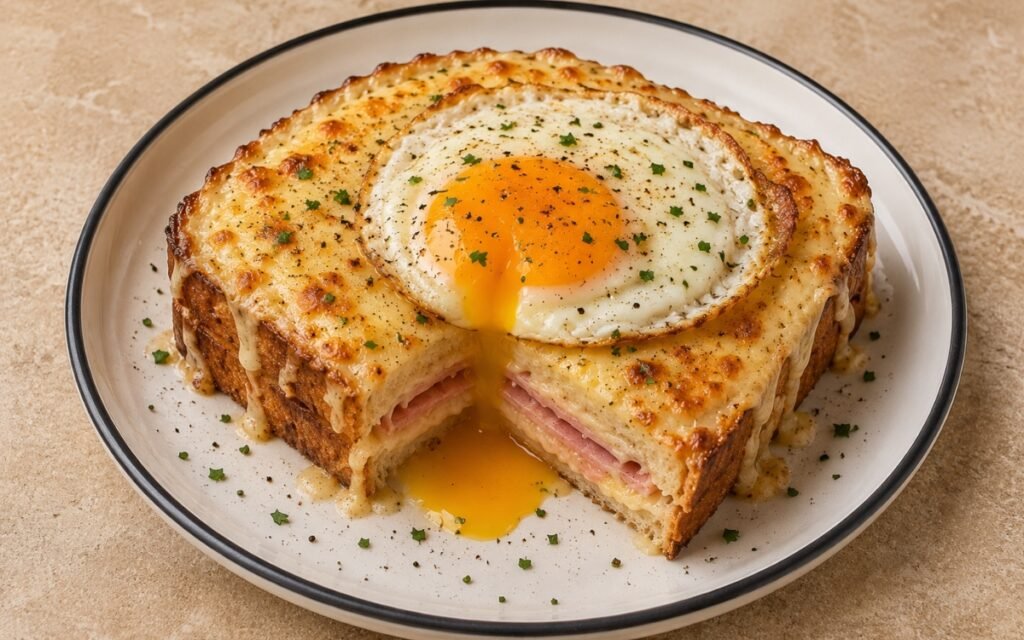
Croque Madame
Toasted bread with ham, Gruyère, and thick béchamel, baked until bubbling and topped with a gently fried egg.
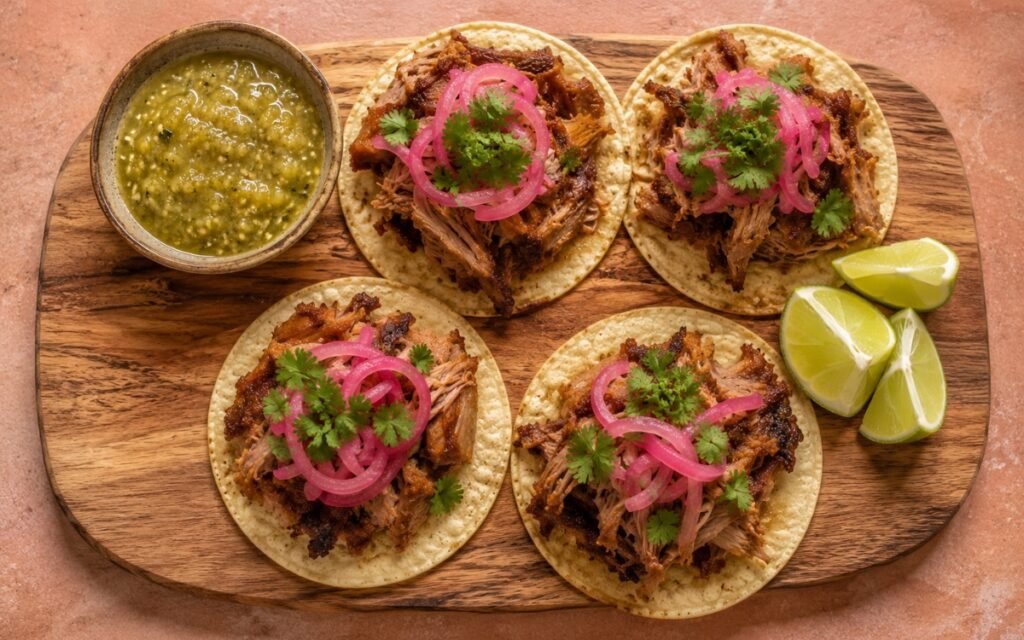
Carnitas Tacos with Pickled Red Onion
Pork shoulder braised in citrus and lard until tender, then crisped hot and fast for caramelised edges. Topped with pickled red onion and cilantro.
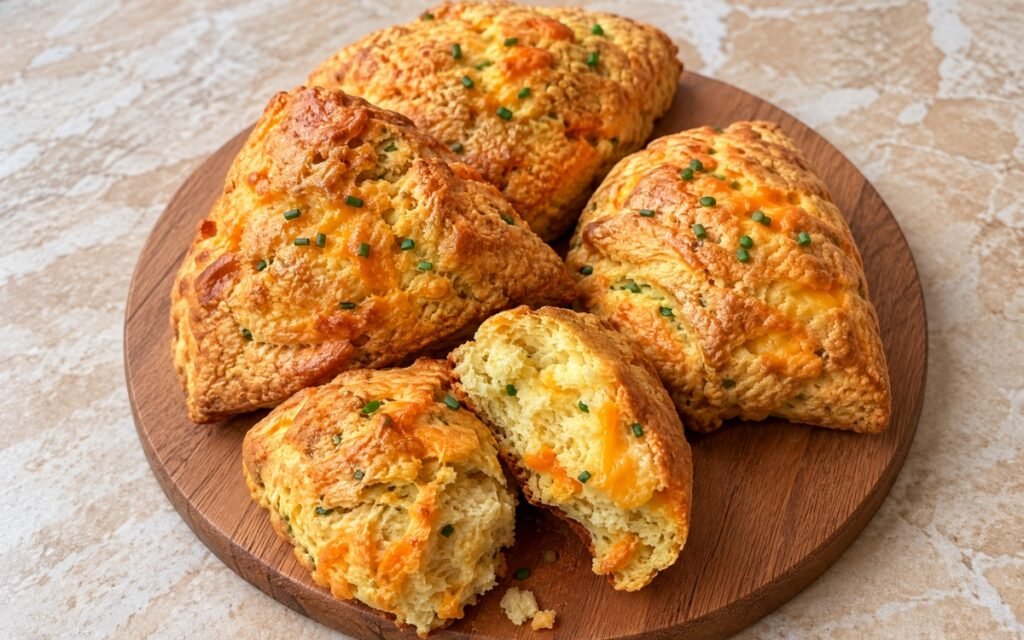
Cheddar Chive Scones
Savory cheddar chive scones with golden craggy tops, buttery flaky interiors, sharp cheddar pockets, and fresh chive flecks throughout.
Baked Char Siu Bao
Ingredients
Method
- Heat the oil in a pan over medium heat. Add the onion and cook for 2–3 minutes until softened but not browned. Add the flour and stir for about 30 seconds so it absorbs the fat and coats the onion evenly. Add the stock, oyster sauce, hoisin, light soy, dark soy, sugar, sesame oil, and white pepper. Stir well and cook until the mixture thickens into a glossy sauce. Add the diced char siu and fold to coat evenly. Cook for another 1–2 minutes until the filling is thick, sticky, and spoonable rather than loose. Transfer to a bowl and cool completely, then chill until cold. The filling must be fully cold and thick before shaping. Warm filling makes the dough hard to seal and can leak during proofing or baking. Cooking the flour into the fat before any liquid is added coats the starch and removes its raw taste, which is directly what allows the sauce to thicken smoothly once the stock joins rather than turning lumpy or thin.
- In a large bowl or the bowl of a stand mixer, combine the flour, yeast, sugar, and salt. Add the warm milk and egg. Mix until a shaggy dough forms. Knead for 5–6 minutes until the dough begins to smooth out, then add the softened butter in pieces. Continue kneading for another 8–10 minutes until the dough is smooth, elastic, and soft. It should be slightly tacky but not wet. If kneading by hand, expect the dough to feel messy when the butter goes in, then come back together as you continue working it. Adding the butter gradually, in pieces, rather than all at once, lets the gluten network absorb each addition before the next arrives — dumping it in together would coat too much of the flour in fat at once, actively working against the structure this enriched dough still needs to develop.
- Shape the dough into a ball and place it in a lightly greased bowl. Cover and let rise for 1–1½ hours, or until doubled in size. A full first rise matters here. Under-risen dough gives compact buns with a tight crumb instead of the soft fluffy texture char siu bao should have. That full rise gives the yeast genuine time to build the lightness responsible for the bun’s eventual soft, fluffy structure — cutting it short would leave the dough without enough developed lift to bake up properly light.
- Turn the dough out onto a lightly floured surface and divide into 12 equal pieces, about 73–75g each. Shape each piece into a ball and let them rest, covered, for 10 minutes so they relax and roll out more easily. Flatten each piece into a round about 10–11cm wide, keeping the center slightly thicker than the edges. Place about 35–40g of the cold char siu filling in the center. Bring the edges up around the filling and pinch firmly to seal. Make sure the seam is completely closed. Place each bun seam-side down on a parchment-lined tray, leaving space between them. Do not overfill. Too much filling makes the buns burst or flatten. Keeping the round’s center slightly thicker than its edges gives the base of each bun enough dough to actually support the filling’s own weight, while the thinner edges gather and seal more easily around it.
- Cover the shaped buns lightly and let proof for 45–60 minutes, until puffy and noticeably lighter. They should not be doubled like dinner rolls, but they should look expanded and soft. If baked too early, they will split and stay dense. That specific, checkable target — puffy and lighter, but not fully doubled — reflects real understanding of what this particular dough needs: enough proofing to bake up soft and light, without needing the same full doubling a plainer dinner roll would require.
- Preheat the oven to 180°C. Brush the tops gently with beaten egg and sprinkle lightly with sesame seeds if using. Bake for 15–18 minutes, until the buns are glossy, deeply golden, and fully baked through. The tops should take on a rich egg-washed color while the sides stay pale and soft. Brushing gently, rather than firmly, protects the fragile, fully proofed dough from being pressed down and losing some of the trapped gas responsible for its own eventual softness.
- Let the buns cool on the tray for 5 minutes, then transfer to a rack. Serve warm or just slightly cooled. The filling should be thick and glossy inside, not runny, and the dough should be soft, fluffy, and light. That brief cooling period lets the filling’s own residual heat settle slightly, making the buns easier to handle and eat without the sticky sauce spilling out the moment they’re bitten into.