
Baked Beef Piroshki
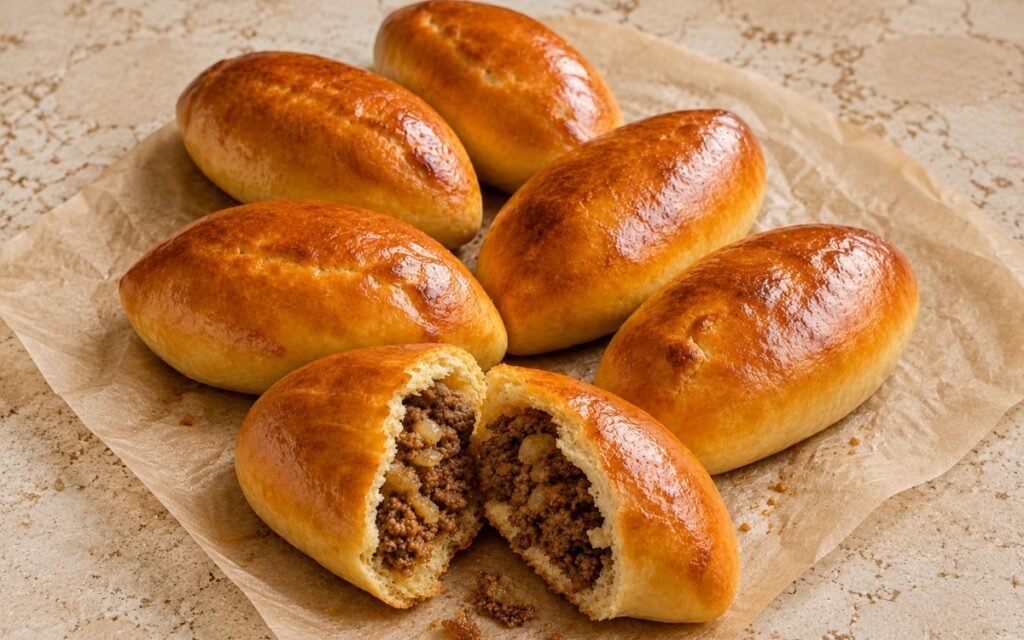
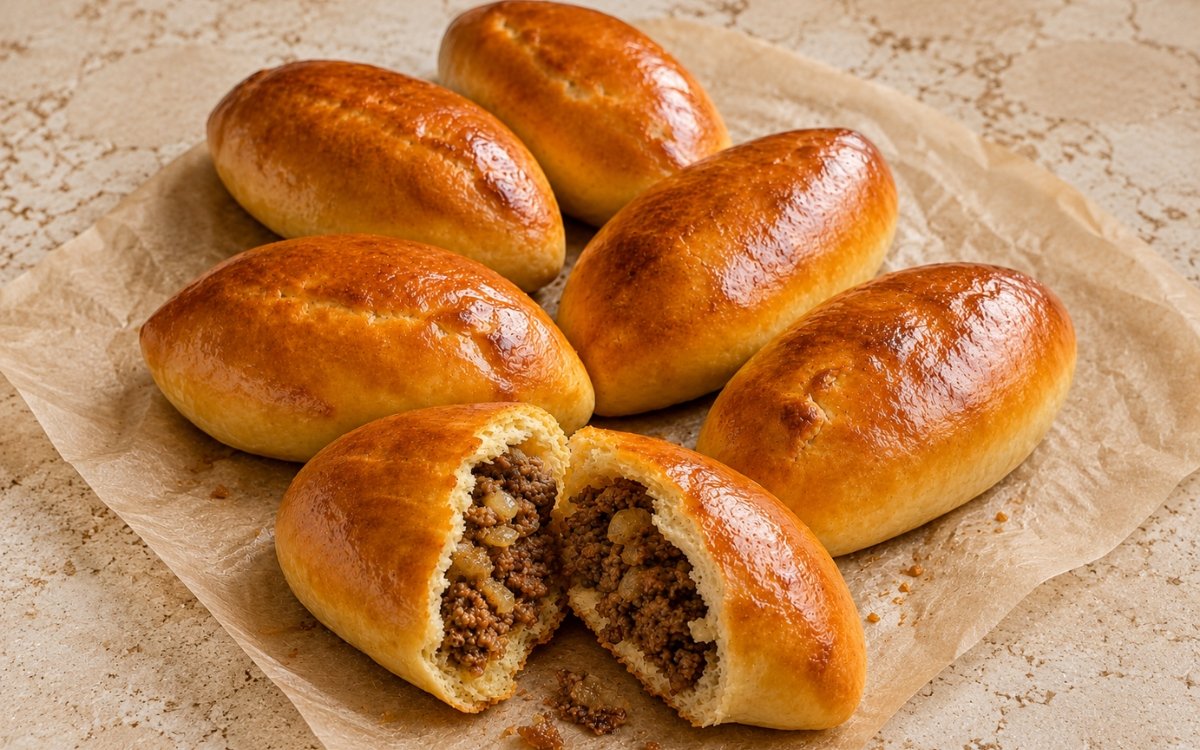
Soft baked piroshki made with a tender enriched yeast dough and filled with a savoury ground beef and onion mixture. The filling should be fully cooked, well seasoned, and moist but not wet, while the dough should bake up soft, glossy, and lightly golden-brown. Cooling the beef filling completely before it ever meets the dough is the technique this whole piroshki depends on for a clean seal and proper bake — a hot or wet filling softens the dough and makes sealing considerably harder, the same cool-the-filling-first principle used elsewhere in this collection whenever a warm, cooked filling needs to meet soft, enriched dough without compromising it. Pinching the seam thoroughly, rather than treating it as an afterthought, is what protects each piroshki from splitting open during proofing or baking. Cooking the beef until moist but genuinely not wet is what keeps that seal secure and the filling from bursting through during the final proof. The payoff is a piroshki with real, classic comfort — soft, glossy, golden-brown dough wrapped around a savoury, juicy beef and onion filling.
Prep Time : 35 min
Cook Time : 20 min
Servings : 4
35 min
20 min
4
Ingredients
For the Dough
• 500g all-purpose flour or bread flour — this one on Amazon
• 7g instant yeast
• 25g sugar
• 9g fine sea salt
• 240ml whole milk, warmed to about 35–38°C — this one on Amazon
• 1 large egg
• 45g unsalted butter, melted and slightly cooled — this one on Amazon
• 60g sour cream or plain full-fat yogurt
For the Beef Filling
• 500g ground beef, preferably 80/20 to 85/15
• 15ml neutral oil or butter
• 220g yellow onion, very finely diced
• 2 garlic cloves, finely grated or minced
• 9g fine sea salt, or to taste
• ½ tsp black pepper
• ½ tsp paprika — this one on Amazon
• 2–3 tbsp beef stock or water, only if needed
• 1 tbsp chopped dill or parsley, optional
For Egg Wash
• 1 large egg
• 1 tbsp milk or water
This post may contain affiliate links. As an Amazon Associate I earn from qualifying purchases, at no additional cost to you.
Directions
- Make the Dough
In a large bowl or the bowl of a stand mixer, combine the flour, instant yeast, sugar, and salt. In a separate bowl or jug, whisk together the warm milk, egg, melted butter, and sour cream until smooth. Add the wet ingredients to the flour mixture and mix until a shaggy dough forms. Knead by hand for 10–12 minutes or in a stand mixer for 8–10 minutes until the dough is smooth, elastic, and slightly tacky but not wet. Shape into a ball and place in a lightly oiled bowl. Cover and let rise for 1 to 1¼ hours, until doubled. The dough should feel soft and supple, not stiff. A slightly tacky dough gives the soft bun texture you want. That sour cream folded into the dough adds real fat and moisture beyond what milk and butter alone would provide, contributing directly to the finished bun’s characteristic soft, tender crumb. - Make the Beef Filling
While the dough rises, heat the oil or butter in a skillet over medium heat. Add the onion and cook for 6–8 minutes until softened and lightly golden. Add the garlic and cook for 30 seconds. Add the ground beef and cook, breaking it up well, until browned and fully cooked through. Season with the salt, black pepper, and paprika. If the filling looks dry, add 2–3 tablespoons of beef stock or water and cook briefly until absorbed. If using herbs, stir them in at the end. Transfer the filling to a plate or tray and cool completely before using. The filling must be savoury and moist, but not wet or greasy. A hot or wet filling will soften the dough and make sealing difficult. That specific, checkable texture — moist but genuinely not wet — protects the dough’s own ability to seal cleanly around the filling once shaping begins. - Divide the Dough
Punch down the risen dough and turn it out onto a lightly floured surface. Divide into 12 equal pieces, about 70–75g each. Shape each piece into a ball. Cover loosely and let rest for 10 minutes. This short rest relaxes the gluten and makes shaping easier. That relaxation matters directly at the next stage — dough that’s just been divided and shaped into balls is genuinely tighter and more resistant to being flattened and filled cleanly. - Fill and Shape the Piroshki
Working one piece at a time, flatten or roll each dough ball into an oval or round about 10–12cm across. Place about 2 tablespoons of cooled beef filling in the center. Do not overfill. Bring the edges up over the filling and pinch firmly to seal. Shape gently into a smooth oval bun and place seam-side down on a parchment-lined baking tray. Repeat with the remaining dough and filling, leaving space between each bun. Pinch the seam thoroughly. If the seam is weak, the piroshki may split during proofing or baking. That thorough, deliberate pinching along the entire seam is what protects each piroshki from splitting open during the two remaining stages — the final proof and the oven’s own heat — where any weak point would be exposed under continued pressure. - Final Proof
Cover the shaped piroshki loosely and let proof for 30–40 minutes, until visibly puffy. They should look slightly expanded and airy, but not overinflated. Meanwhile, preheat the oven to 190°C. That specific, checkable target — puffy but not overinflated — protects the piroshki’s own shape and seal, since dough given too much time to rise before baking would put real additional strain on a seam that’s already been asked to hold the filling securely. - Egg Wash and Bake
Whisk together the egg and milk for the egg wash. Brush the tops of the proofed piroshki evenly. Bake for 18–22 minutes, until glossy, deep golden-brown, and fully baked. If you want a softer finish, brush lightly with a little melted butter as soon as they come out of the oven. That even, thorough egg wash is what produces the piroshki’s characteristic glossy, deep golden-brown finish rather than a duller, more matte surface. - Cool Slightly and Serve
Let the piroshki cool for 10 minutes before serving. Serve warm. The bread should be soft and fluffy, and the filling should be juicy and well seasoned. That brief cooling period lets the filling’s own residual heat settle slightly, making the piroshki easier to handle and eat without the hot filling spilling out the moment they’re bitten into.
*Notes :
- Cooling the beef filling completely before it ever meets the dough deserves genuine recognition as the technique responsible for whether these piroshki actually seal and bake properly. A hot or wet filling in direct contact with the soft, enriched dough would soften it considerably faster than intended, working directly against the dough’s own ability to hold a clean, secure seal through both the final proof and the oven’s heat.
- Pinching the seam thoroughly, rather than treating it as a final, quick step, deserves the same attention this technique receives throughout this collection’s other filled dough dishes. That deliberate, complete sealing is specifically what protects each piroshki from splitting during proofing or baking — a seam sealed only loosely at a few points would leave real weak spots exposed to the additional pressure both stages introduce.
- Cooking the filling until moist but deliberately not wet deserves genuine respect as a real, checkable technique rather than a vague preference. Excess moisture in the filling would actively work against the dough’s own seal, and the recipe’s own explicit warning that wet filling can burst the buns reflects a real, specific risk this careful moisture control is built to avoid.
- The sour cream folded into this enriched dough deserves recognition as a deliberate ingredient choice beyond simple richness. That addition contributes real fat and moisture beyond what milk and butter alone provide, directly responsible for the finished piroshki’s characteristically soft, tender crumb.
Why This Recipe Works
This recipe works because the beef filling is cooked until moist but genuinely not wet, then cooled completely before it ever meets the enriched dough, protecting the dough’s own ability to seal cleanly.
Each piroshki’s seam is pinched thoroughly along its entire length, protecting against splitting during the final proof and the oven’s heat. The proof itself is watched for a specific, checkable target that protects the seal from unnecessary additional strain.
A thorough, even egg wash delivers the piroshki’s characteristic glossy finish, and a brief cooling period after baking makes them easier to handle and enjoy.
Ingredient Breakdown
Sour Cream-Enriched Dough
The critical technique — adds real fat and moisture beyond milk and butter, producing a genuinely soft, tender crumb.
Moist-But-Not-Wet Beef Filling
The critical technique — a specific, checkable texture that protects the dough’s ability to seal around it.
Fully Cooled Filling (Before Shaping)
The critical technique — protects the soft dough from softening prematurely during the shaping stage.
Thoroughly Pinched Seam
The critical technique — protects each piroshki from splitting during proofing and baking.
Watched Final Proof (Puffy, Not Overinflated)
The critical technique — protects the seal from unnecessary additional strain before baking.
Flavor Structure Explained
This baked beef piroshki follows a layered balance model:
- Soft, glossy foundation (sour cream-enriched, egg-washed dough)
- Savoury seasoned centre (ground beef and onion filling)
- Warm background spice (paprika, black pepper)
- Fresh herbal finish (optional dill or parsley)
The sour cream-enriched, egg-washed dough provides this piroshki’s soft, genuinely glossy foundation. A savoury ground beef and onion filling defines the centre, its texture protected through careful moisture control and thorough sealing. Paprika and black pepper layer in warm, classic background spice throughout the meat. An optional touch of fresh dill or parsley finishes the filling with bright herbal lift, tying every component together into one comforting baked bun.
Common Mistakes to Avoid
- Shaping the Piroshki With Warm Filling – This softens the dough and makes sealing difficult. Always cool the filling completely first.
- Leaving the Filling Wet – This risks the buns bursting during proofing or baking. Always cook off excess moisture before it cools.
- Pinching the Seam Only Loosely – This leaves real weak points prone to splitting. Always seal the entire seam thoroughly.
- Overproofing the Shaped Piroshki – This puts unnecessary strain on an already-filled seam. Always watch for puffy but not overinflated.
- Skipping the Cooling Period After Baking – This makes the hot filling more likely to spill out when bitten into. Always let them cool briefly before serving.
Variations
Herb-Swap Version
Substitute fresh parsley for dill, per the recipe’s own note, for a different fresh herbal finish.
Extra-Soft Version
Brush lightly with melted butter as soon as the piroshki come out of the oven, per the recipe’s own suggestion, for a softer finished crust.
Cheese Version
Add a small amount of shredded cheese to the filling alongside the beef for a richer, melty variation.
Freezer-Friendly Version
Freeze the fully baked piroshki and reheat from frozen until hot through, per the recipe’s own guidance, for easy make-ahead meals.
Storage & Make-Ahead
The filling must be fully cooled before shaping. These reheat well in a 170°C oven for 8–10 minutes.
You can freeze the baked piroshki and reheat from frozen until hot through.
Frequently Asked Questions
Why does the beef filling need to cool completely before the piroshki are shaped?
A hot or wet filling in direct contact with the soft, enriched dough softens it considerably faster than intended, working against the dough’s own ability to hold a clean, secure seal through proofing and baking.
Why does the seam need such thorough pinching rather than a quick seal?
That deliberate, complete sealing protects each piroshki from splitting during proofing or baking. A seam sealed only loosely at a few points would leave real weak spots exposed to the additional pressure both stages introduce.
Why can’t the beef filling be even slightly wet?
Excess moisture in the filling actively works against the dough’s own seal, risking the buns bursting during proofing or baking. Cooking it until moist but genuinely not wet protects that seal.
Why is sour cream included in the dough?
That addition contributes real fat and moisture beyond what milk and butter alone provide, directly responsible for the finished piroshki’s characteristically soft, tender crumb.
Are there other classic filled pastry, sausage roll, or beef-filled dough dishes worth trying?
British Sausage Rolls and Meat Burek with Spiced Ground Beef both offer other classic savoury filled pastry directions worth exploring. Colombian Empanadas and Beef Empanadas are also worth trying for other classic beef-filled dough dishes.
Nutrition Facts
( Per Serving — 3 piroshki )
Calories
~680 kcal
Protein
28 g
Fat
34 g
Carbs
66 g
Calories
~680 kcal
Protein
28 g
Fat
34 g
Carbs
66 g
Related Recipes
Related Recipes

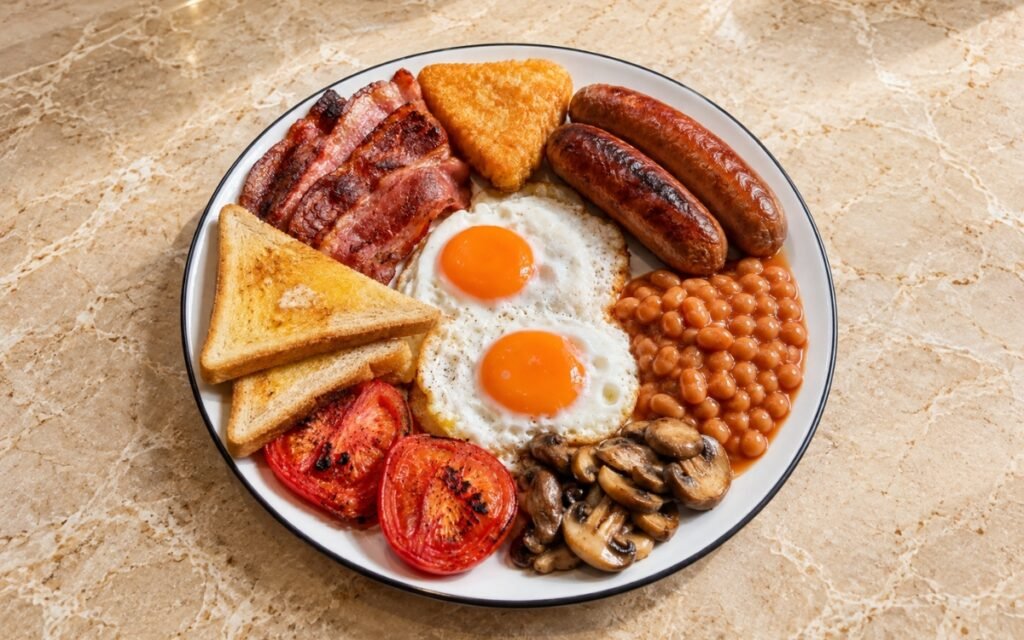
Full English Breakfast
Fried eggs, browned pork sausages, crisp bacon rashers, grilled tomatoes, sautéed mushrooms, baked beans, buttered toast, and crisp hash browns.
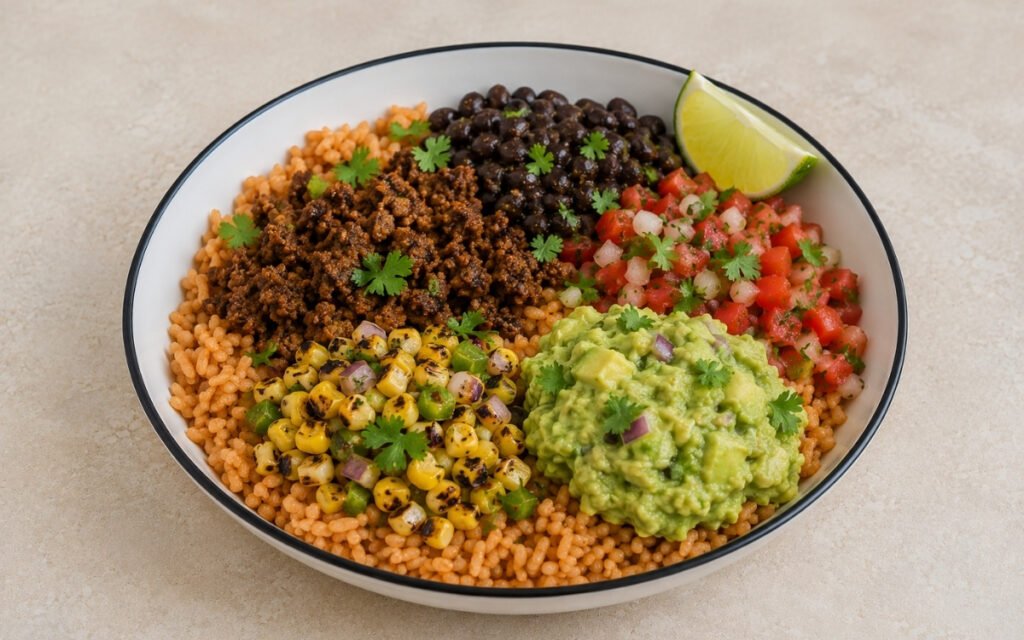
Beef Burrito Rice Bowl
Ground beef pressed flat in smoking cast iron, seared until deeply caramelised, then broken down and seasoned — over Mexican rice with spiced beans, pico, corn salad, guacamole, and cheese blend.
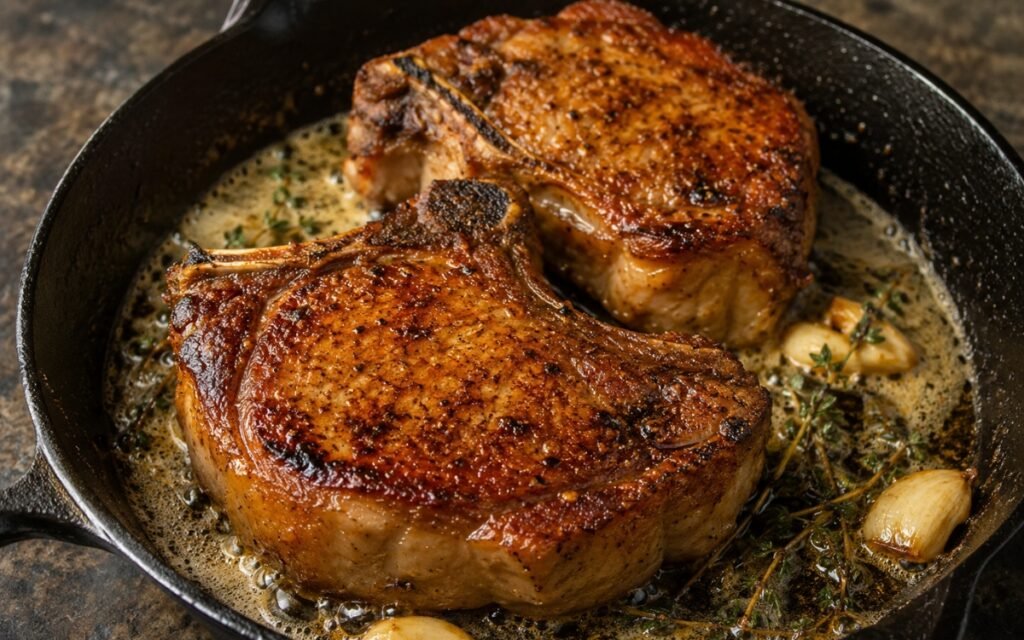
Classic Pork Chops
Bone-in pork chops tempered and seared undisturbed, basted with garlic thyme browned butter, fat cap rendered, rested. Juicy and aromatic.
You might also like
You might also like
Beef Burrito Rice Bowl
Ground beef pressed flat in smoking cast iron, seared until deeply caramelised, then broken down and seasoned — over Mexican rice with spiced beans, pico, corn salad, guacamole, and cheese blend.
Classic Southern Buttermilk Biscuits
Tall, flaky Southern buttermilk biscuits with deeply golden tops, tender layered sides, and a soft steamy interior.
Paris Steak Frites
Seared medium-rare steak with a deep crust, double-fried shoestring frites, and a rich café de Paris-style herb butter sauce.
Baked Beef Piroshki
Ingredients
Method
- In a large bowl or the bowl of a stand mixer, combine the flour, instant yeast, sugar, and salt. In a separate bowl or jug, whisk together the warm milk, egg, melted butter, and sour cream until smooth. Add the wet ingredients to the flour mixture and mix until a shaggy dough forms. Knead by hand for 10–12 minutes or in a stand mixer for 8–10 minutes until the dough is smooth, elastic, and slightly tacky but not wet. Shape into a ball and place in a lightly oiled bowl. Cover and let rise for 1 to 1¼ hours, until doubled. The dough should feel soft and supple, not stiff. A slightly tacky dough gives the soft bun texture you want. That sour cream folded into the dough adds real fat and moisture beyond what milk and butter alone would provide, contributing directly to the finished bun’s characteristic soft, tender crumb.
- While the dough rises, heat the oil or butter in a skillet over medium heat. Add the onion and cook for 6–8 minutes until softened and lightly golden. Add the garlic and cook for 30 seconds. Add the ground beef and cook, breaking it up well, until browned and fully cooked through. Season with the salt, black pepper, and paprika. If the filling looks dry, add 2–3 tablespoons of beef stock or water and cook briefly until absorbed. If using herbs, stir them in at the end. Transfer the filling to a plate or tray and cool completely before using. The filling must be savoury and moist, but not wet or greasy. A hot or wet filling will soften the dough and make sealing difficult. That specific, checkable texture — moist but genuinely not wet — protects the dough’s own ability to seal cleanly around the filling once shaping begins.
- Punch down the risen dough and turn it out onto a lightly floured surface. Divide into 12 equal pieces, about 70–75g each. Shape each piece into a ball. Cover loosely and let rest for 10 minutes. This short rest relaxes the gluten and makes shaping easier. That relaxation matters directly at the next stage — dough that’s just been divided and shaped into balls is genuinely tighter and more resistant to being flattened and filled cleanly.
- Working one piece at a time, flatten or roll each dough ball into an oval or round about 10–12cm across. Place about 2 tablespoons of cooled beef filling in the center. Do not overfill. Bring the edges up over the filling and pinch firmly to seal. Shape gently into a smooth oval bun and place seam-side down on a parchment-lined baking tray. Repeat with the remaining dough and filling, leaving space between each bun. Pinch the seam thoroughly. If the seam is weak, the piroshki may split during proofing or baking. That thorough, deliberate pinching along the entire seam is what protects each piroshki from splitting open during the two remaining stages — the final proof and the oven’s own heat — where any weak point would be exposed under continued pressure.
- Cover the shaped piroshki loosely and let proof for 30–40 minutes, until visibly puffy. They should look slightly expanded and airy, but not overinflated. Meanwhile, preheat the oven to 190°C. That specific, checkable target — puffy but not overinflated — protects the piroshki’s own shape and seal, since dough given too much time to rise before baking would put real additional strain on a seam that’s already been asked to hold the filling securely.
- Whisk together the egg and milk for the egg wash. Brush the tops of the proofed piroshki evenly. Bake for 18–22 minutes, until glossy, deep golden-brown, and fully baked. If you want a softer finish, brush lightly with a little melted butter as soon as they come out of the oven. That even, thorough egg wash is what produces the piroshki’s characteristic glossy, deep golden-brown finish rather than a duller, more matte surface.
- Let the piroshki cool for 10 minutes before serving. Serve warm. The bread should be soft and fluffy, and the filling should be juicy and well seasoned. That brief cooling period lets the filling’s own residual heat settle slightly, making the piroshki easier to handle and eat without the hot filling spilling out the moment they’re bitten into.