
Neapolitan-Style Margherita Pizza
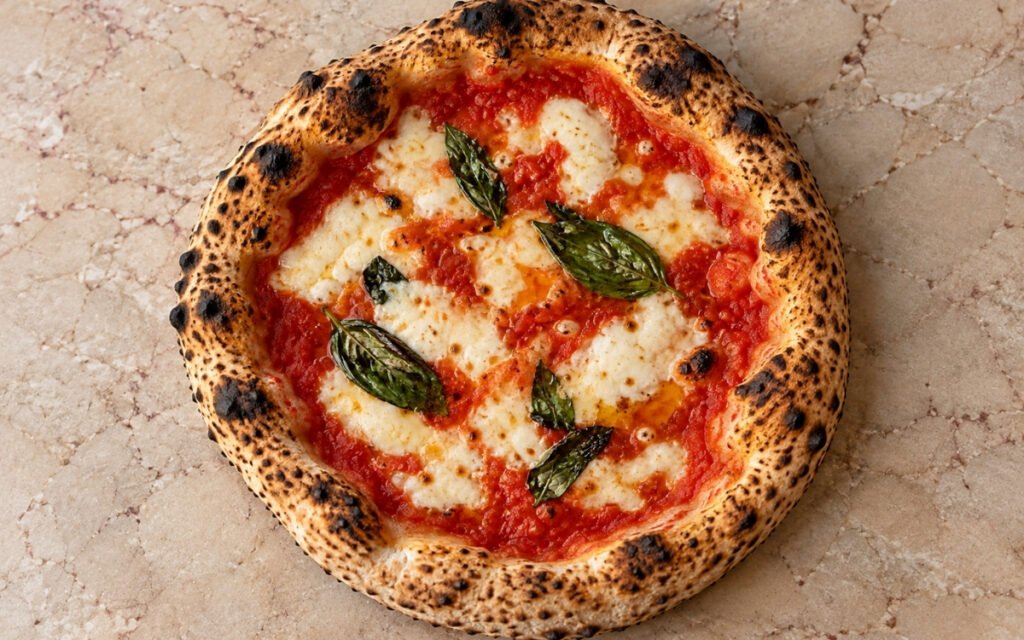
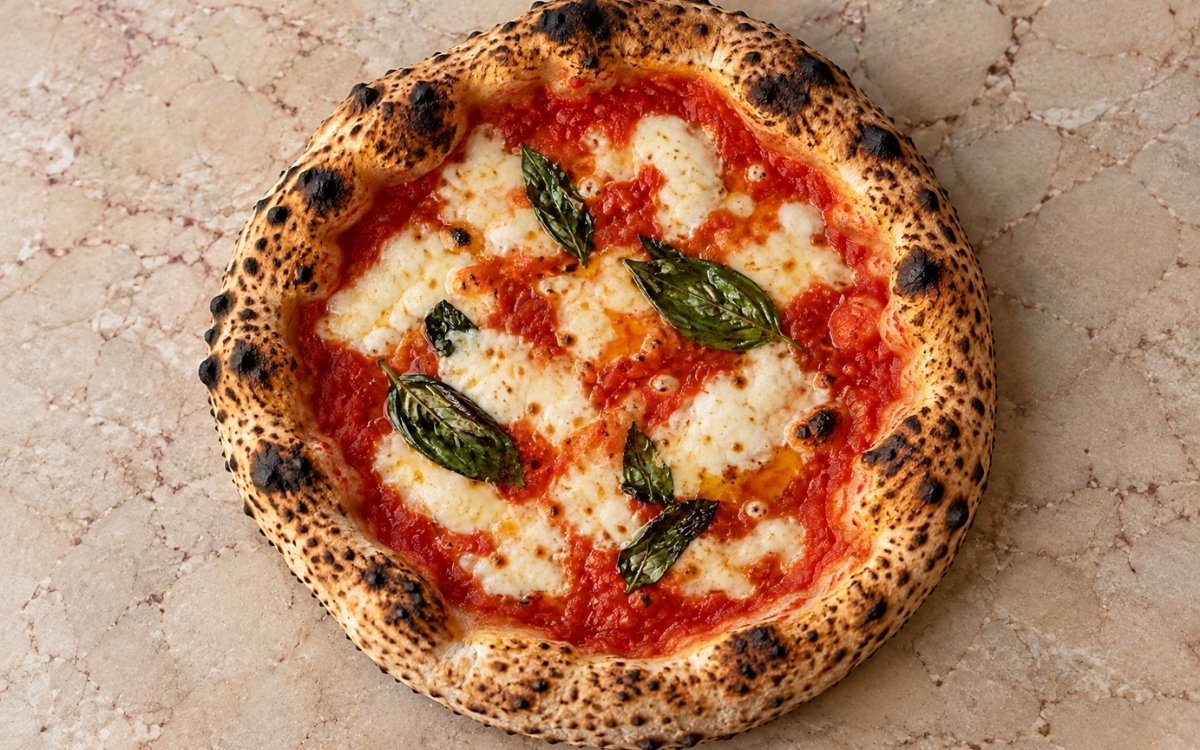
Classic Neapolitan-style margherita pizza with a puffy, leopard-spotted crust, thin center, bright tomato sauce, melted fresh mozzarella, basil, and olive oil, made using half a batch of Homemade Pizza Dough for 4 individual pizzas. Draining the mozzarella thoroughly for a genuine 30 to 60 minutes before it ever meets the dough is the technique this whole pizza depends on for a properly set crust — cheese still carrying excess liquid floods the center in the oven, the same drain-the-cheese-first principle used elsewhere in this collection whenever a wet topping’s own moisture would otherwise prevent the base beneath it from cooking through. Leaving the tomato sauce entirely uncooked and unseasoned beyond salt is what preserves the bright, clean flavour a classical Margherita depends on. Topping the pizza only lightly, rather than generously, is what lets the center actually bake through rather than staying heavy and wet. The payoff is a pizza with real, authentic contrast — a puffed, blistered, airy rim around a thin, tender center, topped with bright sauce and melted, milky mozzarella.
Prep Time : 25 min
Cook Time : 6–10 min
Servings : 4 pizzas
25 min
6–10 min
4 pizzas
Ingredients
For the Dough
• 4 pizza dough balls, about 250g each, from ½ batch Homemade Pizza Dough
For the Tomato Sauce
• 400g canned whole peeled tomatoes, preferably San Marzano-style — this one on Amazon
• 5g fine sea salt
For the Toppings
• 500g fresh mozzarella or fior di latte, well drained — this one on Amazon
• 16–20 fresh basil leaves
• 20ml extra-virgin olive oil — this one on Amazon
For Shaping
• 00 flour or semolina, as needed for dusting
This post may contain affiliate links. As an Amazon Associate I earn from qualifying purchases, at no additional cost to you.
Directions
- Prepare the Mozzarella
Drain the mozzarella very well. Tear or cut it into small bite-size pieces and place it on paper towels or in a colander set over a bowl for at least 30–60 minutes. If using very wet mozzarella, especially buffalo mozzarella, drain it longer. The cheese must be well drained before topping. Wet mozzarella releases too much liquid in the oven and can flood the center, preventing the crust from setting properly. That extended draining time removes moisture the cheese would otherwise release directly onto the dough during its genuinely brief bake — moisture the crust’s short cooking window simply doesn’t have time to cook off on its own. - Make the Sauce
Crush the tomatoes by hand in a bowl or pulse briefly just until broken down into a rustic sauce. Stir in the salt. Do not cook the sauce. Do not add sugar, garlic, onion, oregano, or herbs if you want a classical Margherita profile. The sauce should taste clean, bright, and lightly seasoned. The texture matters: it should be loose enough to spread easily, but not watery. If there is excessive thin tomato liquid in the can, hold some of it back. Leaving the sauce entirely raw, rather than simmering it first, is what protects its genuinely bright, fresh tomato character — the brief oven time still cooks it fully once the pizza bakes, so nothing about the sauce’s freshness is actually lost. - Bring the Dough to Room Temperature
Take the dough balls out of the refrigerator 2–3 hours before baking. Keep them covered so the surface does not dry out. The dough is ready when it feels soft, relaxed, and slightly puffy. A properly tempered dough stretches much more easily and keeps the airy rim. Cold dough resists stretching and tends to snap back or tear. That tempering window lets the cold, tightened gluten network genuinely relax and warm through — dough shaped straight from the fridge simply doesn’t have the same give, fighting the stretch at every attempt. - Preheat the Oven and Baking Surface
Place a pizza stone or pizza steel in the oven and preheat at the highest temperature your oven can reach, ideally 275–300°C, for at least 45–60 minutes. If your oven has a broiler or grill element, turning it on for the final 10–15 minutes of preheating helps build stronger top heat. For a dedicated pizza oven, preheat to approximately 430–485°C. High heat is critical. Without a fully saturated baking surface and strong top heat, you will not get the rapid oven spring, blistering, and soft-charred crust associated with Neapolitan-style pizza. That extended preheat ensures the stone or steel itself, not just the surrounding air, has genuinely reached its target temperature throughout — a surface only warmed on top would still be catching up internally when the dough first makes contact. - Shape the First Pizza
Dust the work surface lightly with flour. Place one dough ball on the surface and dust the top lightly. Press from the center outward with your fingertips, pushing air toward the edge while leaving a 2–3cm rim untouched. Pick up the dough and stretch it gently by hand until you have a round pizza about 25–28cm across with a thin center and a visibly thicker airy rim. Do not use a rolling pin. A rolling pin crushes the gas structure and flattens the cornicione. If the dough resists or shrinks back strongly, let it rest for 10–15 minutes and try again. Deliberately pushing air toward the untouched rim as you press from the center is what concentrates the dough’s own fermentation gas exactly where the puffed, blistered cornicione needs it most. - Top the Pizza Lightly
Transfer the shaped dough to a lightly floured peel. Spread about 80g tomato sauce over the center in a thin layer, leaving the rim uncovered. Add about 100–125g drained mozzarella evenly over the sauce. Add 3–5 basil leaves and drizzle lightly with about 5ml olive oil. Do not overload the pizza. A true Margherita is lightly topped. Too much sauce or cheese makes the center heavy and wet and prevents proper bake-through. That restrained topping weight matters directly given the pizza’s genuinely brief bake — a heavier hand with sauce or cheese would leave the center wet and underbaked by the time the crust itself is properly done. - Bake
Launch the pizza onto the preheated stone or steel. In a home oven, bake for about 6–10 minutes, depending on heat level and baking surface. Rotate once if needed for even coloring. If the crust is set but the top needs more color, finish briefly under the broiler for 30–90 seconds, watching closely. In a very hot pizza oven, bake for about 60–90 seconds, turning every 20–30 seconds so the crust chars evenly without burning one side. The pizza is ready when the rim is puffed and airy, the crust has dark leopard-like blistering and some charred spots, the center is cooked but still soft and supple, the cheese is melted and gently bubbling, and the sauce looks concentrated, not watery. Turning the pizza regularly in a very hot oven accounts for how unevenly concentrated that heat often is across the chamber — without it, one side chars considerably faster than the other in a bake this short. - Finish and Repeat
Remove the pizza and let it sit for about 1 minute so the molten cheese and sauce settle slightly. If desired, add 1–2 more fresh basil leaves and a tiny final drizzle of olive oil. Repeat with the remaining dough balls, keeping the unshaped dough covered while each pizza is baked. That brief rest lets the still-molten cheese and sauce firm up just slightly, protecting the first slice from sliding straight off the moment it’s cut. - Serve
Serve immediately while the crust is still light, airy, and tender. This pizza’s whole appeal depends on that genuinely fresh-from-the-oven texture — the crust’s own crispness and the cheese’s melted softness both change noticeably within minutes of coming out.
*Notes :
- Draining the mozzarella for a genuine 30 to 60 minutes before it ever meets the dough deserves real recognition as the technique most responsible for whether this pizza’s center actually cooks through. Wet mozzarella releases considerable liquid once it hits the oven’s heat, and that moisture floods directly onto the dough beneath it — given how brief a Neapolitan bake actually is, there simply isn’t time for the crust to cook off that extra liquid on its own.
- Leaving the tomato sauce entirely uncooked, seasoned with nothing beyond salt, deserves the same respect this technique receives throughout classical Neapolitan pizza-making. That raw sauce still finishes cooking fully once the pizza bakes, meaning nothing about doneness is sacrificed — what’s protected instead is the sauce’s own genuinely bright, fresh tomato character, which a stovetop simmer would round and soften.
- Topping the pizza only lightly, resisting the instinct to add more sauce or cheese, deserves genuine attention given how directly it affects the finished bake. A true Margherita’s brief time in a very hot oven is calibrated around a light topping — a heavier hand would leave the center wet and underbaked well before the crust itself finishes developing its proper char and structure.
- Shaping the dough entirely by hand, specifically pushing air toward the untouched rim while pressing the center, deserves recognition as the deliberate technique responsible for the pizza’s whole defining cornicione. That gas, concentrated right at the edge rather than flattened evenly across the base, is exactly what puffs and blisters into the airy, charred rim a proper Neapolitan pizza is known for.
Why This Recipe Works
This recipe works because the mozzarella is drained thoroughly, protecting the crust’s genuinely brief bake from being flooded with excess moisture. The sauce stays entirely uncooked, preserving its bright, fresh character while still finishing fully in the oven’s heat.
The dough is properly tempered before shaping, letting it stretch smoothly rather than tearing, and hand-shaping deliberately concentrates fermentation gas at the rim.
A fully preheated stone or steel, combined with a deliberately light topping, delivers the rapid oven spring and proper bake-through this style of pizza depends on, and serving immediately captures the crust at its genuinely best texture.
Ingredient Breakdown
Thoroughly Drained Mozzarella
The critical technique — removes excess moisture that would otherwise flood the crust’s brief bake.
Entirely Uncooked Tomato Sauce
The critical technique — preserves bright, fresh tomato character that finishes cooking fully once the pizza bakes.
Properly Tempered Dough
The critical technique — a relaxed, room-temperature dough stretches smoothly rather than tearing or snapping back.
Fully Preheated Stone or Steel
The critical baking technique — delivers the sustained, intense heat responsible for real oven spring and leopard-spotted blistering.
Deliberately Light Topping
The critical technique — protects the pizza’s brief bake time from a wet, underbaked center.
Hand-Shaped Rim (No Rolling Pin)
The finishing technique — concentrates fermentation gas specifically at the edge, building the pizza’s characteristic cornicione.
Fresh Basil and Olive Oil
The finishing touch — added both before and after baking to layer real aromatic freshness on top of the cooked pizza’s own flavour.
Flavor Structure Explained
This Neapolitan-style margherita pizza follows a layered balance model:
- Blistered, airy foundation (fully preheated, hand-shaped crust)
- Bright, clean acidity (uncooked tomato sauce)
- Rich, milky centre (well-drained mozzarella)
- Fresh aromatic finish (fresh basil, olive oil)
The fully preheated stone or steel and careful hand-shaping together build this pizza’s blistered, genuinely airy crust. An entirely uncooked tomato sauce contributes bright, clean acidity that stays fresh rather than rounded by cooking. Well-drained, melted mozzarella provides a rich, milky centre without waterlogging the crust beneath it. Fresh basil and a final drizzle of olive oil finish the pizza with real aromatic lift that ties the whole dish together right at serving.
Common Mistakes to Avoid
- Skipping the Mozzarella’s Draining Time – This floods the crust’s center with excess moisture during its brief bake. Always drain it for the full 30 to 60 minutes.
- Cooking the Tomato Sauce Before Using It – This softens and rounds the sauce’s bright, fresh character. Always leave it entirely uncooked, letting it finish in the oven.
- Shaping the Dough Straight From the Refrigerator – Cold dough tears and snaps back rather than stretching. Always bring it to room temperature for 2–3 hours first.
- Overtopping the Pizza – This leaves the center wet and underbaked. Always keep both the sauce and cheese to the specified light amounts.
- Using a Rolling Pin to Shape the Base – This crushes the gas structure and flattens the cornicione. Always shape entirely by hand.
Variations
Buffalo Mozzarella Version
Use fresh buffalo mozzarella instead of fior di latte for the most classically authentic Neapolitan flavour, but plan for a noticeably longer draining time given how much more moisture this particular cheese tends to carry.
Pizza Steel Version
If baking in a home oven, use a pizza steel rather than a stone, since steel conducts heat considerably faster and typically produces stronger bottom heat and quicker oven spring than a traditional stone surface would.
Extra-Charred Version
Turn on the broiler element for the final 10 to 15 minutes of preheating and finish the baked pizza briefly underneath it, watching closely, for a darker, more dramatically blistered and charred cornicione than the base method alone produces.
Double-Batch Version
Prepare a full batch of Homemade Pizza Dough instead of a half batch to make 8 individual pizzas, allowing the oven or baking surface a few minutes to recover its full heat between each pizza baked in sequence.
Storage & Make-Ahead
This recipe is specifically built around half a batch of Homemade Pizza Dough, yielding exactly 4 individual Margherita pizzas, so plan your dough quantity accordingly if you are making both components together in the same session rather than starting from already-prepared dough balls.
The best results here come from three things working together: properly fermented dough that has had its full cold ferment, a genuinely very hot oven that has been given real time to saturate its baking surface, and a topping kept deliberately light rather than generous, since none of these three can fully compensate for a shortfall in either of the others.
If the shaped pizza sticks to the peel before you can launch it, lift the edge carefully and dust a little more flour or semolina underneath rather than trying to force it free, and work quickly once the dough has been topped, since a topped pizza left sitting too long becomes considerably harder to transfer cleanly.
This pizza is genuinely best eaten the moment it comes out of the oven, since both the airy, blistered crust and the melted mozzarella’s soft texture begin changing within minutes, and it does not hold or reheat particularly well while retaining that same fresh-baked character.
Frequently Asked Questions
Why does the mozzarella need to be drained for so long before topping the pizza?
Wet mozzarella releases considerable liquid once it hits the oven’s heat, and that moisture floods directly onto the dough beneath it. Given how brief a Neapolitan bake actually is, there isn’t time for the crust to cook off that extra liquid on its own.
Why is the tomato sauce left entirely uncooked rather than simmered first?
That raw sauce still finishes cooking fully once the pizza bakes in the oven’s heat, so nothing about doneness is sacrificed. What’s protected instead is the sauce’s own genuinely bright, fresh tomato character, which a stovetop simmer would round and soften.
Why does the pizza need to be topped so lightly rather than generously?
A true Margherita’s brief time in a very hot oven is calibrated around a light topping. A heavier hand with sauce or cheese would leave the center wet and underbaked well before the crust itself finishes developing its proper char and structure.
Why can’t the dough be shaped with a rolling pin?
A rolling pin crushes the fermentation gas structure evenly across the whole dough, including the rim that’s specifically meant to stay thick and puffed. Hand-shaping, pushing air toward that untouched edge, is what actually builds the pizza’s characteristic cornicione.
Are there other classic pizza dishes worth making with this same dough?
Homemade Pizza Dough is worth making from scratch as the foundation for this and many other pizza recipes. Pepperoni Pizza and White Pizza with Ricotta and Garlic are also worth trying for other classic pizza directions, and Pizza Bianca Caprese with heirloom tomatoes, arugula & balsamic and Focaccia Pizza with Tomato and Mozzarella offer other distinctive pizza styles worth exploring.
Nutrition Facts
( Per Serving — 1 pizza )
Calories
~680 kcal
Protein
32 g
Fat
28 g
Carbs
78 g
Calories
~680 kcal
Protein
32 g
Fat
28 g
Carbs
78 g
Related Recipes
Related Recipes

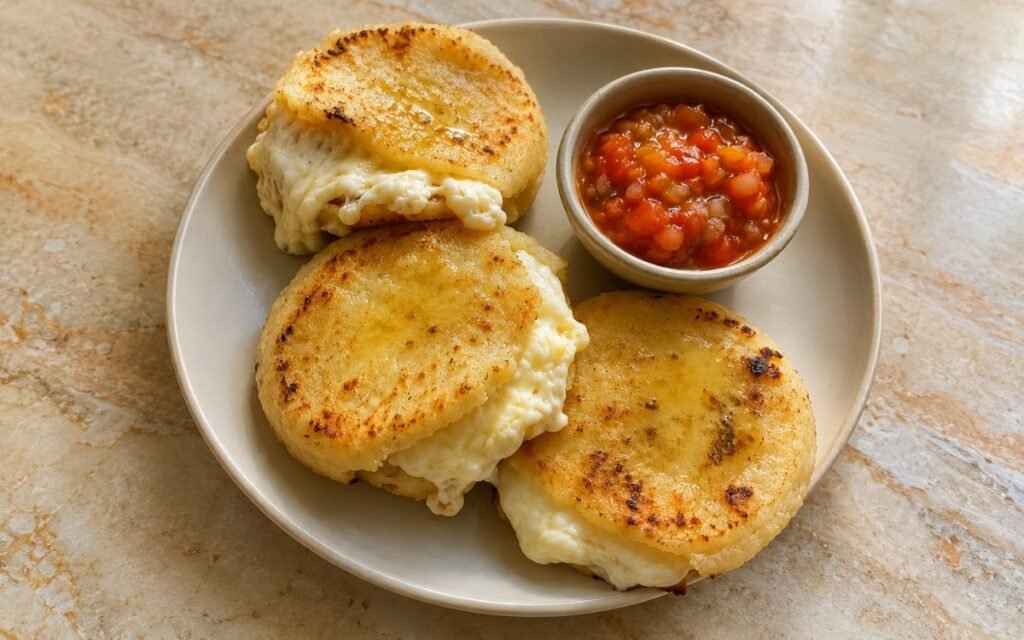
Arepas con Queso
White masarepa dough stuffed with melty white cheese, pan-cooked golden with lightly charred edges, served warm with hogao.
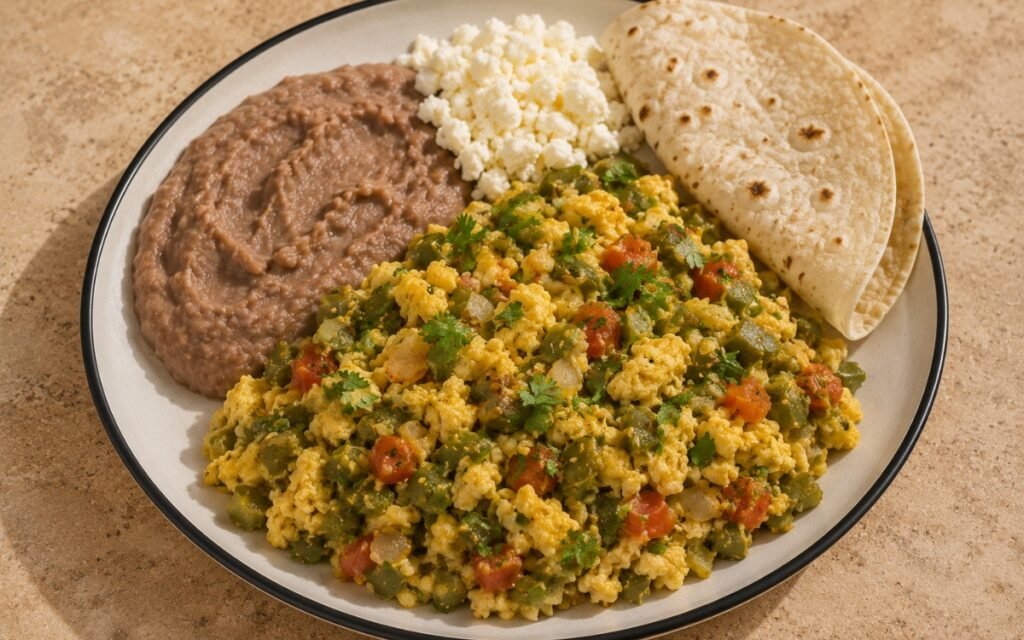
Nopales con Huevo
Scrambled eggs cooked with tender diced nopales, onion, tomato, and green chile, finished with fresh cilantro.
Vanilla Sweet Cream Cold Brew
Strong, chilled cold brew coffee topped with a fluid, pourable vanilla sweet cream that marbles slowly through the coffee.

You might also like
You might also like
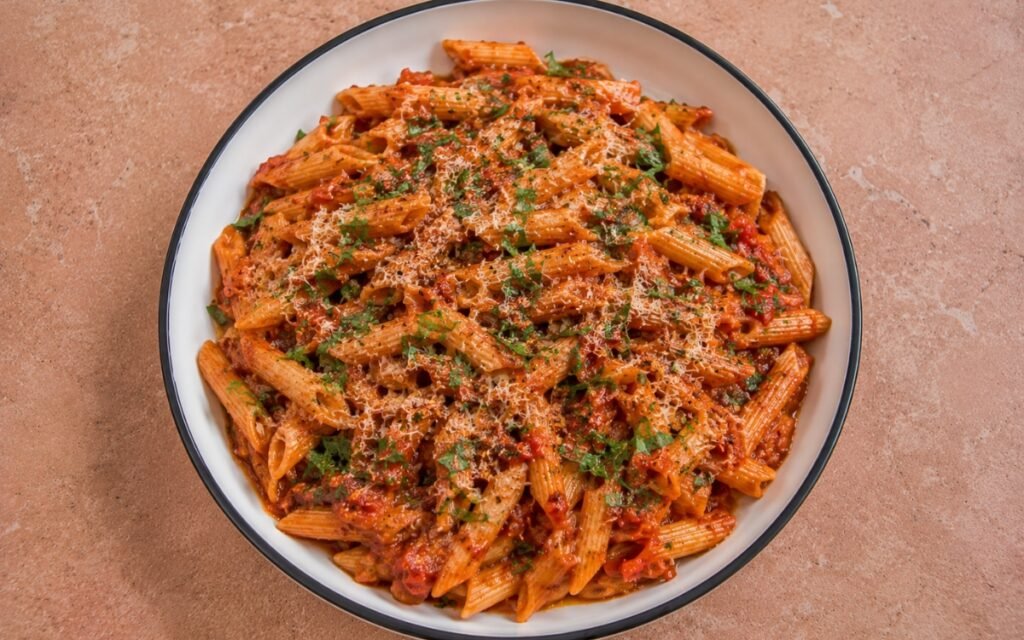
Calabrian Chili Penne Arrabbiata
Calabrian chili paste bloomed in olive oil with pale-golden garlic, hand-crushed tomatoes simmered glossy — penne finished in the sauce, 25 minutes.
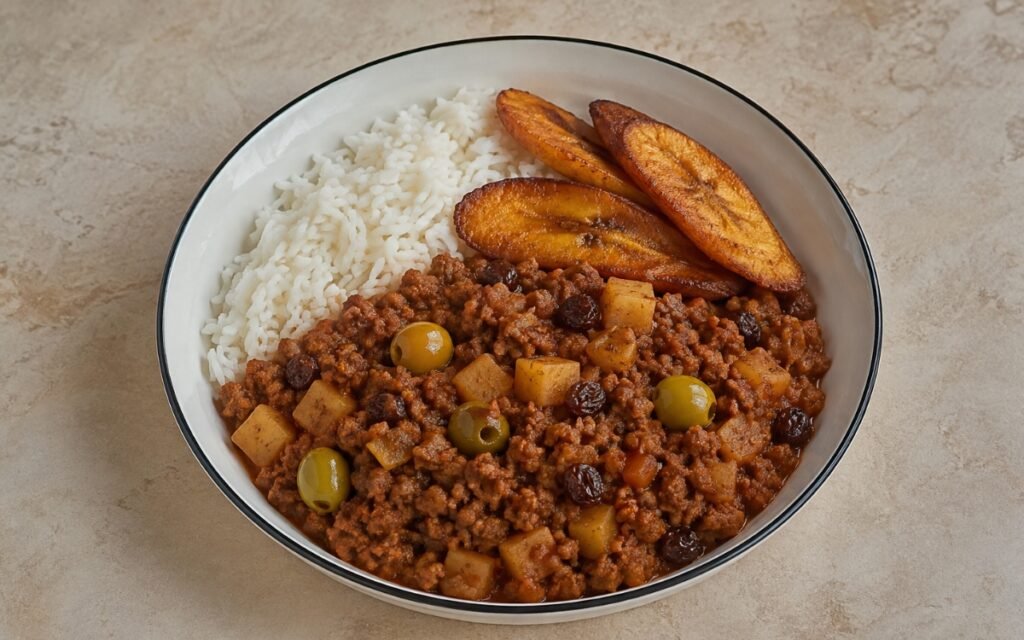
Cuban Picadillo
Seasoned ground beef simmered in a savory tomato sauce with green olives, raisins, and tender diced potatoes.
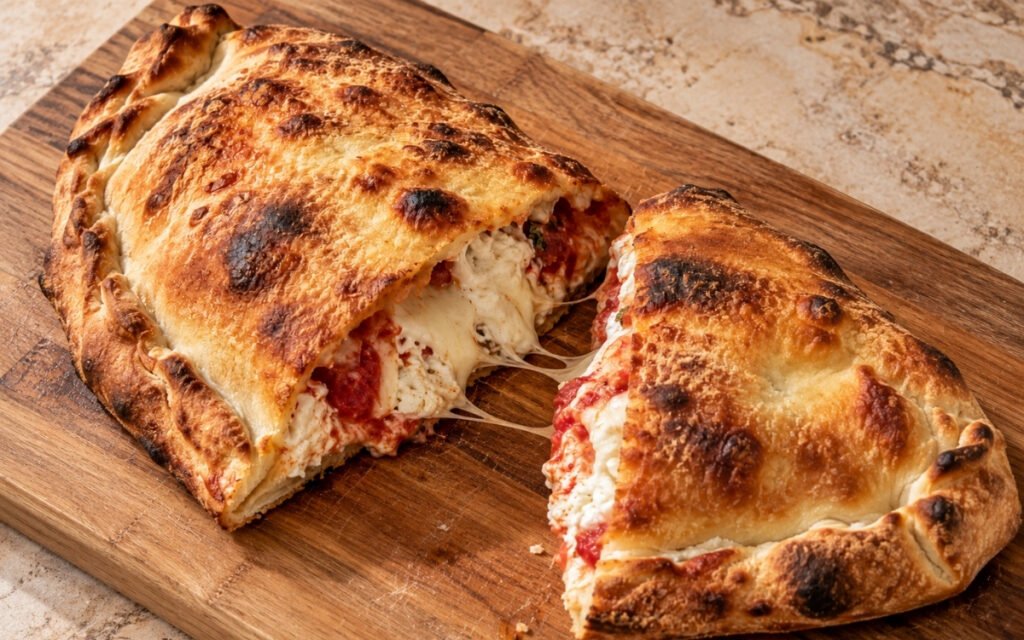
Calzone with Ricotta and Mozzarella
Golden baked calzones filled with creamy ricotta, melted mozzarella, Parmesan, a little thick tomato sauce, black pepper, and basil.
Neapolitan-Style Margherita Pizza
Ingredients
Method
- Drain the mozzarella very well. Tear or cut it into small bite-size pieces and place it on paper towels or in a colander set over a bowl for at least 30–60 minutes. If using very wet mozzarella, especially buffalo mozzarella, drain it longer. The cheese must be well drained before topping. Wet mozzarella releases too much liquid in the oven and can flood the center, preventing the crust from setting properly. That extended draining time removes moisture the cheese would otherwise release directly onto the dough during its genuinely brief bake — moisture the crust’s short cooking window simply doesn’t have time to cook off on its own.
- Crush the tomatoes by hand in a bowl or pulse briefly just until broken down into a rustic sauce. Stir in the salt. Do not cook the sauce. Do not add sugar, garlic, onion, oregano, or herbs if you want a classical Margherita profile. The sauce should taste clean, bright, and lightly seasoned. The texture matters: it should be loose enough to spread easily, but not watery. If there is excessive thin tomato liquid in the can, hold some of it back. Leaving the sauce entirely raw, rather than simmering it first, is what protects its genuinely bright, fresh tomato character — the brief oven time still cooks it fully once the pizza bakes, so nothing about the sauce’s freshness is actually lost.
- Take the dough balls out of the refrigerator 2–3 hours before baking. Keep them covered so the surface does not dry out. The dough is ready when it feels soft, relaxed, and slightly puffy. A properly tempered dough stretches much more easily and keeps the airy rim. Cold dough resists stretching and tends to snap back or tear. That tempering window lets the cold, tightened gluten network genuinely relax and warm through — dough shaped straight from the fridge simply doesn’t have the same give, fighting the stretch at every attempt.
- Place a pizza stone or pizza steel in the oven and preheat at the highest temperature your oven can reach, ideally 275–300°C, for at least 45–60 minutes. If your oven has a broiler or grill element, turning it on for the final 10–15 minutes of preheating helps build stronger top heat. For a dedicated pizza oven, preheat to approximately 430–485°C. High heat is critical. Without a fully saturated baking surface and strong top heat, you will not get the rapid oven spring, blistering, and soft-charred crust associated with Neapolitan-style pizza. That extended preheat ensures the stone or steel itself, not just the surrounding air, has genuinely reached its target temperature throughout — a surface only warmed on top would still be catching up internally when the dough first makes contact.
- Dust the work surface lightly with flour. Place one dough ball on the surface and dust the top lightly. Press from the center outward with your fingertips, pushing air toward the edge while leaving a 2–3cm rim untouched. Pick up the dough and stretch it gently by hand until you have a round pizza about 25–28cm across with a thin center and a visibly thicker airy rim. Do not use a rolling pin. A rolling pin crushes the gas structure and flattens the cornicione. If the dough resists or shrinks back strongly, let it rest for 10–15 minutes and try again. Deliberately pushing air toward the untouched rim as you press from the center is what concentrates the dough’s own fermentation gas exactly where the puffed, blistered cornicione needs it most.
- Transfer the shaped dough to a lightly floured peel. Spread about 80g tomato sauce over the center in a thin layer, leaving the rim uncovered. Add about 100–125g drained mozzarella evenly over the sauce. Add 3–5 basil leaves and drizzle lightly with about 5ml olive oil. Do not overload the pizza. A true Margherita is lightly topped. Too much sauce or cheese makes the center heavy and wet and prevents proper bake-through. That restrained topping weight matters directly given the pizza’s genuinely brief bake — a heavier hand with sauce or cheese would leave the center wet and underbaked by the time the crust itself is properly done.
- Launch the pizza onto the preheated stone or steel. In a home oven, bake for about 6–10 minutes, depending on heat level and baking surface. Rotate once if needed for even coloring. If the crust is set but the top needs more color, finish briefly under the broiler for 30–90 seconds, watching closely. In a very hot pizza oven, bake for about 60–90 seconds, turning every 20–30 seconds so the crust chars evenly without burning one side. The pizza is ready when the rim is puffed and airy, the crust has dark leopard-like blistering and some charred spots, the center is cooked but still soft and supple, the cheese is melted and gently bubbling, and the sauce looks concentrated, not watery. Turning the pizza regularly in a very hot oven accounts for how unevenly concentrated that heat often is across the chamber — without it, one side chars considerably faster than the other in a bake this short.
- Remove the pizza and let it sit for about 1 minute so the molten cheese and sauce settle slightly. If desired, add 1–2 more fresh basil leaves and a tiny final drizzle of olive oil. Repeat with the remaining dough balls, keeping the unshaped dough covered while each pizza is baked. That brief rest lets the still-molten cheese and sauce firm up just slightly, protecting the first slice from sliding straight off the moment it’s cut.
- Serve immediately while the crust is still light, airy, and tender. This pizza’s whole appeal depends on that genuinely fresh-from-the-oven texture — the crust’s own crispness and the cheese’s melted softness both change noticeably within minutes of coming out.