
Sicilian-Style Sheet Pan Pizza
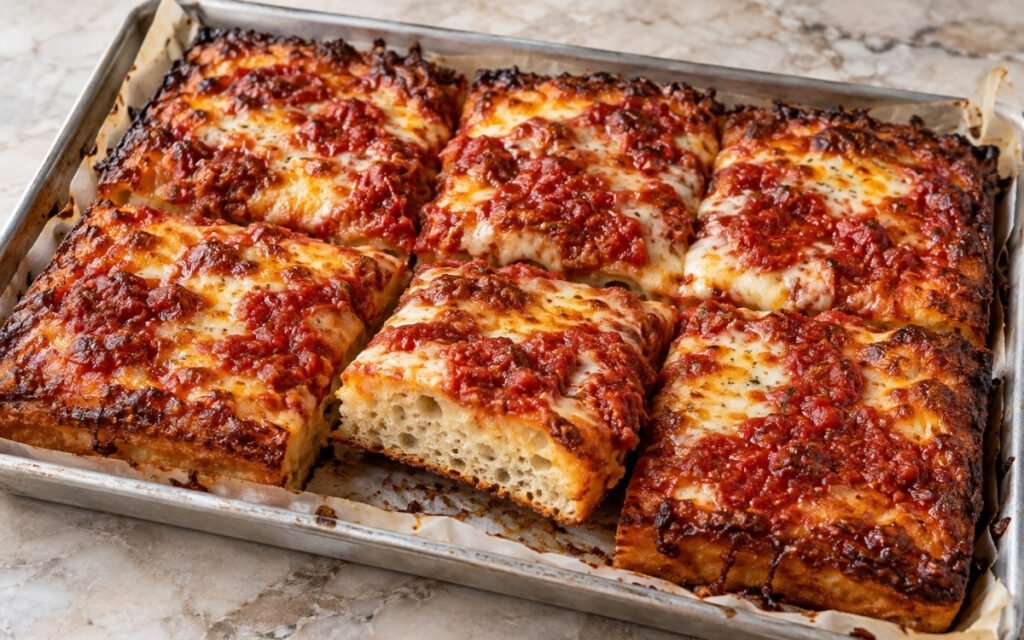
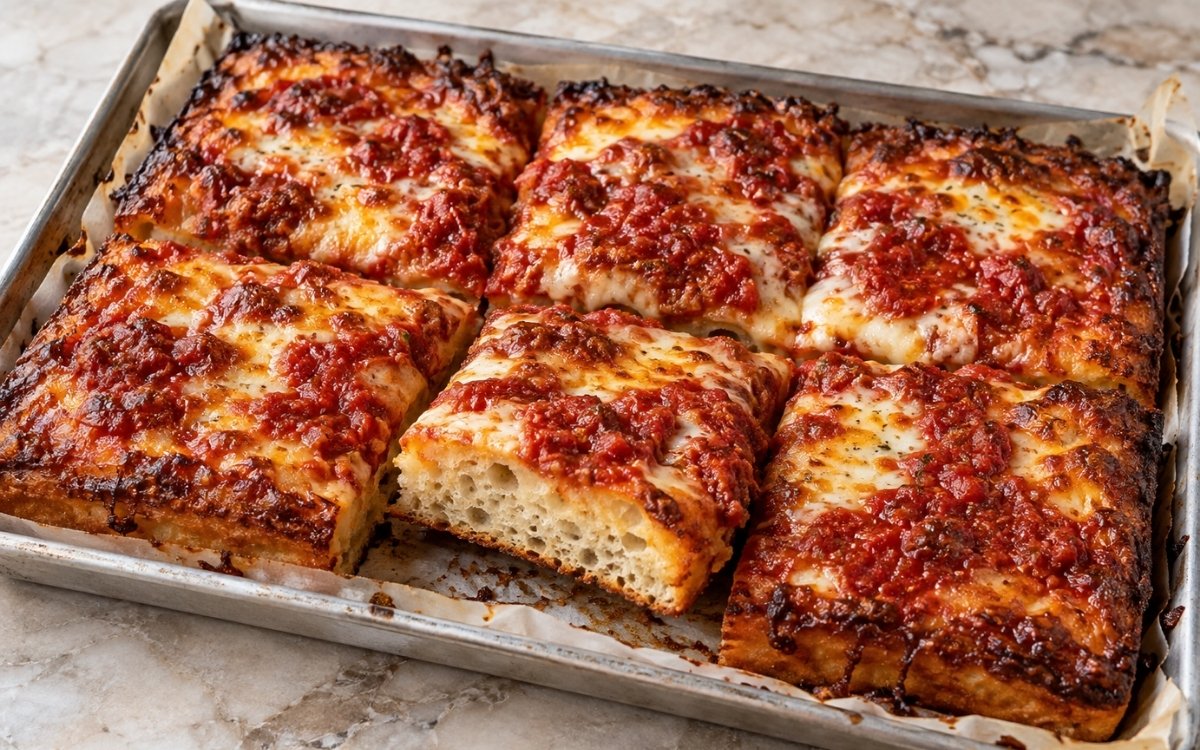
A classic Sicilian-style pan pizza with a thick, airy, focaccia-like crust baked in a well-oiled pan, topped with mozzarella, rich tomato sauce, and finished until the edges are crisp and deeply caramelized, cut into 6 square slices. Generously oiling the metal pan before the dough ever goes in is the technique this whole crust depends on for its characteristic fried, crisp edges — that pooled oil essentially shallow-fries the dough’s underside and rim during baking, the same generously-oiled-pan principle used elsewhere in this collection whenever a thick pan bread’s own crisp bottom depends on real, sustained contact with hot fat rather than a dry surface. Par-baking the dimpled dough plain, before any sauce or cheese ever touches it, is what sets the crust’s own airy structure so it stays light rather than turning soggy under the toppings. Layering the cheese directly against the dough, with the sauce spooned over it in rustic patches, is what protects the crust while still delivering the classic Sicilian look. The payoff is a pizza with real, substantial contrast — a thick, airy interior giving way to deeply golden, genuinely fried, crisp edges beneath bubbling cheese and concentrated tomato sauce.
Prep Time : 35 min
Cook Time : 22–28 min
Servings : 6
35 min
22–28 min
6
Ingredients
For the Dough
• 500g bread flour — this one on Amazon
• 400g water, lukewarm
• 10g fine sea salt
• 4g instant yeast
• 20g extra-virgin olive oil — this one on Amazon
For the Pan
• 30–40g extra-virgin olive oil, for the pan and hands
For the Tomato Sauce
• 400g canned crushed tomatoes or passata
• 20g tomato paste
• 15g extra-virgin olive oil
• 6g fine sea salt, or to taste
• 3g sugar, optional, if the tomatoes are sharp
• 2 garlic cloves, finely grated or minced
• 1g dried oregano — this one on Amazon
• A few grinds black pepper
For the Topping
• 350–400g low-moisture whole-milk mozzarella, shredded — this one on Amazon
• 40g Pecorino Romano or Parmigiano-Reggiano, finely grated — this one on Amazon
• 1–2 pinches dried oregano
• Extra-virgin olive oil, for finishing
This post may contain affiliate links. As an Amazon Associate I earn from qualifying purchases, at no additional cost to you.
Directions
- Mix the Dough
In a large bowl or stand mixer bowl, combine the bread flour and instant yeast. Add the lukewarm water and mix until no dry flour remains. Let it sit for 10 minutes, then add the salt and 20g olive oil. Knead for 8–10 minutes in a stand mixer on low-medium speed, or 10–12 minutes by hand, until the dough is smooth, elastic, and quite soft. This is a wetter dough than standard sandwich bread dough. It should be soft and tacky, but not fully loose like batter. That brief initial rest before the salt and oil are added lets the flour begin hydrating passively, building real gluten structure before either ingredient has the chance to interfere with that early development. - First Rise
Transfer the dough to a lightly oiled bowl, cover, and let rise at room temperature for 1½ to 2 hours, until noticeably puffy and roughly doubled. The dough should look aerated and feel lighter. If the room is cool, it may need longer. That first rise gives the yeast genuine time to build the airy lightness responsible for this pizza’s characteristically thick, focaccia-like interior. - Prepare the Pan and Transfer the Dough
Generously oil a 23 x 33cm / 9 x 13 inch metal pan with the pan olive oil, making sure the corners and sides are coated well. Transfer the risen dough to the pan. Turn it once so both sides get lightly coated in oil. Gently press the dough outward with oiled fingertips. Do not force it fully to the corners if it springs back. Cover and let it rest for 15 minutes, then press again. Repeat as needed until it fills the pan. The dough must be relaxed into the pan gradually. Forcing it when tight tears the gluten and deflates the dough. That generous pan oiling is doing genuine, active work beyond simply preventing sticking — it will effectively shallow-fry the dough’s underside and edges once baking begins, producing the crisp, characteristic Sicilian crust this recipe depends on. - Second Rise in the Pan
Cover the pan and let the dough proof for 1½ to 2 hours, until it is well-expanded, airy, and visibly puffy. It should rise to fill the pan with a soft, inflated look. Toward the end of this proof, preheat the oven to 245°C / 475°F. The dough is ready when it has a marshmallow-like feel and retains shallow fingertip impressions. Underproofed dough bakes up dense and tight. That specific, checkable texture — soft enough to hold a shallow fingertip impression — is a genuine, reliable readiness cue confirming the dough carries enough built-up lightness to bake up properly airy rather than dense. - Make the Sauce
While the dough proofs, combine the crushed tomatoes or passata, tomato paste, olive oil, salt, sugar if using, garlic, oregano, and black pepper. Stir well and let sit. The sauce should be thick enough to spoon, not watery. If it looks thin, let it stand longer or simmer very briefly to tighten it slightly, then cool before using. That thicker, spoonable consistency protects the par-baked crust beneath it from soaking up excess liquid once the sauce is added during the final bake. - Dimple and Par-Bake
When the dough is fully proofed, oil your fingertips lightly and dimple the surface gently all over, pressing straight down without collapsing it. Bake the dough plain for 10–12 minutes, until the top is set and lightly pale golden but not browned deeply. This par-bake is important. It sets the structure so the finished pizza stays airy and does not become soggy under the sauce and cheese. That deliberate dimpling, pressed straight down rather than dragged, releases some of the largest surface gas bubbles without deflating the dough’s overall structure, producing a more even surface for the par-bake to set properly across. - Top the Pizza
Remove the pan from the oven. Scatter the mozzarella evenly across the surface, making sure some reaches near the edges for caramelization. Spoon the tomato sauce over the cheese in an even layer or in rustic patches, leaving some cheese visible. Finish with the grated Pecorino or Parmigiano and a light pinch of oregano. Putting the cheese down first and the sauce on top gives the classic Sicilian look and helps protect the crust. Layering the cheese directly against the already-set par-baked crust, rather than the sauce, is what protects that crust from the sauce’s own moisture during the remaining bake time still ahead. - Final Bake
Return the pan to the oven and bake for 12–16 minutes, until the cheese is melted and browned in spots, the sauce looks concentrated and glossy, the edges are deeply golden and crisp, and the underside is baked through and lightly crisp when lifted with a spatula. If the top is done but the bottom needs more color, set the pan directly on the oven floor or the lower rack for 1–2 more minutes, watching closely. That direct contact with the oven’s floor or lowest rack delivers considerably more intense bottom heat quickly, catching up an underside that’s lagging behind the top’s own progress. - Rest and Slice
Remove from the oven and let the pizza rest in the pan for 3–5 minutes. If the bottom needs to stay crisp, carefully lift the pizza out onto a rack or board after this short rest. Drizzle very lightly with olive oil if desired. Cut into 6 square slices and serve hot. Resting briefly helps the cheese set slightly and keeps the crumb from compressing when sliced. Transferring the pizza off the hot pan and onto a rack, rather than leaving it to sit in its own residual oil, is what protects the bottom crust from continuing to soften from trapped steam and heat underneath it.
*Notes :
- Generously oiling the metal pan before the dough ever goes in deserves real recognition as the technique most responsible for this pizza’s genuinely fried, crisp edges. That pooled oil isn’t simply there to prevent sticking — it actively shallow-fries the dough’s underside and rim as the pizza bakes, and the recipe’s own explicit statement that this step “is not optional in Sicilian-style pizza” reflects exactly how central it is to the finished crust’s whole character.
- Par-baking the dimpled dough plain, before any sauce or cheese ever touches it, deserves genuine respect as one of the recipe’s own explicitly named key control points. That early bake sets the crust’s internal structure while it’s still unencumbered by toppings, protecting the finished pizza from turning soggy or dense once the wetter sauce and cheese are layered on for the remaining bake.
- Layering the cheese directly against the crust, with the sauce spooned over it rather than underneath, deserves attention as a deliberate technique specific to this pizza’s own classic look and structural needs. That order protects the already-set crust from the sauce’s own moisture during the final bake, while still delivering the rustic, cheese-and-sauce patchwork surface a proper Sicilian slice is known for.
- The dough’s specific, checkable proofing target — a marshmallow-like feel that retains shallow fingertip impressions — deserves genuine attention as a real readiness cue rather than a vague description. Underproofed dough at this stage bakes up dense and tight, missing exactly the thick, airy, focaccia-like interior this style of pizza is specifically built around.
Why This Recipe Works
This recipe works because the pan is generously oiled before the dough ever goes in, setting up the genuinely fried, crisp edges this style of pizza depends on. Two full proofs give the dough real time to build lightness, and the specific marshmallow-like proofing target confirms it’s ready before baking.
Par-baking the dough plain sets its own airy structure before any toppings are added, protecting it from turning soggy. Layering cheese beneath the sauce protects the crust during the final bake, and a brief rest afterward, followed by transferring the pizza off the hot pan, keeps the bottom crisp right through to slicing.
Ingredient Breakdown
Generously Oiled Metal Pan
The critical technique — pooled oil shallow-fries the dough’s underside and edges, producing the characteristic crisp Sicilian crust.
Wetter, Highly Hydrated Dough
The structural foundation — a softer, tackier dough than standard bread dough builds this pizza’s genuinely thick, airy interior.
Two Full Proofing Stages
The critical technique — the first and second rises together give the yeast real time to build the crust’s characteristic lightness.
Gentle, Deliberate Dimpling
The finishing technique — releases the largest surface bubbles without deflating the dough’s overall structure before the par-bake.
Plain Par-Bake (Before Toppings)
The critical technique — sets the crust’s own internal structure early, protecting it from turning soggy under the sauce and cheese.
Cheese-First, Sauce-Second Layering
The critical technique — protects the par-baked crust from the sauce’s own moisture during the final bake.
Flavor Structure Explained
This Sicilian-style sheet pan pizza follows a layered balance model:
- Thick, airy foundation (highly hydrated, twice-proofed dough)
- Crisp, fried edges (generously oiled metal pan)
- Rich melted body (low-moisture mozzarella)
- Concentrated tomato depth (thickened, well-seasoned sauce)
- Sharp finishing note (Pecorino or Parmigiano-Reggiano, oregano)
Highly hydrated, twice-proofed dough provides this pizza’s thick, genuinely airy foundation. A generously oiled metal pan builds crisp, fried edges distinct from a thinner, drier-baked crust. Low-moisture mozzarella contributes a rich, melted body throughout the surface. A thickened, well-seasoned tomato sauce, spooned over the cheese, layers in concentrated, glossy depth. Grated Pecorino or Parmigiano-Reggiano and a final pinch of oregano finish the pizza with a sharp, classic note that ties this substantial, square-cut slice together.
Common Mistakes to Avoid
- Skimping on the Pan’s Oil – This prevents the characteristic fried, crisp edges from developing. Always oil the pan generously, including the corners and sides.
- Forcing the Dough Into the Pan While It’s Still Tight – This tears the gluten and deflates the dough. Always relax it into the corners gradually, resting between presses.
- Skipping the Par-Bake – This risks a dense, soggy crust once the sauce and cheese are added. Always par-bake the plain dough first.
- Using Fresh Mozzarella Instead of Low-Moisture – This releases too much water for this style unless drained very aggressively. Always use low-moisture mozzarella.
- Slicing the Pizza Immediately Without Resting – This compresses the crumb and doesn’t let the cheese set. Always let it rest for 3 to 5 minutes first.
Variations
Extra-Crispy Edge Version
Press a little extra mozzarella close to the rim before the final bake, per the recipe’s own suggestion, for even stronger edge caramelization and a more pronounced fried crust border on every square slice.
Glass Pan Substitute Version
If a metal pan genuinely isn’t available, a glass pan can be used in a pinch, though it will not deliver the same bottom colour or crisp edges the recipe’s own notes specifically call out as best achieved with metal.
Extra-Saucy Version
Increase the tomato sauce slightly and spread it more evenly across the entire surface rather than in rustic patches, for a finished pizza that leans closer to a classic red-forward slice.
Reheated Leftover Version
Reheat leftover slices in a hot oven or a dry skillet rather than the microwave, per the recipe’s own guidance, since either method genuinely re-crisps the bottom rather than leaving it soft and steamed.
Storage & Make-Ahead
Use a metal pan rather than glass for this recipe, since metal conducts heat considerably more effectively and is directly responsible for both the best bottom colour and the genuinely crisp edges that define a proper Sicilian-style slice.
The pan needs to be generously oiled throughout, including the corners and sides, since this step is not optional for this particular style of pizza — that pooled oil is specifically what fries the crust’s bottom and edges as it bakes, building the texture this recipe depends on.
The dough itself should be soft, highly hydrated, and given its full proofing time at each stage, so if it still feels tight or dense before baking, give it more time to rise rather than rushing ahead, since underproofed dough bakes up correspondingly dense and tight.
Do not skip the par-bake under any circumstances, since the recipe’s own notes describe it as one of the key control points for achieving both a genuinely fluffy crumb and a slice sturdy enough to hold its own square shape without sagging once cut.
This pizza is best served hot, straight from its rest in the pan, but it also reheats successfully in a hot oven or a dry skillet, both of which genuinely re-crisp the bottom rather than leaving it soft the way a microwave reheat would.
Frequently Asked Questions
Why does the pan need to be so generously oiled?
That pooled oil isn’t just there to prevent sticking — it actively shallow-fries the dough’s underside and rim as the pizza bakes. This step is genuinely what produces the crisp, characteristic fried edges a proper Sicilian slice depends on.
Why does the dough need to par-bake plain before any toppings are added?
That early bake sets the crust’s own internal structure while it’s still unencumbered by wetter toppings, protecting the finished pizza from turning soggy or dense once the sauce and cheese are layered on for the remaining bake.
Why is the cheese layered directly on the dough, with the sauce spooned on top rather than underneath?
That order protects the already par-baked, set crust from the sauce’s own moisture during the final bake, while still delivering the rustic, cheese-and-sauce patchwork surface a classic Sicilian slice is known for.
Why does the dough need to reach that specific marshmallow-like, fingertip-indent texture before baking?
That specific texture confirms the dough carries enough built-up lightness to bake up properly airy rather than dense. Underproofed dough at this stage simply doesn’t have that same lift once it hits the oven.
Are there other classic pizza, garlic-forward, or baked pasta dishes worth trying?
Homemade Pizza Dough is worth making from scratch as the foundation for many other pizza recipes. Focaccia Pizza with Tomato and Mozzarella and Garlic Knots are also worth trying for other classic Italian bread directions, and Pepperoni Pizza and Baked Ziti offer other hearty, cheese-and-tomato dishes worth exploring.
Nutrition Facts
( Per Serving — 1 square slice )
Calories
~480 kcal
Protein
22 g
Fat
20 g
Carbs
54 g
Calories
~480 kcal
Protein
22 g
Fat
20 g
Carbs
54 g
Related Recipes
Related Recipes

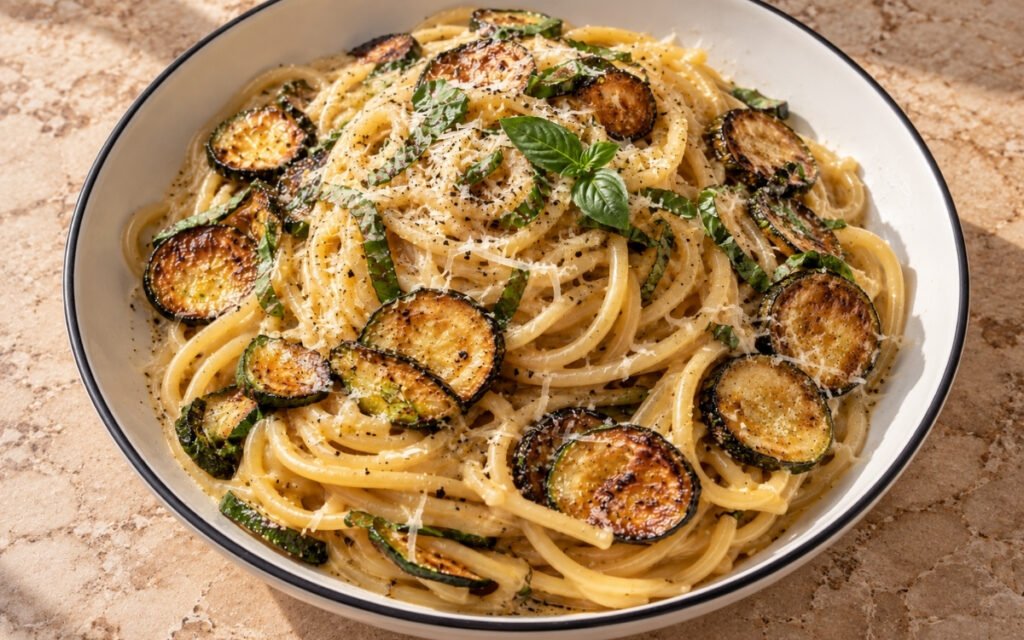
Spaghetti alla Nerano
Fried zucchini rounds tossed with spaghetti in a glossy, emulsified Pecorino Romano sauce, finished with black pepper and fresh basil.
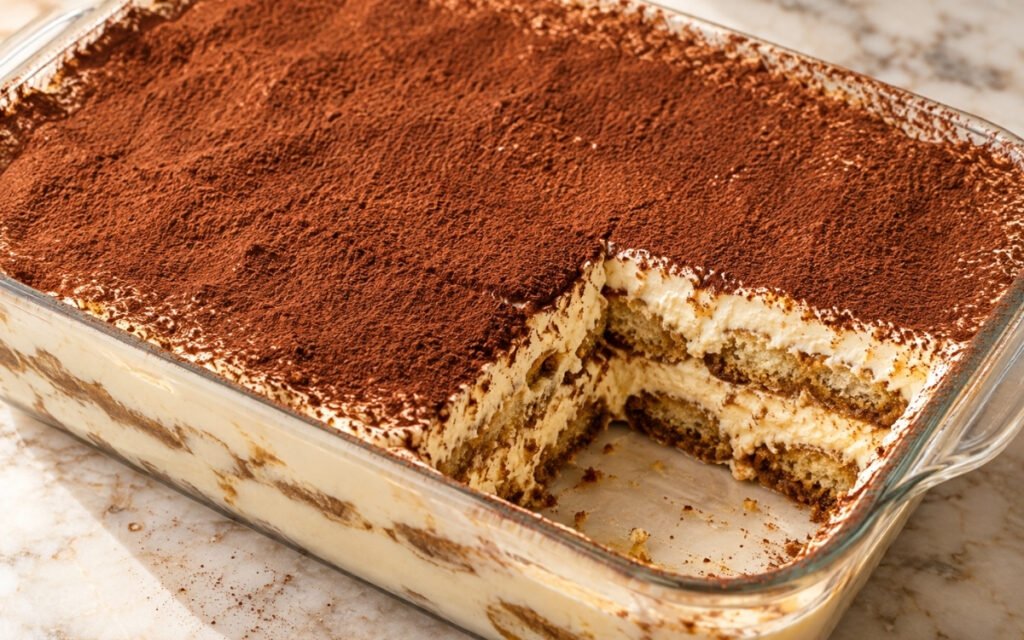
Tiramisu
Espresso-soaked savoiardi layered with a light, airy mascarpone cream, finished generously with unsweetened cocoa powder.
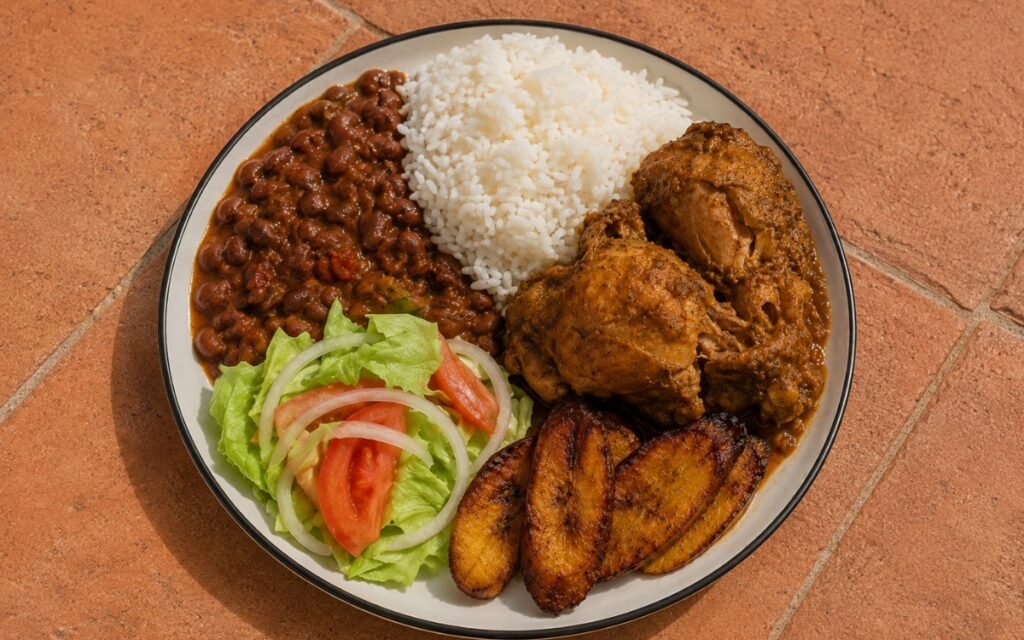
La Bandera Dominicana
Fluffy white rice, stewed red beans, caramelised braised chicken, sweet fried plantains, and fresh salad, each kept distinct on the plate.
You might also like
You might also like
Meatball Sub Sandwich
Tender panade-enriched beef meatballs in thick marinara, melted mozzarella and provolone, and fresh basil, in toasted long French rolls.
Char Siu — Chinese BBQ Pork over Rice
Glossy, caramelized Cantonese-style char siu pork sliced over jasmine rice with blanched bok choy and reduced glaze.
Beef Empanadas
Flaky, blistered baked pastry sealed around a savory beef filling with paprika, cumin, green olives, and hard-boiled egg.
Sicilian-Style Sheet Pan Pizza
Ingredients
Method
- In a large bowl or stand mixer bowl, combine the bread flour and instant yeast. Add the lukewarm water and mix until no dry flour remains. Let it sit for 10 minutes, then add the salt and 20g olive oil. Knead for 8–10 minutes in a stand mixer on low-medium speed, or 10–12 minutes by hand, until the dough is smooth, elastic, and quite soft. This is a wetter dough than standard sandwich bread dough. It should be soft and tacky, but not fully loose like batter. That brief initial rest before the salt and oil are added lets the flour begin hydrating passively, building real gluten structure before either ingredient has the chance to interfere with that early development.
- Transfer the dough to a lightly oiled bowl, cover, and let rise at room temperature for 1½ to 2 hours, until noticeably puffy and roughly doubled. The dough should look aerated and feel lighter. If the room is cool, it may need longer. That first rise gives the yeast genuine time to build the airy lightness responsible for this pizza’s characteristically thick, focaccia-like interior.
- Generously oil a 23 x 33cm / 9 x 13 inch metal pan with the pan olive oil, making sure the corners and sides are coated well. Transfer the risen dough to the pan. Turn it once so both sides get lightly coated in oil. Gently press the dough outward with oiled fingertips. Do not force it fully to the corners if it springs back. Cover and let it rest for 15 minutes, then press again. Repeat as needed until it fills the pan. The dough must be relaxed into the pan gradually. Forcing it when tight tears the gluten and deflates the dough. That generous pan oiling is doing genuine, active work beyond simply preventing sticking — it will effectively shallow-fry the dough’s underside and edges once baking begins, producing the crisp, characteristic Sicilian crust this recipe depends on.
- Cover the pan and let the dough proof for 1½ to 2 hours, until it is well-expanded, airy, and visibly puffy. It should rise to fill the pan with a soft, inflated look. Toward the end of this proof, preheat the oven to 245°C / 475°F. The dough is ready when it has a marshmallow-like feel and retains shallow fingertip impressions. Underproofed dough bakes up dense and tight. That specific, checkable texture — soft enough to hold a shallow fingertip impression — is a genuine, reliable readiness cue confirming the dough carries enough built-up lightness to bake up properly airy rather than dense.
- While the dough proofs, combine the crushed tomatoes or passata, tomato paste, olive oil, salt, sugar if using, garlic, oregano, and black pepper. Stir well and let sit. The sauce should be thick enough to spoon, not watery. If it looks thin, let it stand longer or simmer very briefly to tighten it slightly, then cool before using. That thicker, spoonable consistency protects the par-baked crust beneath it from soaking up excess liquid once the sauce is added during the final bake.
- When the dough is fully proofed, oil your fingertips lightly and dimple the surface gently all over, pressing straight down without collapsing it. Bake the dough plain for 10–12 minutes, until the top is set and lightly pale golden but not browned deeply. This par-bake is important. It sets the structure so the finished pizza stays airy and does not become soggy under the sauce and cheese. That deliberate dimpling, pressed straight down rather than dragged, releases some of the largest surface gas bubbles without deflating the dough’s overall structure, producing a more even surface for the par-bake to set properly across.
- Remove the pan from the oven. Scatter the mozzarella evenly across the surface, making sure some reaches near the edges for caramelization. Spoon the tomato sauce over the cheese in an even layer or in rustic patches, leaving some cheese visible. Finish with the grated Pecorino or Parmigiano and a light pinch of oregano. Putting the cheese down first and the sauce on top gives the classic Sicilian look and helps protect the crust. Layering the cheese directly against the already-set par-baked crust, rather than the sauce, is what protects that crust from the sauce’s own moisture during the remaining bake time still ahead.
- Return the pan to the oven and bake for 12–16 minutes, until the cheese is melted and browned in spots, the sauce looks concentrated and glossy, the edges are deeply golden and crisp, and the underside is baked through and lightly crisp when lifted with a spatula. If the top is done but the bottom needs more color, set the pan directly on the oven floor or the lower rack for 1–2 more minutes, watching closely. That direct contact with the oven’s floor or lowest rack delivers considerably more intense bottom heat quickly, catching up an underside that’s lagging behind the top’s own progress.
- Remove from the oven and let the pizza rest in the pan for 3–5 minutes. If the bottom needs to stay crisp, carefully lift the pizza out onto a rack or board after this short rest. Drizzle very lightly with olive oil if desired. Cut into 6 square slices and serve hot. Resting briefly helps the cheese set slightly and keeps the crumb from compressing when sliced. Transferring the pizza off the hot pan and onto a rack, rather than leaving it to sit in its own residual oil, is what protects the bottom crust from continuing to soften from trapped steam and heat underneath it.