
Focaccia Pizza with Tomato and Mozzarella
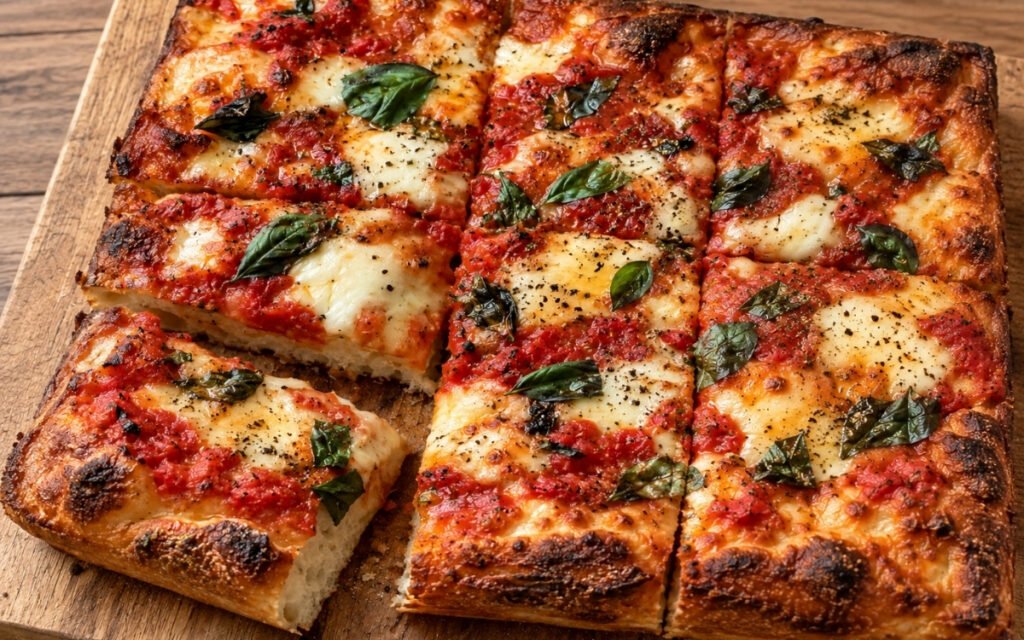
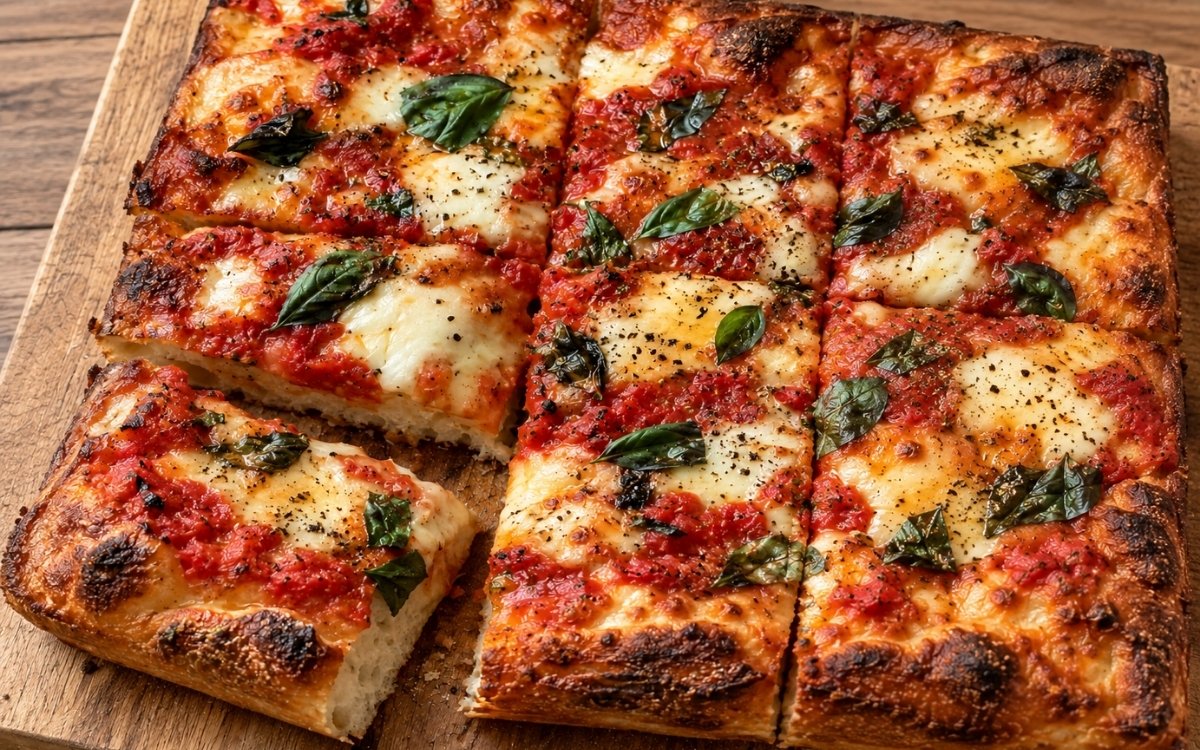
A thick, airy focaccia-style pizza made from a long-fermented focaccia dough, pre-baked first so the structure stays lifted and does not collapse under the tomato sauce and mozzarella, finishing with a crisp, olive-oil-rich bottom and edges, a soft cloud-like interior, and a classic topping of tomato, melted mozzarella, basil, and olive oil. Pre-baking the dimpled, plain dough before any sauce or cheese ever touches it is the technique this whole pizza depends on for keeping its airy structure — that early bake sets the crumb while it’s still unencumbered by wet toppings, the same pre-bake-then-top principle used elsewhere in this collection whenever a thick, high-hydration dough needs its own structure locked in before heavier toppings are added. Building the dough’s strength through gentle folds rather than heavy kneading is what lets this genuinely wet dough develop real structure without ever tightening it the way traditional kneading would. Keeping the tomato sauce thick and using it with real restraint is what protects the airy crumb from being weighed down by excess moisture. The payoff is a pizza with real, substantial contrast — a soft, pillowy interior beneath a crisp, deeply golden, fried bottom, topped with melted mozzarella and bright basil.
Prep Time : 35 min
Bake Time : 20–26 min
Servings : 8 slices
35 min
20–26 min
8 slices
Ingredients
For the Focaccia Dough
• 720g 00 flour — this one on Amazon
• 240g fine semolina — this one on Amazon
• 830g water, warmed to 27–30°C
• 7g instant yeast
• 22g fine sea salt
• 30g extra-virgin olive oil
For the Pan and Handling
• 60–80g extra-virgin olive oil, divided, for greasing the pan, stretching, dimpling, and finishing — this one on Amazon
For the Topping
• 450–500g thick marinara or smooth tomato sauce, cooled
• 450–500g low-moisture mozzarella, shredded — this one on Amazon
• 12–16 basil leaves
• 10–15g extra-virgin olive oil, for finishing
• Fine sea salt, as needed
• Freshly ground black pepper, optional
This post may contain affiliate links. As an Amazon Associate I earn from qualifying purchases, at no additional cost to you.
Directions
- Mix the Dough
In a large bowl or the bowl of a stand mixer, combine the 00 flour, fine semolina, and instant yeast. Add the warm water and 30g olive oil and mix until no dry flour remains and you have a very shaggy, sticky dough. Let it rest for 15 minutes. Add the salt and mix again until fully incorporated. If using a stand mixer with a dough hook, mix on low to medium-low speed for 6–8 minutes. If mixing by hand, use a folding and squeezing motion for 2–3 minutes until the dough becomes more cohesive. The dough should be very soft and high-hydration. It will not feel like a stiff bread dough. Do not add extra flour to “fix” it. That initial 15-minute rest lets the flour begin hydrating passively before the salt is introduced, building real gluten structure before that ingredient has any chance to slow the early process down. - Strengthen the Dough
Cover the bowl and let the dough rest for 20 minutes. Then perform a set of stretch and folds or coil folds. Repeat 3 more times at 20-minute intervals, for a total of 4 sets. After the last fold, the dough should feel noticeably smoother, stronger, and more elastic, while still remaining soft and extensible. This strengthening stage is important. With a wet focaccia dough, the folds build structure without tightening the dough the way heavy kneading can. That repeated, gentler folding technique is specifically what lets this genuinely wet dough develop real gluten strength without ever tightening it the way traditional, aggressive kneading would, protecting the airy, open crumb this focaccia depends on. - Cold Ferment
Transfer the dough to a lightly oiled container, cover well, and refrigerate for 48–72 hours. This long cold ferment is what gives the dough its complex flavor, better browning, and airy internal structure. A same-day version will not produce the same result. That extended cold time is genuinely the main flavour-building stage of this whole recipe, giving the yeast real time to develop complexity a same-day dough simply couldn’t achieve in the same window. - Pan the Dough
Remove the dough from the refrigerator. Generously oil a parchment-lined sheet pan or directly oil a metal sheet pan very well. A standard roughly 33 x 45cm / 13 x 18 in pan works well. Pour 2–3 tablespoons of olive oil into the pan. Gently transfer the dough into the pan. Turn it once so both sides are lightly coated in oil. Let it rest for 20–30 minutes, then gently stretch it toward the corners. If it resists, stop and let it relax for another 15 minutes before stretching again. Do not force it aggressively. The dough should eventually fill the pan with gentle stretching over time, not by pressing out all the gas. That generous pan oiling does genuine, active work beyond preventing sticking — it will essentially shallow-fry the dough’s underside during baking, producing this focaccia’s characteristically crisp, olive-oil-rich bottom. - Final Proof
Once the dough is spread in the pan, cover lightly and let it proof at room temperature for 1½ to 2½ hours, until very puffy and visibly aerated. Toward the end of proofing, drizzle a little more olive oil over the surface. Using your fingertips, dimple the dough all over, pressing down gently but not deflating it completely. The dough is ready when it looks pillowy and bubbly. If it still looks tight and flat, it needs more time. That gentle dimpling, pressed down without fully deflating the dough, releases the largest surface gas bubbles while preserving the overall structure built through the earlier cold ferment and folds. - Pre-Bake the Focaccia Base
Preheat the oven to 245°C. Bake the plain dimply dough for 8–10 minutes, until the surface is set and just barely starting to color at the edges, but not yet deeply browned. This pre-bake is the critical step for this pizza variation. The dough must be set enough to support the sauce and cheese without sinking, but not baked so far that it dries out before the second bake. That deliberately brief pre-bake window is calibrated precisely to lock in the crumb’s own airy structure while leaving genuine room for the second, topped bake still to come. - Top the Pizza
Remove the pan from the oven. Spread the tomato sauce over the pre-baked base in an even layer, leaving a small border around the edge. Use a thick sauce layer, not a watery one. Scatter the mozzarella evenly over the sauce. If needed, add a very light pinch of salt, depending on how seasoned the sauce and cheese are. Do not overload the focaccia with sauce. Too much moisture is the fastest way to weigh down the airy crumb you just built. That deliberately thick sauce, used with real restraint, protects the pre-baked crumb’s own structure from the excess moisture a looser or heavier-handed sauce layer would introduce. - Final Bake
Return the pan to the oven and bake for 10–16 minutes, until the cheese is melted and bubbling, the edges are deep golden, and the bottom is crisp. If your oven browns unevenly, rotate the pan partway through the second bake. The pizza is done when the edges are well colored, the cheese is fully melted, and the interior crumb remains airy rather than wet or compressed. That final visual check — an airy, not compressed, interior — confirms the pre-bake and moisture control throughout the recipe have actually worked as intended. - Finish
Remove from the oven and let it rest for 5–8 minutes. Top with basil leaves and drizzle with the finishing olive oil. If you want the basil just lightly wilted, add it for the last 1 minute of baking. If you want fresher, cleaner basil flavor, add it after baking. That choice between adding the basil during the final minute of baking or entirely after gives you real control over whether the finished herb reads as softly wilted or genuinely fresh and crisp. - Slice and Serve
Lift the pizza from the pan if needed, transfer to a board, and cut into 8 pieces. Serve warm. That brief resting period lets the cheese set slightly, making for genuinely cleaner slices rather than ones that pull and stretch messily under the knife.
*Notes :
- Pre-baking the plain, dimpled dough before any sauce or cheese ever touches it deserves recognition as the single technique most responsible for this focaccia pizza’s whole defining texture. The recipe’s own explicit description of this stage as “the critical step for this pizza variation” reflects exactly how much it matters — without it, the sauce and cheese’s own weight and moisture would work directly against the airy structure the long fermentation and folding worked so hard to build.
- Building the dough’s strength through repeated gentle folds, rather than reaching for heavy kneading, deserves the same attention this technique receives throughout this collection’s other high-hydration doughs. That gentler approach is specifically what lets a dough this wet develop real gluten structure without ever tightening it the way aggressive kneading would, protecting the open, pillowy crumb this focaccia is built around.
- Keeping the tomato sauce genuinely thick and used with real restraint deserves attention as a deliberate, functional choice given how directly excess moisture threatens this style of pizza. The recipe’s own warning that too much sauce is “the fastest way to weigh down the airy crumb” reflects a real, specific vulnerability — a wetter or heavier-handed sauce layer would soak straight into the crumb this whole recipe was built to keep light.
- Generously oiling the pan before the dough ever goes in deserves genuine respect as the technique responsible for this focaccia’s signature crisp, fried bottom. That pooled oil actively shallow-fries the dough’s underside as it bakes, producing a texture a dry pan simply couldn’t replicate, regardless of how well every other stage of the recipe is executed.
Why This Recipe Works
This recipe works because the dough is built through repeated gentle folds rather than heavy kneading, developing real structure without tightening a naturally wet dough. A long cold ferment builds genuine flavour complexity, and a generously oiled pan sets up the crisp, fried bottom this style depends on.
Pre-baking the plain, dimpled dough locks in its airy structure before any toppings are added, and a thick, restrained sauce layer protects that crumb from excess moisture during the final bake. Resting briefly after baking lets the cheese set for clean slices, delivering a pizza with real contrast between its soft interior and crisp, golden edges.
Ingredient Breakdown
High-Hydration, Fold-Strengthened Dough
The critical technique — gentle folds build real gluten structure without tightening a naturally wet dough the way kneading would.
48–72 Hour Cold Fermentation
The core flavour-building stage — develops complexity and browning a same-day dough simply couldn’t achieve.
Generously Oiled Pan
The critical technique — shallow-fries the dough’s underside, producing this focaccia’s characteristic crisp, olive-oil-rich bottom.
Pre-Baked Plain Base
The critical technique — sets the crumb’s own airy structure before any sauce or cheese is ever added.
Thick, Restrained Tomato Sauce
The critical technique — protects the pre-baked crumb from the excess moisture a looser sauce layer would introduce.
Low-Moisture Mozzarella
The critical ingredient choice — provides a clean melt with less water release than fresh mozzarella would.
Flavor Structure Explained
This focaccia pizza follows a layered balance model:
- Soft, airy interior (long-fermented, fold-strengthened dough)
- Crisp, fried foundation (generously oiled pan, pre-baked crumb)
- Rich tomato depth (thick, restrained sauce)
- Melted, savoury body (low-moisture mozzarella)
- Fresh herbal finish (basil, finishing olive oil)
Long-fermented, fold-strengthened dough provides this pizza’s soft, genuinely airy interior. A generously oiled pan and a deliberate pre-bake build a crisp, fried foundation beneath that soft crumb. A thick, restrained layer of tomato sauce contributes real depth without overwhelming the crumb’s own lightness. Low-moisture mozzarella melts into a rich, savoury body across the surface, and fresh basil, along with a final drizzle of olive oil, finishes the pizza with bright, classic character that ties every layer of this substantial slice together.
Common Mistakes to Avoid
- Adding Extra Flour to “Fix” the Wet Dough – This works against the whole point of this high-hydration recipe. Always resist adding flour and trust the process.
- Kneading Heavily Instead of Folding Gently – This tightens the dough in a way that works against the open, airy crumb. Always build strength through the specified gentle folds.
- Skipping or Rushing the Pre-Bake – This risks the crumb collapsing under the weight of the sauce and cheese. Always give the plain dough its full 8 to 10 minutes.
- Using a Loose, Watery Sauce – This soaks into the crumb and weighs down the airy structure. Always use a thick, cooled sauce layer.
- Skimping on the Pan’s Oil – This prevents the signature crisp, fried bottom from developing. Always oil the pan generously before the dough goes in.
Variations
Fresh Mozzarella Version
Substitute fresh mozzarella for low-moisture, but drain it very well beforehand and tear it into small pieces, since fresh mozzarella’s own water release is considerably harder to manage in this style of pizza.
Extra-Basil Version
Add basil both during the final minute of baking, for a softly wilted note, and again fresh after baking, layering two distinct basil textures and intensities into the finished pizza.
Same-Day Adjustment Version
If time doesn’t allow for the full 48 to 72-hour cold ferment, a shorter version is possible, but accept a noticeably milder flavour and less airy structure than the full fermentation would produce.
Lower Oven Version
If your oven runs genuinely cool, bake the focaccia on a lower rack throughout, per the recipe’s own guidance, for meaningfully better bottom browning and crispness.
Storage & Make-Ahead
This recipe uses a long-fermented focaccia dough as its base and specifically pre-bakes that dough before topping it, which is what keeps the finished pizza genuinely airy rather than letting it collapse under the weight of the marinara and cheese once assembled.
Use a thick, fully cooled tomato sauce for the topping, since a loose or watery sauce will soak straight into the crumb and leave the center noticeably heavier than the light, pillowy texture this recipe is specifically built around.
Low-moisture mozzarella is the safest choice for a clean, well-controlled melt with less water release overall, but if you do use fresh mozzarella instead, drain it very thoroughly and tear it into small pieces before scattering it over the sauce.
Remember that this dough is intentionally very wet by design, so resist the urge to add extra flour unless it is genuinely, absolutely necessary, since doing so works directly against the open, airy crumb the long fermentation and gentle folding are meant to build.
The pan itself needs to be generously oiled throughout, since this step is essential both for releasing the finished pizza cleanly and for producing the signature crisp focaccia bottom, and resting the baked pizza briefly afterward helps the cheese set for cleaner, more presentable slices.
Frequently Asked Questions
Why is the plain dough pre-baked before any sauce or cheese is added?
That early bake sets the dough’s own crumb structure while it’s still unencumbered by wet toppings. Without it, the sauce and cheese’s weight and moisture would work directly against the airy structure the long fermentation and folding built.
Why is the dough strengthened through gentle folds rather than heavy kneading?
That gentler approach lets a dough this genuinely wet develop real gluten structure without ever tightening it the way aggressive kneading would, protecting the open, pillowy crumb this focaccia depends on.
Why does the tomato sauce need to stay so thick and be used with restraint?
Excess moisture is the fastest way to weigh down the airy crumb the whole recipe is built around. A thick, restrained sauce layer protects the pre-baked crumb from soaking up more liquid than it can support.
Why does the pan need to be so generously oiled?
That pooled oil actively shallow-fries the dough’s underside as it bakes, producing this focaccia’s characteristic crisp, olive-oil-rich bottom — a texture a dry pan simply couldn’t replicate.
Are there other classic pizza, garlic-forward, or focaccia dishes worth trying?
Homemade Pizza Dough is worth making from scratch as the foundation for many other pizza recipes. Sicilian-Style Sheet Pan Pizza and Garlic Knots are also worth trying for other thick-crust and bread-forward directions, and Neapolitan-Style Margherita Pizza and Focaccia offer other classic pizza and Italian bread styles worth exploring.
Nutrition Facts
( Per Serving — 1 slice of 8 )
Calories
~520 kcal
Protein
22 g
Fat
22 g
Carbs
58 g
Calories
~520 kcal
Protein
22 g
Fat
22 g
Carbs
58 g
Related Recipes
Related Recipes

Cannoli
Crisp blistered fried pastry shells filled with sweetened ricotta cream, finished with chopped pistachios, chocolate chips, and powdered sugar.
Tequeños
Firm white cheese wrapped in thin buttery dough, fried until deeply golden and crisp with melted, stretchy cheese inside.
Grilled Halloumi Burger with Roasted Peppers
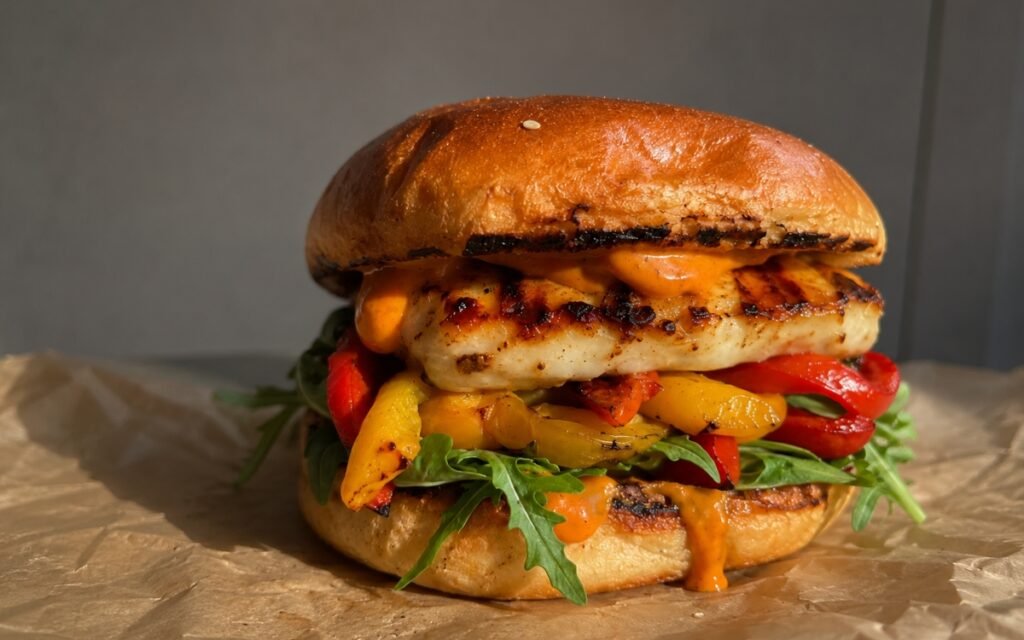
Halloumi patted dry, pre-warmed, and grilled deeply golden — on a butter-toasted brioche bun with caramelised red and yellow peppers, cold harissa-lime mayo, and rocket. 35 minutes.


You might also like
You might also like
Classic Spaghetti all’Amatriciana
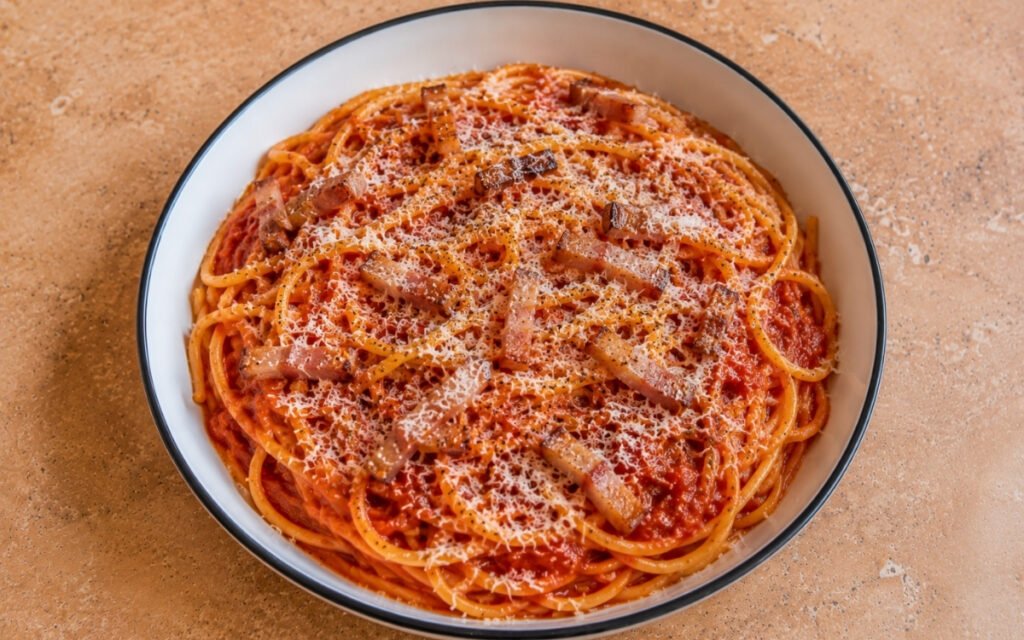
Cold-rendered guanciale, white wine, hand-crushed San Marzano tomatoes, and Pecorino off the heat — 40 minutes.
Pasta alla Norma
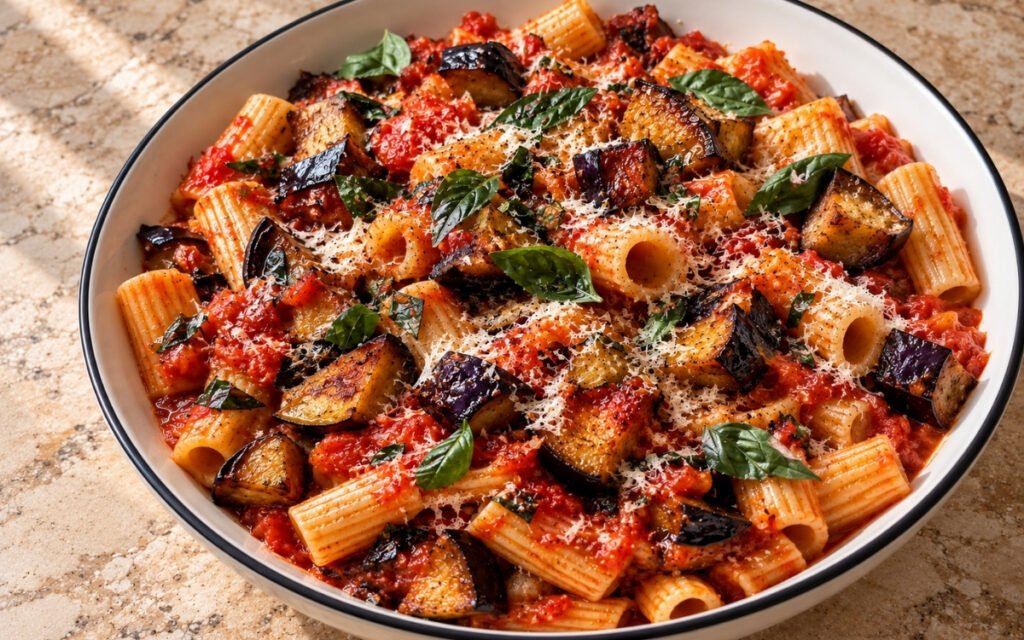
Glossy pasta tossed with deeply golden fried eggplant in a simple tomato basil sauce, finished with grated ricotta salata.
Sopa de Albóndigas
Tender beef-and-rice meatballs simmered gently in a savory red tomato broth with carrot, potato, and zucchini.

Focaccia Pizza with Tomato and Mozzarella
Ingredients
Method
- In a large bowl or the bowl of a stand mixer, combine the 00 flour, fine semolina, and instant yeast. Add the warm water and 30g olive oil and mix until no dry flour remains and you have a very shaggy, sticky dough. Let it rest for 15 minutes. Add the salt and mix again until fully incorporated. If using a stand mixer with a dough hook, mix on low to medium-low speed for 6–8 minutes. If mixing by hand, use a folding and squeezing motion for 2–3 minutes until the dough becomes more cohesive. The dough should be very soft and high-hydration. It will not feel like a stiff bread dough. Do not add extra flour to “fix” it. That initial 15-minute rest lets the flour begin hydrating passively before the salt is introduced, building real gluten structure before that ingredient has any chance to slow the early process down.
- Cover the bowl and let the dough rest for 20 minutes. Then perform a set of stretch and folds or coil folds. Repeat 3 more times at 20-minute intervals, for a total of 4 sets. After the last fold, the dough should feel noticeably smoother, stronger, and more elastic, while still remaining soft and extensible. This strengthening stage is important. With a wet focaccia dough, the folds build structure without tightening the dough the way heavy kneading can. That repeated, gentler folding technique is specifically what lets this genuinely wet dough develop real gluten strength without ever tightening it the way traditional, aggressive kneading would, protecting the airy, open crumb this focaccia depends on.
- Transfer the dough to a lightly oiled container, cover well, and refrigerate for 48–72 hours. This long cold ferment is what gives the dough its complex flavor, better browning, and airy internal structure. A same-day version will not produce the same result. That extended cold time is genuinely the main flavour-building stage of this whole recipe, giving the yeast real time to develop complexity a same-day dough simply couldn’t achieve in the same window.
- Remove the dough from the refrigerator. Generously oil a parchment-lined sheet pan or directly oil a metal sheet pan very well. A standard roughly 33 x 45cm / 13 x 18 in pan works well. Pour 2–3 tablespoons of olive oil into the pan. Gently transfer the dough into the pan. Turn it once so both sides are lightly coated in oil. Let it rest for 20–30 minutes, then gently stretch it toward the corners. If it resists, stop and let it relax for another 15 minutes before stretching again. Do not force it aggressively. The dough should eventually fill the pan with gentle stretching over time, not by pressing out all the gas. That generous pan oiling does genuine, active work beyond preventing sticking — it will essentially shallow-fry the dough’s underside during baking, producing this focaccia’s characteristically crisp, olive-oil-rich bottom.
- Once the dough is spread in the pan, cover lightly and let it proof at room temperature for 1½ to 2½ hours, until very puffy and visibly aerated. Toward the end of proofing, drizzle a little more olive oil over the surface. Using your fingertips, dimple the dough all over, pressing down gently but not deflating it completely. The dough is ready when it looks pillowy and bubbly. If it still looks tight and flat, it needs more time. That gentle dimpling, pressed down without fully deflating the dough, releases the largest surface gas bubbles while preserving the overall structure built through the earlier cold ferment and folds.
- Preheat the oven to 245°C. Bake the plain dimply dough for 8–10 minutes, until the surface is set and just barely starting to color at the edges, but not yet deeply browned. This pre-bake is the critical step for this pizza variation. The dough must be set enough to support the sauce and cheese without sinking, but not baked so far that it dries out before the second bake. That deliberately brief pre-bake window is calibrated precisely to lock in the crumb’s own airy structure while leaving genuine room for the second, topped bake still to come.
- Remove the pan from the oven. Spread the tomato sauce over the pre-baked base in an even layer, leaving a small border around the edge. Use a thick sauce layer, not a watery one. Scatter the mozzarella evenly over the sauce. If needed, add a very light pinch of salt, depending on how seasoned the sauce and cheese are. Do not overload the focaccia with sauce. Too much moisture is the fastest way to weigh down the airy crumb you just built. That deliberately thick sauce, used with real restraint, protects the pre-baked crumb’s own structure from the excess moisture a looser or heavier-handed sauce layer would introduce.
- Return the pan to the oven and bake for 10–16 minutes, until the cheese is melted and bubbling, the edges are deep golden, and the bottom is crisp. If your oven browns unevenly, rotate the pan partway through the second bake. The pizza is done when the edges are well colored, the cheese is fully melted, and the interior crumb remains airy rather than wet or compressed. That final visual check — an airy, not compressed, interior — confirms the pre-bake and moisture control throughout the recipe have actually worked as intended.
- Remove from the oven and let it rest for 5–8 minutes. Top with basil leaves and drizzle with the finishing olive oil. If you want the basil just lightly wilted, add it for the last 1 minute of baking. If you want fresher, cleaner basil flavor, add it after baking. That choice between adding the basil during the final minute of baking or entirely after gives you real control over whether the finished herb reads as softly wilted or genuinely fresh and crisp.
- Lift the pizza from the pan if needed, transfer to a board, and cut into 8 pieces. Serve warm. That brief resting period lets the cheese set slightly, making for genuinely cleaner slices rather than ones that pull and stretch messily under the knife.