
Onigiri Rice Balls
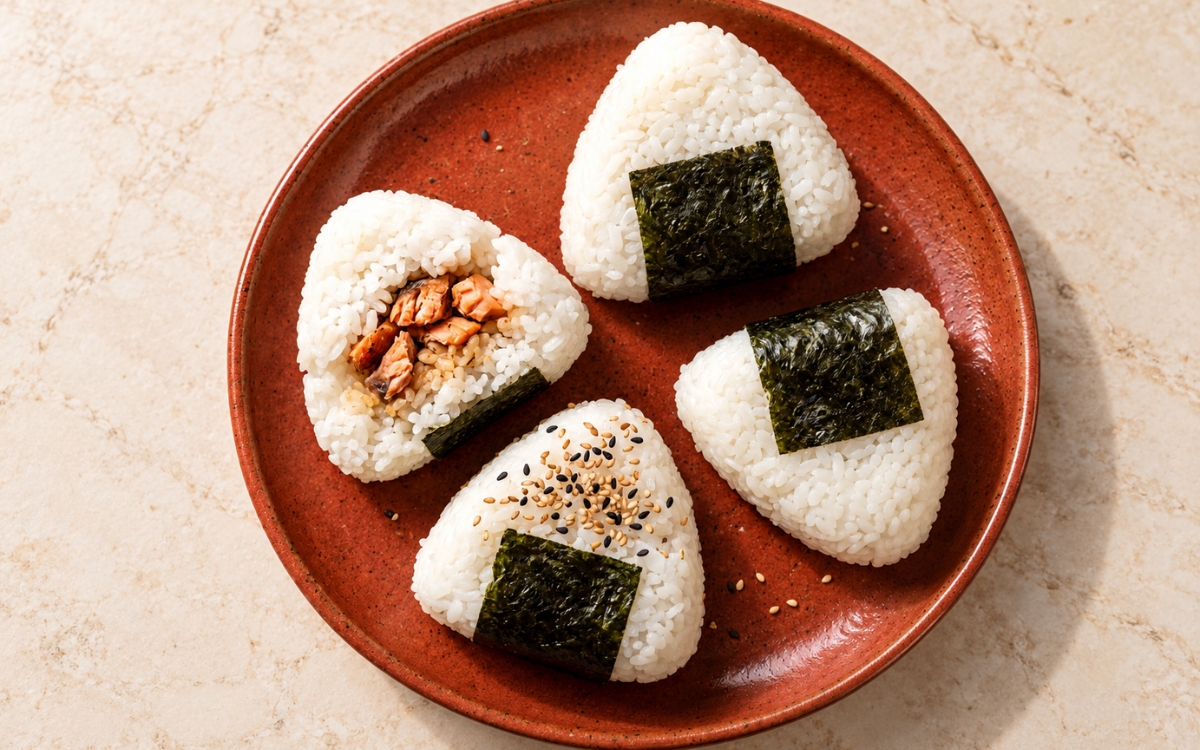
Classic Japanese onigiri made from warm, lightly salted short-grain rice, pressed into compact triangles around flaky salmon and wrapped with a crisp strip of nori, the key being tender, cohesive rice that holds in the hand yet stays soft and loose in the mouth. Shaping the rice while it is still warm, using wet, salted hands and only firm, gentle pressure rather than a hard squeeze, is the technique this whole rice ball depends on for a shape that holds together without turning into paste — cold rice cracks and crumbles while crushed grains turn gummy and dense, the same shape-while-warm-and-press-lightly principle used elsewhere in this collection whenever sticky rice must hold a form. Seasoning the outside with salted palms, rather than mixing salt through the rice, is what gives each bite a clean, light savouriness and helps the onigiri keep well for a few hours. Flaking the salmon into small, dry pieces and enclosing it fully in the centre is what keeps the filling neat and the rice from turning damp or splitting. The payoff is an onigiri with real, satisfying contrast — soft, cohesive rice with visible grains, a savoury pocket of flaky salmon at the centre, and a crisp, toasty nori strip with a light sesame finish.

Prep Time : 20 min
Total Time : 45 min
Servings : 4
20 min
45 min
4
Ingredients
For the Rice
• 450g Japanese short-grain rice, uncooked
• About 540ml water, for cooking, plus cold water for rinsing
• Fine salt, as needed, for seasoning your hands and, if desired, lightly seasoning the rice
For the Salmon Filling
• 250–300g salmon fillet, skinless if possible
• 1 tsp salt
• 1–2 tsp soy sauce, optional, only a light amount
• 1 tsp toasted sesame seeds, optional
For the Assembly
• 2 full nori sheets, cut into 8 strips
• 1–2 tsp toasted white and/or black sesame seeds, for topping one or two onigiri, or a small amount of furikake
• A small bowl of cold water, for wetting your hands
Directions
- Rinse the Rice
Place the 450g of Japanese short-grain rice in a large bowl, cover with cold water, swirl with your hand and drain, then repeat 3–5 times, until the water runs mostly clear rather than milky. Drain well in a fine sieve for about 5 minutes so the grains do not carry extra water into the pot. Use Japanese short-grain rice only, because jasmine, basmati, and other long-grain rice lack the starch needed to cling together. That patient rinsing is what removes loose surface starch, so the cooked grains stay genuinely distinct yet tender instead of gluey. - Cook and Rest the Rice
Cook the rinsed rice with about 540ml water in a covered heavy saucepan, using the correct water amount for Japanese short-grain rice: bring to a boil, then reduce to the lowest heat and simmer, covered, for 12–15 minutes, until the water is fully absorbed. Leave the pot covered and undisturbed for 10 minutes, then fluff gently with a rice paddle, cutting through the rice rather than stirring. Keep the rice plain, not seasoned like sushi rice, and covered until shaping. That covered rest is what lets the steam redistribute so every grain turns evenly tender and sticky, not wet on top and firm at the bottom. - Cook the Salmon
While the rice cooks, heat the oven to 200°C / 400°F, line a small tray with baking paper, and rub the 250–300g salmon fillet all over with the 1 tsp salt. Bake for 12–14 minutes, until the flesh turns opaque and flakes easily with a fork, reaching 63°C in the thickest part; grilling or pan-searing for 3–4 minutes per side works equally well. Let the salmon cool for about 5 minutes, until it can be handled comfortably. That short cooling is what lets the flesh firm up so it flakes cleanly instead of smearing into the rice. - Flake the Filling
Remove any skin and pin bones, then flake the salmon with a fork into small, even pieces about the size of a pea so they fit neatly in the centre of a rice ball. If using, toss very lightly with 1–2 tsp soy sauce and 1 tsp toasted sesame seeds, just enough to season the flakes without making them wet. Divide the filling into 8 equal portions of about 25g each. That dry, genuinely savoury texture is what keeps moisture from seeping into the rice and splitting the onigiri when it is bitten. - Set Up the Shaping Station
Set the bowl of cold water and a small dish of fine salt beside your work surface, and cut the 2 nori sheets into 8 neat strips, 4 from each sheet. Divide the warm rice into 8 equal portions of about 110–125g each, keeping the rest covered with a lid or a damp cloth while you work. The rice should feel warm and flexible, comfortable to hold but never steaming hot. That warmth is what keeps the starch soft and sticky, whereas cold rice turns firm and will not bond. - Shape the Onigiri
Wet your hands lightly in the cold water, then rub a pinch of salt over both palms. Place one portion of warm rice in one hand, make a small indentation in the centre with your finger, and press in one portion of salmon. Cover with a little rice from the same portion so the filling is fully enclosed, then cup the ball in one palm and use the thumb and fingers of the other hand to form the two slanted sides of a triangle. Rotate and press lightly 3–4 times, until compact with slightly rounded corners, and re-wet your hands before each ball. That gentle but firm pressure is what gives genuine cohesion without crushing the grains into paste. - Wrap and Serve
Wrap one nori strip around the lower centre of each onigiri, pressing lightly so the end tucks against the rice, then sprinkle one or two of them with the toasted sesame seeds or a small amount of furikake. Serve at room temperature within a few hours, and wrap the nori just before eating for the crispest texture; if packing for later, keep the strips separate and wrap at the last moment. That last-minute wrap is what keeps the nori genuinely crisp and toasty instead of damp and chewy against the moist rice.
*Notes :
- Shaping the rice while it is warm deserves genuine recognition as the technique most directly responsible for onigiri that hold together and still taste tender. Warm starch is soft and sticky enough to bond under light pressure, whereas cold rice turns firm and crumbly and steaming-hot rice scalds the hands and gets squeezed too hard, so both extremes produce a dense or fragile ball.
- Salting the palms deserves the same attention this technique receives throughout this collection’s other rice dishes that rely on seasoning at the surface. A light film of salt on the outside seasons every bite evenly and helps the rice keep, whereas salt worked through the grains would season unevenly and add extra handling that bruises them.
- Keeping the salmon dry and fully enclosed deserves genuine respect as the detail most directly responsible for onigiri that stay intact when picked up. Wet or oversized chunks leak moisture into the surrounding rice and push through the thin rice wall, which turns the grains soggy and splits the ball apart at the very first bite.
- Pressing until the onigiri is compact deserves attention as a genuine, checkable cue rather than a loose approximation. The ball should hold its triangle when lifted and still give slightly under a fingertip, with grains visible at the surface, because a rock-hard, glossy ball means the grains have been crushed into paste and will eat dense.
Why This Recipe Works
This recipe works because plain short-grain rice, rinsed and rested properly, has just enough starch to cling together without turning gluey. Shaping it while warm, with wet, salted hands and gentle pressure, binds the grains into a compact triangle that still eats genuinely tender. A small portion of dry, savoury flaked salmon sits fully enclosed in the centre, so it seasons the middle without leaking moisture into the rice. Finally, a strip of nori wrapped at the last moment stays crisp and toasty against the soft grains, giving each bite its savoury, contrasting finish, so the onigiri is easy to pick up and eat by hand.
Ingredient Breakdown
Warm Short-Grain Rice (Not Long-Grain)
The structural foundation — its sticky starch binds into a compact ball, where jasmine or basmati would crumble apart.
Rice Rest Time (10 Minutes Covered)
The critical timing technique — resting lets steam redistribute so every grain turns evenly tender and sticky before fluffing.
Salted Wet Hands
The critical technique — water prevents sticking while a light film of salt seasons the outside and helps preserve the rice.
Flaked Salmon Filling
The defining flavour ingredient — small, dry, salted flakes give a genuinely savoury centre without moisture that would loosen the rice.
Nori Strip (Wrapped Just Before Serving)
The finishing technique — wrapping late keeps the seaweed crisp and toasty, because it softens quickly once it touches moist rice.
Toasted Sesame or Furikake
The finishing touch — a light sprinkle on one or two onigiri adds nutty aroma and visual contrast without crowding the classic flavour.
Flavor Structure Explained
This onigiri follows a layered balance model:
- Soft, sticky foundation (warm Japanese short-grain rice)
- Clean, savoury seasoning (salted hands, lightly salted salmon)
- Rich, flaky centre (baked salmon, optional soy sauce)
- Toasty, oceanic accent (nori strip)
- Nutty finishing note (toasted sesame seeds or furikake)
Tender short-grain rice gives the onigiri its soft, slightly sticky base, with each grain still visible. A light film of salt from the hands seasons the surface, while the salmon adds a rich, savoury centre that is never wet. The nori strip contributes a crisp, toasty, ocean-like note against the soft rice, adding a pleasant crunch. A sprinkle of sesame or furikake adds a nutty finishing touch that ties the onigiri together.
Common Mistakes to Avoid
- Using Cold or Scalding Rice – This makes cold rice crack and crumble, while steaming-hot rice burns your hands and gets squeezed into paste. Always shape the rice while it is comfortably warm and still flexible.
- Crushing the Rice Into a Hard Ball – This compresses the grains into a dense paste that eats heavy and gummy. Always press just firmly enough to hold the triangle, rotating lightly so the grains stay visible.
- Adding a Wet or Oversized Filling – This leaks moisture into the rice and splits the ball open when you pick it up. Always flake the salmon small, keep it dry, and enclose it fully in the centre.
- Skipping the Salted Hands – This leaves the rice sticking to your palms and the outside of each onigiri bland. Always wet your hands, then salt both palms before shaping each ball.
- Wrapping the Nori Too Early – This lets the seaweed absorb moisture from the rice and turn soft and chewy. Always wrap the strip just before serving, or keep the nori separate when packing.
Variations
Umeboshi Version
Replace the salmon with a small piece of pitted umeboshi (pickled plum) in each onigiri for a sharper, saltier, more traditional centre that contrasts beautifully with the plain rice.
Furikake-Topped Version
Sprinkle all eight onigiri lightly with furikake instead of sesame seeds on just one or two, giving a more colourful, seasoned surface and a gentle, seaweed-forward finish.
Seasoned Salmon Version
Mix the flaked salmon with the full 2 tsp of soy sauce and the 1 tsp of sesame seeds for a deeper, more savoury centre, keeping the flakes just moist enough to stay compact.
Split-Open Version
Split one finished onigiri gently in half before serving to show the salmon filling, which makes an attractive presentation without changing the flavour or the shaping method.
Storage & Make-Ahead
Onigiri are best eaten the day they are made, ideally within a few hours of shaping, while the rice is still soft and tender and the flavours are clean and balanced.
Keep shaped onigiri loosely wrapped in cling film at cool room temperature for up to 2 hours, so the rice does not dry out, and refrigerate them if they need to wait longer.
Flake the salmon filling up to 1 day ahead and refrigerate it covered, then let it come to room temperature before shaping so the centres are not cold against the warm rice.
Keep the nori strips in a dry, airtight container and wrap them only at the last moment, which is the best make-ahead approach for lunchboxes, picnics, and any onigiri that will travel before eating.
If you must store them overnight, refrigerate the onigiri without nori in an airtight container for up to 1 day and let them sit at room temperature for about 20 minutes, or warm them for 10–15 seconds in the microwave, before eating, because cold rice turns firm.
Frequently Asked Questions
Why does the rice need to be shaped while it is still warm?
As cooked rice cools, its starch firms and stops being sticky, so cold grains crumble and refuse to bond, whereas warm rice stays genuinely pliable enough to press into a compact triangle with light pressure.
Why are the hands wet and then rubbed with salt before each onigiri?
The water stops the rice sticking to your palms, while the thin film of salt seasons the outside evenly and helps preserve the onigiri, which is why the step is repeated for every ball.
Why must the salmon filling be flaked small and kept fairly dry?
Small, dry flakes sit neatly in the centre and stay fully enclosed, whereas wet or large pieces leak moisture into the rice and push through the wall, causing the onigiri to soften and split.
Why is the nori wrapped just before serving instead of right after shaping?
Nori absorbs moisture from the warm rice within minutes, turning soft and chewy, whereas a strip added at the last moment stays crisp and toasty against the tender grains.
Are there other classic Japanese sandwich, rice bowl, or salad dishes worth trying?
Tamago Sando offers another classic Japanese handheld direction worth exploring, while Japanese Oyakodon is also worth trying for another comforting rice-bowl direction. Spicy Salmon Sushi Bowl and Spicy Tuna Rice Bowl offer other bold, fish-topped rice directions, and Japanese Cucumber Salad (Sunomono) is a refreshing side worth exploring.
Nutrition Facts
( Per Serving — 2 onigiri )
Calories
~560 kcal
Protein
23 g
Fat
10 g
Carbs
88 g
Calories
~560 kcal
Protein
23 g
Fat
10 g
Carbs
88 g
Related Recipes
Related Recipes
-

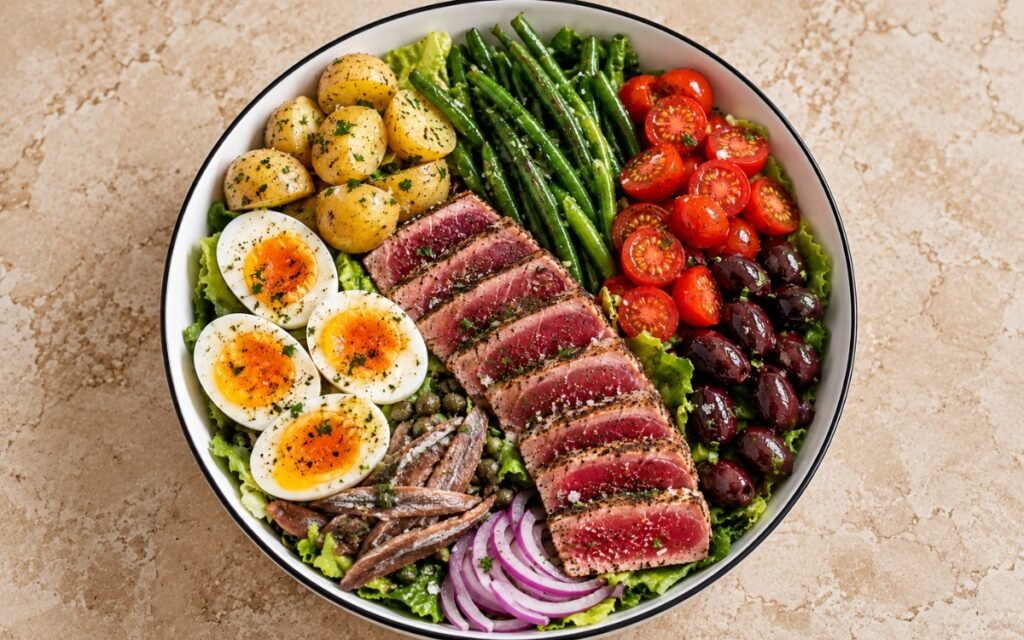
Tuna Niçoise Salad
Seared rare tuna, jammy eggs, haricots verts, baby potatoes, olives, and anchovies composed over crisp greens with a sharp mustard vinaigrette.
-
Korean Kimchi Fried Rice
Loose orange-red kimchi fried rice with caramelised pork, topped with a sunny-side-up egg, seaweed strips, and sesame seeds.
-
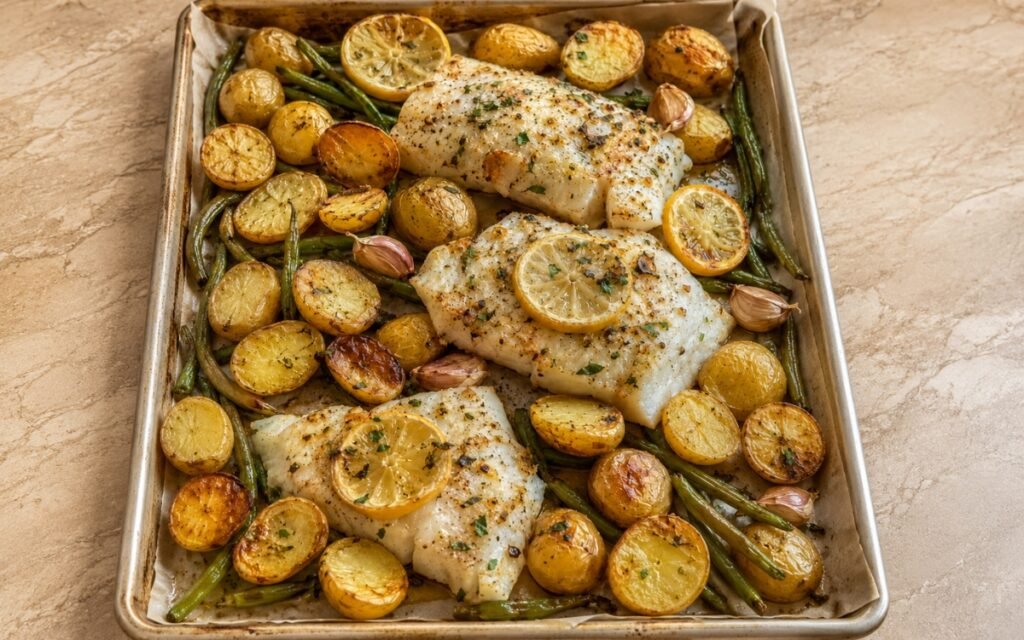
Sheet Pan Lemon Garlic Cod with Potatoes
Flaky cod fillets baked on one sheet pan with golden baby potatoes, green beans, lemon slices, garlic, olive oil, and herbs.

You might also like
You might also like
-
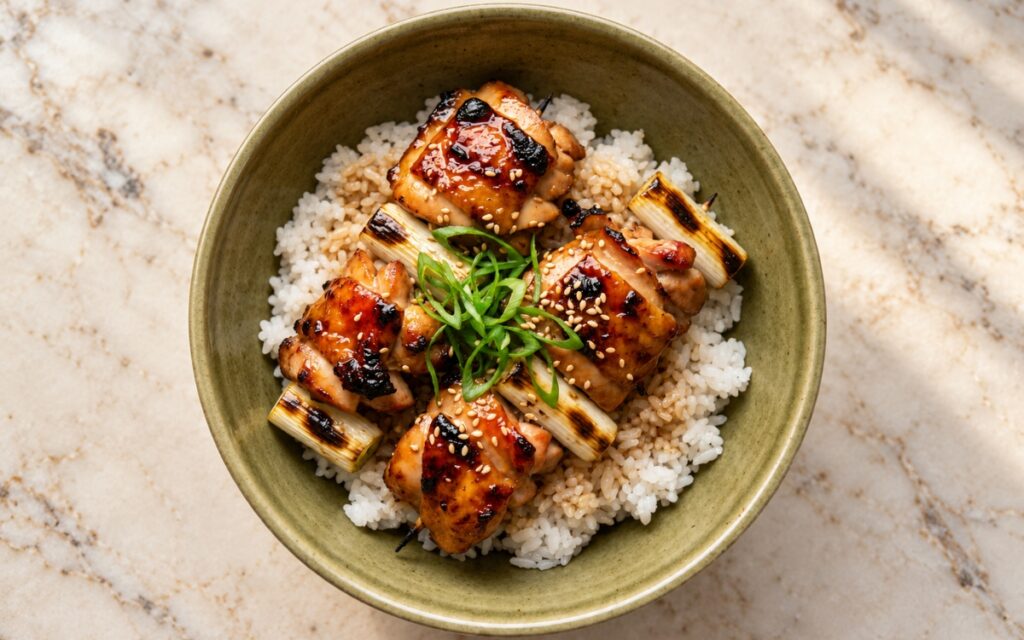
Japanese Chicken Yakitori Rice Bowl
Grilled skin-on chicken thigh and charred scallion sections glazed in glossy yakitori tare over short-grain rice with sesame and sliced green onions.
-
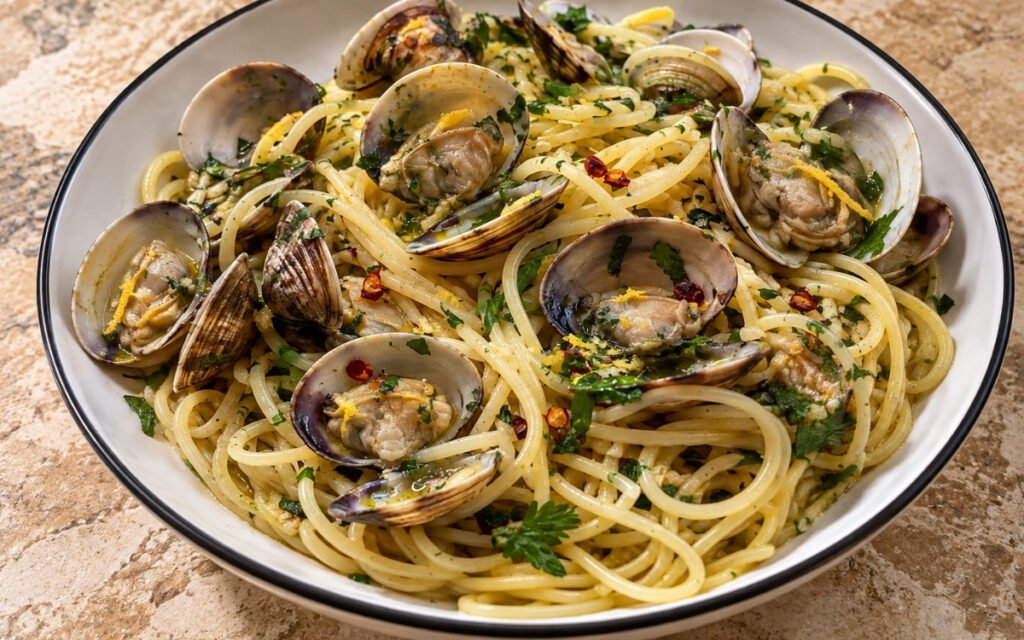
Spaghetti alle Vongole
Fresh clams in a light olive-oil, white wine, and garlic emulsion with parsley and lemon zest, tossed with al dente spaghetti.
-
Papa a la Huancaína
Sliced yellow potatoes on crisp lettuce under a smooth golden ají amarillo cheese sauce, topped with halved hard-boiled eggs and black olives.
Onigiri Rice Balls
Ingredients
Method
- Place the 450g of Japanese short-grain rice in a large bowl, cover with cold water, swirl with your hand and drain, then repeat 3–5 times, until the water runs mostly clear rather than milky. Drain well in a fine sieve for about 5 minutes so the grains do not carry extra water into the pot. Use Japanese short-grain rice only, because jasmine, basmati, and other long-grain rice lack the starch needed to cling together. That patient rinsing is what removes loose surface starch, so the cooked grains stay genuinely distinct yet tender instead of gluey.
- Cook the rinsed rice with about 540ml water in a covered heavy saucepan, using the correct water amount for Japanese short-grain rice: bring to a boil, then reduce to the lowest heat and simmer, covered, for 12–15 minutes, until the water is fully absorbed. Leave the pot covered and undisturbed for 10 minutes, then fluff gently with a rice paddle, cutting through the rice rather than stirring. Keep the rice plain, not seasoned like sushi rice, and covered until shaping. That covered rest is what lets the steam redistribute so every grain turns evenly tender and sticky, not wet on top and firm at the bottom.
- While the rice cooks, heat the oven to 200°C / 400°F, line a small tray with baking paper, and rub the 250–300g salmon fillet all over with the 1 tsp salt. Bake for 12–14 minutes, until the flesh turns opaque and flakes easily with a fork, reaching 63°C in the thickest part; grilling or pan-searing for 3–4 minutes per side works equally well. Let the salmon cool for about 5 minutes, until it can be handled comfortably. That short cooling is what lets the flesh firm up so it flakes cleanly instead of smearing into the rice.
- Remove any skin and pin bones, then flake the salmon with a fork into small, even pieces about the size of a pea so they fit neatly in the centre of a rice ball. If using, toss very lightly with 1–2 tsp soy sauce and 1 tsp toasted sesame seeds, just enough to season the flakes without making them wet. Divide the filling into 8 equal portions of about 25g each. That dry, genuinely savoury texture is what keeps moisture from seeping into the rice and splitting the onigiri when it is bitten.
- Set the bowl of cold water and a small dish of fine salt beside your work surface, and cut the 2 nori sheets into 8 neat strips, 4 from each sheet. Divide the warm rice into 8 equal portions of about 110–125g each, keeping the rest covered with a lid or a damp cloth while you work. The rice should feel warm and flexible, comfortable to hold but never steaming hot. That warmth is what keeps the starch soft and sticky, whereas cold rice turns firm and will not bond.
- Wet your hands lightly in the cold water, then rub a pinch of salt over both palms. Place one portion of warm rice in one hand, make a small indentation in the centre with your finger, and press in one portion of salmon. Cover with a little rice from the same portion so the filling is fully enclosed, then cup the ball in one palm and use the thumb and fingers of the other hand to form the two slanted sides of a triangle. Rotate and press lightly 3–4 times, until compact with slightly rounded corners, and re-wet your hands before each ball. That gentle but firm pressure is what gives genuine cohesion without crushing the grains into paste.
- Wrap one nori strip around the lower centre of each onigiri, pressing lightly so the end tucks against the rice, then sprinkle one or two of them with the toasted sesame seeds or a small amount of furikake. Serve at room temperature within a few hours, and wrap the nori just before eating for the crispest texture; if packing for later, keep the strips separate and wrap at the last moment. That last-minute wrap is what keeps the nori genuinely crisp and toasty instead of damp and chewy against the moist rice.