
Korean Kimchi Fried Rice
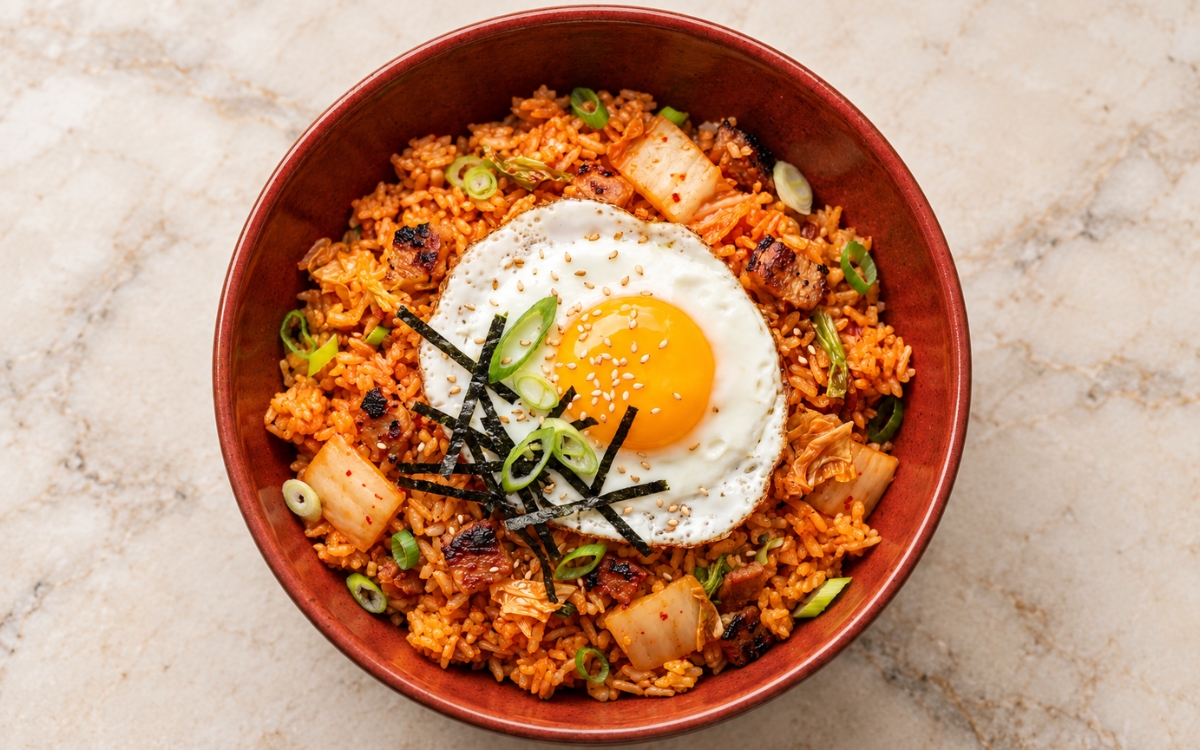
Korean kimchi fried rice is cold day-old short-grain rice stir-fried with chopped napa cabbage kimchi, tangy kimchi juice, scallions, and small caramelised pieces of pork belly until orange-red and lightly smoky, then topped with a sunny-side-up egg, toasted sesame seeds, roasted seaweed strips, and sliced scallions, the key being loose, separate grains. Frying the kimchi in the rendered pork fat before any rice goes in, rather than simply stirring raw kimchi through the grains, is the technique this whole fried rice depends on for deep, rounded flavour — raw kimchi stays sharp and wet and steams the rice into a pale, mushy clump, the same cook-the-moisture-out-first principle used elsewhere in this collection whenever a watery, fermented ingredient must flavour a dish without diluting it. Using cold, day-old rice that has been broken apart before it hits the pan is what lets every grain fry and colour separately instead of mashing together. Browning the pork properly in a hot wok is what leaves caramelised bits and savoury fat to season the whole pan. The payoff is a fried rice with real, savoury depth — loose orange-red grains, tangy softened kimchi, crisp-edged pork, and a runny yolk that turns every spoonful rich and glossy.

Prep Time : 15 min
Total Time : 35 min
Servings : 4
15 min
35 min
4
Ingredients
For the Rice
• 600g cooked short-grain or medium-grain white rice, preferably cold day-old rice
• 1 tsp sesame oil, to loosen the rice if needed
For the Kimchi Fried Rice Base
• 220g napa cabbage kimchi, chopped into bite-size pieces
• 3 tbsp kimchi juice
• 180g pork belly, bacon, or fatty pork shoulder, diced small
• 3 scallions, thinly sliced, whites and greens separated
• 2 garlic cloves, finely minced
• 1 tbsp neutral oil, only if the pork renders very little fat
• 1 tbsp gochujang, optional but useful for deeper colour and body
• 1½ tsp soy sauce
• 1 tsp sugar
• 1 tsp sesame oil
• ¼ tsp black pepper
For the Eggs
• 4 large eggs
• 1 tbsp neutral oil, divided
For the Garnish
• 2 tsp toasted sesame seeds
• 1 sheet roasted seaweed (gim or nori), cut into thin strips
• 1–2 extra scallions, thinly sliced
Directions
- Loosen the Rice
Tip the 600g of cold day-old rice into a large bowl and break up every clump gently with clean hands or a fork until the grains fall apart individually. If the rice is very firm from the refrigerator, drizzle over 1 tsp sesame oil and toss lightly with your fingertips to coat the grains. Work gently so the grains separate without being crushed into paste. Set the bowl beside the stove. That loosening is what lets the dry, firm grains fry on contact with the hot pan instead of steaming into one dense mass. - Prep the Flavour Base
Chop the 220g of kimchi into small bite-size pieces and measure out the 3 tbsp of kimchi juice. Slice the 3 scallions thinly, keeping the white parts separate from the green tops, and mince the 2 garlic cloves. Dice the 180g of pork belly into small pieces about 1cm across so they brown quickly. In a small bowl, stir together the 1 tbsp gochujang, 1½ tsp soy sauce, 1 tsp sugar, and the kimchi juice until smooth and evenly red. That single mixed liquid is what colours and seasons the rice in one pour, with no pooling or last-minute splashing. - Render and Brown the Pork
Heat a wok or large skillet over medium-high heat for about 1 minute, then add the diced pork in a single layer. Cook, stirring only occasionally, for 5–7 minutes until the fat has rendered and the meat is browned with caramelised edges. If more than about 1½ tbsp of fat has collected, spoon off the excess and discard it, and if the pork is lean and renders very little, add 1 tbsp neutral oil. That patient browning is what flavours the whole dish, because the rendered pork fat carries its savoury note into every grain. - Fry the Aromatics and Kimchi
Add the scallion whites and minced garlic to the pork and stir-fry for 20–30 seconds, just until fragrant and not browned. Add the chopped kimchi and stir-fry for 2–3 minutes until it softens, its moisture reduces slightly, and the edges begin to catch and caramelise on the pan. Let a few pieces rest undisturbed for 10–15 seconds at a time so they pick up colour. That frying is what removes the raw sharpness of the kimchi and deepens it into a savoury, faintly sweet base. - Fry the Rice
Add the loosened rice to the pan and pour in the kimchi juice mixture. Raise the heat to medium-high or high, break up any remaining clumps with the spatula, and stir-fry for 4–5 minutes until the rice is evenly orange-red, hot all the way through, glossy, and starting to pick up small charred spots. Cook in 2 batches if the pan looks crowded. Add 1 tsp sesame oil, ¼ tsp black pepper, and all but a small handful of the scallion greens, then toss for 10 seconds. That high heat is what fries rather than steams the rice, keeping every grain separate and lightly smoky. - Fry the Eggs
Take the pan off the heat and cover it so the rice stays hot. In a separate nonstick skillet, heat 1½ tsp of the neutral oil over medium heat, crack in 2 eggs, and fry for 2–3 minutes until the whites are fully set, the edges are lightly crisp and lacy, and the yolks are still runny. Slide them onto a plate and repeat with the remaining 1½ tsp oil and 2 eggs. That soft yolk is what breaks into a silky sauce over the hot rice, while the crisp edge adds contrast. - Assemble and Serve
Divide the fried rice among 4 bowls, mounding it loosely rather than packing it down. Set 1 fried egg in the centre of each bowl. Scatter the 2 tsp toasted sesame seeds over the top, lay on the thin strips of roasted seaweed, and finish with the 1–2 extra sliced scallions and the reserved scallion greens. Serve immediately while hot. That loose mounding and immediate serving are what keep the rice light and the yolk runny when the bowl reaches the table.
*Notes :
- Frying the kimchi before the rice goes in deserves genuine recognition as the technique most directly responsible for the deep, savoury flavour of this dish. Kimchi straight from the jar is sharp, acidic, and wet — two to three minutes in the hot pork fat cooks off that moisture and caramelises its sugars, so the rice tastes properly fried and rounded rather than simply sour.
- Using cold, day-old rice deserves the same attention this technique receives throughout this collection’s other fried rice dishes. Freshly cooked rice carries surface moisture and soft, swollen starch that mash and clump under the spatula, while chilled rice has firmed and dried enough to fry into separate grains that stay visible in the finished bowl.
- Browning the pork slowly deserves genuine respect as the detail most directly responsible for the caramelised, savoury background of the whole pan. Pulling it early leaves pale meat and unrendered fat, whereas patient rendering gives crisp-edged pieces and a flavourful fat that coats the kimchi and rice, with bacon as a practical substitute when pork belly is hard to find.
- Judging the kimchi juice deserves attention as a genuine, checkable seasoning cue rather than a loose guess. If the kimchi is not very sour, an extra ½ to 1 tsp of kimchi juice or a small splash of rice vinegar restores the tang, but too much liquid steams the rice, so add it a little at a time and stop once the grains are evenly coloured yet still individually visible.
Why This Recipe Works
This recipe works because the kimchi is fried in rendered pork fat before the rice arrives, which removes its raw sharpness and turns it savoury and faintly sweet. Cold, loosened rice then meets a hot, uncrowded pan, so the grains fry and colour instead of steaming into a clump. The kimchi juice and gochujang give an even orange-red coat with tang and body, while sesame oil, pepper, and scallion greens added at the end keep the aroma bright. A sunny-side-up egg breaks into the hot rice as a silky sauce, and the seaweed and sesame seeds finish each bowl with a toasty crunch.
Ingredient Breakdown
Cold Day-Old Rice (Short-Grain or Medium-Grain)
The critical ingredient choice — dry, firm grains fry into separate pieces, whereas fresh rice mashes and clumps.
Well-Fermented Napa Kimchi
The defining flavour ingredient — chopped small, it softens and caramelises in the pan, giving the rice its sour tang and savoury depth.
Kimchi Juice
The seasoning and colour liquid — a few spoonfuls give the classic orange-red tint and sharp tang without drowning the grains in moisture.
Browned Pork Belly (or Bacon)
The core flavour-building stage — small browned pieces release savoury fat that seasons the kimchi and rice, while caramelised edges add chew.
Gochujang (Optional)
The colour and body booster — a spoonful deepens the red, rounds off the sourness, and rescues kimchi that is pale or mild.
Sunny-Side-Up Egg
The finishing touch — a runny yolk and crisp-edged white add richness and contrast, turning the hot rice into a creamy, glossy mouthful.
Flavor Structure Explained
This Korean kimchi fried rice follows a layered balance model:
- Tangy, fermented foundation (napa kimchi, kimchi juice)
- Savoury, caramelised depth (browned pork belly, rendered fat, soy sauce)
- Sweet, gently spicy body (gochujang, sugar)
- Toasty, aromatic lift (sesame oil, black pepper, garlic, scallions)
- Rich, crisp finish (runny egg yolk, roasted seaweed, sesame seeds)
Fermented kimchi and its juice supply the sour, savoury foundation that defines the rice. Browned pork belly and soy sauce add caramelised depth, while gochujang and a little sugar round the acidity into a sweet, gently spicy body. Sesame oil, black pepper, garlic, and scallion bring a toasty aroma that keeps the richness from feeling heavy. The runny yolk, seaweed, and sesame seeds add the rich, crisp finish that ties the kimchi fried rice together.
Common Mistakes to Avoid
- Using Fresh Hot Rice – This releases steam and soft starch, so the grains mash and clump into a pasty mass. Always use cold, day-old rice and loosen it fully before it hits the pan.
- Rushing the Pork – This leaves pale meat and unrendered fat, so the pan loses its caramelised, savoury base. Always cook the pork until browned and keep only about 1–1½ tbsp of fat.
- Adding the Kimchi Raw – This drags wet, sharp flavour into the rice and leaves the colour thin and uneven. Always fry the kimchi for 2–3 minutes until it softens and starts to caramelise.
- Crowding the Pan – This traps steam, so the rice turns soft and pale instead of lightly charred. Always keep the heat high and fry in 2 batches if the pan looks full.
- Overcooking the Egg – This sets the yolk solid, leaving nothing to coat the rice when the bowl is broken open. Always fry until the whites are set and the yolks stay runny.
Variations
Bacon Version
Replace the pork belly with diced bacon, which renders quickly and adds a smoky note, then check the pan and keep only about 1–1½ tbsp of fat before the kimchi goes in.
Vegetarian Version
Swap the pork for finely chopped mushrooms fried in extra neutral oil until deeply browned, and choose kimchi made without fish sauce, keeping a savoury, browned note while the dish stays meat-free.
Mild-Kimchi Version
If the kimchi is not very sour, stir in ½ to 1 tsp extra kimchi juice or a small splash of rice vinegar so the finished rice keeps its tang without becoming wet.
Kimchi-Only Version
Leave out the gochujang and rely on the kimchi and kimchi juice alone for a lighter, more traditional colour and flavour, which works best with deeply red, well-fermented kimchi.
Storage & Make-Ahead
Kimchi fried rice is best eaten straight from the pan, because the grains lose their lightly fried texture as they sit and the egg is always at its best when fried fresh.
Cool any leftover rice within 1 hour of cooking, then refrigerate it in an airtight container for up to 2 days, keeping the eggs, seaweed, and sesame seeds separate.
Reheat leftovers in a hot skillet for 3–4 minutes with a few drops of water or oil, stirring until steaming hot all the way through, which revives the fried texture better than a microwave.
For make-ahead prep, cook and chill the rice a day in advance, then chop the kimchi, dice the pork, and mix the gochujang, soy, sugar, and kimchi juice and refrigerate them separately.
Fry the eggs and add the seaweed and sesame seeds only at the last moment, since seaweed turns soft and chewy within minutes of touching hot, steaming rice.
Frequently Asked Questions
Why is cold day-old rice better than freshly cooked rice for kimchi fried rice?
Chilled rice has firmed and lost surface moisture, so the grains fry and stay separate in the hot pan, whereas fresh rice steams, mashes, and clumps into a soft, pasty texture.
Why is the kimchi fried in the pork fat before the rice is added?
Frying cooks off the kimchi’s excess moisture and raw sharpness while its edges caramelise, giving a deeper, savoury flavour that coats the rice instead of leaving it wet and sour.
Why is most of the extra pork fat discarded before frying the kimchi?
About 1–1½ tbsp of fat is enough to flavour the pan and fry the rice, while too much leaves the grains greasy and heavy instead of loose and lightly glossy.
Why does the rice need high heat and sometimes two batches?
High heat evaporates moisture quickly so the rice fries and picks up small charred spots, while an overcrowded pan traps steam and turns the grains soft, pale, and clumpy.
Are there other classic Korean, kimchi, or rice dishes worth trying?
Kimchi Udon Stir-Fry Noodles offers another classic kimchi noodle direction worth exploring. Korean Bibimbap and Korean Army Stew / Budae Jjigae are also worth trying for other Korean rice and stew directions, and Char Siu Fried Rice and Kimcheese (Kimchi Grilled Cheese) offer other fried rice and kimchi dishes.
Nutrition Facts
( Per Serving )
Calories
~520 kcal
Protein
18 g
Fat
26 g
Carbs
48 g
Calories
~520 kcal
Protein
18 g
Fat
26 g
Carbs
48 g
Related Recipes
Related Recipes
-

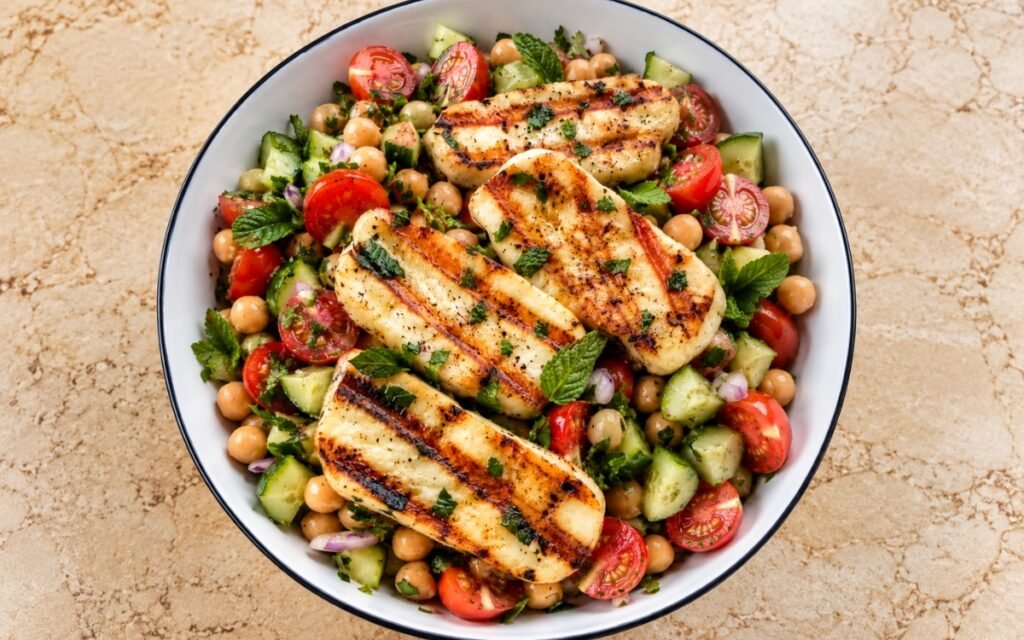
Grilled Halloumi Chickpea Salad
Chickpeas, cherry tomatoes, cucumber, red onion, parsley, and mint dressed with lemony olive oil, topped with warm grilled halloumi.
-
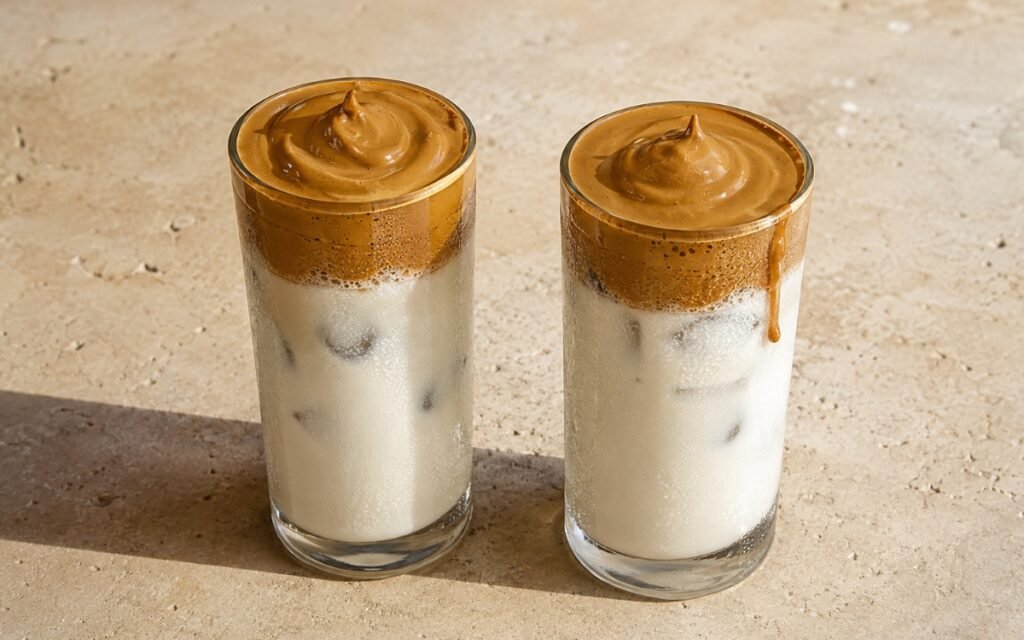
Dalgona Whipped Coffee
Equal parts instant coffee, sugar, and hot water whipped into a thick, mousse-like golden-brown foam, spooned over iced milk.
-
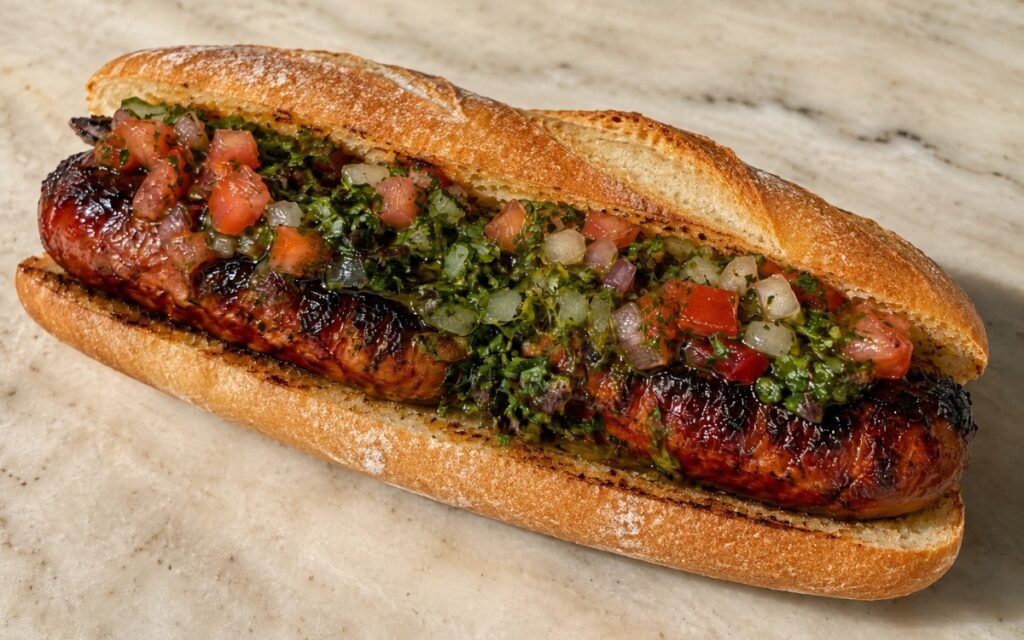
Argentine Choripán
Butterflied Argentinian chorizo seared until deeply charred and glossy, stuffed into a toasted roll with generous chimichurri and tomato-shallot salsa.
You might also like
You might also like
-
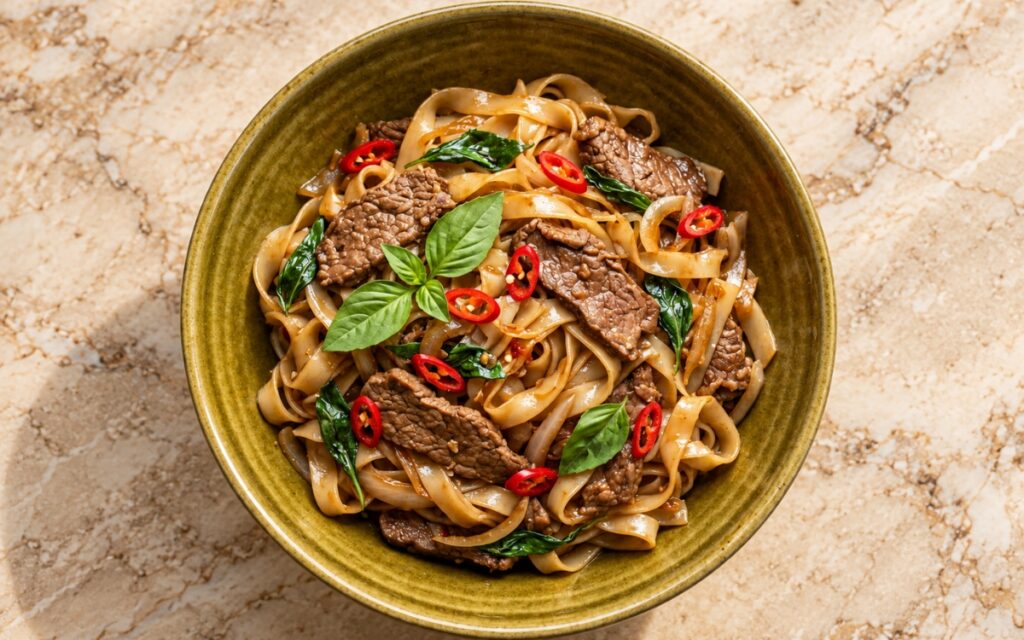
Thai Basil Beef Noodles
Wide rice noodles stir-fried with seared beef, onion, garlic and red chillies in a glossy dark sauce, finished with fresh Thai basil.
-
Spicy Italian ‘Nduja Pasta
Calabrian ‘nduja melted into olive oil until it becomes the sauce — mascarpone finish, 30 minutes.
-
Pozole Rojo
Bone-in pork shoulder simmered clean, combined with a toasted guajillo-ancho chile base until deep ruby red, finished with hominy, cabbage, and radish.
Korean Kimchi Fried Rice
Ingredients
Method
- Tip the 600g of cold day-old rice into a large bowl and break up every clump gently with clean hands or a fork until the grains fall apart individually. If the rice is very firm from the refrigerator, drizzle over 1 tsp sesame oil and toss lightly with your fingertips to coat the grains. Work gently so the grains separate without being crushed into paste. Set the bowl beside the stove. That loosening is what lets the dry, firm grains fry on contact with the hot pan instead of steaming into one dense mass.
- Chop the 220g of kimchi into small bite-size pieces and measure out the 3 tbsp of kimchi juice. Slice the 3 scallions thinly, keeping the white parts separate from the green tops, and mince the 2 garlic cloves. Dice the 180g of pork belly into small pieces about 1cm across so they brown quickly. In a small bowl, stir together the 1 tbsp gochujang, 1½ tsp soy sauce, 1 tsp sugar, and the kimchi juice until smooth and evenly red. That single mixed liquid is what colours and seasons the rice in one pour, with no pooling or last-minute splashing.
- Heat a wok or large skillet over medium-high heat for about 1 minute, then add the diced pork in a single layer. Cook, stirring only occasionally, for 5–7 minutes until the fat has rendered and the meat is browned with caramelised edges. If more than about 1½ tbsp of fat has collected, spoon off the excess and discard it, and if the pork is lean and renders very little, add 1 tbsp neutral oil. That patient browning is what flavours the whole dish, because the rendered pork fat carries its savoury note into every grain.
- Add the scallion whites and minced garlic to the pork and stir-fry for 20–30 seconds, just until fragrant and not browned. Add the chopped kimchi and stir-fry for 2–3 minutes until it softens, its moisture reduces slightly, and the edges begin to catch and caramelise on the pan. Let a few pieces rest undisturbed for 10–15 seconds at a time so they pick up colour. That frying is what removes the raw sharpness of the kimchi and deepens it into a savoury, faintly sweet base.
- Add the loosened rice to the pan and pour in the kimchi juice mixture. Raise the heat to medium-high or high, break up any remaining clumps with the spatula, and stir-fry for 4–5 minutes until the rice is evenly orange-red, hot all the way through, glossy, and starting to pick up small charred spots. Cook in 2 batches if the pan looks crowded. Add 1 tsp sesame oil, ¼ tsp black pepper, and all but a small handful of the scallion greens, then toss for 10 seconds. That high heat is what fries rather than steams the rice, keeping every grain separate and lightly smoky.
- Take the pan off the heat and cover it so the rice stays hot. In a separate nonstick skillet, heat 1½ tsp of the neutral oil over medium heat, crack in 2 eggs, and fry for 2–3 minutes until the whites are fully set, the edges are lightly crisp and lacy, and the yolks are still runny. Slide them onto a plate and repeat with the remaining 1½ tsp oil and 2 eggs. That soft yolk is what breaks into a silky sauce over the hot rice, while the crisp edge adds contrast.
- Divide the fried rice among 4 bowls, mounding it loosely rather than packing it down. Set 1 fried egg in the centre of each bowl. Scatter the 2 tsp toasted sesame seeds over the top, lay on the thin strips of roasted seaweed, and finish with the 1–2 extra sliced scallions and the reserved scallion greens. Serve immediately while hot. That loose mounding and immediate serving are what keep the rice light and the yolk runny when the bowl reaches the table.