
Mexican Bolillo Bread
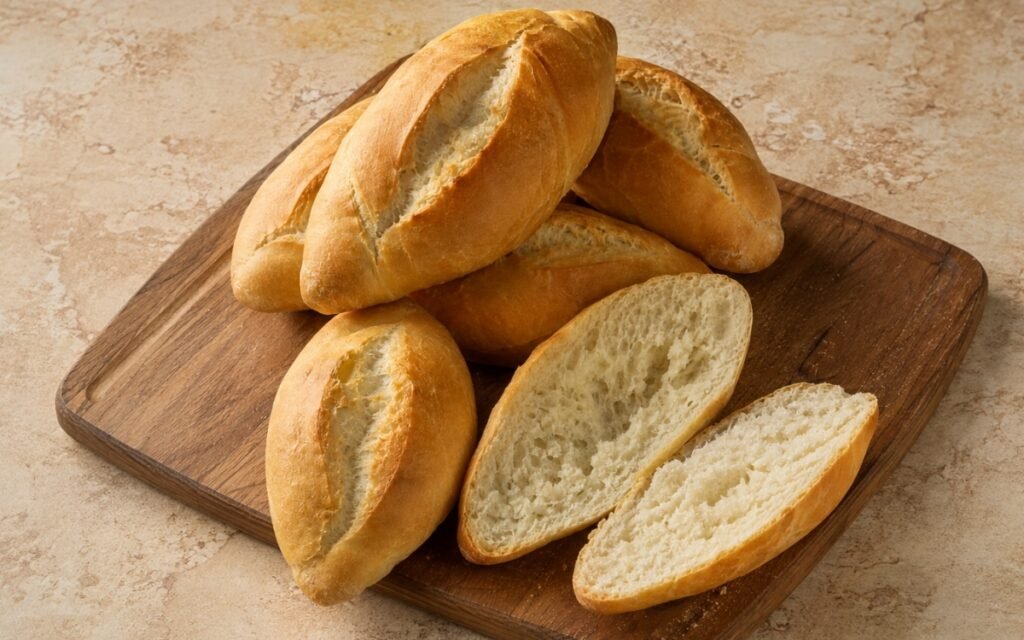
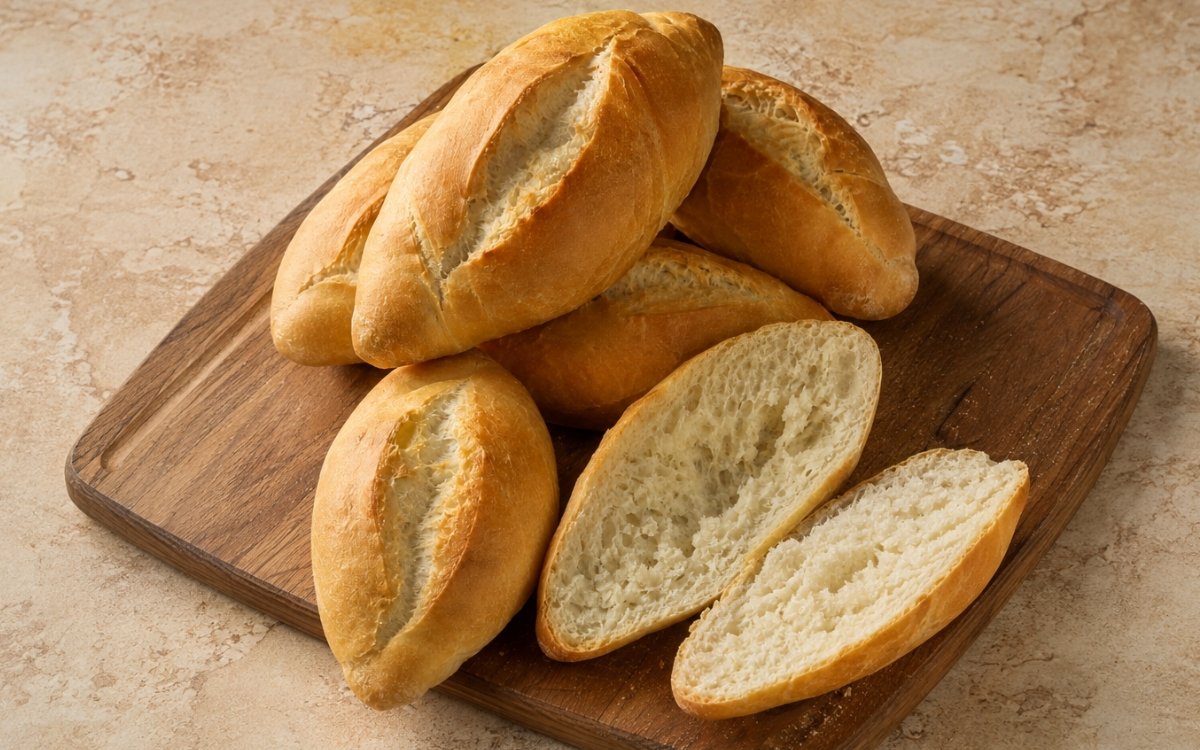
Classic homemade Mexican bolillo rolls with a light crisp crust, soft fluffy interior, and the signature oval shape with tapered ends and a lengthwise slash. The key is shaping them tightly, proofing them just enough, and baking with a little steam so the crust stays thin and lightly crisp while the inside remains soft and airy for tortas, pambazos, molletes, and other Mexican sandwiches. Keeping the dough genuinely soft and only lightly tacky, resisting extra flour, is the technique this whole roll depends on for its lighter interior — a drier, stiffer dough produces denser bolillos rather than the soft, airy crumb these rolls are known for, the same soft-dough-for-soft-crumb principle used elsewhere in this collection whenever a bread’s characteristic tenderness depends on real hydration rather than easy handling. Baking with steam introduced right at the start is what produces the bolillo’s specifically thin, lightly crisp crust rather than a thick, heavy one. Scoring each roll with one confident, centered lengthwise slash is what controls the bread’s expansion in the oven and gives it the classic bolillo look. The payoff is a roll with real, authentic character — a thin, light golden crust giving way to a soft, fluffy interior, ready for tortas, pambazos, molletes, and every other classic Mexican sandwich.
Prep Time : 30 min
Cook Time : 20 min
Servings : 8 rolls
30 min
20 min
8 bolillo rolls
Ingredients
For the Dough
• 500g bread flour, or strong all-purpose flour — this one on Amazon
• 320ml warm water, about 30–35°C
• 7g instant yeast
• 10g fine sea salt
• 10g sugar
• 20g neutral oil, lard, or softened unsalted butter — this one on Amazon
For Shaping and Baking
• A little extra flour, as needed for shaping
• A little neutral oil, for the bowl
• Hot water, for oven steam
This post may contain affiliate links. As an Amazon Associate I earn from qualifying purchases, at no additional cost to you.
Directions
- Mix the Dough
In a large bowl or the bowl of a stand mixer, combine the flour, instant yeast, sugar, and salt. Add the warm water and the oil, lard, or butter. Mix until a shaggy dough forms. Knead for about 10 to 12 minutes by hand or 8 to 10 minutes in a stand mixer until the dough is smooth, elastic, and only lightly tacky. The dough should feel soft and supple, not dry and stiff. If it feels very sticky, resist adding much extra flour. A slightly soft dough gives the bolillos their lighter interior. That extra retained moisture is directly what allows the crumb to bake up genuinely soft and airy — a dough worked drier for easier handling would trade away exactly that lightness. - First Rise
Shape the dough into a ball and place it in a lightly oiled bowl. Cover and let rise in a warm spot for about 1 hour, or until doubled in size. The dough should look puffy and airy and should slowly spring back when pressed lightly with a finger. That slow spring-back is a genuine, reliable readiness cue — dough that springs back instantly hasn’t yet built enough structure, while dough that doesn’t spring back at all has likely overproofed. - Divide the Dough
Turn the dough out onto a lightly floured surface and gently press out the biggest air pockets. Divide into 8 equal pieces, about 105g each. Shape each piece into a loose round and let them rest, covered, for 10 minutes. This short bench rest relaxes the gluten and makes the final shaping easier. If skipped, the dough may resist stretching into the classic bolillo shape. That relaxation matters directly at the next stage — dough that’s just been divided and shaped is genuinely tighter and more resistant to the specific folding and rolling the bolillo shape requires. - Shape the Bolillos
Working with one piece at a time, flatten it gently into a small oval. Fold the top third down and seal lightly, then fold the bottom third up and seal again. Roll the dough gently under your palms into a short oval roll with slightly tapered ends. Pinch the seam closed and place seam-side down on a parchment-lined baking sheet. Repeat with the remaining dough pieces, spacing them apart. Bolillos should be compact, oval, and slightly pointed at the ends, not long like baguettes and not round like burger buns. Placing each shaped roll seam-side down protects that pinched seal from opening during proofing and baking, letting the roll’s own weight keep it pressed closed until the crust sets. - Proof the Rolls
Cover the shaped rolls loosely with a towel or lightly greased plastic wrap and let proof for 35 to 45 minutes, until puffy but not overexpanded. Meanwhile, preheat the oven to 220°C. Place a small metal pan on the lower oven rack so you can create steam later. Do not overproof. If the rolls rise too much before baking, they can spread out and lose the classic bolillo shape. That specific stopping point — puffy but not overexpanded — protects the rolls’ compact, tapered silhouette, since dough given too much time to rise before baking naturally spreads and softens its own defined shape. - Score the Tops
Right before baking, use a very sharp knife, lame, or razor to make one long lengthwise slash across the top of each roll. The cut should be fairly confident and centered. The slash controls expansion in the oven and gives bolillos their classic look. A timid shallow cut may not open properly. A confident, deep-enough slash gives the dough’s own oven-spring a controlled, predictable place to expand — a shallow or hesitant cut instead forces that expansion to find its own way out, often producing a less clean, less classically shaped result. - Bake with Steam
Place the tray in the oven. Carefully pour a little hot water into the hot pan on the lower rack to create steam, then close the oven door quickly. Bake for 18 to 22 minutes, until the bolillos are lightly golden, feel light for their size, and sound slightly hollow when tapped underneath. The crust should be light golden and thin, not dark brown and thick. Bolillos are usually lighter than rustic European rolls. That early steam keeps the dough’s own surface soft and pliable for longer during the first minutes of baking, which is directly what allows the bread to expand fully in the oven before the crust sets and hardens into its final, thin form. - Cool
Transfer the bolillos to a wire rack and cool for at least 20 minutes before slicing. If sliced too early, the crumb can compress and seem gummy. Letting them cool allows the interior to set properly while the crust stays delicate. That cooling period lets residual steam trapped inside the crumb finish escaping and the starch structure fully set — bread sliced while still hot hasn’t finished this internal process, and the knife’s pressure compresses a structure that hasn’t yet firmed up enough to hold its own shape.
*Notes :
- Keeping the dough genuinely soft and only lightly tacky, resisting the instinct to add extra flour, deserves recognition as the technique most responsible for whether these bolillos turn out with the soft, airy interior they’re known for. That retained moisture is what allows the crumb to bake up genuinely light rather than dense — a dough worked drier for easier handling, however tempting during shaping, trades away exactly the texture this recipe is built around.
- Introducing steam right at the start of baking deserves the same careful attention this technique receives throughout this collection’s other crusty breads. That early steam keeps the dough’s surface soft and expandable for longer during the critical first minutes in the oven, which is directly what allows the bread to achieve its full rise before the crust sets — without that steam, the crust would harden too early and constrain the bread’s own expansion.
- Scoring each roll with one confident, centered slash, rather than a shallow or hesitant cut, deserves genuine respect as the detail responsible for the bolillo’s classic, controlled shape. That deliberate cut gives the dough’s oven-spring a predictable place to expand into — without it, or with too timid a cut, the bread’s expansion happens unpredictably, often producing a less clean, less recognisably bolillo-shaped result.
- Letting the baked rolls cool fully before slicing deserves attention as a genuinely functional step rather than simple patience. Bread sliced while still hot hasn’t finished releasing its internal steam or fully setting its starch structure, and cutting into it at that stage compresses a crumb that isn’t yet firm enough to hold its own shape, producing the gummy texture the recipe’s own notes specifically warn against.
Why This Recipe Works
This recipe works because the dough is kept genuinely soft and lightly tacky, preserving the moisture responsible for a real, airy interior. A brief rest after dividing relaxes the gluten for easier shaping into the classic tapered oval. Careful, not-too-long proofing protects that compact shape from spreading.
A confident, centered slash controls the bread’s oven-spring, and steam introduced right at the start of baking keeps the crust thin and light rather than thick and hard. Cooling fully before slicing protects the crumb from compressing while it’s still setting.
Ingredient Breakdown
Soft, Lightly Tacky Dough
The critical technique — retained moisture, protected from being floured away, is what builds the bolillo’s genuinely soft, airy interior.
Classic Fold-and-Taper Shaping
The critical technique — produces the compact, oval, pointed-end silhouette that defines a proper bolillo.
Controlled, Not-Overproofed Rise
The critical technique — protects the rolls’ defined shape from spreading before they even reach the oven.
Confident, Centered Lengthwise Slash
The critical technique — gives the dough’s oven-spring a predictable, controlled place to expand.
Early Oven Steam
The critical baking technique — keeps the crust soft and expandable long enough for the bread to achieve its full rise.
Flavor Structure Explained
This Mexican bolillo bread follows a layered balance model:
- Thin, lightly crisp foundation (steam-baked golden crust)
- Soft, airy interior (genuinely wet, well-developed crumb)
- Classic tapered shape (fold-and-roll technique)
- Neutral, versatile flavour (simple, balanced dough)
The steam-baked golden crust provides this bolillo’s thin, lightly crisp foundation, distinct from a thick, heavy European-style crust. The genuinely wet, well-developed dough builds a soft, airy interior throughout. The classic fold-and-roll shaping technique gives every bolillo its recognisable, compact, tapered silhouette. With a simple, balanced flavour, these rolls are built specifically to support rather than compete with whatever filling — torta, pambazo, or mollete — they’re eventually used for.
Common Mistakes to Avoid
- Adding Too Much Extra Flour to the Dough – This produces denser, heavier bolillos rather than a light, airy crumb. Always keep the dough soft and lightly tacky.
- Skipping the Bench Rest After Dividing – This makes the dough resist shaping into the classic tapered oval. Always let it rest for the full 10 minutes.
- Overproofing the Shaped Rolls – This causes them to spread and lose their classic compact shape. Always watch for puffy but not overexpanded.
- Making a Shallow or Timid Slash – This prevents the dough from expanding properly in the oven. Always cut confidently and centered.
- Skipping the Oven Steam – This produces a thicker, harder crust than a proper bolillo should have. Always introduce steam right at the start of baking.
Variations
Whole Wheat Version
Substitute a portion of the flour with whole wheat for a heartier, more rustic roll.
Lard Version
Use lard instead of oil or butter for a more traditional, classic Mexican bakery flavour, per the recipe’s own note.
Mini Version
Divide the dough into 12 to 16 smaller pieces for mini bolillos suited to sliders or smaller sandwiches.
Extra-Crisp Version
Extend the steam exposure slightly at the very start of baking for an even thinner, crisper crust.
Storage & Make-Ahead
Bolillos are best the day they are baked, especially for tortas and molletes.
To refresh day-old bolillos, warm them in a 180°C oven for 4 to 6 minutes.
If you want very even rolls, weigh each piece of dough before shaping.
Frequently Asked Questions
Why does the dough need to stay soft and only lightly tacky rather than being made easier to handle with more flour?
That retained moisture is what allows the crumb to bake up genuinely light and airy. A dough worked drier for easier handling would trade away exactly the soft interior these rolls are known for.
Why does the oven need steam right at the start of baking?
That early steam keeps the dough’s surface soft and expandable for longer during the critical first minutes in the oven, letting the bread achieve its full rise before the crust sets. Without it, the crust would harden too early and constrain that expansion.
Why does the slash need to be confident and centered rather than shallow?
A proper cut gives the dough’s own oven-spring a predictable place to expand into. A shallow or hesitant slash forces that expansion to happen unpredictably, often producing a less classically shaped roll.
Why do the bolillos need to cool fully before slicing?
Bread sliced while still hot hasn’t finished releasing its internal steam or fully setting its starch structure. Cutting into it too early compresses a crumb that isn’t yet firm enough to hold its own shape, producing a gummy texture.
Are there other classic Mexican sandwich or bolillo-based dishes worth trying?
Pambazo Sandwich and Torta de Milanesa Sandwich both make excellent use of a proper bolillo roll. Molletes Mexicanos and Sándwich Ahogado (Torta Ahogada) are also worth trying for other classic Mexican dishes built around this same bread.
Nutrition Facts
( per serving )
Calories
~260 kcal
Protein
8 g
Fat
3 g
Carbs
50 g
Calories
~260 kcal
Protein
8 g
Fat
3 g
Carbs
50 g
Related Recipes
Related Recipes

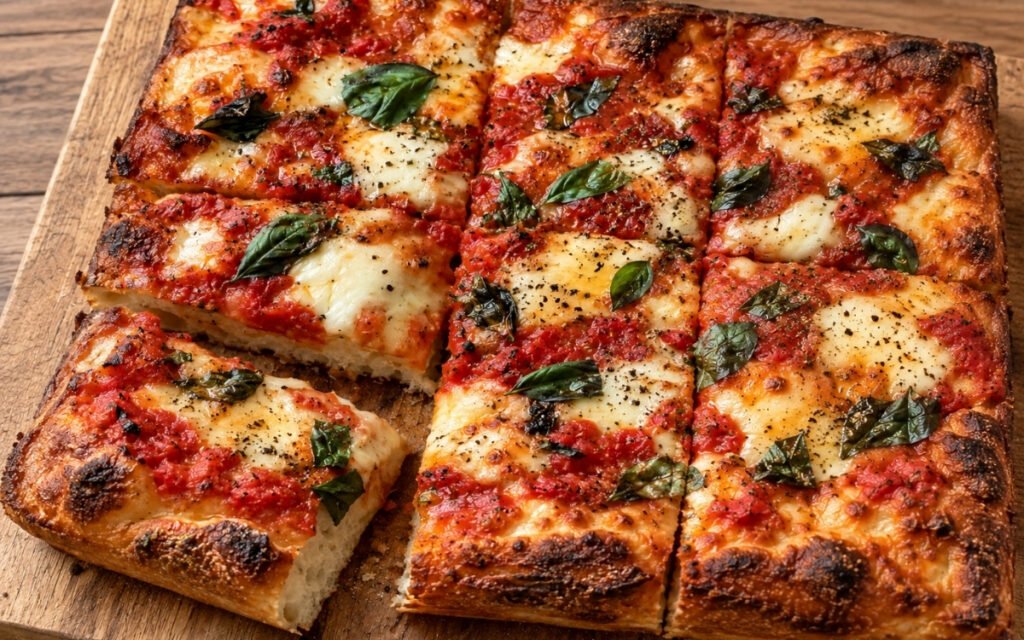
Focaccia Pizza with Tomato and Mozzarella
Thick, airy focaccia-style pizza with a crisp, olive-oil-rich bottom, soft cloud-like interior, thick tomato sauce, melted mozzarella, and fresh basil.
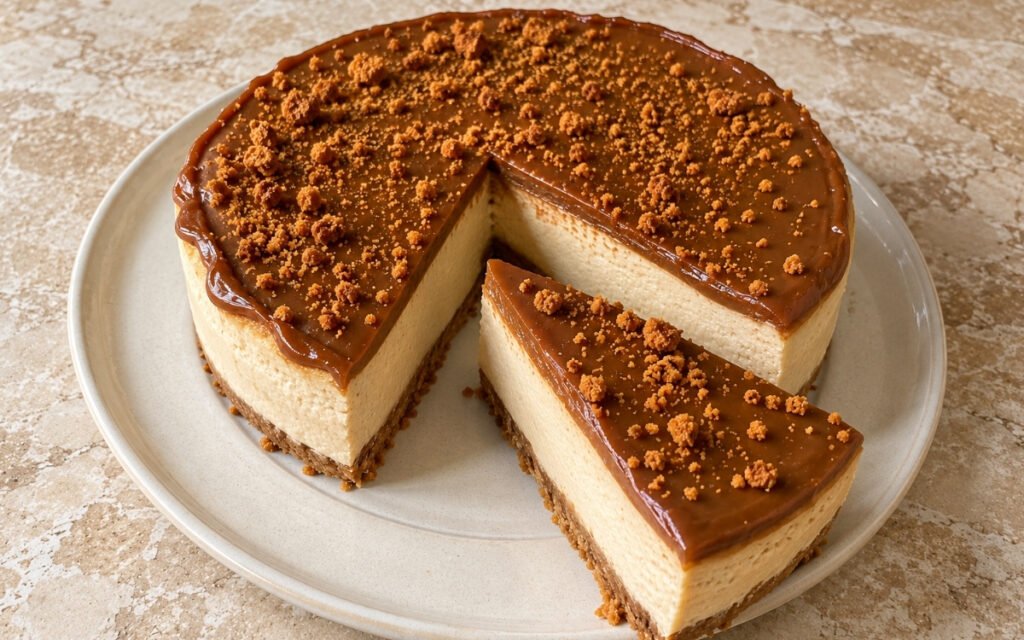
No-Bake Biscoff Cheesecake
A firm Lotus Biscoff cookie crust, smooth pale caramel-beige cream cheese filling, and a glossy thick Biscoff spread topping finished with crushed cookies.
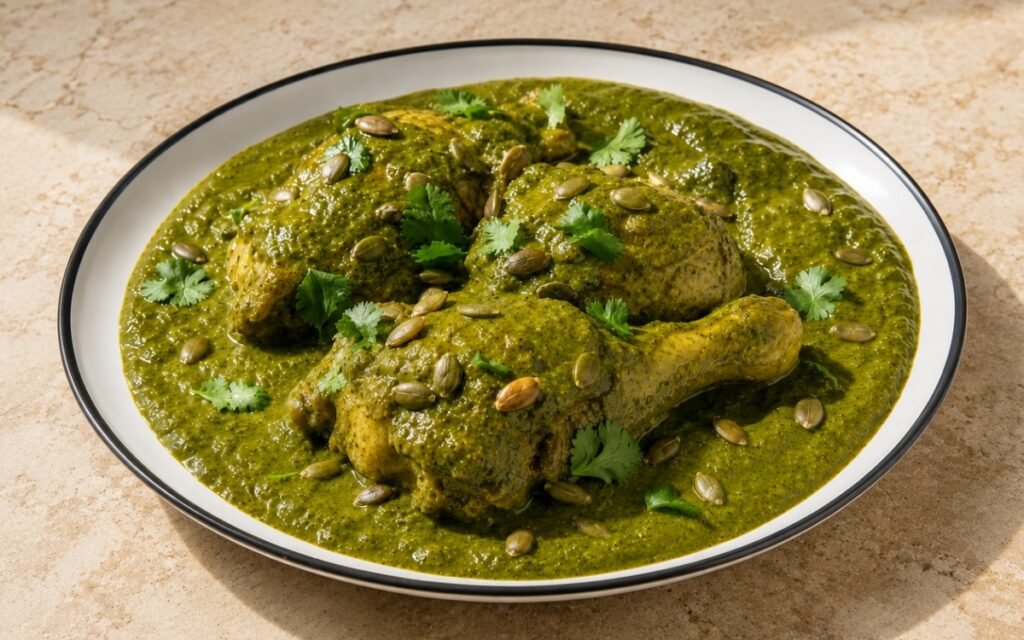
Pipián Verde Chicken
Gently poached chicken finished in a vivid green pipián sauce of roasted tomatillos, pumpkin seeds, green chiles, and herbs.
You might also like
You might also like
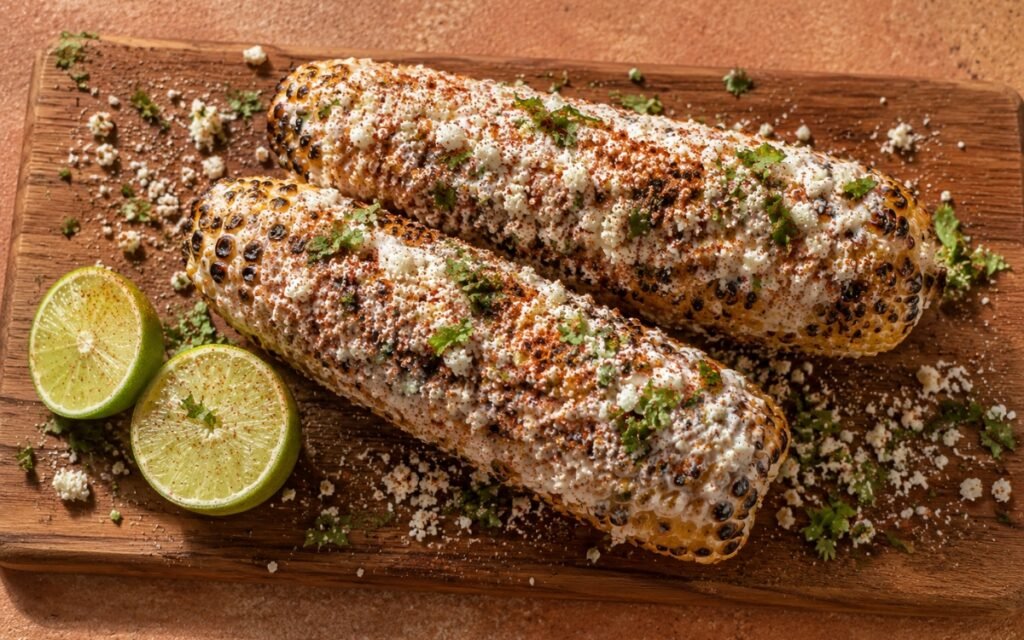
Mexican Street Corn Elotes
Corn cobs grilled dry until deeply charred, coated hot in creamy lime-mayonnaise, then covered in finely crumbled cotija and a dusting of chilli powder.
Focaccia Pizza with Tomato and Mozzarella
Thick, airy focaccia-style pizza with a crisp, olive-oil-rich bottom, soft cloud-like interior, thick tomato sauce, melted mozzarella, and fresh basil.
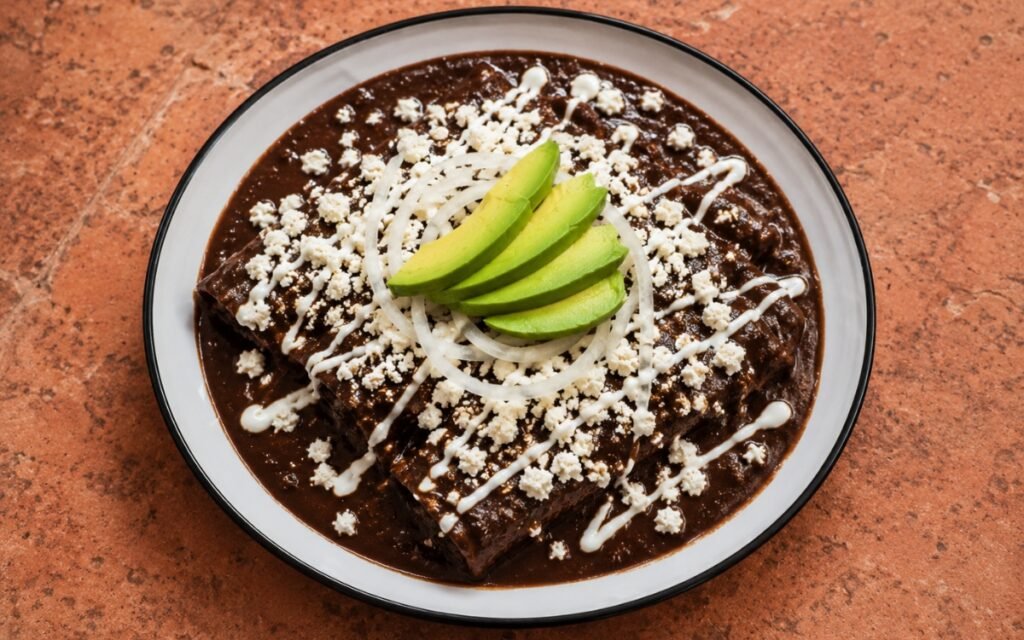
Enfrijoladas
Soft corn tortillas lightly fried, dipped in glossy black bean sauce, folded around queso fresco, and finished with more cheese, crema, onion, and avocado.
Mexican Bolillo Bread
Ingredients
Method
- In a large bowl or the bowl of a stand mixer, combine the flour, instant yeast, sugar, and salt. Add the warm water and the oil, lard, or butter. Mix until a shaggy dough forms. Knead for about 10 to 12 minutes by hand or 8 to 10 minutes in a stand mixer until the dough is smooth, elastic, and only lightly tacky. The dough should feel soft and supple, not dry and stiff. If it feels very sticky, resist adding much extra flour. A slightly soft dough gives the bolillos their lighter interior. That extra retained moisture is directly what allows the crumb to bake up genuinely soft and airy — a dough worked drier for easier handling would trade away exactly that lightness.
- Shape the dough into a ball and place it in a lightly oiled bowl. Cover and let rise in a warm spot for about 1 hour, or until doubled in size. The dough should look puffy and airy and should slowly spring back when pressed lightly with a finger. That slow spring-back is a genuine, reliable readiness cue — dough that springs back instantly hasn’t yet built enough structure, while dough that doesn’t spring back at all has likely overproofed.
- Turn the dough out onto a lightly floured surface and gently press out the biggest air pockets. Divide into 8 equal pieces, about 105g each. Shape each piece into a loose round and let them rest, covered, for 10 minutes. This short bench rest relaxes the gluten and makes the final shaping easier. If skipped, the dough may resist stretching into the classic bolillo shape. That relaxation matters directly at the next stage — dough that’s just been divided and shaped is genuinely tighter and more resistant to the specific folding and rolling the bolillo shape requires.
- Working with one piece at a time, flatten it gently into a small oval. Fold the top third down and seal lightly, then fold the bottom third up and seal again. Roll the dough gently under your palms into a short oval roll with slightly tapered ends. Pinch the seam closed and place seam-side down on a parchment-lined baking sheet. Repeat with the remaining dough pieces, spacing them apart. Bolillos should be compact, oval, and slightly pointed at the ends, not long like baguettes and not round like burger buns. Placing each shaped roll seam-side down protects that pinched seal from opening during proofing and baking, letting the roll’s own weight keep it pressed closed until the crust sets.
- Cover the shaped rolls loosely with a towel or lightly greased plastic wrap and let proof for 35 to 45 minutes, until puffy but not overexpanded. Meanwhile, preheat the oven to 220°C. Place a small metal pan on the lower oven rack so you can create steam later. Do not overproof. If the rolls rise too much before baking, they can spread out and lose the classic bolillo shape. That specific stopping point — puffy but not overexpanded — protects the rolls’ compact, tapered silhouette, since dough given too much time to rise before baking naturally spreads and softens its own defined shape.
- Right before baking, use a very sharp knife, lame, or razor to make one long lengthwise slash across the top of each roll. The cut should be fairly confident and centered. The slash controls expansion in the oven and gives bolillos their classic look. A timid shallow cut may not open properly. A confident, deep-enough slash gives the dough’s own oven-spring a controlled, predictable place to expand — a shallow or hesitant cut instead forces that expansion to find its own way out, often producing a less clean, less classically shaped result.
- Place the tray in the oven. Carefully pour a little hot water into the hot pan on the lower rack to create steam, then close the oven door quickly. Bake for 18 to 22 minutes, until the bolillos are lightly golden, feel light for their size, and sound slightly hollow when tapped underneath. The crust should be light golden and thin, not dark brown and thick. Bolillos are usually lighter than rustic European rolls. That early steam keeps the dough’s own surface soft and pliable for longer during the first minutes of baking, which is directly what allows the bread to expand fully in the oven before the crust sets and hardens into its final, thin form.
- Transfer the bolillos to a wire rack and cool for at least 20 minutes before slicing. If sliced too early, the crumb can compress and seem gummy. Letting them cool allows the interior to set properly while the crust stays delicate. That cooling period lets residual steam trapped inside the crumb finish escaping and the starch structure fully set — bread sliced while still hot hasn’t finished this internal process, and the knife’s pressure compresses a structure that hasn’t yet firmed up enough to hold its own shape.