
No-Bake Biscoff Cheesecake
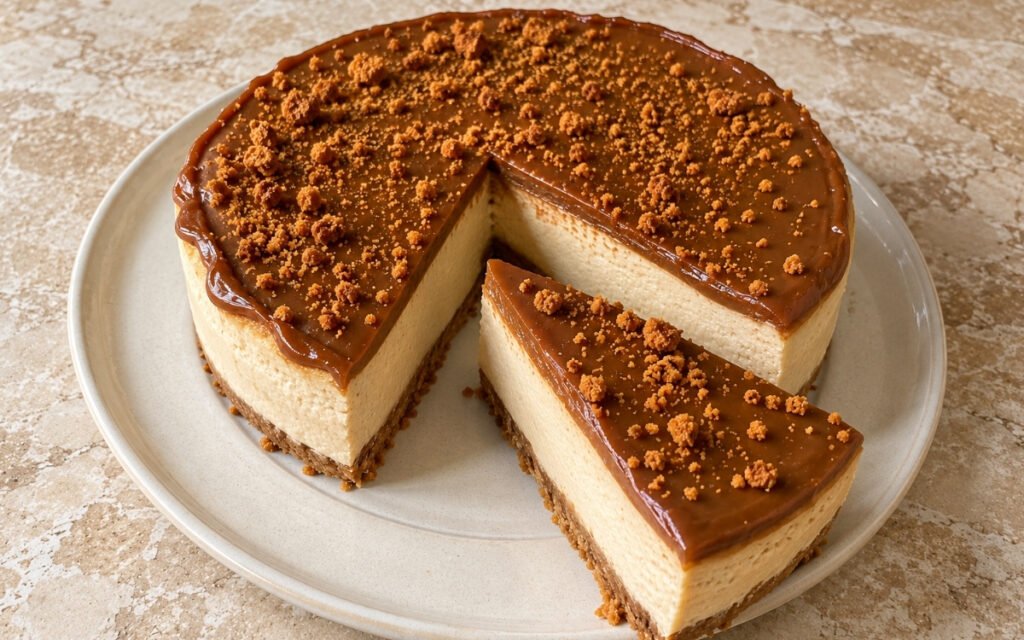
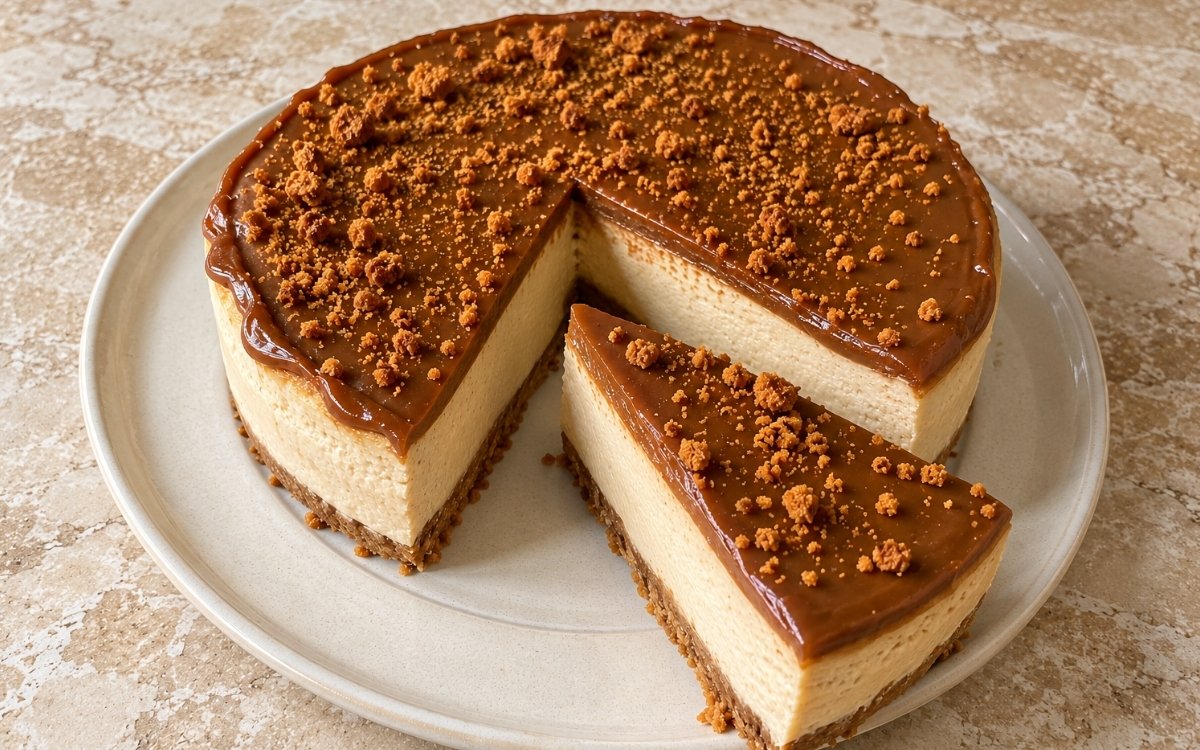
A classic no-bake cheesecake with a firm Lotus Biscoff cookie crust, a smooth pale caramel-beige cream cheese filling lightly flavoured with Biscoff, and a glossy thick Biscoff spread topping finished with crushed cookies, chilled until fully set for clean slices. Using genuinely room-temperature cream cheese and mascarpone is the technique this whole filling depends on for real, silky smoothness — cold dairy stays lumpy, and overmixing later to try to smooth it out only thins the filling further, the same room-temperature-first principle used elsewhere in this collection whenever a no-bake filling’s own final texture depends on the dairy fully softening before it’s ever beaten. Folding the whipped cream into the cream cheese base gently, in stages, is what keeps the finished filling airy and mousse-like rather than loosening and losing volume. Adding the Biscoff topping only once the filling is properly cold and fully set is what protects it from sinking or mixing into the layer beneath. The payoff is a cheesecake with real, layered contrast — a firm, buttery Biscoff crust beneath smooth, caramel-beige filling, finished with a glossy, deep amber Biscoff topping and crushed cookies.
Prep Time : 30 min
Chill Time : 1 hr
Servings : 12 slices
30 min
1 hr
12 slices
Ingredients
For the Crust
• 300g Lotus Biscoff cookies — this one on Amazon
• 115g unsalted butter, melted — this one on Amazon
• Pinch of fine salt
• Optional: ½ tsp ground cinnamon
For the Filling
• 750g full-fat cream cheese, room temperature — this one on Amazon
• 250g mascarpone, room temperature (or replace with more cream cheese for a firmer, slightly tangier filling) — this one on Amazon
• 120g icing sugar / powdered sugar, sifted
• 180g smooth Biscoff spread — this one on Amazon
• 1 tsp vanilla extract — this one on Amazon
• ¼ tsp fine salt
• 1 tsp lemon juice, optional but recommended to balance sweetness
• 300ml heavy cream / whipping cream, cold — this one on Amazon
For the Topping
• 220–250g smooth Biscoff spread
• 1–2 tbsp milk or cream, only if needed to loosen
• 6–8 Biscoff cookies, crushed fine to coarse
This post may contain affiliate links. As an Amazon Associate I earn from qualifying purchases, at no additional cost to you.
Directions
- Prepare the Tin
Line the base of a 23cm / 9-inch springform pan with parchment. Lightly grease the sides if desired. A springform pan is important for clean unmoulding. If you want very neat sides, line the inside edge with an acetate strip. That deliberate lining choice, whether parchment alone or an added acetate strip, is what actually protects the finished cheesecake’s own clean edges once it’s released from the pan. - Make the Crust
Pulse the Biscoff cookies to fine crumbs. Mix with the melted butter, salt, and cinnamon if using until the texture resembles wet sand. Tip into the pan and press firmly across the base and slightly up the sides if desired. Use the bottom of a glass or measuring cup to compact it evenly. Chill for 20–30 minutes until firm. The crust should feel tightly packed and hold together when pressed. Loose crumbs will make the base crumble when slicing. That firm, deliberate compacting is what actually binds the buttered crumbs into a real, cohesive base — crumbs pressed only loosely would simply crumble apart the moment a slice is cut. - Make the Filling Base
In a large bowl, beat the cream cheese and mascarpone until completely smooth, with no lumps. Add the icing sugar, Biscoff spread, vanilla, salt, and lemon juice. Beat again until fully combined and silky. The dairy must be at room temperature before mixing. Cold cream cheese will stay lumpy, and overmixing later will thin the filling. That genuine room temperature is what lets both cheeses actually break down smoothly under beating — cold dairy resists blending evenly, and trying to correct that resistance with extended mixing only thins the filling’s own texture instead. - Whip the Cream
In a separate bowl, whip the cold heavy cream to medium-stiff peaks. Fold the whipped cream into the Biscoff cream cheese mixture in 2–3 additions until evenly combined and airy. Stop folding as soon as the mixture is uniform. Do not whisk aggressively or the filling can loosen and lose volume. Texture target: thick, mousse-like, smooth, and able to hold soft shape. That deliberate, staged folding, stopped the moment the mixture turns uniform, protects the real air whipped into the cream from being knocked back out — more aggressive mixing would deflate exactly the volume this technique worked to build. - Fill and Chill
Spoon the filling over the chilled crust and level the top carefully. Refrigerate for at least 6 hours, preferably 8 hours or overnight, until fully set. Do not add the Biscoff topping before the filling is properly cold and set, or the top can sink or mix into the filling. That extended, genuine chilling time gives the whole filling real, thorough time to firm up completely — anything less risks a filling still soft enough for the topping to sink into it rather than sitting cleanly on top. - Add the Biscoff Topping
Gently warm the Biscoff spread until just fluid enough to pour or spread. If needed, stir in 1–2 tbsp milk or cream to loosen slightly. Pour over the chilled cheesecake and spread into an even glossy layer. Scatter the crushed Biscoff cookies over the top. Return to the fridge for 20–30 minutes so the topping firms slightly before slicing. The topping should be spreadable and glossy, not hot. If too warm, it can melt the surface of the cheesecake. That deliberate warming, only to fluid rather than genuinely hot, protects the filling’s own set surface directly beneath it — spread while still too warm, the topping would begin melting that surface on contact. - Unmould and Slice
Release the cheesecake from the springform pan. Transfer to a cake plate. For clean slices, use a large sharp knife dipped in hot water and wiped dry between cuts. That hot, wiped knife technique lets each cut through the layered cheesecake come out clean, rather than dragging and smearing the soft filling and glossy topping with each successive slice.
*Notes :
- Using genuinely room-temperature cream cheese and mascarpone deserves recognition as the technique most directly responsible for whether this filling achieves real, silky smoothness. The recipe’s own explicit warning that “cold cream cheese will stay lumpy, and overmixing later will thin the filling” reflects a real, common failure point — that softness is what lets both cheeses actually break down evenly under beating.
- Folding the whipped cream into the base gently, in staged additions, deserves the same attention this technique receives throughout this collection’s other mousse-like, no-bake fillings. The recipe’s own explicit warning against whisking “aggressively” reflects real understanding that this filling’s whole airy, mousse-like texture depends entirely on protecting the air already whipped into the cream.
- Waiting until the filling is fully, genuinely set before adding the Biscoff topping deserves genuine respect as a real, necessary sequencing choice. The recipe’s own explicit warning that an early topping “can sink or mix into the filling” reflects exactly the risk this extended chilling period is specifically built to protect against.
- Warming the Biscoff spread only until fluid, never genuinely hot, before pouring it over the chilled cheesecake deserves attention as the detail responsible for protecting the filling’s own set surface. The recipe’s own explicit warning that spread poured too warm “can melt the surface of the cheesecake” reflects a real, direct risk this careful temperature control avoids.
Why This Recipe Works
This recipe works because the cream cheese and mascarpone are genuinely softened to room temperature before mixing, letting the filling blend smoothly without lumps. The whipped cream is folded in gently, in stages, protecting the real air it carries.
The crust is compacted firmly, holding together cleanly once sliced. The filling is given a genuine, extended chilling period before the topping is ever added, protecting against sinking or mixing.
The Biscoff topping is warmed only to fluid, never hot, protecting the set filling’s surface directly beneath it, delivering a cheesecake with clean, defined layers right through to the final slice.
Ingredient Breakdown
Genuinely Room-Temperature Cream Cheese and Mascarpone
The critical technique — softens fully for smooth blending, protecting against lumps and thinning.
Firmly Compacted Biscoff Crust
The critical technique — real pressing binds the buttered crumbs into a cohesive, sliceable base.
Gently, Gradually Folded Whipped Cream
The critical technique — protects the real air whipped into the cream, keeping the filling mousse-like.
Fully Set Filling (Before Topping)
The critical technique — a genuine, extended chill protects the topping from sinking into a still-soft filling.
Warmed, Not Hot, Biscoff Topping
The critical technique — protects the set filling’s own surface from melting on contact.
Hot, Wiped Knife for Slicing
The finishing technique — delivers clean cuts through the layered cheesecake without dragging or smearing.
Flavor Structure Explained
This no-bake Biscoff cheesecake follows a layered balance model:
- Firm, buttery foundation (compacted Biscoff cookie crust)
- Smooth, caramel-beige body (whipped cream cheese and mascarpone filling)
- Balanced sweetness (Biscoff spread, sifted icing sugar, lemon juice)
- Airy, mousse-like texture (gently folded whipped cream)
- Glossy, deep amber finish (warmed Biscoff spread topping, crushed cookies)
A firmly compacted Biscoff cookie crust provides this cheesecake’s buttery foundation, its structure built through deliberate pressing and chilling. A whipped cream cheese and mascarpone filling contributes smooth, caramel-beige body throughout. Biscoff spread, sifted icing sugar, and a touch of lemon juice together balance the filling’s overall sweetness. Gently folded whipped cream keeps the whole filling airy and mousse-like. A final, glossy, deep amber Biscoff topping and scattered crushed cookies finish the cheesecake with rich, classic contrast that ties every layer together.
Common Mistakes to Avoid
- Using Cold Cream Cheese or Mascarpone – This stays lumpy and, once overmixed to correct it, thins the filling. Always let both fully reach room temperature first.
- Whisking the Whipped Cream In Too Aggressively – This loosens the filling and loses volume. Always fold gently, in staged additions.
- Not Compacting the Crust Firmly Enough – This crumbles apart once sliced. Always press it firmly and evenly with a flat-bottomed tool.
- Adding the Topping Before the Filling Is Fully Set – This risks the topping sinking or mixing into the still-soft filling below. Always wait for the full chilling time.
- Pouring the Topping While Genuinely Hot – This melts the surface of the set cheesecake beneath it. Always warm it only until fluid.
Variations
Firmer, More Classic Version
Replace the mascarpone with additional cream cheese, per the recipe’s own note, for a firmer, slightly tangier finished filling.
Gelatin-Stabilized Version
Add 6g powdered gelatin, bloomed and melted, per the recipe’s own optional guidance, for an even firmer set, particularly useful in warm kitchens.
Extra-Textured Topping Version
Use a mix of fine and slightly chunky cookie crumbs, per the recipe’s own suggestion, for a topping that looks genuinely textured rather than dusty-flat.
Make-Ahead Frozen Version
Freeze the finished cheesecake tightly wrapped for up to 1 month, per the recipe’s own guidance, thawing overnight in the fridge before serving.
Storage & Make-Ahead
Use only full-fat cream cheese for the best texture, since low-fat cream cheese gives a noticeably softer, less stable set that works against this cheesecake’s own clean-slicing goal.
Mascarpone adds real richness and a softer mouthfeel to the filling, though replacing it with more cream cheese gives a slightly firmer, more classically textured cheesecake instead.
Since Biscoff spread and cookies are already quite sweet on their own, the powdered sugar in the filling stays deliberately moderate rather than adding excessive additional sweetness.
Overnight chilling is genuinely non-negotiable for the cleanest cross-section and the neatest finished slice, so plan accordingly rather than trying to shorten this step.
Store the finished cheesecake refrigerated for up to 4 days, and it freezes well tightly wrapped for up to 1 month, thawing overnight in the fridge before serving.
Frequently Asked Questions
Why does the cream cheese and mascarpone need to be genuinely at room temperature before mixing?
Cold dairy stays lumpy no matter how thoroughly it’s beaten, and trying to correct that lumpiness with extended overmixing only thins the filling instead. Real room temperature is what lets both cheeses blend smoothly from the start.
Why does the whipped cream need to be folded in so gently rather than mixed more thoroughly?
Aggressive mixing at this stage knocks the real air out of the whipped cream, loosening the filling and losing the volume that specific technique worked to build. Gentle, staged folding protects that airy, mousse-like texture.
Why does the filling need to be fully set before the Biscoff topping is added?
still-soft filling gives the warmed topping nowhere stable to sit, risking it sinking or mixing directly into the layer beneath. The extended chilling period protects that clean, distinct separation between filling and topping.
Why can’t the Biscoff topping be poured while it’s still genuinely hot?
Topping poured too hot would begin melting the set filling’s own surface directly beneath it, compromising the clean layers this cheesecake depends on. Warming it only until fluid protects that surface.
Are there other classic baked or no-bake cheesecake, Italian dessert, or coffee drink recipes worth trying?
Basque Burnt Cheesecake offers another classic cheesecake direction worth exploring. Tiramisu, Panna Cotta, and Cannoli are also worth trying for other classic Italian desserts, and Salted Caramel Iced Latte pairs naturally alongside this rich, caramel-forward cheesecake.
Nutrition Facts
( Per Serving — 1 slice of 12 )
Calories
~580 kcal
Protein
7 g
Fat
42 g
Carbs
44 g
Calories
~580 kcal
Protein
7 g
Fat
42 g
Carbs
44 g
Related Recipes
Related Recipes

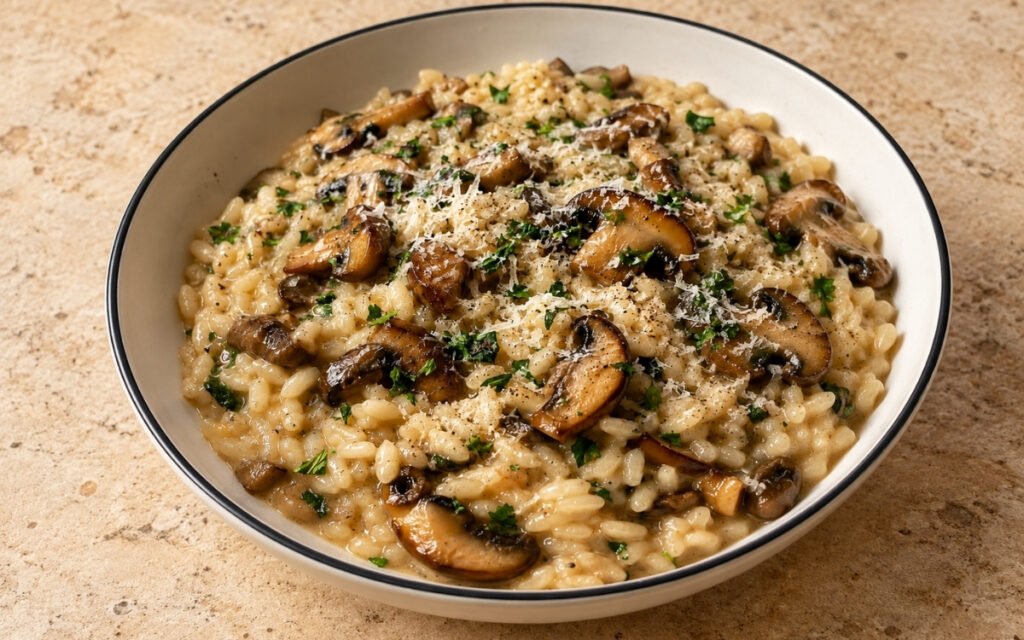
Mushroom Risotto
Creamy Arborio or Carnaroli rice with browned meaty mushrooms, white wine, shallot, and Parmesan, finished loose and silky.
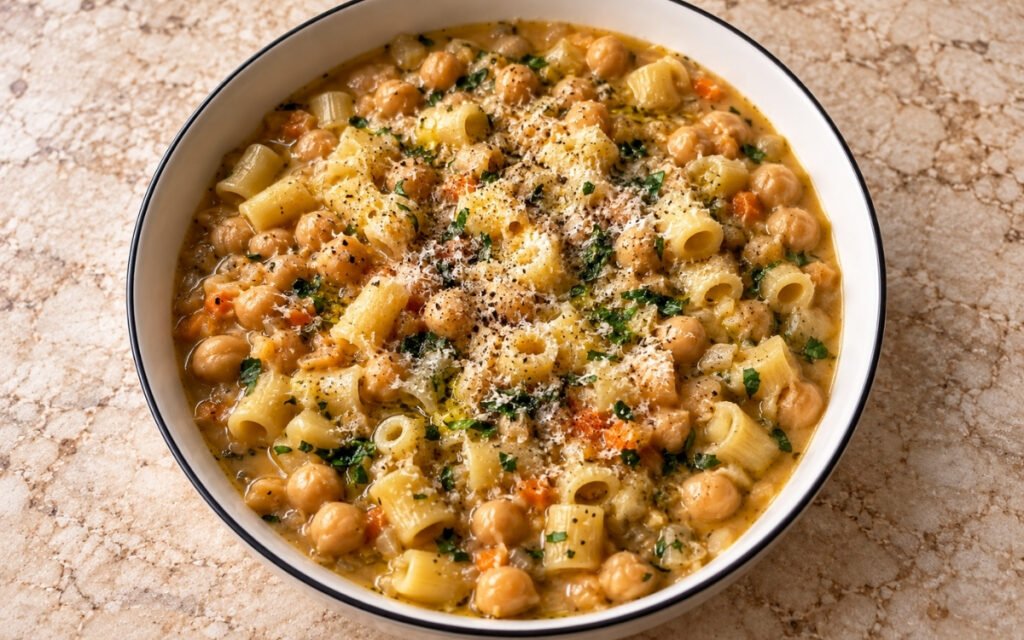
Pasta e Ceci
Small pasta and chickpeas in a thick, creamy brothy base with soffritto, garlic, and rosemary. Rustic Italian comfort food.
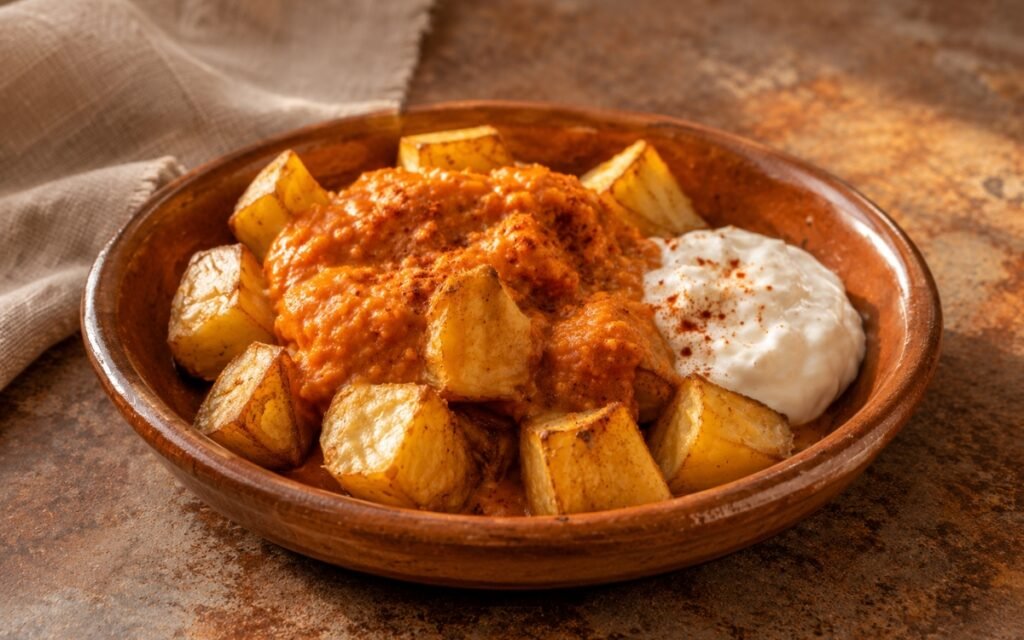
Patatas Bravas with Mayonnaise-Style Aioli
Potatoes parboiled, shaken rough, roasted on a preheated tray — smoky bravas sauce with sherry vinegar, creamy garlic aioli.
You might also like
You might also like
Cannoli
Crisp blistered fried pastry shells filled with sweetened ricotta cream, finished with chopped pistachios, chocolate chips, and powdered sugar.
Chicken Saltimbocca
Thin seared chicken cutlets topped with prosciutto and sage, finished in a glossy buttery white wine pan sauce.
Crème Brûlée Iced Latte
A strong vanilla-caramel iced latte topped with a loose vanilla cream cap and a genuine crackled caramelized sugar sheet.



No-Bake Biscoff Cheesecake
Ingredients
Method
- Line the base of a 23cm / 9-inch springform pan with parchment. Lightly grease the sides if desired. A springform pan is important for clean unmoulding. If you want very neat sides, line the inside edge with an acetate strip. That deliberate lining choice, whether parchment alone or an added acetate strip, is what actually protects the finished cheesecake’s own clean edges once it’s released from the pan.
- Pulse the Biscoff cookies to fine crumbs. Mix with the melted butter, salt, and cinnamon if using until the texture resembles wet sand. Tip into the pan and press firmly across the base and slightly up the sides if desired. Use the bottom of a glass or measuring cup to compact it evenly. Chill for 20–30 minutes until firm. The crust should feel tightly packed and hold together when pressed. Loose crumbs will make the base crumble when slicing. That firm, deliberate compacting is what actually binds the buttered crumbs into a real, cohesive base — crumbs pressed only loosely would simply crumble apart the moment a slice is cut.
- In a large bowl, beat the cream cheese and mascarpone until completely smooth, with no lumps. Add the icing sugar, Biscoff spread, vanilla, salt, and lemon juice. Beat again until fully combined and silky. The dairy must be at room temperature before mixing. Cold cream cheese will stay lumpy, and overmixing later will thin the filling. That genuine room temperature is what lets both cheeses actually break down smoothly under beating — cold dairy resists blending evenly, and trying to correct that resistance with extended mixing only thins the filling’s own texture instead.
- In a separate bowl, whip the cold heavy cream to medium-stiff peaks. Fold the whipped cream into the Biscoff cream cheese mixture in 2–3 additions until evenly combined and airy. Stop folding as soon as the mixture is uniform. Do not whisk aggressively or the filling can loosen and lose volume. Texture target: thick, mousse-like, smooth, and able to hold soft shape. That deliberate, staged folding, stopped the moment the mixture turns uniform, protects the real air whipped into the cream from being knocked back out — more aggressive mixing would deflate exactly the volume this technique worked to build.
- Spoon the filling over the chilled crust and level the top carefully. Refrigerate for at least 6 hours, preferably 8 hours or overnight, until fully set. Do not add the Biscoff topping before the filling is properly cold and set, or the top can sink or mix into the filling. That extended, genuine chilling time gives the whole filling real, thorough time to firm up completely — anything less risks a filling still soft enough for the topping to sink into it rather than sitting cleanly on top.
- Gently warm the Biscoff spread until just fluid enough to pour or spread. If needed, stir in 1–2 tbsp milk or cream to loosen slightly. Pour over the chilled cheesecake and spread into an even glossy layer. Scatter the crushed Biscoff cookies over the top. Return to the fridge for 20–30 minutes so the topping firms slightly before slicing. The topping should be spreadable and glossy, not hot. If too warm, it can melt the surface of the cheesecake. That deliberate warming, only to fluid rather than genuinely hot, protects the filling’s own set surface directly beneath it — spread while still too warm, the topping would begin melting that surface on contact.
- Release the cheesecake from the springform pan. Transfer to a cake plate. For clean slices, use a large sharp knife dipped in hot water and wiped dry between cuts. That hot, wiped knife technique lets each cut through the layered cheesecake come out clean, rather than dragging and smearing the soft filling and glossy topping with each successive slice.