
Molletes Mexicanos
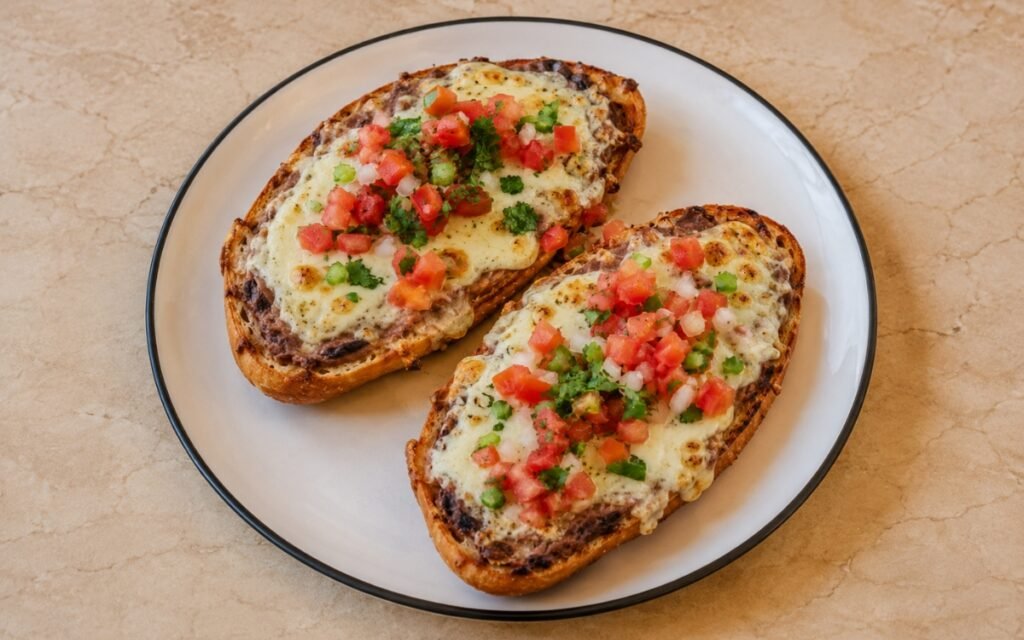
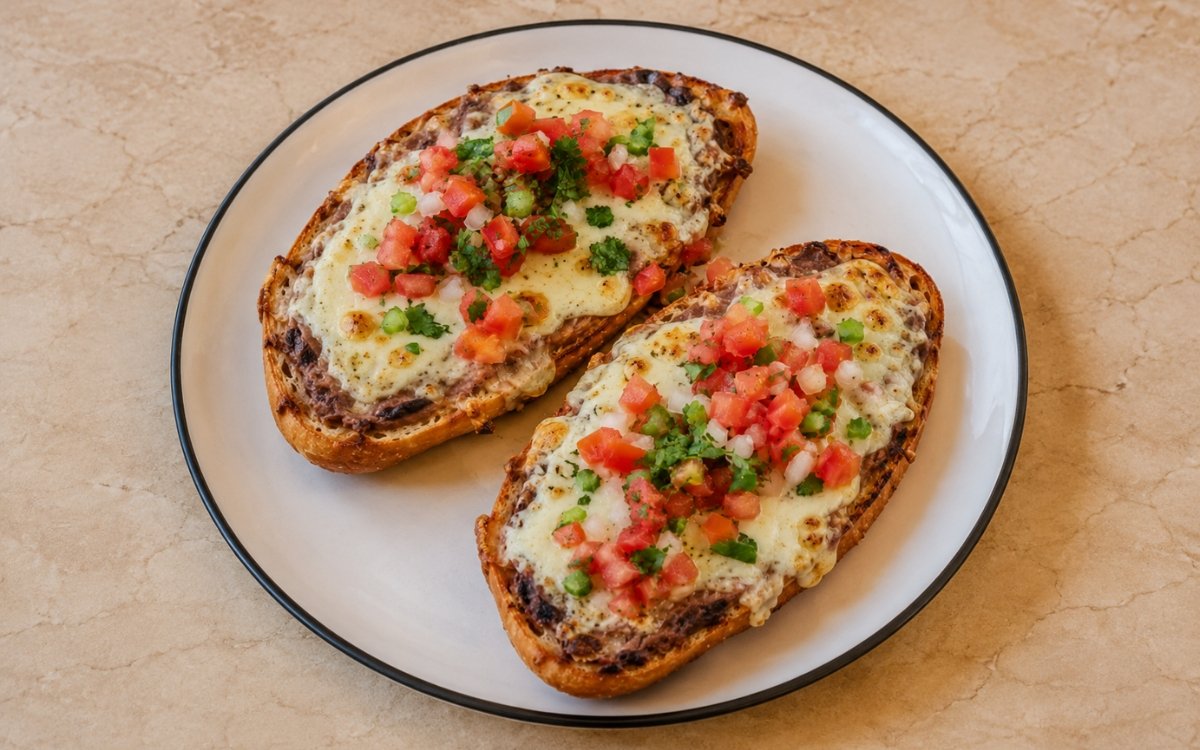
Molletes Mexicanos are split bolillo rolls toasted until crisp, spread with warm refried beans, topped generously with melted cheese, and finished with fresh pico de gallo. Simple, classic, and best served hot while the bread edges stay crisp and the cheese is still bubbling. Toasting the bolillos before the beans ever go on is the technique this whole dish depends on for staying crisp — bread topped and baked while still soft has nowhere near the same resistance against the beans’ moisture, the same toast-first-then-top principle used elsewhere in this collection whenever a bread base needs real structural protection before a wet topping is added. Mashing the refried beans to a genuinely thick, spreadable consistency, rather than leaving them loose, is what lets them sit on the bread without soaking straight through it. Draining the pico de gallo lightly before it goes on top of the melted cheese is what keeps the finished dish from turning soggy right at the very last step. The payoff is a plate with real, deliberate contrast — crisp bread, thick creamy beans, bubbling melted cheese, and bright fresh pico, each staying distinct rather than collapsing into one soft mass.
Prep Time : 20 min
Cook Time : 25 min
Servings : 4
20 min
25 min
4
Ingredients
For the Refried Beans
• 2 tbsp neutral oil, lard, or bacon fat — this one on Amazon
• 80g white onion, finely diced
• 2 garlic cloves, finely grated or minced
• 2 cans pinto beans, 800g total drained weight, reserve 180–240ml bean liquid — this one on Amazon
• 5g fine sea salt, or to taste
• Freshly ground black pepper, to taste
For the Pico de Gallo
• 300g ripe tomatoes, small dice
• 80g white onion, small dice
• 1 small jalapeño or serrano, finely diced
• 15g fresh cilantro, finely chopped
• 20–30ml fresh lime juice
• 3g fine sea salt, or to taste
For the Molletes
• 4 bolillo rolls, split lengthwise
• 30–40g softened butter, optional but classical for the cut sides — this one on Amazon
• 250–300g shredded Oaxaca cheese, Chihuahua cheese, Monterey Jack, or a Mexican blend — this one on Amazon
• 50g queso fresco, crumbled, optional — this one on Amazon
• Pickled jalapeños or salsa, optional for serving
This post may contain affiliate links. As an Amazon Associate I earn from qualifying purchases, at no additional cost to you.
Directions
- Make the Refried Beans
Heat the oil or lard in a skillet over medium heat. Add the onion and cook for 4–5 minutes until softened. Add the garlic and cook for 30 seconds. Add the pinto beans and 180ml reserved bean liquid. Mash with a potato masher or the back of a spoon until mostly smooth but still a little rustic. Simmer 5–8 minutes, stirring often, until thick, creamy, and spreadable. Add a splash more bean liquid if needed. Season with salt and black pepper. The beans should be thick enough to sit on the bread without running, but still soft and creamy enough to spread easily. Using the reserved bean liquid to loosen the mash, rather than plain water, keeps genuine bean flavour concentrated in the finished spread rather than diluting it with something neutral. - Make the Pico de Gallo
Combine the tomatoes, onion, jalapeño, cilantro, lime juice, and salt in a bowl. Toss well and let sit 10 minutes. Before using, lightly drain off excess liquid if the mixture is very juicy. The pico should stay fresh and bright, but not water down the cheese and bread. That brief 10-minute rest lets the salt draw out some of the tomato’s own moisture, which is exactly what the subsequent light draining step then removes before it ever has a chance to soak into the finished, assembled mollete. - Toast the Bolillos
Heat the oven to 200°C, or use a broiler/grill setting at the end. Lay the split bolillos cut side up on a baking tray. Lightly spread the cut sides with softened butter if using. Toast for 4–6 minutes until lightly crisp and just beginning to color at the edges. This first toast is important so the bread stays crisp under the beans. This preliminary toast builds real structural resistance into the bread before any moisture-carrying topping is added — bread that goes straight from soft to loaded with beans and cheese has no such protection and softens considerably faster. - Assemble the Molletes
Spread each toasted bolillo half with a generous layer of warm refried beans. Use enough to cover fully, but not so much that it piles too thickly. Top each half evenly with the shredded cheese. Spreading the beans directly onto the already-toasted, slightly cooled bread, rather than piling them onto hot bread straight from the oven, keeps the beans from thinning out prematurely against still-warm crumb. - Bake Until Melted
Return the tray to the oven and bake for 5–7 minutes until the cheese is fully melted. If needed, switch to broil for 1–2 minutes at the end so the top becomes bubbling and lightly spotted golden. The cheese should be melted all the way through and the bread edges crisp, but the bottom should not burn. Switching to broil only at the very end, after the cheese has already had time to melt through in the regular oven heat, is what builds that final bubbling, spotted-golden surface without risking the rest of the mollete drying out under prolonged direct top heat. - Finish and Serve
Top each mollete with a generous spoonful of pico de gallo. If using, scatter lightly with queso fresco. Serve immediately while hot, with optional pickled jalapeños or salsa on the side. Adding the pico only after the cheese has finished baking, rather than before, protects its fresh, raw character from ever being exposed to that heat — it’s meant to stay a cool, bright contrast against the hot, melted cheese beneath it.
*Notes :
- Toasting the bolillos before any topping goes on deserves recognition as the single step most responsible for whether the finished mollete stays properly crisp or turns soft and soggy. Bread that skips this preliminary toast and goes straight from raw to fully loaded has no real structural head start against the beans’ moisture — the brief initial toast specified here builds that protective resistance in before the bread ever has to work against anything wet.
- Mashing the beans to a genuinely thick, spreadable consistency, rather than something looser, protects that same toasted bread from a different angle. Beans left too loose would soak directly into the bread’s surface almost immediately regardless of how well it was toasted beforehand — the specific thick consistency called for here is what lets the beans sit as a proper spread rather than a liquid working its way through the crumb.
- Draining the pico de gallo lightly before it tops the finished, cheese-melted mollete is worth respecting as a genuine final safeguard rather than an optional step. Even with the beans and cheese doing their own work to protect the bread, an overly juicy pico added right at the very end would still introduce fresh moisture at the last possible moment — that light drain is what keeps the whole assembly’s carefully protected crispness intact all the way to serving.
- Reserving pico de gallo for after baking, rather than adding it before the mollete goes back in the oven, protects its fresh character in a way worth appreciating. Pico’s appeal depends specifically on staying raw, bright, and cool — exposing it to the oven’s heat alongside the melting cheese would soften and warm it in a way that loses exactly the fresh contrast it’s meant to provide against the hot, melted cheese beneath.
Why This Recipe Works
This recipe works because the bolillos are toasted first, building real structural resistance into the bread before any wet topping is added. Thick, properly mashed refried beans sit as a genuine spread rather than soaking through, protecting the toasted base further.
Cheese is melted fully in regular oven heat before an optional final broil builds bubbling, spotted-golden colour without drying out the rest of the mollete.
Pico de gallo, lightly drained and added only after baking, finishes the dish with fresh, bright contrast that stays distinctly cool and raw against the hot cheese beneath it.
Ingredient Breakdown
Pre-Toasted Bolillo Rolls
The structural foundation — toasted first to build genuine resistance against the beans and cheese layered on top.
Thick, Creamy Mashed Pinto Beans
The spreading layer — mashed to a specific consistency that protects the toasted bread from soaking through beneath it.
Melting Mexican Cheese (Oaxaca or Similar)
The rich centre — melted fully in regular heat, with an optional final broil for colour and bubble.
Lightly Drained Pico de Gallo
The fresh finishing topping — drained just enough to stay bright without introducing excess moisture at the final stage.
Deliberate Post-Bake Assembly Order
The technique — pico added only after baking, keeping it distinctly cool and fresh against the hot, melted cheese.
Flavor Structure Explained
This molletes mexicanos follows a layered balance model:
- Crisp toasted foundation (pre-toasted bolillo)
- Creamy hearty base (thick mashed pinto beans)
- Rich melted centre (shredded Mexican cheese)
- Fresh bright finish (lightly drained pico de gallo)
- Optional sharp accent (queso fresco, pickled jalapeños)
Pre-toasted bolillo rolls provide the crisp, structural foundation this whole dish depends on. Thick, creamy mashed pinto beans add hearty, savoury body directly on top. Melted Mexican cheese defines the dish’s rich, bubbling centre. Fresh, lightly drained pico de gallo finishes each mollete with bright, cool contrast against all that warmth and richness. Optional crumbled queso fresco or pickled jalapeños add a final sharp, salty, or spicy accent for those who want it.
Common Mistakes to Avoid
- Skipping the Initial Toast for the Bolillos – This leaves the bread without protection against the beans’ moisture. Always toast it first before adding any toppings.
- Leaving the Refried Beans Too Loose – Thin beans soak directly into the bread. Always mash and simmer them to a thick, spreadable consistency.
- Adding the Pico de Gallo Before Baking – This exposes it to oven heat, softening and warming it. Always add it fresh, only after the cheese has finished melting.
- Skipping the Light Drain on the Pico – An overly juicy pico introduces fresh moisture right at the last step. Always drain it lightly before topping.
- Assembling Too Far Ahead of Serving – The bread softens quickly once fully topped. Always assemble and serve immediately.
Variations
Black Bean Version
Substitute black beans for pinto for a slightly different, though less classically traditional, flavour.
Extra-Spicy Version
Serve with pickled jalapeños or a spicy salsa on the side for those who want extra heat.
Vegetarian-Forward Version
Skip the optional butter on the bread and use a plant-based cheese for a fully vegetarian variation.
Extra-Cheesy Version
Increase the shredded cheese slightly for a more generous, gooier melted centre.
Storage & Make-Ahead
The refried beans can be made a day or two ahead and reheated gently before use.
The pico de gallo is best made fresh close to serving, since it loses its crisp, bright character the longer it sits.
Fully assembled, baked molletes are not suitable for storage — assemble and bake only what will be eaten immediately, given how quickly the toasted bread softens once fully topped.
Frequently Asked Questions
Why do the bolillos need to be toasted before any topping is added?
Bread that goes straight from raw to fully loaded has no real structural head start against the beans’ moisture. Toasting it first builds genuine resistance into the bread before it ever has to work against anything wet.
Why do the refried beans need to be mashed so thick rather than left looser?
Beans left too loose soak directly into the bread’s surface almost immediately, regardless of how well it was toasted. The specified thick, spreadable consistency lets the beans sit as a proper layer rather than a liquid working through the crumb.
Why is the pico de gallo added only after the mollete comes out of the oven?
Pico’s appeal depends on staying raw, bright, and cool. Adding it before baking would expose it to the oven’s heat alongside the melting cheese, softening and warming it in a way that loses that fresh contrast.
Why does the pico need to be drained lightly before it’s used as a topping?
Even with the beans and toasted bread already protecting against moisture, an overly juicy pico introduces fresh liquid right at the very last step. A light drain keeps the whole assembly’s crispness intact all the way to serving.
Are there other classic Mexican bean, cheese, or salsa-based dishes worth trying?
Refried Beans and Pico de Gallo are both worth making on their own, since they form the foundation of this and many other classic Mexican dishes. Mexican Black Bean Quesadilla, Pollo Sopes with Refried Beans, and Salsa Roja are also worth exploring for related classic Mexican comfort food.
Nutrition Facts
( per serving )
Calories
~680 kcal
Protein
28 g
Fat
32 g
Carbs
68 g
Calories
~680 kcal
Protein
28 g
Fat
32 g
Carbs
68 g
Related Recipes
Related Recipes

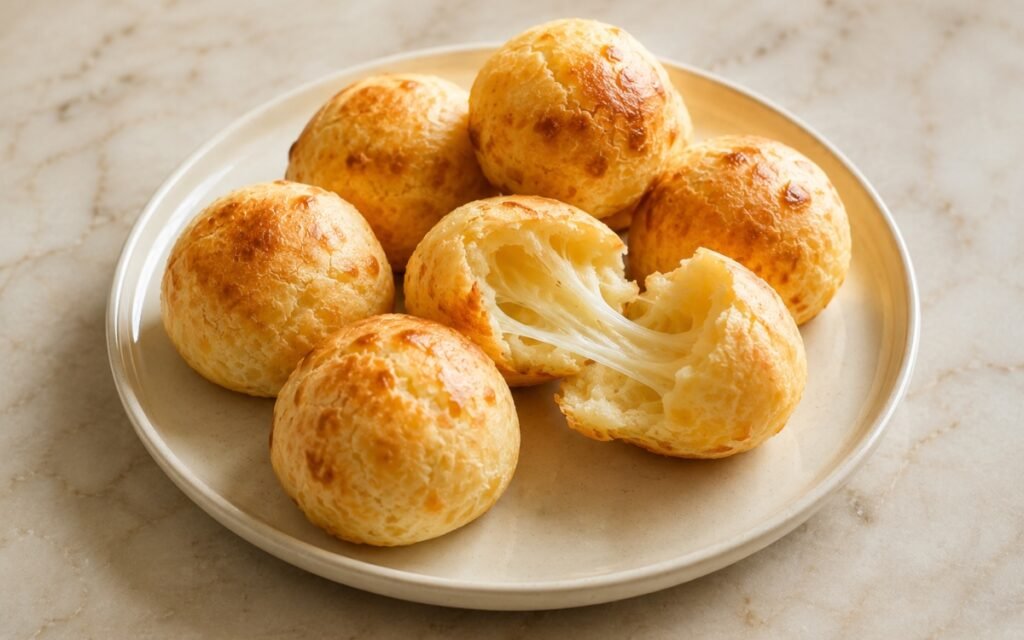
Brazilian Pão de Queijo
Tapioca starch scalded with hot milk and oil, mixed with eggs and cheese, and baked into golden puffed balls with a chewy, cheese-pulling interior.
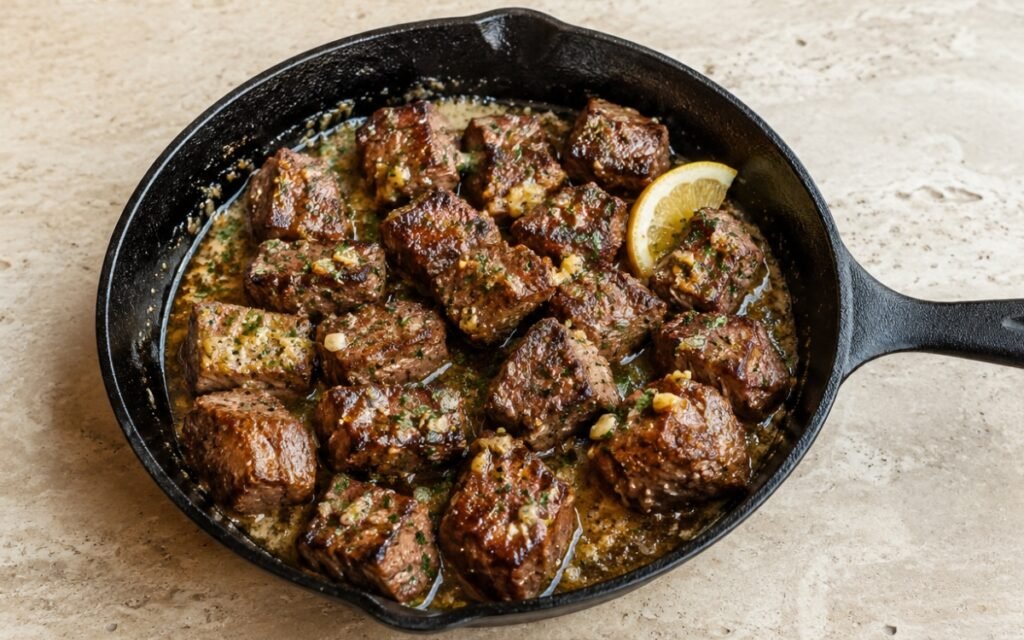
Garlic Butter Steak Bites
Large seared steak cubes with dark crust and juicy centers, tossed in glossy garlic butter with parsley, lemon, and black pepper.
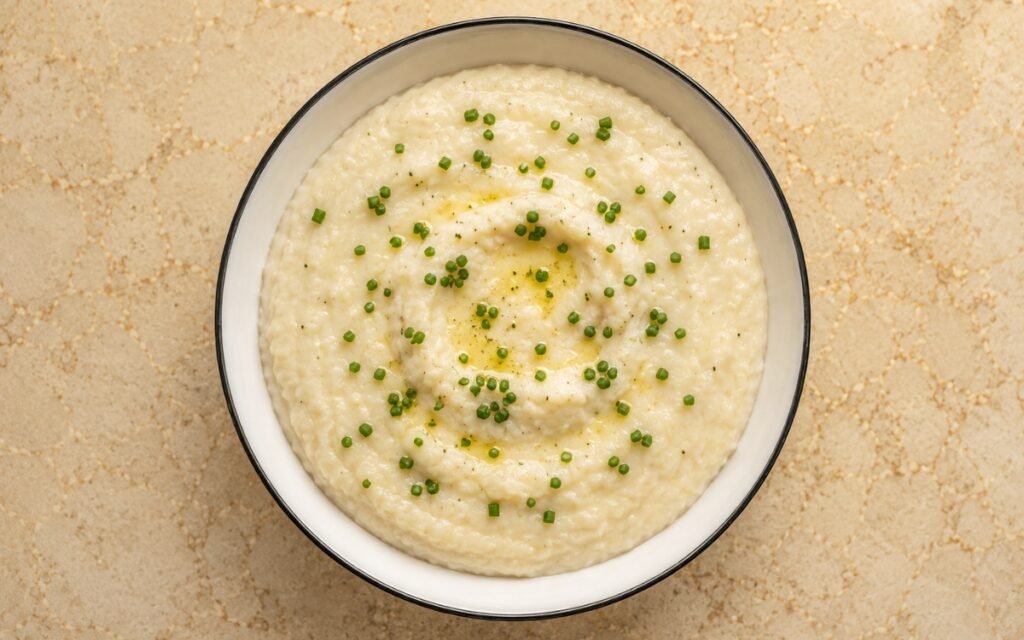
Creamy Parmesan Grits
Milk heated carefully in a heavy pan, stone-ground grits whisked in, simmered until tender, finished with butter, Parmesan, and cream. Velvety and indulgent.
You might also like
You might also like
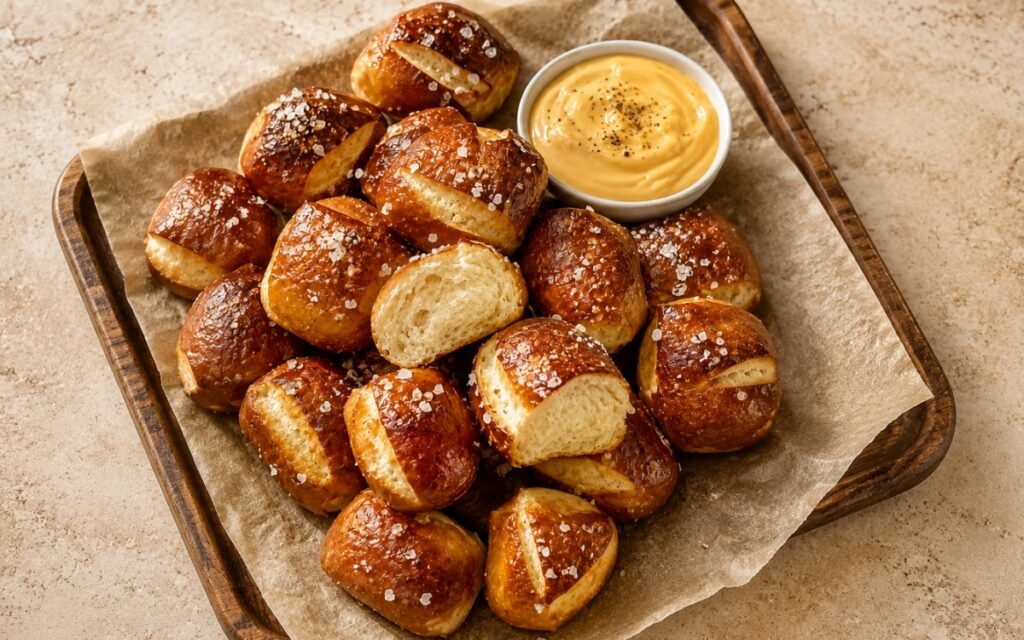
Homemade Pretzel Bites
Soft homemade pretzel bites with deep golden glossy crusts, a chewy outside, and a soft pale interior, served with warm cheese dip.
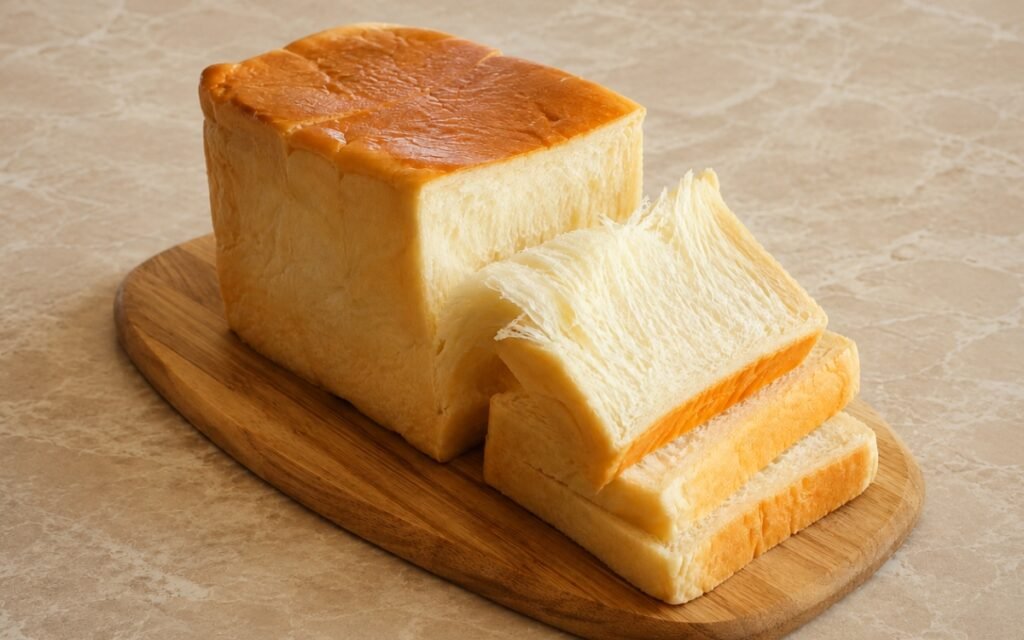
Japanese Milk Bread / Three-Part Shokupan
A tall, ultra-soft shokupan loaf shaped from three even portions that rise into a classic three-domed pull-apart top.
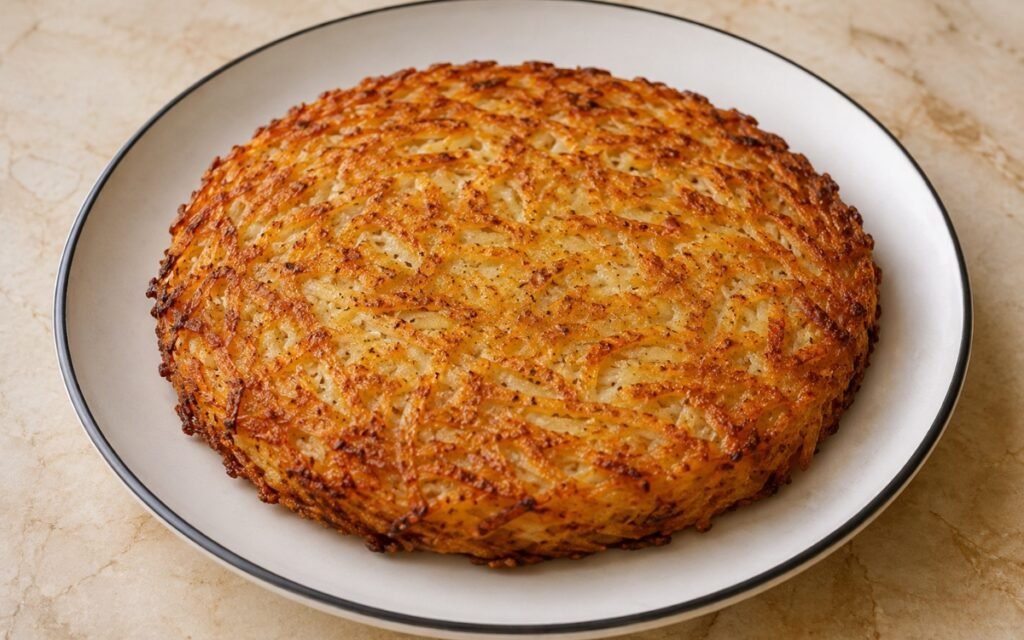
Crispy Hash Brown Potatoes
Shredded potatoes rinsed, wrung completely dry, seasoned, pressed into a cake, fried undisturbed until golden on both sides. Crisp and tender.
Molletes Mexicanos
Ingredients
Method
- Heat the oil or lard in a skillet over medium heat. Add the onion and cook for 4–5 minutes until softened. Add the garlic and cook for 30 seconds. Add the pinto beans and 180ml reserved bean liquid. Mash with a potato masher or the back of a spoon until mostly smooth but still a little rustic. Simmer 5–8 minutes, stirring often, until thick, creamy, and spreadable. Add a splash more bean liquid if needed. Season with salt and black pepper. The beans should be thick enough to sit on the bread without running, but still soft and creamy enough to spread easily. Using the reserved bean liquid to loosen the mash, rather than plain water, keeps genuine bean flavour concentrated in the finished spread rather than diluting it with something neutral.
- Combine the tomatoes, onion, jalapeño, cilantro, lime juice, and salt in a bowl. Toss well and let sit 10 minutes. Before using, lightly drain off excess liquid if the mixture is very juicy. The pico should stay fresh and bright, but not water down the cheese and bread. That brief 10-minute rest lets the salt draw out some of the tomato’s own moisture, which is exactly what the subsequent light draining step then removes before it ever has a chance to soak into the finished, assembled mollete.
- Heat the oven to 200°C, or use a broiler/grill setting at the end. Lay the split bolillos cut side up on a baking tray. Lightly spread the cut sides with softened butter if using. Toast for 4–6 minutes until lightly crisp and just beginning to color at the edges. This first toast is important so the bread stays crisp under the beans. This preliminary toast builds real structural resistance into the bread before any moisture-carrying topping is added — bread that goes straight from soft to loaded with beans and cheese has no such protection and softens considerably faster.
- Spread each toasted bolillo half with a generous layer of warm refried beans. Use enough to cover fully, but not so much that it piles too thickly. Top each half evenly with the shredded cheese. Spreading the beans directly onto the already-toasted, slightly cooled bread, rather than piling them onto hot bread straight from the oven, keeps the beans from thinning out prematurely against still-warm crumb.
- Return the tray to the oven and bake for 5–7 minutes until the cheese is fully melted. If needed, switch to broil for 1–2 minutes at the end so the top becomes bubbling and lightly spotted golden. The cheese should be melted all the way through and the bread edges crisp, but the bottom should not burn. Switching to broil only at the very end, after the cheese has already had time to melt through in the regular oven heat, is what builds that final bubbling, spotted-golden surface without risking the rest of the mollete drying out under prolonged direct top heat.
- Top each mollete with a generous spoonful of pico de gallo. If using, scatter lightly with queso fresco. Serve immediately while hot, with optional pickled jalapeños or salsa on the side. Adding the pico only after the cheese has finished baking, rather than before, protects its fresh, raw character from ever being exposed to that heat — it’s meant to stay a cool, bright contrast against the hot, melted cheese beneath it.