
Torta de Milanesa Sandwich
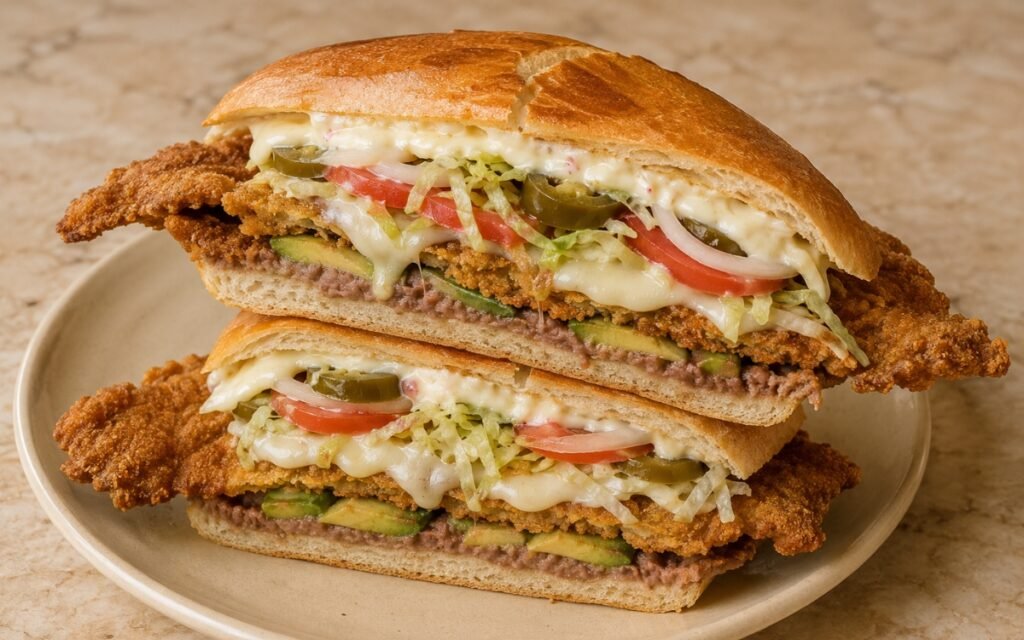
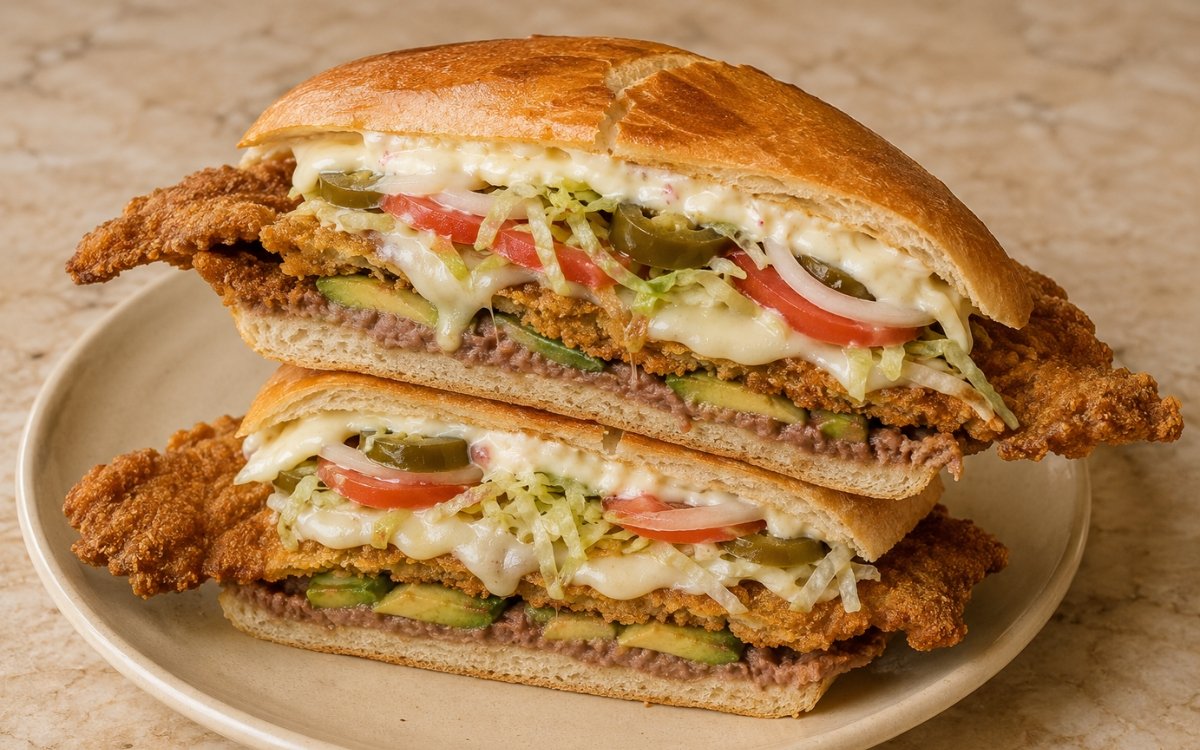
A classic Mexican torta built on toasted telera rolls and filled with a large crispy breaded beef milanesa, refried beans, melting Oaxaca cheese, sliced avocado, shredded lettuce, tomato, white onion, pickled jalapeños, and crema, with the milanesa extending well beyond the bun edges while the bread stays toasted enough to hold the fillings without going soggy. Resting the breaded cutlets for 10 minutes before frying is the technique that keeps the coating intact through the fry — freshly breaded cutlets shed crumbs readily in hot oil, while a brief rest lets the egg wash properly bind the breadcrumbs to the meat, the same rest-before-fry principle used elsewhere in this collection whenever a breaded item needs to survive frying without shedding its coating. Toasting the telera rolls before assembly matters just as much, since untoasted bread has nowhere near enough structure to survive the combined moisture of refried beans, crema, and fresh vegetables. Keeping the refried beans thick rather than loose protects that same bread, since watery beans are one of the fastest routes to a soggy torta. The payoff is a sandwich with real structural clarity — a crisp, oversized milanesa with melted cheese, layered against warm beans, cool crema, and fresh vegetables, all held together by properly toasted telera.
Prep Time : 30 min
Cook Time : 20 min
Servings : 4
30 min
20 min
4
Ingredients
For the Sandwiches
• 4 telera rolls, homemade — see Telera Rolls — or store-bought
• 200g Oaxaca cheese, shredded or torn into thin strands — this one on Amazon
• 180–200g refried beans
• 120ml Mexican crema or sour cream thinned slightly with a little milk
• 2 ripe avocados, sliced
• 120g shredded lettuce
• 2 medium tomatoes, sliced
• 1 small white onion, thinly sliced
• 8–12 pickled jalapeño slices, or to taste
• Neutral oil, as needed for frying and toasting
For the Beef Milanesa
• 4 beef cutlets, about 150–180g each, preferably top round, sirloin tip, or thin minute steak
• Fine sea salt, to taste
• Freshly ground black pepper, to taste
• 1 tsp garlic powder — this one on Amazon
• 1 tsp onion powder — this one on Amazon
For the Breading
• 100g all-purpose flour
• 3 eggs
• 1 tbsp milk or water
• 180–200g fine dry breadcrumbs
• 30g grated Parmesan or cotija, optional but traditional in some home-style versions
• ½ tsp fine sea salt
• ½ tsp black pepper
This post may contain affiliate links. As an Amazon Associate I earn from qualifying purchases, at no additional cost to you.
Directions
- Prepare the Beef
If the cutlets are uneven, place them between sheets of baking paper or plastic and pound gently until evenly thin, about 4–6mm thick. Season both sides with fine sea salt, black pepper, garlic powder, and onion powder. The cutlets should be thin enough to cook quickly and crisp well, but not pounded so hard that they tear. Pounding to an even thickness matters directly for the fry that follows — an unevenly thick cutlet forces a compromise where the thin section overcooks before the thick section has finished, especially over the fairly short frying time this cut needs. - Set Up the Breading Station
Place the flour in one shallow bowl. In a second bowl, whisk the eggs with the milk or water until completely smooth. In a third bowl, combine the breadcrumbs with the salt, pepper, and optional grated Parmesan or cotija. Coat each cutlet first in flour, shaking off the excess, then in egg, then in breadcrumbs, pressing the crumbs firmly so they adhere evenly. Set the breaded cutlets on a tray and let them rest for 10 minutes. This short rest helps the coating hydrate slightly and cling better during frying. The standard three-stage breading sequence works because each layer gives the next something to grip — the flour gives the wet egg a surface to cling to, and that egg layer is in turn what the breadcrumbs adhere to; skipping or shortchanging any one stage weakens the whole coating’s hold on the beef. - Prepare the Toppings
Warm the refried beans gently over low heat until spreadable. If they are very thick, loosen with a spoonful of water. Slice the avocado, tomato, and onion. Shred the lettuce if needed. Thin the crema slightly only if it is too thick to spread or drizzle. Keep all toppings ready before frying the milanesa so the sandwiches can be assembled while the cutlets are still hot and crisp. Handling every topping ahead of the actual frying is what keeps the final assembly stage — the part of this recipe with the least margin for delay — moving quickly rather than competing with last-minute prep work. - Fry the Milanesa
Heat about 1–1.5cm of neutral oil in a wide skillet over medium to medium-high heat. Fry the breaded cutlets one at a time or in batches, depending on pan size, until deep golden brown and crisp, about 2–3 minutes per side. Transfer to a wire rack or paper towel-lined tray. The coating should be crisp and deeply golden, while the beef inside should remain juicy and just cooked through. Do not overcrowd the pan or the coating will soften instead of frying properly. Frying in a properly sized batch, rather than crowding the pan, keeps the oil at a stable temperature throughout — crowded cutlets drop that temperature and produce a softened, greasy coating instead of the crisp crust this sandwich depends on. - Toast the Telera Rolls
Split the telera rolls horizontally. Toast the cut sides lightly in a skillet, comal, or under a broiler until warm and lightly crisped. The bread should be toasted enough to support the fillings, but still soft enough to compress slightly when eaten. This toast gives the roll real structural resistance against the combined moisture of the beans, crema, and fresh vegetables stacked inside — an untoasted telera would have considerably less tolerance for that load. - Melt the Cheese
Place one fried milanesa cutlet on each bottom half of the toasted telera rolls. Top each cutlet with a portion of Oaxaca cheese. Place under a broiler or cover briefly in a skillet just until the cheese softens and begins to melt. The cheese should melt enough to bind to the milanesa without running off completely. Melting the cheese directly onto the hot milanesa, rather than adding it cold at final assembly, is what lets it bind lightly to the crisp coating beneath it, anchoring the first layer of the sandwich before the rest is built on top. - Assemble the Tortas
Spread the warm refried beans on the top half of each roll. Spread or drizzle crema over the beans. On the cheese-topped milanesa, layer sliced avocado, shredded lettuce, tomato slices, white onion, and pickled jalapeños. Close each sandwich with the bean-and-crema side on top. Press gently so the fillings settle but do not crush the cutlet. The final sandwich should feel full and generous, with the milanesa clearly extending beyond the bread. Spreading the beans and crema on the top roll rather than directly onto the hot cheese and milanesa keeps those cooler, wetter components from sitting in prolonged contact with the crisp coating any longer than necessary before the sandwich is closed and served. - Serve
Serve immediately while the milanesa is crisp, the cheese is still soft, and the bread remains toasted. If desired, cut each torta in half before serving. Holding the finished tortas too long softens the milanesa coating, so serving without delay is what preserves the contrast between the crisp cutlet and everything layered around it.
*Notes :
- The resting period after breading, though brief, is worth treating as a genuine technique step rather than an optional pause. Freshly applied breadcrumbs haven’t had time to properly bond with the wet egg layer beneath them, and cutlets fried immediately after breading tend to shed noticeable amounts of coating into the oil, leaving patchy, thin spots on the finished crust. The 10-minute rest gives the coating time to set and hydrate against the meat’s surface, producing a crust that stays intact through frying.
- Toasting the telera roll is a small step with an outsized effect on how well this sandwich holds together, given how many wet and juicy components are stacked inside it. A soft, untoasted roll simply doesn’t have the structural resistance to survive contact with warm refried beans, drizzled crema, and juicy sliced tomato for the length of time it takes to eat a torta this substantial — the light toast buys real, if modest, extra time before the bread begins to break down.
- Keeping the refried beans thick rather than loose, and warming rather than thinning them more than necessary, protects the same bread from a different angle. Beans that are too watery soak directly into the roll from the moment the sandwich is assembled, working against the toasting step that was meant to protect it in the first place — thickness here is a genuine defensive measure, not just a texture preference.
- The order of assembly — cheese melted onto the hot milanesa first, then beans and crema on the opposite roll half, with fresh vegetables layered onto the cheese-topped side — is deliberate rather than arbitrary. Building the sandwich this way means the coolest, wettest components (crema, sliced tomato) spend the least possible time in direct, sustained contact with the hot, crisp milanesa before the sandwich is closed and eaten.
Why This Recipe Works
This recipe works because the milanesa is breaded properly and rested before frying, protecting the coating from shedding, and fried in a stable-temperature pan for genuine crispness.
The telera rolls are toasted specifically to withstand the substantial, moist filling this torta carries, and the refried beans are kept thick rather than loose to avoid soaking the bread.
Assembling with cheese melted directly onto the hot cutlet, and cooler components layered separately, keeps every part of the sandwich at its intended texture for as long as possible before serving.
Ingredient Breakdown
Evenly Pounded Beef Cutlets
The base protein — pounded to a consistent thickness so the interior cooks through in the same window the crust turns golden.
Rested, Triple-Breaded Coating
The critical technique — flour, egg, and breadcrumbs applied in sequence and rested before frying, for a crust that survives the fry intact.
Melted Oaxaca Cheese (Applied Hot)
The binding layer — melted directly onto the fried milanesa to anchor the first layer of the sandwich.
Thick, Warmed Refried Beans
The moisture-control component — kept thick rather than loose specifically to protect the toasted roll from sogginess.
Toasted Telera Roll
The structural bread — lightly crisped to withstand the combined moisture of beans, crema, and fresh vegetables.
Flavor Structure Explained
This torta de milanesa follows a layered balance model:
- Crisp savoury foundation (breaded, fried beef milanesa)
- Rich melted centre (Oaxaca cheese)
- Earthy creamy body (refried beans, crema)
- Fresh crisp contrast (lettuce, tomato, onion)
- Sharp bright finish (pickled jalapeños)
The crisp, breaded milanesa provides a substantial, savoury foundation extending well beyond the bread itself. Melted Oaxaca cheese adds rich, gooey warmth directly against the beef. Refried beans and crema together contribute an earthy, creamy body that rounds out the sandwich’s richness. Sliced avocado, shredded lettuce, tomato, and onion layer in fresh, cool crunch that contrasts against the hot, crisp cutlet. Pickled jalapeños finish the torta with a sharp, tangy bite that cuts through the richness of everything beneath.
Common Mistakes to Avoid
- Frying the Milanesa Immediately After Breading – This sheds coating into the oil and produces a patchy crust. Always rest for 10 minutes first.
- Using Loose, Watery Refried Beans – This soaks directly into the roll and undermines the toasting step. Always keep the beans thick and only lightly loosened if needed.
- Skipping the Roll-Toasting Step – An untoasted telera has little resistance against the sandwich’s substantial, moist filling. Always toast the cut sides before assembling.
- Overcrowding the Frying Pan – This drops the oil’s temperature and softens the coating instead of crisping it. Always fry in a properly sized batch.
- Assembling Too Far Ahead of Serving – The milanesa’s crisp coating softens the longer the sandwich sits fully assembled. Always build and serve immediately.
Variations
With Chicken Milanesa
Substitute thin, pounded chicken breast cutlets for the beef, following the identical breading, resting, and frying method.
Spicier Version
Add extra pickled jalapeño slices or a spoonful of a spicy salsa alongside the crema for a sharper heat throughout.
Extra-Cheesy Version
Increase the Oaxaca cheese and add a scattering of crumbled cotija over the finished torta for a saltier, sharper cheese note.
Torta Ahogada Style
Serve the assembled torta with a small side of warm, thin salsa roja for dipping or drizzling, in the style of a torta ahogada.
Storage & Make-Ahead
Breaded, unfried cutlets can be refrigerated on a tray for up to 24 hours before frying. Refried beans and crema can each be refrigerated separately according to their own storage guidance, and warmed or loosened just before assembly.
Fried, unassembled milanesa cutlets can be refrigerated for up to 2 days; reheat in a hot oven to restore some crispness before assembling.
Fully assembled tortas are not suitable for storage — assemble only what will be eaten immediately, given how quickly the bread softens under the substantial filling.
Frequently Asked Questions
Why does the breaded cutlet need to rest for 10 minutes before frying?
Freshly applied breadcrumbs haven’t had time to properly bond with the egg layer underneath. A cutlet fried immediately after breading tends to shed coating into the oil, while a brief rest lets the crust set and hydrate, staying intact through frying.
Why does the telera roll need to be toasted before building the torta?
This sandwich carries a substantial amount of moisture from the refried beans, crema, and fresh vegetables. An untoasted roll has very little resistance to that combined moisture, while a light toast gives it real, if modest, extra structural integrity.
Why do the refried beans need to stay thick rather than being loosened further?
Watery beans soak directly into the toasted roll, working against the very step meant to protect the bread. Keeping them thick, warmed just enough to spread, is a genuine defensive measure for the sandwich’s structure.
Why melt the cheese onto the hot milanesa before adding the other toppings?
Melting it directly onto the freshly fried cutlet lets it bind lightly to the crisp coating, anchoring that first layer of the sandwich before the beans, crema, and fresh vegetables are added on top.
How long does it stay fresh after mixing?
Pambazo Sandwich and Italian Beef Sandwich both offer related, substantial sandwich formats worth exploring. Cuban Sandwich (Cubano) and Cuban Frita Burger take a different regional direction with pressed or loaded formats, and Chopped Cheese offers another hearty, loaded sandwich built around a hot, savoury filling in a soft roll.
Nutrition Facts
( per serving )
Calories
~920 kcal
Protein
48 g
Fat
52 g
Carbs
68 g
Calories
~920 kcal
Protein
48 g
Fat
52 g
Carbs
68 g
Related Recipes
Related Recipes

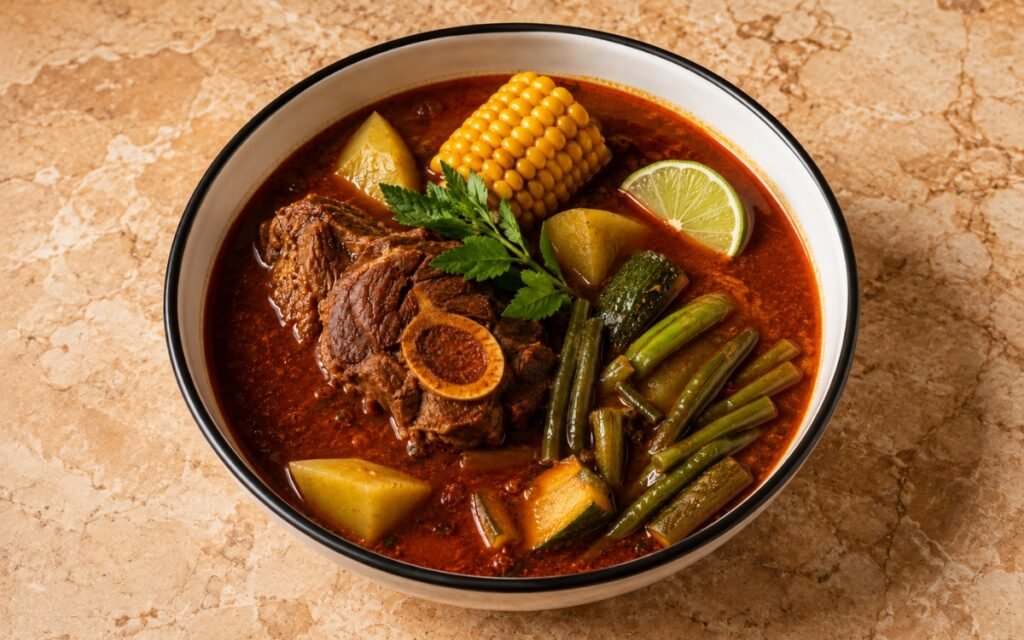
Mole de Olla
A vivid, brothy Mexican beef stew built on gently simmered beef shank, a blended guajillo-ancho chile base, and staged vegetables.
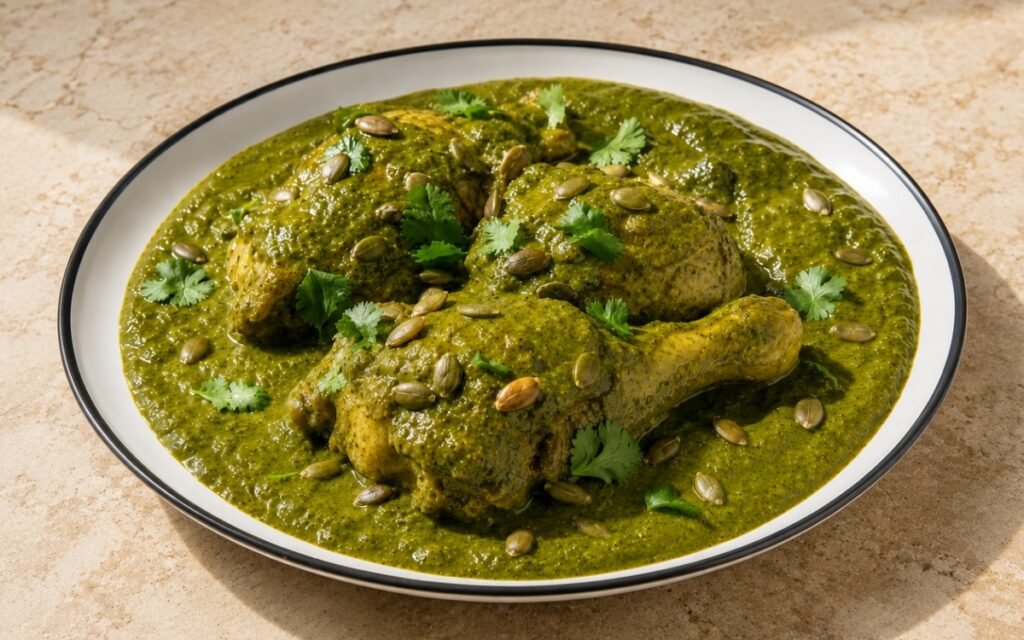
Pipián Verde Chicken
Gently poached chicken finished in a vivid green pipián sauce of roasted tomatillos, pumpkin seeds, green chiles, and herbs.
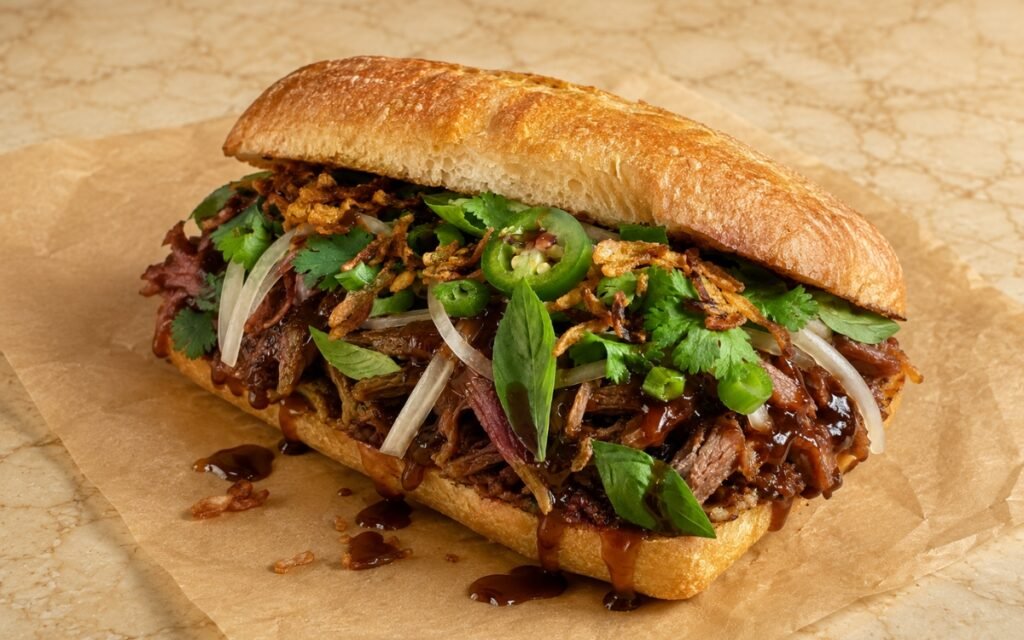
Pho Sandwich
Slow-braised beef in a fragrant, charred pho-style spice base, sliced and glazed, piled into a crusty baguette with fresh herbs and crispy shallots.
You might also like
You might also like
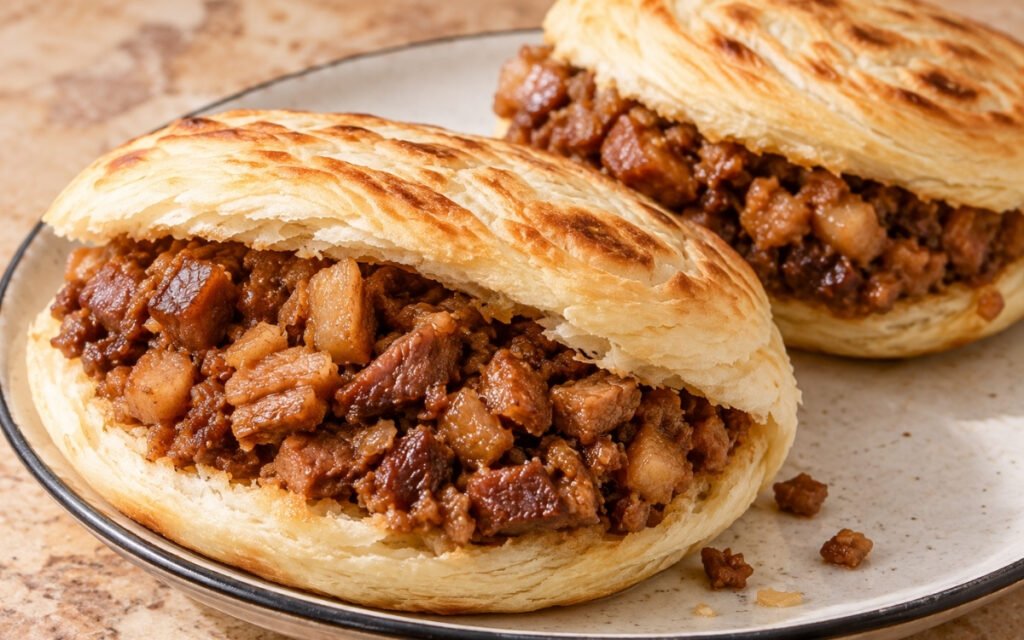
Roujiamo Sandwich
Crisp-outside, soft-inside flatbread packed with finely chopped, richly spiced braised pork belly and reduced braising juices.
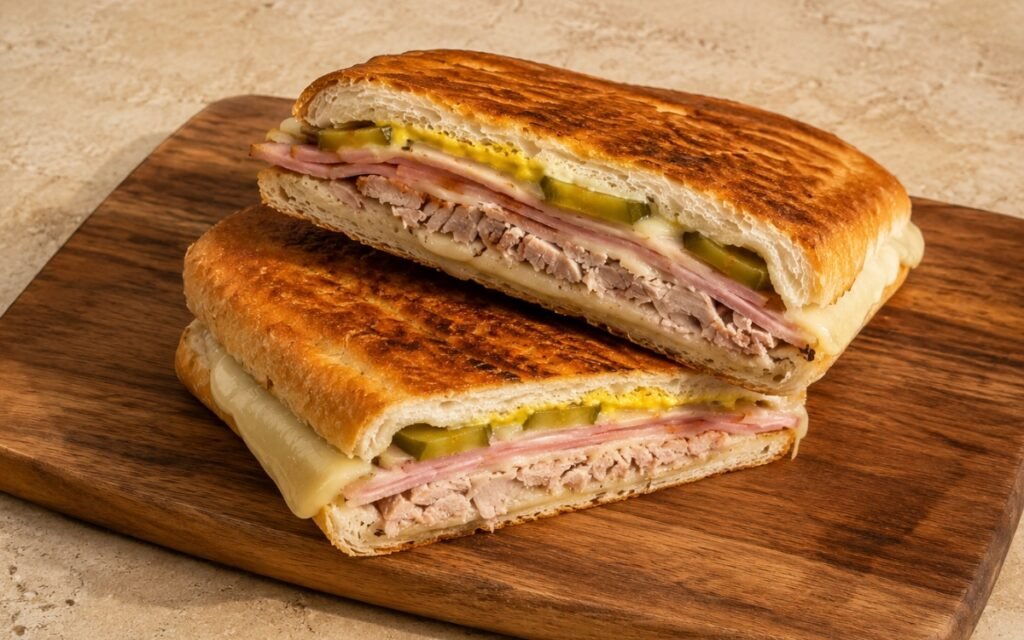
Cuban Sandwich (Cubano)
Citrus-marinated pork roasted in its own mojo marinade, layered with ham, Swiss cheese, and pickles on homemade Cuban bread, pressed until crisp and golden.
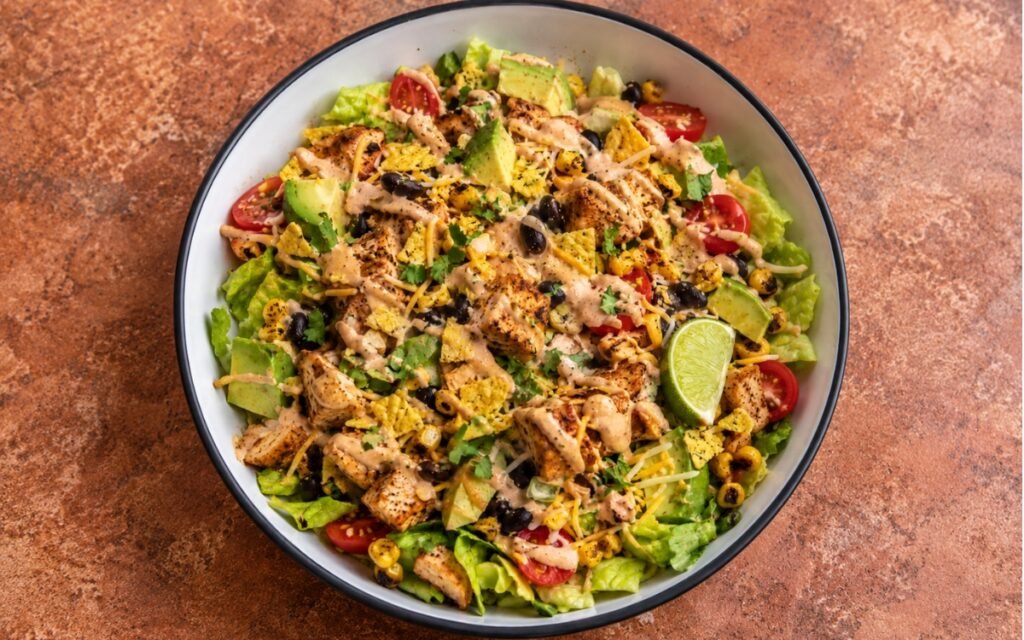
Mexican Chicken Taco Salad
Seasoned chicken breast, chopped lettuce, black beans, charred corn, cherry tomatoes, avocado, shredded cheese, and crushed tortilla chips with chipotle crema.
Torta de Milanesa Sandwich
Ingredients
Method
- If the cutlets are uneven, place them between sheets of baking paper or plastic and pound gently until evenly thin, about 4–6mm thick. Season both sides with fine sea salt, black pepper, garlic powder, and onion powder. The cutlets should be thin enough to cook quickly and crisp well, but not pounded so hard that they tear. Pounding to an even thickness matters directly for the fry that follows — an unevenly thick cutlet forces a compromise where the thin section overcooks before the thick section has finished, especially over the fairly short frying time this cut needs.
- Place the flour in one shallow bowl. In a second bowl, whisk the eggs with the milk or water until completely smooth. In a third bowl, combine the breadcrumbs with the salt, pepper, and optional grated Parmesan or cotija. Coat each cutlet first in flour, shaking off the excess, then in egg, then in breadcrumbs, pressing the crumbs firmly so they adhere evenly. Set the breaded cutlets on a tray and let them rest for 10 minutes. This short rest helps the coating hydrate slightly and cling better during frying. The standard three-stage breading sequence works because each layer gives the next something to grip — the flour gives the wet egg a surface to cling to, and that egg layer is in turn what the breadcrumbs adhere to; skipping or shortchanging any one stage weakens the whole coating’s hold on the beef.
- Warm the refried beans gently over low heat until spreadable. If they are very thick, loosen with a spoonful of water. Slice the avocado, tomato, and onion. Shred the lettuce if needed. Thin the crema slightly only if it is too thick to spread or drizzle. Keep all toppings ready before frying the milanesa so the sandwiches can be assembled while the cutlets are still hot and crisp. Handling every topping ahead of the actual frying is what keeps the final assembly stage — the part of this recipe with the least margin for delay — moving quickly rather than competing with last-minute prep work.
- Heat about 1–1.5cm of neutral oil in a wide skillet over medium to medium-high heat. Fry the breaded cutlets one at a time or in batches, depending on pan size, until deep golden brown and crisp, about 2–3 minutes per side. Transfer to a wire rack or paper towel-lined tray. The coating should be crisp and deeply golden, while the beef inside should remain juicy and just cooked through. Do not overcrowd the pan or the coating will soften instead of frying properly. Frying in a properly sized batch, rather than crowding the pan, keeps the oil at a stable temperature throughout — crowded cutlets drop that temperature and produce a softened, greasy coating instead of the crisp crust this sandwich depends on.
- Split the telera rolls horizontally. Toast the cut sides lightly in a skillet, comal, or under a broiler until warm and lightly crisped. The bread should be toasted enough to support the fillings, but still soft enough to compress slightly when eaten. This toast gives the roll real structural resistance against the combined moisture of the beans, crema, and fresh vegetables stacked inside — an untoasted telera would have considerably less tolerance for that load.
- Place one fried milanesa cutlet on each bottom half of the toasted telera rolls. Top each cutlet with a portion of Oaxaca cheese. Place under a broiler or cover briefly in a skillet just until the cheese softens and begins to melt. The cheese should melt enough to bind to the milanesa without running off completely. Melting the cheese directly onto the hot milanesa, rather than adding it cold at final assembly, is what lets it bind lightly to the crisp coating beneath it, anchoring the first layer of the sandwich before the rest is built on top.
- Spread the warm refried beans on the top half of each roll. Spread or drizzle crema over the beans. On the cheese-topped milanesa, layer sliced avocado, shredded lettuce, tomato slices, white onion, and pickled jalapeños. Close each sandwich with the bean-and-crema side on top. Press gently so the fillings settle but do not crush the cutlet. The final sandwich should feel full and generous, with the milanesa clearly extending beyond the bread. Spreading the beans and crema on the top roll rather than directly onto the hot cheese and milanesa keeps those cooler, wetter components from sitting in prolonged contact with the crisp coating any longer than necessary before the sandwich is closed and served.
- Serve immediately while the milanesa is crisp, the cheese is still soft, and the bread remains toasted. If desired, cut each torta in half before serving. Holding the finished tortas too long softens the milanesa coating, so serving without delay is what preserves the contrast between the crisp cutlet and everything layered around it.