
Telera Rolls
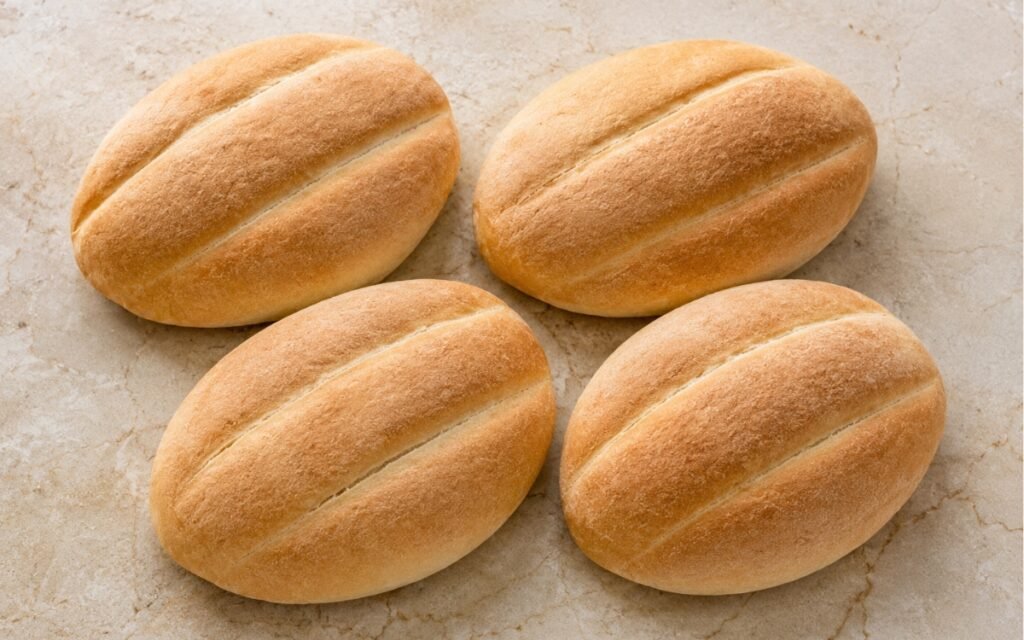
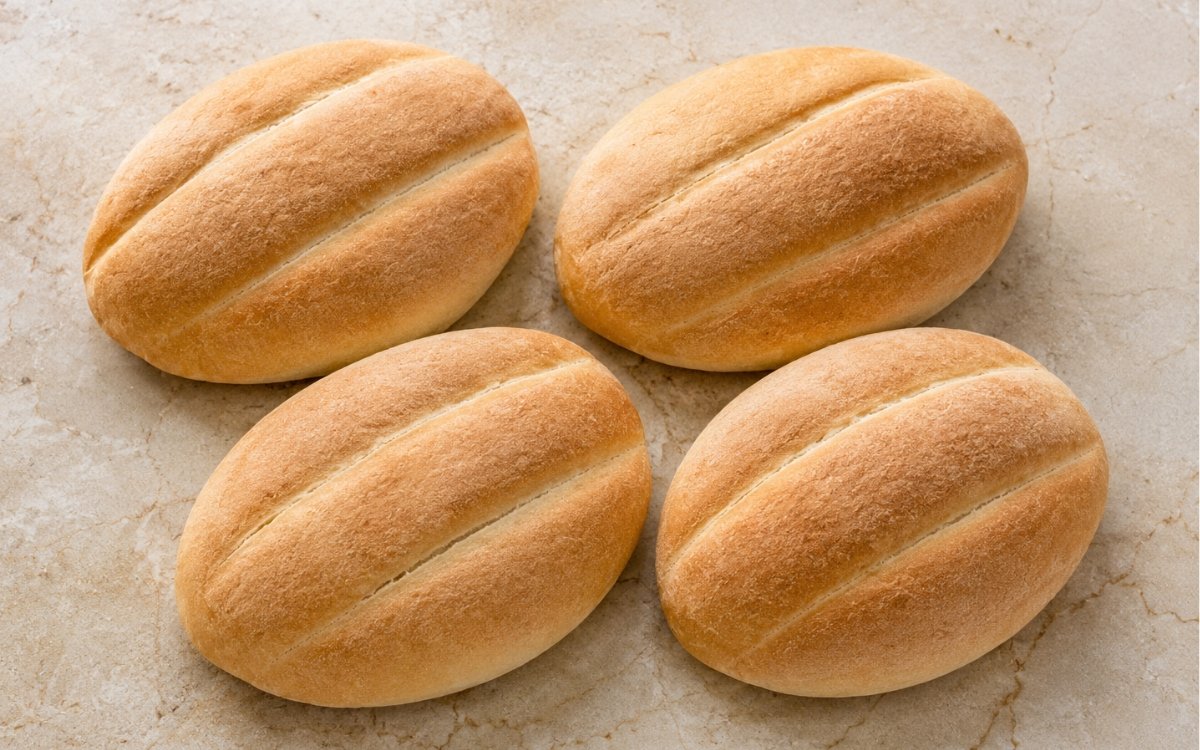
Classic Mexican telera rolls for tortas — soft but structured white rolls made with flour, water, yeast, salt, a little sugar, and lard or shortening, shaped wide and oval with the traditional two deep lengthwise grooves so the roll opens easily and holds saucy torta fillings without collapsing. Pressing the grooves deep, almost down to the tray, is the technique that defines this roll’s whole purpose — shallow decorative lines disappear during proofing and baking, while genuinely deep grooves survive both stages and give the finished roll its signature three-section split, the same deep-groove principle that separates a real telera from a plain oval roll. Resting the dough briefly before shaping, and again before the final proof, is what lets the gluten relax enough for the rolls to spread into a wide, flat oval without springing back and fighting the shaping. Baking with steam, rather than in dry oven heat, is what produces telera’s specific thin, lightly crisp crust rather than something hard and chewy like a baguette. The payoff is a roll soft and structured enough to hold beans, meat, cheese, salsa, avocado, and crema without collapsing, with a crust thin enough to bite through cleanly.
Prep Time : 25 min
Cook Time : 16–20 min
Servings : 4
25 min
16–20 min
4
Ingredients
For the Dough
• 500g all-purpose flour or bread flour — this one on Amazon
• 300ml warm water, about 35°C
• 8g active dry yeast
• 12g granulated sugar
• 9g fine sea salt
• 35g lard or vegetable shortening, softened
For Shaping and Baking
• Extra flour, for dusting
• Water, for steaming or spraying
This post may contain affiliate links. As an Amazon Associate I earn from qualifying purchases, at no additional cost to you.
Directions
- Activate the Yeast
In a bowl or jug, combine the warm water, active dry yeast, and sugar. Stir briefly and let stand for 5–10 minutes, until lightly foamy. The mixture should show small bubbles or foam on the surface. If nothing happens, the yeast is weak or the water temperature was wrong. Do not continue with dead yeast. This early check is a genuinely useful diagnostic — proceeding with unfoamed, inactive yeast means discovering the problem only after the full mixing, kneading, and rising process has already failed to produce any rise at all. - Mix the Dough
In a large bowl, combine the flour and salt. Add the yeast mixture and the softened lard or shortening. Mix until a rough dough forms and no dry flour remains at the bottom of the bowl. The dough should feel slightly tacky but not wet. If it is dry and tearing, add water 1 tbsp at a time. If it is sticky like batter, add a small dusting of flour, but do not bury it in extra flour. Adding water or flour gradually, in small increments, rather than guessing a larger correction at once, is what keeps the dough’s hydration in the right range — overcorrecting in either direction is easy to do and hard to walk back cleanly. - Knead
Knead by hand for 8–10 minutes, or in a stand mixer with a dough hook for 6–8 minutes, until smooth, elastic, and moderately soft. The dough should become more cohesive and pull cleanly from the work surface or mixer bowl. It should stretch without immediately tearing. Telera dough needs enough gluten to hold sandwich fillings, but it should not become tight and dense. Smooth and elastic is the target, not stiff. This is a genuinely different target than a lean, chewy bread dough — telera is meant to stay soft and yielding enough to fold around a torta’s fillings, which is why the kneading target stops at smooth and elastic rather than pushing toward the tighter, more developed gluten structure a crusty artisan loaf would need. - First Rise
Shape the dough into a ball and place it in a lightly greased bowl. Cover and let rise at room temperature for 1–1½ hours, until doubled. The dough must fully rise before shaping. Under-risen dough gives dense rolls that split badly in the oven. Letting the dough reach a genuine doubling gives the yeast time to produce the volume of gas the finished roll needs for a light, open crumb — cutting this rise short is one of the more common reasons homemade rolls turn out dense. - Divide and Pre-Shape
Turn the dough onto a lightly floured surface. Divide into 4 equal pieces, about 210–215g each. Shape each piece into a loose oval. Cover and rest for 10 minutes. This short rest relaxes the gluten so the rolls can be shaped wide and flat without springing back aggressively. Dough that’s just been divided and shaped has tight, springy gluten from that handling — the brief rest lets those strands relax before the more demanding final shaping stage, which is what makes flattening the dough into a wide oval considerably easier. - Shape the Telera Rolls
Flatten each piece gently into a wide oval, about 14–16cm long and 8–9cm wide. Using the handle of a wooden spoon, a thin rolling pin, or a clean dowel, press two deep lengthwise grooves into each roll, dividing the top into three raised sections. Press firmly almost down to the tray, but do not cut through the dough. Lightly flour the tool if it sticks. The grooves need to be deep. Shallow decorative lines are useless because they disappear during proofing and baking. If the dough springs back, let it rest 5 minutes and press again. Pressing the tool almost all the way down to the tray, without actually cutting through, is what gives the grooves enough depth to survive the dough’s expansion during proofing and oven spring — grooves pressed only lightly will simply fill back in and vanish by the time the roll finishes baking. - Second Rise
Place the shaped rolls on a parchment-lined baking tray. Cover loosely and let proof for 40–60 minutes, until puffy and expanded but still showing clear grooves. Preheat the oven to 210°C during the final 20 minutes of proofing. The rolls should feel light and slightly airy when gently touched. If the grooves nearly disappear, press them again very gently before baking. Preheating during the final stretch of proofing, rather than only once proofing is complete, means the oven is fully up to temperature the moment the rolls are ready to bake — a cold or partially heated oven at that point would let the dough overproof while waiting. - Bake with Steam
Lightly spray the rolls with water, or place a small tray of hot water in the oven for steam. Bake at 210°C for 16–20 minutes, until lightly golden, set, and hollow-sounding when tapped on the base. The crust should be thin and lightly crisp, not hard like a baguette. Telera is a torta roll, not a jaw workout. Steam in the oven’s early baking minutes keeps the dough’s surface pliable for slightly longer before it sets, which is part of what produces telera’s specific thin, delicate crust rather than the thicker, harder crust a dry oven environment would build. - Cool
Transfer the rolls to a wire rack and cool for at least 30 minutes before slicing. Cutting them hot compresses the crumb and makes the interior gummy. Bread continues setting internally for a period after it leaves the oven — slicing while still hot disrupts that final structural setting, compressing the still-soft crumb into something denser and gummier than the same roll would have once properly cooled.
*Notes :
- The depth of the two signature grooves is worth treating as the single most important shaping detail in this whole recipe, since it’s directly responsible for telera’s recognisable look and function. Pressed only lightly, the grooves read as a nice decorative touch at first but disappear almost entirely by the time the roll has proofed and baked — the dough’s own expansion simply fills them back in. Pressing genuinely deep, close to the tray without actually severing the dough, is what gives the grooves enough structural depth to survive both rises and the oven’s own additional spring.
- The two rest periods built into the shaping stage — a brief 10-minute rest after dividing, and the longer second proof after the grooves are pressed — both address the same underlying issue of gluten tension from different points in the process. Freshly divided and shaped dough resists further manipulation with a springy, elastic push-back; the short rest relaxes that tension enough to make the wide, flat shaping considerably easier, while the second proof lets the fully shaped rolls develop their final volume and lightness.
- Baking with steam, whether from a light water spray directly on the rolls or a tray of hot water placed in the oven, is a technique borrowed from crustier bread baking but applied here for a different purpose. Rather than building a thick, shattering crust, the steam here keeps the dough’s surface pliable just long enough in the early bake to produce telera’s specifically thin, lightly crisp exterior — genuinely different from the harder crust a completely dry oven environment would create on the same dough.
- Resisting the temptation to enrich this dough with eggs, butter, or extra sugar is worth understanding as a deliberate constraint rather than a missed opportunity. Telera’s identity depends on staying a relatively lean, simple roll — soft enough to hold a torta’s fillings without falling apart, but not sweet or rich enough to compete with those fillings. Adding those enrichments would produce a pleasant bun, but a genuinely different one from a proper telera.
Why This Recipe Works
This recipe works because the dough is kept to a specifically moderate, lean formulation — enough lard for tenderness and flavour without turning the roll into an enriched bun — and shaped with real attention to the depth of its signature grooves, which is what allows them to survive proofing and baking intact.
The two brief shaping rests relax the dough’s gluten at the points where it matters most, and steam introduced early in baking builds telera’s specifically thin, lightly crisp crust rather than a harder, thicker one. Cooling fully before slicing protects the crumb’s final structure from being compressed while still warm.
Ingredient Breakdown
Lard or Vegetable Shortening
The tenderising fat — contributes classic flavour and a soft crumb without pushing the dough toward an enriched, sweet roll.
Moderately Kneaded Dough
The gluten development target — smooth and elastic rather than tightly developed, keeping the roll soft enough to fold around torta fillings.
Deeply Pressed Lengthwise Grooves
The defining shaping detail — pressed close to the tray so they survive both proofs and oven spring intact.
Two Shaping Rests
The gluten-relaxation technique — a brief rest after dividing and a longer proof after grooving, both easing the dough’s resistance at key stages.
Steam During Early Baking
The crust technique — keeps the dough’s surface pliable longer for telera’s specifically thin, lightly crisp exterior.
Flavor Structure Explained
This telera roll follows a layered balance model:
- Soft neutral crumb (lean, moderately enriched dough)
- Thin crisp crust (steam-baked exterior)
- Subtle savoury richness (lard or shortening)
- Structural sturdiness (deep grooves, moderate gluten development)
- Mineral lift and texture (salt + carbonation)
The soft, relatively neutral crumb provides a base flavour deliberately restrained enough to let whatever torta filling goes inside remain the star. A thin, lightly crisp crust, built through steam introduced early in baking, adds gentle textural contrast without turning tough or heavy. Lard or shortening contributes a subtle savoury richness throughout the crumb, distinct from the sweetness of a more enriched bun. The roll’s structural sturdiness, built from moderate gluten development and deep, functional grooves, holds together cleanly under a substantial torta filling.
Common Mistakes to Avoid
- Pressing the Grooves Too Shallow – Shallow lines disappear during proofing and baking, losing telera’s signature look and function. Always press close to the tray without cutting through.
- Skipping the Yeast Activation Check – Continuing with dead yeast wastes the entire process before it even properly starts. Always confirm foaming before proceeding.
- Under-Proofing Before Shaping – Dense, under-risen dough splits badly in the oven. Always let the first rise reach a genuine doubling.
- Enriching the Dough with Eggs, Butter, or Extra Sugar – This turns telera into a different kind of soft bun rather than the lean, structural roll this recipe is built around. Always keep the formulation simple.
- Slicing the Rolls While Still Hot – This compresses the crumb into something gummy. Always cool for at least 30 minutes before cutting.
Variations
Whole Wheat Version
Substitute up to 30% of the flour with whole wheat flour for a slightly nuttier, heartier roll, adding a touch more water if the dough feels dry.
Smaller Torta Rolls
Divide the dough into 6 smaller pieces instead of 4 for a smaller, more individually portioned roll size.
Extra-Crisp Crust Version
Increase the steam by spraying the rolls again partway through baking for a slightly more pronounced crust.
Softer Crust Version
Cover the baked, cooled rolls with a clean towel while they finish cooling for a softer, less crisp final crust.
Storage & Make-Ahead
Baked, cooled telera rolls can be stored at room temperature, wrapped, for up to 2 days, or frozen for up to 1 month.
To refresh day-old rolls, warm briefly in a 180°C oven for 4–5 minutes before slicing and toasting for a torta.
Dough can be prepared through the first rise, then refrigerated overnight for a slower, more developed second-day bake — bring to room temperature before shaping.
Frequently Asked Questions
Why do the grooves need to be pressed so deep rather than lightly marked?
Shallow grooves get filled back in by the dough’s own expansion during proofing and the additional oven spring during baking, disappearing almost entirely by the time the roll is done. Pressing close to the tray, without cutting all the way through, gives the grooves enough depth to survive both stages intact.
Why does the dough need two separate rest periods during shaping?
Freshly divided and just-shaped dough resists further handling with springy tension. The short rest after dividing relaxes that tension before the demanding wide, flat shaping step, and the longer second proof afterward lets the fully shaped rolls develop their final volume before baking.
Why bake with steam instead of in a dry oven?
Steam keeps the dough’s surface pliable for slightly longer during the early bake, which is part of what produces telera’s specifically thin, lightly crisp crust. A completely dry oven environment would build a thicker, harder crust on the same dough.
Why shouldn’t eggs, butter, or extra sugar be added to enrich the dough?
Telera’s identity depends on staying a relatively lean, structural roll rather than a sweet, rich bun. Adding those enrichments would produce a pleasant result, but a genuinely different roll from a proper telera, and one less suited to holding a torta’s savoury fillings.
Are there other roll recipes worth trying for different sandwich formats?
Torta de Milanesa Sandwich and Pambazo Sandwich are both classic uses for a roll like this — the Pambazo traditionally uses its own dipped, chile-coated roll, though telera can work as an alternative base. For other sturdy sandwich rolls, Ciabatta Rolls / Semi-Baguettes and the hoagie roll used in Philly Cheesesteak Hoagie Rolls both offer different structural approaches worth comparing.
Nutrition Facts
( per serving )
Calories
~420 kcal
Protein
12 g
Fat
6 g
Carbs
78 g
Calories
~420 kcal
Protein
12 g
Fat
6 g
Carbs
78 g
Related Recipes
Related Recipes

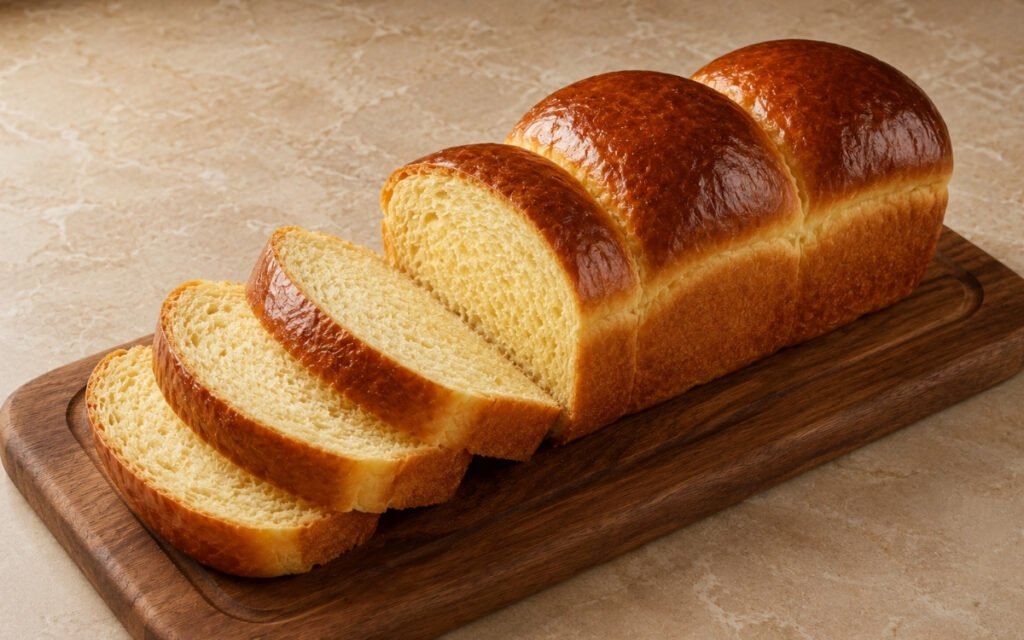
Brioche Toast Bread
Enriched dough with four eggs and butter added gradually after gluten development — overnight cold-fermented for flavour, three-piece shaped in a loaf pan, baked to a deep golden glossy crust. The brioche built for toast.
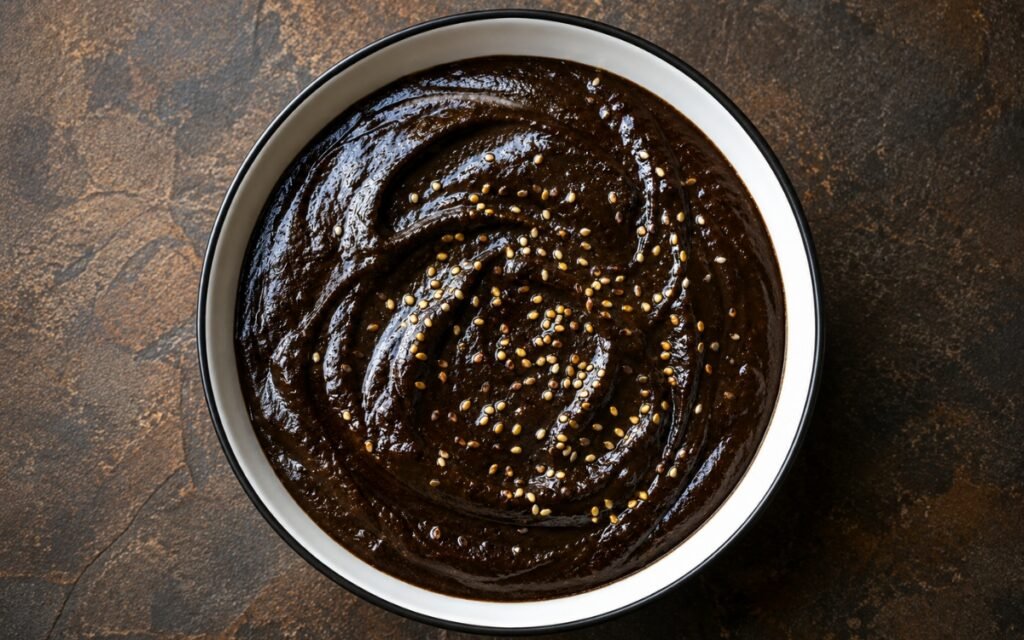
Mole Negro Sauce
A deeply toasted, near-black Oaxacan mole negro built from five dried chiles, charred aromatics, nuts, seeds, and Mexican chocolate.
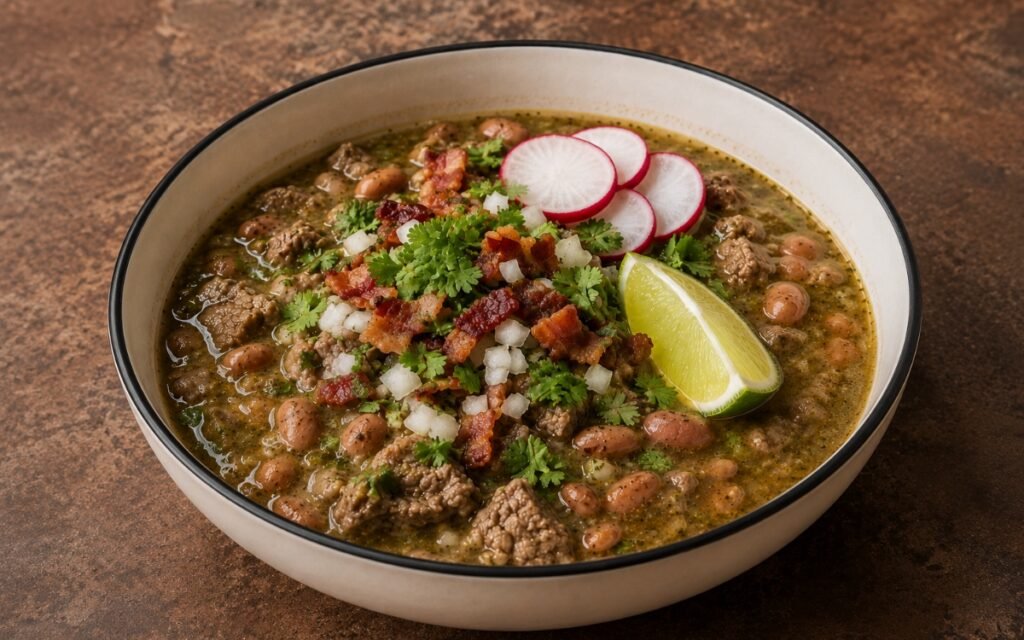
Carne en su Jugo
Finely chopped, batch-browned beef simmered briefly in a savory tomatillo broth with pinto beans, topped with crispy bacon and fresh garnishes.
You might also like
You might also like
Mole Poblano Sauce
A deep red-brown mole poblano sauce built from dried chiles, roasted aromatics, nuts, seeds, spices, and Mexican chocolate, layered and fried for richness.
Huevos Rancheros
Fried eggs with bright runny yolks served on warm corn tortillas, covered in chunky red ranchero sauce, with refried beans and avocado.
Gorditas with Chicharrón and Salsa
Thick masa gorditas cooked golden and split into a pocket while warm, filled with crispy chicharrón, salsa roja, shredded cabbage, and avocado.
Telera Rolls
Ingredients
Method
- In a bowl or jug, combine the warm water, active dry yeast, and sugar. Stir briefly and let stand for 5–10 minutes, until lightly foamy. The mixture should show small bubbles or foam on the surface. If nothing happens, the yeast is weak or the water temperature was wrong. Do not continue with dead yeast. This early check is a genuinely useful diagnostic — proceeding with unfoamed, inactive yeast means discovering the problem only after the full mixing, kneading, and rising process has already failed to produce any rise at all.
- In a large bowl, combine the flour and salt. Add the yeast mixture and the softened lard or shortening. Mix until a rough dough forms and no dry flour remains at the bottom of the bowl. The dough should feel slightly tacky but not wet. If it is dry and tearing, add water 1 tbsp at a time. If it is sticky like batter, add a small dusting of flour, but do not bury it in extra flour. Adding water or flour gradually, in small increments, rather than guessing a larger correction at once, is what keeps the dough’s hydration in the right range — overcorrecting in either direction is easy to do and hard to walk back cleanly.
- Knead by hand for 8–10 minutes, or in a stand mixer with a dough hook for 6–8 minutes, until smooth, elastic, and moderately soft. The dough should become more cohesive and pull cleanly from the work surface or mixer bowl. It should stretch without immediately tearing. Telera dough needs enough gluten to hold sandwich fillings, but it should not become tight and dense. Smooth and elastic is the target, not stiff. This is a genuinely different target than a lean, chewy bread dough — telera is meant to stay soft and yielding enough to fold around a torta’s fillings, which is why the kneading target stops at smooth and elastic rather than pushing toward the tighter, more developed gluten structure a crusty artisan loaf would need.
- Shape the dough into a ball and place it in a lightly greased bowl. Cover and let rise at room temperature for 1–1½ hours, until doubled. The dough must fully rise before shaping. Under-risen dough gives dense rolls that split badly in the oven. Letting the dough reach a genuine doubling gives the yeast time to produce the volume of gas the finished roll needs for a light, open crumb — cutting this rise short is one of the more common reasons homemade rolls turn out dense.
- Turn the dough onto a lightly floured surface. Divide into 4 equal pieces, about 210–215g each. Shape each piece into a loose oval. Cover and rest for 10 minutes. This short rest relaxes the gluten so the rolls can be shaped wide and flat without springing back aggressively. Dough that’s just been divided and shaped has tight, springy gluten from that handling — the brief rest lets those strands relax before the more demanding final shaping stage, which is what makes flattening the dough into a wide oval considerably easier.
- Flatten each piece gently into a wide oval, about 14–16cm long and 8–9cm wide. Using the handle of a wooden spoon, a thin rolling pin, or a clean dowel, press two deep lengthwise grooves into each roll, dividing the top into three raised sections. Press firmly almost down to the tray, but do not cut through the dough. Lightly flour the tool if it sticks. The grooves need to be deep. Shallow decorative lines are useless because they disappear during proofing and baking. If the dough springs back, let it rest 5 minutes and press again. Pressing the tool almost all the way down to the tray, without actually cutting through, is what gives the grooves enough depth to survive the dough’s expansion during proofing and oven spring — grooves pressed only lightly will simply fill back in and vanish by the time the roll finishes baking.
- Place the shaped rolls on a parchment-lined baking tray. Cover loosely and let proof for 40–60 minutes, until puffy and expanded but still showing clear grooves. Preheat the oven to 210°C during the final 20 minutes of proofing. The rolls should feel light and slightly airy when gently touched. If the grooves nearly disappear, press them again very gently before baking. Preheating during the final stretch of proofing, rather than only once proofing is complete, means the oven is fully up to temperature the moment the rolls are ready to bake — a cold or partially heated oven at that point would let the dough overproof while waiting.
- Lightly spray the rolls with water, or place a small tray of hot water in the oven for steam. Bake at 210°C for 16–20 minutes, until lightly golden, set, and hollow-sounding when tapped on the base. The crust should be thin and lightly crisp, not hard like a baguette. Telera is a torta roll, not a jaw workout. Steam in the oven’s early baking minutes keeps the dough’s surface pliable for slightly longer before it sets, which is part of what produces telera’s specific thin, delicate crust rather than the thicker, harder crust a dry oven environment would build.
- Transfer the rolls to a wire rack and cool for at least 30 minutes before slicing. Cutting them hot compresses the crumb and makes the interior gummy. Bread continues setting internally for a period after it leaves the oven — slicing while still hot disrupts that final structural setting, compressing the still-soft crumb into something denser and gummier than the same roll would have once properly cooled.