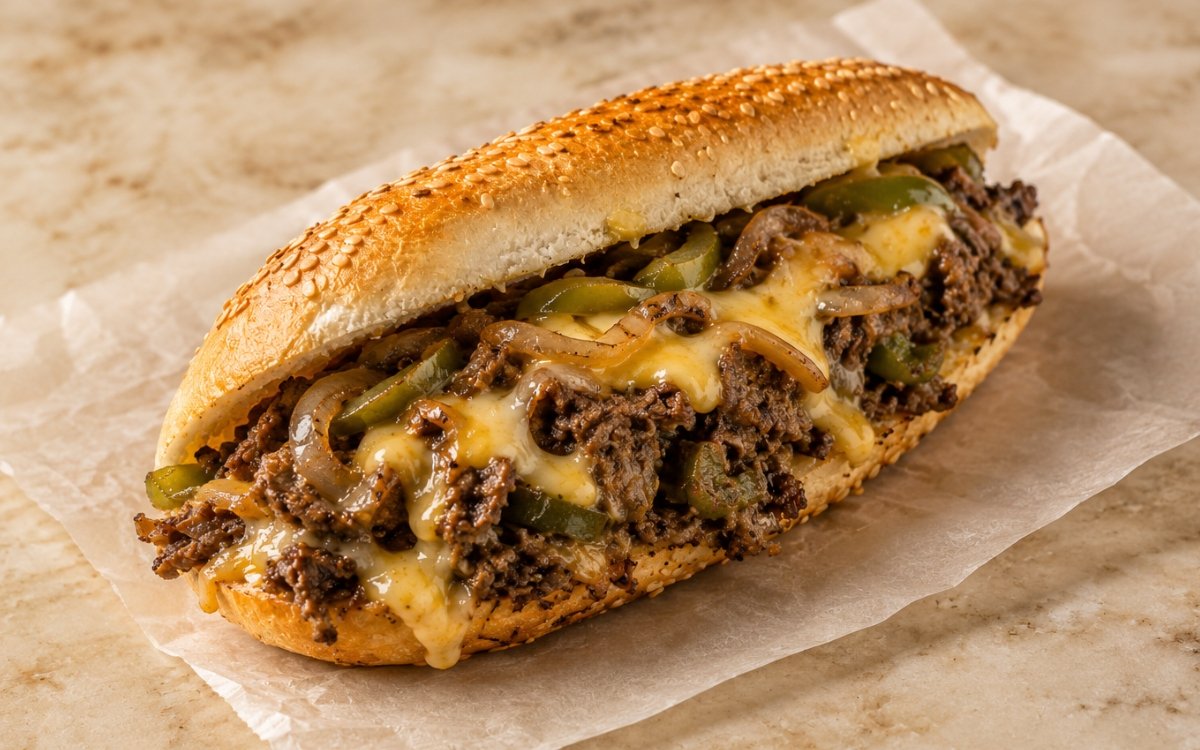
Philly Cheesesteak Sandwich
Thin-sliced seared ribeye, caramelised onions, and charred green pepper loaded into a soft, sesame-topped hoagie roll made from scratch, then blanketed in a double layer of molten provolone and American cheese. This is the real-deal Philly cheesesteak experience done properly at home — and yes, making the rolls from scratch is worth every minute.

Prep Time : 1 hr, 35 min
Cook Time : 20 min
Servings : 4
1 hr, 35 min
20 min
4
Ingredients
For the Homemade Sesame Hoagie Rolls
• 240ml whole milk, warmed to 35°C (95°F)
• 8g active dry yeast, about 2½ tsp
• 34g granulated sugar, about 2½ tbsp
• 450g all-purpose flour, about 3 cups
• 3g fine sea salt, about 1 tsp
• 2 whole eggs
• 58g unsalted butter, softened, about 4 tbsp — this one on Amazon
• Untoasted sesame seeds, for topping — this one on Amazon
For the Cheesesteak Sandwich Filling
• 900g ribeye or roast beef, sliced 6mm (¼ inch) thick
• Vegetable oil, for cooking
• 1 sweet onion, diced
• 1 green bell pepper, cut into 2.5cm (1-inch) pieces
• 4 tbsp Worcestershire sauce — this one on Amazon
• Salt and black pepper to taste
• 4 slices provolone cheese
• 4 slices white American cheese
• 120g mayonnaise, about ½ cup
• 120g ketchup, about ½ cup
• Hot sauce, for serving
This post may contain affiliate links. As an Amazon Associate I earn from qualifying purchases, at no additional cost to you.
Directions
Make the Hoagie Rolls
- Activate the Yeast
Preheat the oven to 190°C (375°F) and line a large baking sheet with parchment paper. In a small bowl or measuring jug, whisk the warmed milk, active dry yeast, and granulated sugar together until combined. The milk temperature is critically important — too cold and the yeast remains dormant, too hot and it is destroyed. 35°C (95°F) is the ideal activation temperature: warm enough to wake the yeast immediately but low enough not to compromise its viability. Allow to sit undisturbed for 5 minutes. At the end of this time, the surface should show a clearly foamy, slightly domed layer of active yeast foam. If the mixture remains flat and liquid-like after 5 minutes, the yeast is either old, dead, or the milk temperature was incorrect. Do not proceed with dead yeast — the rolls will not rise and the effort of the remaining steps will be wasted. Source fresh yeast and begin again. - Mix the Dough
In the bowl of a stand mixer fitted with the dough hook attachment, combine the all-purpose flour and fine sea salt. Mix briefly on low speed to distribute the salt evenly throughout the flour — salt makes direct contact with yeast inhibits it, and pre-mixing the salt through the flour before the yeast mixture is added prevents this. Pour the foamy yeast mixture and both eggs into the flour and mix on medium speed for 3 minutes until a moderately smooth, cohesive dough forms. At this stage the dough will be slightly tacky and relatively dense — it is not yet at its final texture. The three minutes of mixing develops the initial gluten network that gives the rolls their structure. Gluten development is what produces the soft, chewy interior of a proper hoagie roll rather than a crumbly, bread-like texture. - Incorporate the Butter
Add the softened butter to the dough in three or four additions with the mixer running at medium speed. Adding all the butter at once overwhelms the dough’s gluten network before it has the fat evenly distributed, producing a greasy, broken dough rather than a smooth, enriched one. Adding it gradually allows each addition to fully incorporate before the next is added. After all the butter is incorporated, continue mixing for a further 2–3 minutes until the dough is completely smooth, slightly elastic, and pulls away cleanly from the sides of the bowl. The butter enriches the dough in the same way as a brioche enrichment — the fat coats the developing gluten strands and produces a softer, richer, more tender crumb than a lean dough roll would. This softness is what allows the hoagie to compress gently around the filling without tearing or crumbling. Cover the bowl tightly with plastic wrap. - First Rise
Allow the dough to rise at room temperature — approximately 21–24°C — for 1 hour or until it has visibly doubled in size. The rise time is approximate because it depends on the ambient temperature of your kitchen. A warmer kitchen produces a faster rise; a cooler kitchen requires more time. The dough is ready when it has clearly doubled and pressing two fingers lightly into the surface leaves an indentation that springs back slowly rather than immediately. An immediate spring-back means the dough needs more time. No spring-back at all means it has over-proved and the yeast has exhausted itself — if this happens, the rolls will still bake but will have less volume and lighter, denser texture. - Shape the Rolls
Lightly flour a clean work surface. Turn the risen dough out and punch it down firmly with your fist to deflate it, releasing the built-up gas. Divide the dough into 4 equal portions — weigh them if possible for consistency. Shape each portion into a loose ball by pulling the edges of the dough toward the bottom and pressing them together underneath, creating surface tension on the top. A smooth, taut surface on the ball is what produces even expansion during the second rise and baking. Place the balls on the work surface, cover loosely with a damp kitchen towel, and rest for 10 minutes. This rest — called a bench rest — allows the gluten that was tightened during shaping to relax, making the subsequent rolling into logs much easier and preventing the dough from springing back. - Form the Hoagie Logs and Second Rise
Working with one ball at a time, roll it on the floured surface with your palms, applying gentle, even pressure and gradually working from the centre outward to elongate it into a log approximately 18cm (7 inches) long with slightly tapered ends. The tapered ends are characteristic of a hoagie roll shape — they produce slightly thinner, crispier ends that contrast with the softer middle section where the filling sits. Place the shaped logs on the prepared baking sheet with at least 5cm between each to allow for expansion. Using a spray bottle or your fingers dipped in water, lightly mist the surface of each roll. Sprinkle untoasted sesame seeds generously over the misted surface — the moisture helps the seeds adhere during baking. If desired, score each roll once lengthwise down the centre with a sharp knife or lame — this controls the direction of the oven spring and produces the characteristic split hoagie shape. Allow the rolls to prove for a further 30–40 minutes until noticeably puffed. - Bake the Rolls
Bake in the fully preheated oven for 15–17 minutes until puffed, lightly golden, and firm to a gentle tap on the bottom — a hollow sound indicates the roll is fully baked through. Do not pull them too pale — a light golden color on the surface means the crust has set properly and the roll will hold the filling’s moisture without immediately softening. Transfer to a wire rack and allow to cool completely before slicing — cutting a hot roll compresses the soft, still-setting crumb and produces a doughy, gummy interior texture rather than the open, airy structure that appears once the roll has cooled fully.
Make the Philly Cheesesteaks
- Prepare the Beef
For the thinnest, most uniform slices, place the ribeye in the freezer for 20–30 minutes before slicing — a partially frozen steak firms up enough to allow precise, paper-thin cuts that would be impossible on a fully thawed piece of meat. Using a sharp knife, slice the chilled ribeye or roast beef across the grain into 6mm (¼ inch) strips. Against-the-grain slicing is the correct technique — it shortens the muscle fibres and ensures each slice is tender rather than stringy, even when cooked at high heat. Season lightly with salt and black pepper. The Worcestershire sauce is added during cooking rather than as a marinade — it is too acidic for extended contact before the high-heat sear. - Sear the Beef
Heat a large cast iron skillet or heavy-bottomed pan over high heat with a generous amount of vegetable oil until smoking. Add the beef in a single layer — do not crowd the pan. Crowding causes the beef to steam in its own moisture rather than searing, producing grey, soft meat rather than the browned, slightly caramelised exterior that gives the cheesesteak its character. Cook in batches if necessary, searing each piece for 60–90 seconds without moving before turning and cooking for a further 30–60 seconds on the second side. When the last batch of beef is in the pan, add the Worcestershire sauce and toss everything quickly, allowing it to reduce and caramelise into the beef surface for 30 seconds. The Worcestershire’s sugars caramelise immediately at this temperature, adding a deeply savory, slightly sweet glaze to the beef surface. Transfer all the beef to a plate and set aside. - Cook the Onion and Pepper
In the same pan over medium-high heat, add a small amount of additional oil and add the diced sweet onion. Cook, stirring occasionally, for 5–6 minutes until the onion has softened, turned golden, and begun to caramelise at the edges — this process concentrates its natural sugars and transforms it from sharp and raw to sweet and deeply savory. Add the green pepper pieces and cook for a further 3–4 minutes until they have softened slightly and taken on some char at the edges. Season with salt and black pepper. The combination of sweet, caramelised onion and slightly bitter, charred green pepper is the vegetable foundation of an authentic Philly cheesesteak — neither element should be under-cooked, as their sweetness and char are essential counterpoints to the beef. - Combine and Melt the Cheese
Return all the seared beef to the pan with the onions and peppers and toss to combine, spreading everything into an even layer across the pan surface. Immediately lay the provolone and American cheese slices directly over the meat and vegetable mixture, covering as much surface as possible. Cover the pan with a lid or large piece of aluminium foil for 60–90 seconds — the trapped steam melts the cheese completely without any additional heat. The combination of provolone and American cheese is deliberate and specific: provolone provides a mild, slightly tangy, pull-apart meltiness and a proper dairy flavor; American cheese provides the smooth, emulsified, gooey layer that coats the filling evenly and produces the characteristic stretch and richness of an authentic Philly cheesesteak. Neither alone produces the same result. - Assemble and Serve
Split the cooled hoagie rolls lengthwise, cutting almost but not entirely through — leaving a hinge at the back allows the roll to open fully and hold the filling securely without the two halves separating. Spread mayonnaise generously on the bottom interior face of each roll and ketchup on the top interior face. Using a spatula, divide the cheese-covered beef and vegetable mixture into four equal portions and load each into an open roll, tucking the filling in firmly. Close the roll around the filling. The roll should be warm from the residual heat of the filling — if the rolls have cooled significantly, warm them in the oven at 150°C for 3–4 minutes before filling. Serve immediately with hot sauce on the side.
*Notes :
- Ribeye is the traditional and correct cut for a Philly cheesesteak for reasons that are entirely practical. Its generous fat marbling distributes throughout the thin slices during the high-heat sear, basting the meat from the inside and producing juicy, richly flavored slices even at the rapid cooking times required for this preparation. Leaner cuts — sirloin, flank, or roast beef — work acceptably but produce noticeably drier, less flavorful slices. The brief partial freeze before slicing is the single most practical technique for achieving the paper-thin slices that distribute evenly through the filling — it takes 20 minutes of passive time and makes a measurable difference in the final texture of the sandwich.
- The homemade sesame hoagie rolls are worth the planning they require. A soft, enriched roll made with butter and egg has a fundamentally different structure from a supermarket roll — the butter enrichment tenderises the crumb without making it fragile, and the egg adds strength to the dough that allows the roll to absorb the filling’s moisture and juices without immediately softening and collapsing. Supermarket rolls are often too crusty, too dry, or too soft depending on the type — a homemade roll is calibrated specifically for this application.
- The Worcestershire sauce addition to the hot pan with the beef is a brief but impactful step. Its combination of fermented tamarind, anchovy, molasses, and spices contributes a deep, complex umami note when it caramelises on the beef surface at high heat. The small quantity used — just enough to glaze rather than sauce — disappears into the beef flavor and makes it taste more intensely of itself rather than tasting of Worcestershire sauce. This is the function of a good finishing sauce in a meat preparation.
Why This Recipe Works
This recipe works because it builds flavour sequentially — from the browned beef crust, to the caramelised onion, to the Worcestershire glaze, to the double-cheese melt — each step adding a layer that the previous one cannot provide. The homemade roll is calibrated specifically to hold the filling’s weight and moisture without disintegrating.
The dual cheese combination produces a melt that neither cheese achieves alone. And the brief freeze-before-slicing technique makes the difference between cheesesteak that distributes evenly through the roll and cheesesteak that is chunky and difficult to eat.
Ingredient Breakdown
Ribeye
The correct cut — fat-marbled enough to stay juicy through rapid, high-heat cooking. Partial freezing allows paper-thin slicing that distributes evenly throughout the filling.
Sweet Onion
Caramelised for sweetness — the long cook over medium-high heat converts its sharp, sulphurous compounds to sweet, concentrated sugars that are the flavour foundation of the vegetable component.
Green Bell Pepper
Slight bitterness and char from high-heat cooking — the necessary counterpoint to the sweet onion and rich beef.
Worcestershire Sauce
The quick-caramelised umami glaze — a small quantity that makes the beef taste more intensely beefy without adding any detectable sauce flavor.
Provolone
Mild, slightly tangy, pull-apart melt — the traditional cheese choice providing proper dairy character and stretch.
American Cheese
The smooth, emulsified melting layer — flows evenly over the filling and provides the gooey, creamy richness that provolone alone cannot.
Homemade Sesame Hoagie Roll
Soft, butter-enriched, egg-strengthened — calibrated to absorb filling moisture without collapsing. The sesame topping adds subtle nutty flavor and the visual identity of an authentic hoagie.
Flavor Structure Explained
This cheesesteak sandwich follows a layered balance model:
- Savory-rich core (beef, Worcestershire)
- Sweet depth (caramelised onion)
- Bitter vegetal contrast (green pepper)
- Creamy binding layer (cheese)
- Soft neutral base (hoagie roll)
Beef defines the core with caramelised, juicy richness, amplified by Worcestershire’s umami depth. Caramelised onion adds concentrated sweetness that balances the meat’s intensity. Green pepper introduces a slight bitterness and vegetal note that prevents the profile from becoming overly rich. Melted cheese binds everything together, delivering creamy texture and cohesion. The hoagie roll provides a soft, slightly sweet structure that carries all components without interfering. The experience relies on all layers hitting at once — balance through contrast, not restraint.
Common Mistakes to Avoid
- Not Freezing the Beef Before Slicing – Warm ribeye is slippery and difficult to slice thinly. The partial freeze produces paper-thin, uniform slices that distribute evenly and cook quickly. Do not skip this step.
- Crowding the Pan for the Beef – Overcrowding drops the pan temperature and produces steamed, grey beef with no browning. Work in batches to maintain searing temperature throughout.
- Under-caramelising the Onion – Lightly cooked onion in a cheesesteak tastes raw and sharp. Cook until genuinely golden and softened — at least 5–6 minutes over medium-high heat.
- Using Only One Cheese – Provolone alone melts with stretch but lacks smoothness; American alone melts smoothly but lacks character. The combination produces a result neither achieves independently.
- Cutting a Fully Separate Roll – Cut almost through but not completely — the hinge at the back holds the filling securely in the roll during eating.
- Slicing the Roll While Still Hot – Hot rolls have a soft, doughy, compressible interior structure. Allow to cool fully on a wire rack before slicing for the open, airy crumb that holds the filling correctly.
Variations
All-American Cheesesteak Version
Replace the provolone entirely with 4 additional slices of white American cheese for the smoothest, most aggressively gooey melt that many Philly purists would argue is more authentic.
Mushroom Version
Add 200g of thinly sliced cremini or button mushrooms to the pan with the onion and pepper, cooking until their moisture is fully driven off and they are golden and slightly caramelised.
Chicken Cheesesteak
Replace the ribeye with 900g of boneless, skinless chicken thigh, sliced thin and treated identically. A different but equally satisfying sandwich.
Spicy Version
Add 1–2 finely sliced hot cherry peppers to the filling and serve with sriracha alongside the hot sauce for a heat-forward variation.
Whiz Version
Replace both cheeses with 200g of warmed Cheez Whiz — the most traditional and divisive of all Philly cheesesteak cheese options — for the authentically creamy, processed cheese experience.
Storage & Make-Ahead
Hoagie rolls can be baked the day before and stored in an airtight bag or container at room temperature. Before filling, warm them at 150°C for about 5 minutes to bring back their soft interior and slightly crisp exterior.
Raw beef can be sliced up to 24 hours in advance and refrigerated between layers of parchment paper. Keep it chilled until just before searing.
The cooked filling of beef, onion, and pepper can be refrigerated for up to 3 days, as long as the cheese is not added yet. Reheat it in a hot pan with a splash of beef stock to restore moisture, then melt the cheese over the top just before assembling.
The sandwich should always be assembled immediately before serving. A pre-assembled cheesesteak quickly softens the roll, and the cheese tends to re-solidify unevenly.
Frequently Asked Questions
What is the best cut for cheesesteak if ribeye is unavailable?
Thinly sliced sirloin or shaved roast beef are acceptable substitutes. Both are leaner than ribeye and produce a slightly drier result — compensate by not overcooking and by adding a small amount of additional Worcestershire sauce.
Can I use store-bought rolls?
Yes — look for soft, medium-length hoagie or sub rolls rather than crusty baguette-style rolls, which are too stiff and dry for this filling. Italian-style hoagie rolls from a bakery are the best store-bought substitute.
Do I have to make both provolone and American cheese?
Using both is the recommendation for best results, but either alone works. White American produces the smoothest, most traditional Philly melt. Provolone alone produces more character but less gooeyness.
Why is the roll scored before baking?
Scoring controls the direction of the oven spring — the rapid expansion of the dough during the first few minutes in the oven. An unscored roll expands randomly and can tear at an uncontrolled point. The score guides the expansion into a neat, even split.
What makes this different from a regular steak sandwich?
The combination of paper-thin slices that cook and distribute evenly throughout the filling, the double-cheese melt, the specific caramelised onion and charred pepper combination, and the soft hoagie roll — any one element changed significantly produces a different sandwich.
Nutrition Facts
( per serving )
Calories
~890 kcal
Protein
53 g
Fat
45 g
Carbs
68 g
Calories
~890 kcal
Protein
53 g
Fat
45 g
Carbs
68 g
Related Recipes
Related Recipes

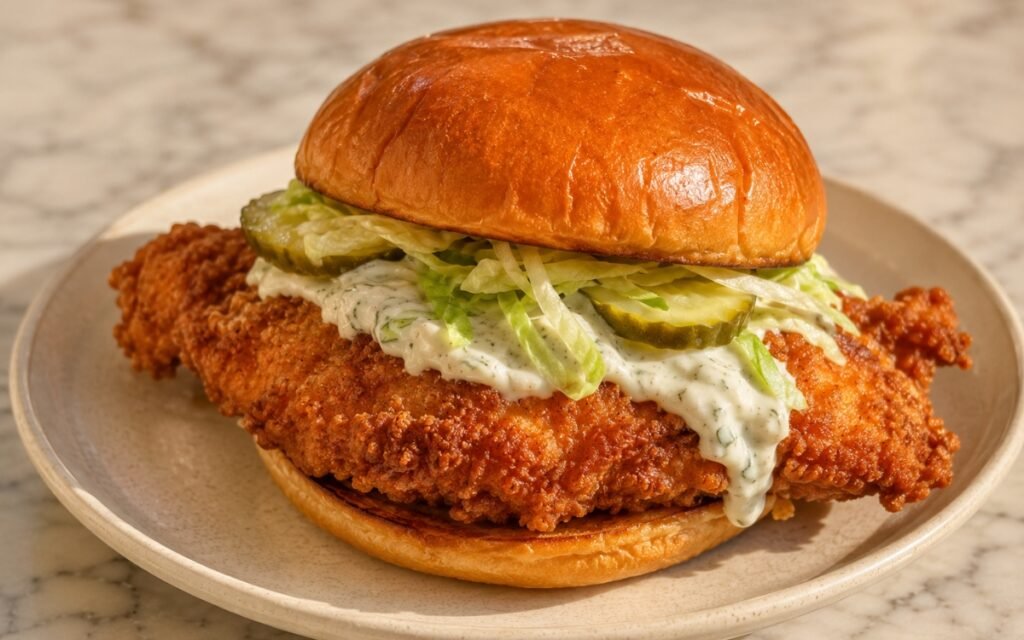
Crispy Fish Sandwich
Beer-battered cod fried until deeply golden and crisp, piled onto a soft toasted brioche bun with tangy tartar sauce, lettuce, and pickles.
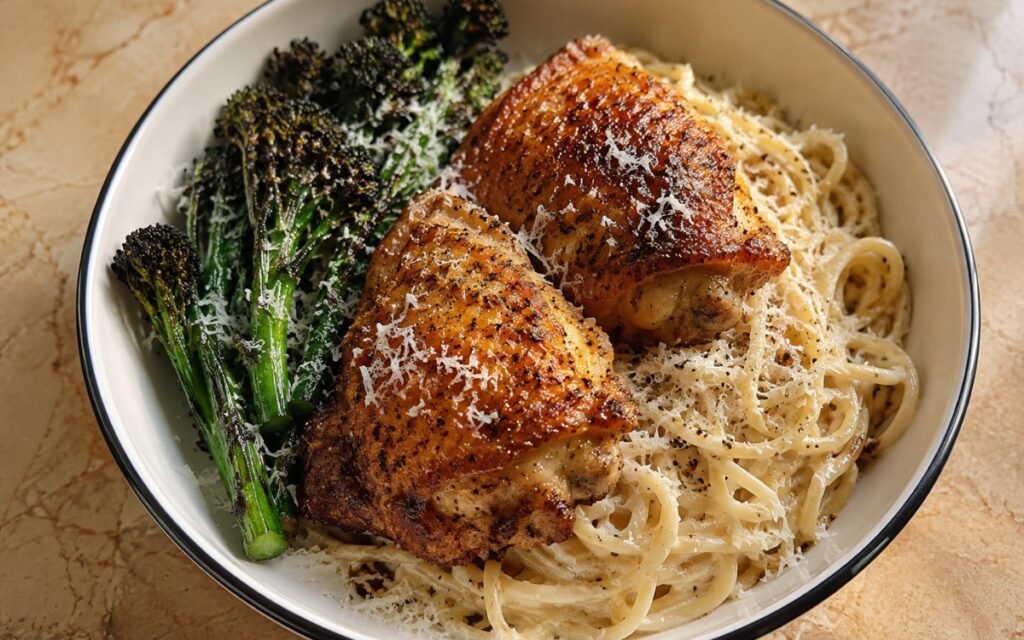
Baked Chicken Thighs with Cheesy Spaghetti
Smoked paprika crispy chicken thighs, cacio e pepe spaghetti with tempered cheese paste, and charred broccolini — one bowl, Parmesan over everything, 55 minutes.
Steak Salad Bowl with Garlic Vinaigrette
Seared sirloin over fresh greens with roasted tomatoes, feta, and bold garlic vinaigrette.

You might also like
You might also like
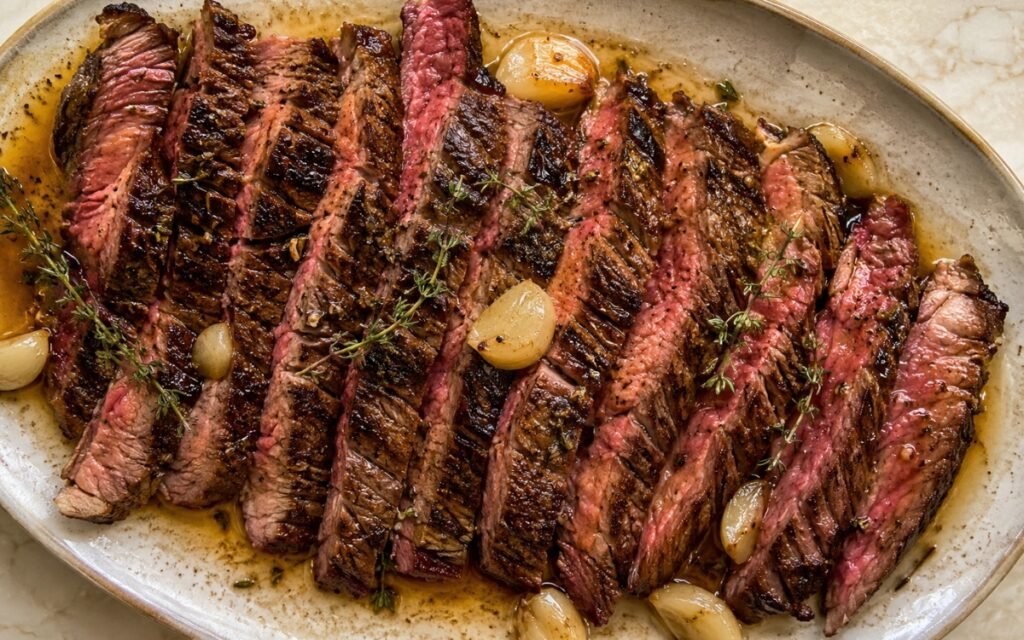
Pan-Seared Skirt Steak
Quick-seared skirt steak with garlic herb butter, sliced against the grain for maximum tenderness.
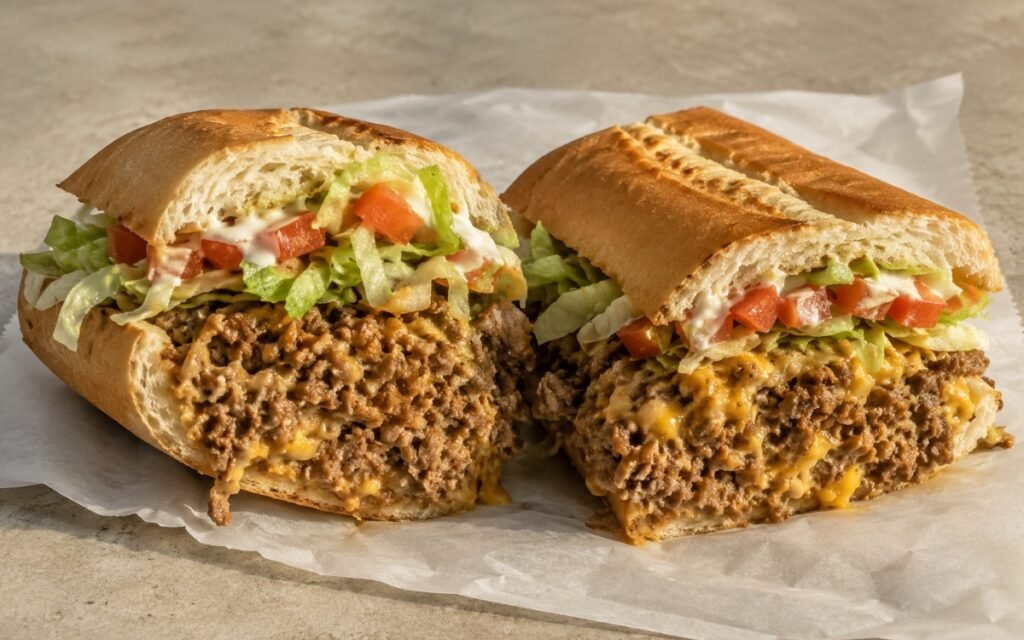
Chopped Cheese
Seared ground beef and caramelized onion chopped together with melted American cheese, piled into a soft hoagie roll with lettuce and tomato.
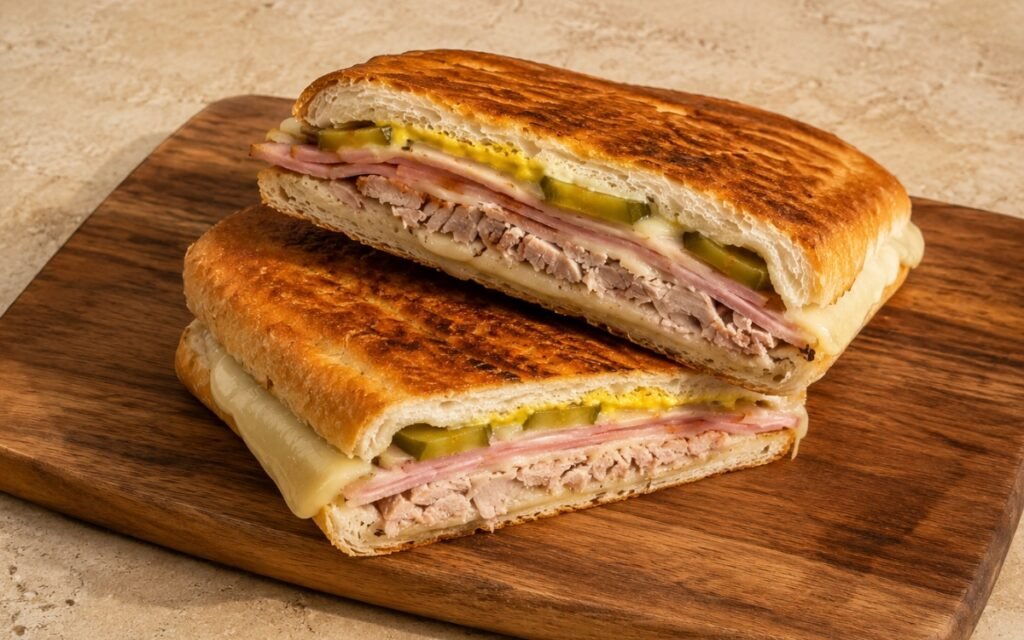
Cuban Sandwich (Cubano)
Citrus-marinated pork roasted in its own mojo marinade, layered with ham, Swiss cheese, and pickles on homemade Cuban bread, pressed until crisp and golden.
Philly Cheesesteak Sandwich
Ingredients
Method
- Preheat the oven to 190°C (375°F) and line a large baking sheet with parchment paper. In a small bowl or measuring jug, whisk the warmed milk, active dry yeast, and granulated sugar together until combined. The milk temperature is critically important — too cold and the yeast remains dormant, too hot and it is destroyed. 35°C (95°F) is the ideal activation temperature: warm enough to wake the yeast immediately but low enough not to compromise its viability. Allow to sit undisturbed for 5 minutes. At the end of this time, the surface should show a clearly foamy, slightly domed layer of active yeast foam. If the mixture remains flat and liquid-like after 5 minutes, the yeast is either old, dead, or the milk temperature was incorrect. Do not proceed with dead yeast — the rolls will not rise and the effort of the remaining steps will be wasted. Source fresh yeast and begin again.
- In the bowl of a stand mixer fitted with the dough hook attachment, combine the all-purpose flour and fine sea salt. Mix briefly on low speed to distribute the salt evenly throughout the flour — salt makes direct contact with yeast inhibits it, and pre-mixing the salt through the flour before the yeast mixture is added prevents this. Pour the foamy yeast mixture and both eggs into the flour and mix on medium speed for 3 minutes until a moderately smooth, cohesive dough forms. At this stage the dough will be slightly tacky and relatively dense — it is not yet at its final texture. The three minutes of mixing develops the initial gluten network that gives the rolls their structure. Gluten development is what produces the soft, chewy interior of a proper hoagie roll rather than a crumbly, bread-like texture.
- Add the softened butter to the dough in three or four additions with the mixer running at medium speed. Adding all the butter at once overwhelms the dough’s gluten network before it has the fat evenly distributed, producing a greasy, broken dough rather than a smooth, enriched one. Adding it gradually allows each addition to fully incorporate before the next is added. After all the butter is incorporated, continue mixing for a further 2–3 minutes until the dough is completely smooth, slightly elastic, and pulls away cleanly from the sides of the bowl. The butter enriches the dough in the same way as a brioche enrichment — the fat coats the developing gluten strands and produces a softer, richer, more tender crumb than a lean dough roll would. This softness is what allows the hoagie to compress gently around the filling without tearing or crumbling. Cover the bowl tightly with plastic wrap.
- Allow the dough to rise at room temperature — approximately 21–24°C — for 1 hour or until it has visibly doubled in size. The rise time is approximate because it depends on the ambient temperature of your kitchen. A warmer kitchen produces a faster rise; a cooler kitchen requires more time. The dough is ready when it has clearly doubled and pressing two fingers lightly into the surface leaves an indentation that springs back slowly rather than immediately. An immediate spring-back means the dough needs more time. No spring-back at all means it has over-proved and the yeast has exhausted itself — if this happens, the rolls will still bake but will have less volume and lighter, denser texture.
- Lightly flour a clean work surface. Turn the risen dough out and punch it down firmly with your fist to deflate it, releasing the built-up gas. Divide the dough into 4 equal portions — weigh them if possible for consistency. Shape each portion into a loose ball by pulling the edges of the dough toward the bottom and pressing them together underneath, creating surface tension on the top. A smooth, taut surface on the ball is what produces even expansion during the second rise and baking. Place the balls on the work surface, cover loosely with a damp kitchen towel, and rest for 10 minutes. This rest — called a bench rest — allows the gluten that was tightened during shaping to relax, making the subsequent rolling into logs much easier and preventing the dough from springing back.
- Working with one ball at a time, roll it on the floured surface with your palms, applying gentle, even pressure and gradually working from the centre outward to elongate it into a log approximately 18cm (7 inches) long with slightly tapered ends. The tapered ends are characteristic of a hoagie roll shape — they produce slightly thinner, crispier ends that contrast with the softer middle section where the filling sits. Place the shaped logs on the prepared baking sheet with at least 5cm between each to allow for expansion. Using a spray bottle or your fingers dipped in water, lightly mist the surface of each roll. Sprinkle untoasted sesame seeds generously over the misted surface — the moisture helps the seeds adhere during baking. If desired, score each roll once lengthwise down the centre with a sharp knife or lame — this controls the direction of the oven spring and produces the characteristic split hoagie shape. Allow the rolls to prove for a further 30–40 minutes until noticeably puffed.
- Bake in the fully preheated oven for 15–17 minutes until puffed, lightly golden, and firm to a gentle tap on the bottom — a hollow sound indicates the roll is fully baked through. Do not pull them too pale — a light golden color on the surface means the crust has set properly and the roll will hold the filling’s moisture without immediately softening. Transfer to a wire rack and allow to cool completely before slicing — cutting a hot roll compresses the soft, still-setting crumb and produces a doughy, gummy interior texture rather than the open, airy structure that appears once the roll has cooled fully.
- For the thinnest, most uniform slices, place the ribeye in the freezer for 20–30 minutes before slicing — a partially frozen steak firms up enough to allow precise, paper-thin cuts that would be impossible on a fully thawed piece of meat. Using a sharp knife, slice the chilled ribeye or roast beef across the grain into 6mm (¼ inch) strips. Against-the-grain slicing is the correct technique — it shortens the muscle fibres and ensures each slice is tender rather than stringy, even when cooked at high heat. Season lightly with salt and black pepper. The Worcestershire sauce is added during cooking rather than as a marinade — it is too acidic for extended contact before the high-heat sear.
- Heat a large cast iron skillet or heavy-bottomed pan over high heat with a generous amount of vegetable oil until smoking. Add the beef in a single layer — do not crowd the pan. Crowding causes the beef to steam in its own moisture rather than searing, producing grey, soft meat rather than the browned, slightly caramelised exterior that gives the cheesesteak its character. Cook in batches if necessary, searing each piece for 60–90 seconds without moving before turning and cooking for a further 30–60 seconds on the second side. When the last batch of beef is in the pan, add the Worcestershire sauce and toss everything quickly, allowing it to reduce and caramelise into the beef surface for 30 seconds. The Worcestershire’s sugars caramelise immediately at this temperature, adding a deeply savory, slightly sweet glaze to the beef surface. Transfer all the beef to a plate and set aside.
- In the same pan over medium-high heat, add a small amount of additional oil and add the diced sweet onion. Cook, stirring occasionally, for 5–6 minutes until the onion has softened, turned golden, and begun to caramelise at the edges — this process concentrates its natural sugars and transforms it from sharp and raw to sweet and deeply savory. Add the green pepper pieces and cook for a further 3–4 minutes until they have softened slightly and taken on some char at the edges. Season with salt and black pepper. The combination of sweet, caramelised onion and slightly bitter, charred green pepper is the vegetable foundation of an authentic Philly cheesesteak — neither element should be under-cooked, as their sweetness and char are essential counterpoints to the beef.
- Return all the seared beef to the pan with the onions and peppers and toss to combine, spreading everything into an even layer across the pan surface. Immediately lay the provolone and American cheese slices directly over the meat and vegetable mixture, covering as much surface as possible. Cover the pan with a lid or large piece of aluminium foil for 60–90 seconds — the trapped steam melts the cheese completely without any additional heat. The combination of provolone and American cheese is deliberate and specific: provolone provides a mild, slightly tangy, pull-apart meltiness and a proper dairy flavor; American cheese provides the smooth, emulsified, gooey layer that coats the filling evenly and produces the characteristic stretch and richness of an authentic Philly cheesesteak. Neither alone produces the same result.
- Split the cooled hoagie rolls lengthwise, cutting almost but not entirely through — leaving a hinge at the back allows the roll to open fully and hold the filling securely without the two halves separating. Spread mayonnaise generously on the bottom interior face of each roll and ketchup on the top interior face. Using a spatula, divide the cheese-covered beef and vegetable mixture into four equal portions and load each into an open roll, tucking the filling in firmly. Close the roll around the filling. The roll should be warm from the residual heat of the filling — if the rolls have cooled significantly, warm them in the oven at 150°C for 3–4 minutes before filling. Serve immediately with hot sauce on the side.