
Loaded Chili Cheese Fries
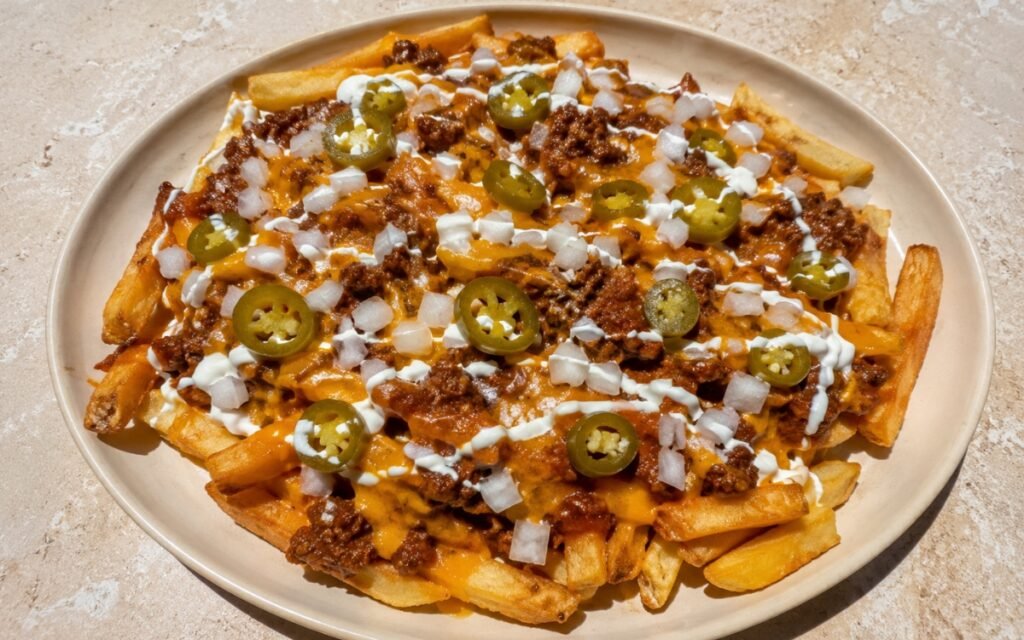
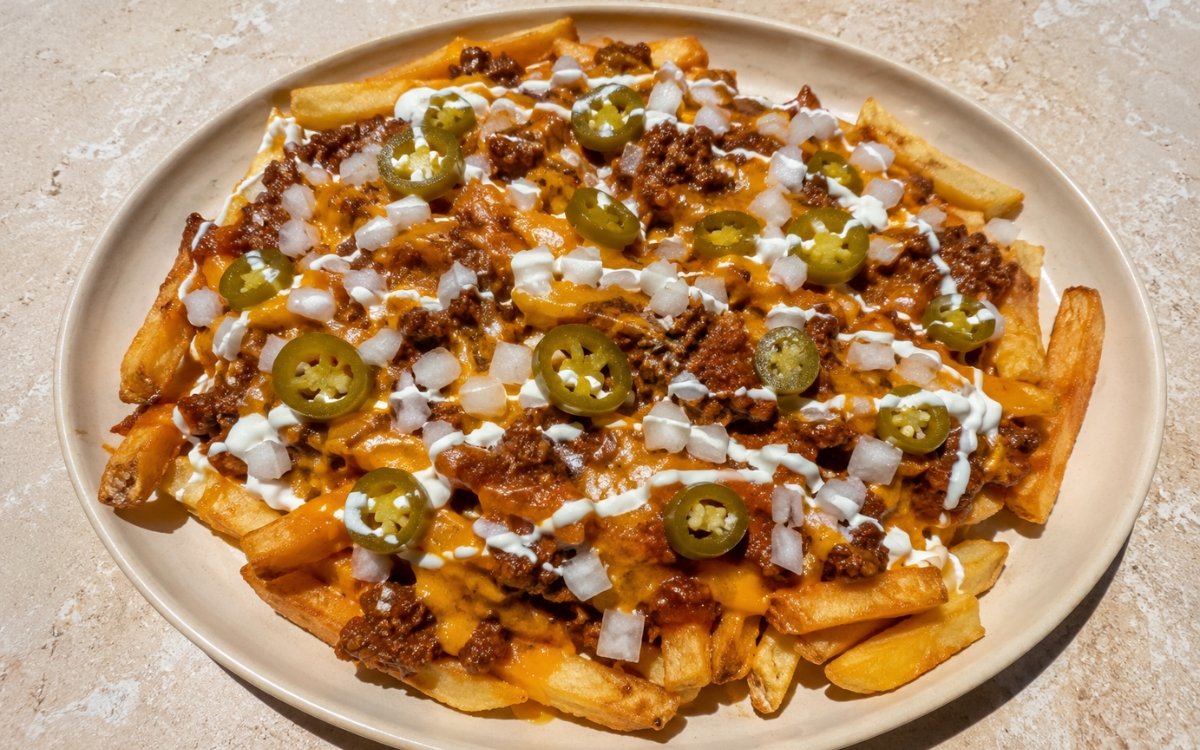
A generous pile of thick-cut double-fried potatoes topped with rich dark beef chili, melted Mexican cheese blend, diced white onion, sliced pickled jalapeños, and sour cream drizzled over the top. The double-fry is the technique this whole tray depends on for structural integrity — a cooler first fry cooks the potato through without colour, then a hotter second fry builds the crisp, rigid crust strong enough to survive being buried under thick chili and melted cheese, the same two-stage frying principle used elsewhere in this collection whenever a fry needs to hold up under real weight. Reducing the chili until genuinely thick and spoonable rather than soupy protects that same crisp base, since loose chili soaks straight through and softens the fries within minutes. Building the chili’s flavour in proper stages — browning the beef hard, blooming the spices in fat, then simmering the tomato base down until dark and rich — is what separates it from a flat, thin sauce dumped over fries. The payoff is a tray with genuine structural range: crisp fries at the base, thick dark chili and melted cheese in the middle, and fresh, cool toppings layered generously on top.
Prep Time : 25 min
Cook Time : 55 min
Servings : 4
25 min
55 min
4
Ingredients
For the Fries
• 1kg peeled potatoes, cut into thick fries, about 1.2–1.5cm thick
• Cold water, for soaking
• Neutral oil, for frying
• Fine sea salt, to taste
For the Beef Chili
• 600g ground beef, 85/15
• 15ml neutral oil, only if needed
• 120g yellow onion, finely diced
• 4 garlic cloves, minced
• 30g tomato paste
• 400g canned crushed tomatoes
• 250ml beef stock
• 1 tbsp chili powder — this one on Amazon
• 1½ tsp ground cumin — this one on Amazon
• 1 tsp smoked paprika — this one on Amazon
• ½ tsp dried oregano — this one on Amazon
• ¼ tsp cayenne, optional — this one on Amazon
• 1 tsp fine sea salt, plus more to taste
• ½ tsp freshly ground black pepper
• 1 tsp brown sugar, only if needed
• 1 tsp Worcestershire sauce
For the Cheese and Toppings
• 300–350g Mexican cheese blend, shredded — this one on Amazon
• 120g sour cream
• 80g white onion, small dice
• 40–60g pickled jalapeños, sliced
This post may contain affiliate links. As an Amazon Associate I earn from qualifying purchases, at no additional cost to you.
Directions
- Cut and Soak the Potatoes
Cut the peeled potatoes into thick fries and place them immediately into a bowl of cold water. Rinse once or twice until the water is less cloudy, then leave them submerged in fresh cold water for 30 minutes. This soak removes excess surface starch so the fries brown more evenly and crisp better. After soaking, drain well and dry thoroughly with towels. The potatoes must be dry before frying or the oil will splutter and the fries will steam instead of fry. Rinsing away the cloudy, starch-heavy water before the full soak begins is what lets the remaining soak actually pull additional starch out cleanly, rather than the potatoes sitting in an already-saturated liquid. - Start the Beef Chili
Place a wide pan or saucepan over medium-high heat. Add the ground beef and break it up. If the beef is leaner in some spots and starts dry, add a small amount of neutral oil, otherwise let the beef render its own fat. Cook until the beef is deeply browned in spots and no longer grey. Let it sit briefly against the pan in places so it develops darker caramelized edges. Add the diced onion and cook 3–4 minutes until softened. Add the garlic and cook 30 seconds, just until fragrant. Add the tomato paste and cook it for 1–2 minutes, stirring, until it darkens slightly and smells sweeter rather than raw. Add the chili powder, cumin, smoked paprika, oregano, cayenne if using, salt, and black pepper. Stir for 20–30 seconds so the spices bloom in the fat. Add the crushed tomatoes, beef stock, and Worcestershire sauce. Bring to a gentle simmer, then reduce to medium-low and cook 25–30 minutes, stirring occasionally, until thick, dark, and rich. The finished chili should be spoonable and thick enough to sit on fries without running off. If it looks too loose, simmer a little longer. Taste and adjust salt. Add the brown sugar only if the tomatoes taste too sharp. Letting the beef sit undisturbed against the hot pan in places, rather than constantly stirring, is what produces genuine caramelised edges — beef broken up and moved continuously releases moisture and simmers rather than browning. - First Fry the Potatoes
Heat frying oil to 160°C. Fry the dried potatoes in batches for 4–6 minutes, depending on thickness, until softened and pale blonde with no deep colour yet. They should be cooked through enough that a knife meets only slight resistance, but they should not yet be crisp. Lift them out and drain on a rack or paper-lined tray. Let them rest 10–15 minutes while you raise the oil temperature. This lower-temperature first fry is calibrated to cook the potato’s interior through gently, without the surface browning and setting a crust too early — that crust-building is deliberately saved for the second, hotter fry. - Second Fry the Potatoes
Raise the oil temperature to 190°C. Fry the potatoes again in batches for 2–4 minutes until deeply golden, crisp at the edges, and audibly firm when lifted from the oil. Drain immediately and salt while still hot so the seasoning adheres properly. Keep the fries moving to avoid steam softening them while the remaining batches finish. This second, hotter fry is what builds the genuinely rigid, crisp exterior the whole tray depends on — a fry that’s merely golden but still flexible won’t hold its structure once it’s buried under hot chili and melted cheese. - Melt the Cheese
Arrange the hot fries on a large oven-safe platter or divide among 4 oven-safe portions. Scatter the shredded Mexican cheese blend evenly over the fries. Spoon the hot chili over the top, then add a little more cheese over exposed areas if desired. Place under a broiler or in a hot oven just long enough for the cheese to melt and ooze, about 1–2 minutes. Watch closely so the cheese melts without drying out. Scattering some cheese directly onto the fries before the chili goes on, then adding more over the top, gives the cheese two points of contact — melting slightly against the hot fries below and fully over the chili above — which helps bind the whole tray together once it’s out of the broiler. - Finish and Serve
Scatter the diced white onion over the top. Add the sliced pickled jalapeños. Drizzle the sour cream in thin white threads across the fries. Serve immediately while the fries are still crisp underneath, the chili is hot, and the cheese is fully melted. Adding every cold, fresh topping only after the tray leaves the broiler keeps the onion crisp and raw-tasting and the sour cream visually distinct rather than melting or wilting under residual heat.
*Notes :
- The double-fry technique deserves to be understood as two genuinely distinct jobs rather than the same process repeated twice. The first, cooler fry is entirely about cooking the potato’s interior through evenly, with browning deliberately avoided at this stage. The second, hotter fry is where the actual crisp crust develops, building a rigid exterior strong enough to support a substantial load of chili, cheese, and toppings. Skipping straight to a single fry at high heat produces fries that are either underdone inside or browned on the outside before the centre has properly cooked.
- Building the chili in proper stages — hard-browning the beef, blooming the spices directly in the rendered fat, cooking down the tomato paste before any liquid is added — is what separates this chili from a flat, quickly-assembled sauce. Each of those steps concentrates flavour in a way that simply simmering everything together from the start wouldn’t achieve; the tomato paste especially benefits from that brief dry cook, moving from a slightly metallic raw taste to something rounder and more roasted.
- Reducing the chili until it’s genuinely thick — spoonable and able to sit on the fries without running off — is worth pushing further than might feel necessary the first time through. A chili that still looks reasonably thick in the pan can still turn out looser than ideal once it’s spooned hot over an equally hot pile of fries, and any excess liquid at that point goes directly into softening the crisp base this whole recipe depends on.
- The sequencing of toppings — cheese and chili first under the broiler, then cold onion, jalapeños, and sour cream only afterward — protects the tray’s finished texture and appearance. Every cold, fresh element added at the very end stays crisp, sharp, and visually distinct rather than being exposed to any heat that would wilt, melt, or dull it.
Why This Recipe Works
This recipe works because the fries are built specifically to survive a heavy, hot topping load: double-fried at two distinct temperatures for a genuinely rigid, crisp structure.
The chili is built through proper browning and spice-blooming stages and reduced until thick enough to sit on the fries without soaking through them.
Cheese is applied in two layers for better binding under the broiler, and every cold, fresh topping is added only at the very end, staying crisp and visually distinct against the hot, melted components beneath.
Ingredient Breakdown
Soaked, Double-Fried Thick-Cut Potatoes
The structural base — starch-soaked and fried in two stages for a crisp, rigid crust that survives being loaded.
Hard-Browned Ground Beef
The chili’s foundation — allowed real contact with the pan for genuine caramelised flavour rather than pale, steamed crumbles.
Bloomed Spices and Cooked Tomato Paste
The flavour-building technique — spices bloomed in fat and paste briefly cooked before liquid is added, for real depth.
Reduced, Thick Chili
The topping — simmered until genuinely thick and spoonable, protecting the crisp fries beneath from excess moisture.
Layered Cheese and Late-Added Fresh Toppings
The finishing sequence — cheese melted in two layers for binding, cold toppings added only after broiling to stay crisp and distinct.
Flavor Structure Explained
This loaded chili cheese fries follows a layered balance model:
- Crisp savoury foundation (double-fried potatoes)
- Rich melted centre (Mexican cheese blend)
- Deep warm-spiced body (beef chili)
- Sharp fresh contrast (onion, pickled jalapeños)
- Cool creamy finish (sour cream)
The double-fried potatoes provide a crisp, savoury base substantial enough to carry everything piled on top. Melted Mexican cheese blend adds rich, gooey warmth directly against the hot fries and chili. The beef chili itself, built through proper browning and spice-blooming, delivers deep, warm, well-rounded savoury flavour as the tray’s centrepiece. Diced onion and sliced pickled jalapeños cut sharply through that richness with raw crunch and tangy heat. A final drizzle of sour cream cools and rounds out the whole tray with creamy, tangy contrast.
Common Mistakes to Avoid
- Not Drying the Potatoes Before Frying – Wet potatoes spit oil and steam rather than fry properly. Always dry thoroughly after soaking.
- Skipping the Double Fry – A single fry can’t produce fries crisp and rigid enough to hold up under chili and cheese. Always fry twice, at two different temperatures.
- Leaving the Chili Too Loose – Watery chili soaks through the fries and softens them within minutes. Always reduce it until thick and spoonable.
- Rushing the Beef Browning – Constantly stirring the beef prevents real caramelisation from developing. Always let it sit undisturbed against the pan in places.
- Adding Cold Toppings Before Broiling – This exposes onion and jalapeños to unnecessary heat, wilting or warming them. Always add fresh, cold toppings only after the cheese has melted.
Variations
Spicier Version
Increase the cayenne in the chili and add extra pickled jalapeños, seeds included, for a noticeably sharper heat throughout.
With Black Beans
Add a cup of drained black beans to the chili during its final simmer for a heartier, more substantial topping.
Turkey Chili Version
Substitute ground turkey for the beef, following the identical browning and simmering method for a lighter version.
Extra-Loaded Version
Add sliced avocado or a spoonful of guacamole alongside the existing toppings for a richer, more indulgent tray.
Storage & Make-Ahead
The beef chili can be made 2–3 days ahead and refrigerated in a sealed container, or frozen for up to 3 months; reheat gently before using.
Cut, soaked potatoes can be held in cold water in the refrigerator for a few hours before frying; dry thoroughly before the first fry.
Twice-fried potatoes are best made fresh close to assembly and do not hold or reheat well once fully cooked.
The fully assembled, broiled tray is not suitable for storage — assemble and broil only what will be eaten immediately.
Frequently Asked Questions
Why does this recipe fry the potatoes twice instead of once?
A single fry forces a trade-off between a cooked interior and a crisp exterior. The cooler first fry cooks the potato through without colour, and the hotter second fry builds the rigid, crisp crust needed to support a heavy load of chili, cheese, and toppings.
Why does the chili need to be reduced until so thick?
Loose, watery chili soaks directly into the fries and softens them within minutes of being spooned on. Reducing it until genuinely thick and spoonable protects the crisp base for as long as possible before serving.
Why let the beef sit undisturbed in the pan rather than stirring constantly?
Beef that’s broken up and stirred continuously releases moisture and effectively steams rather than browning. Letting it sit against the hot pan in places allows real caramelisation to develop, which builds deeper flavour into the finished chili.
Why are the cold toppings — onion, jalapeños, sour cream — added only after broiling?
Adding them before broiling would expose them to unnecessary heat, wilting the onion and jalapeños and potentially warming or thinning the sour cream. Waiting until after keeps every fresh topping crisp, sharp, and visually distinct against the hot cheese and chili.
Are there other loaded fries or nachos recipes worth trying, and what could replace the fries or add extra flavour here?
Loaded Nachos and Carne Asada Fries both follow a related loaded format worth exploring. For a different base, Crispy Sweet Potato Fries could replace the standard potato fries here for a sweeter contrast against the savoury chili. For extra depth on the chili itself, a spoonful of Salsa Roja over the finished tray adds another layer of smoky, roasted tomato flavour.
Nutrition Facts
( per serving )
Calories
~920 kcal
Protein
42 g
Fat
54 g
Carbs
68 g
Calories
~920 kcal
Protein
42 g
Fat
54 g
Carbs
68 g
Related Recipes
Related Recipes

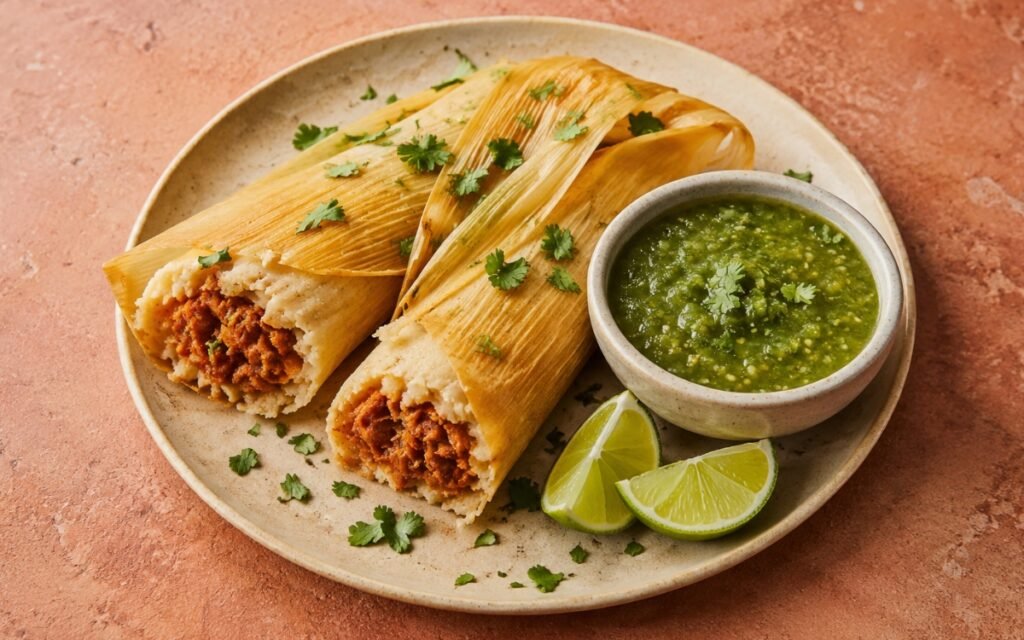
Pork Tamales with Salsa Verde
Braised, shredded pork in a glossy red chile sauce, wrapped in tender, broth-hydrated masa, and steamed in corn husks. Served with bright salsa verde.
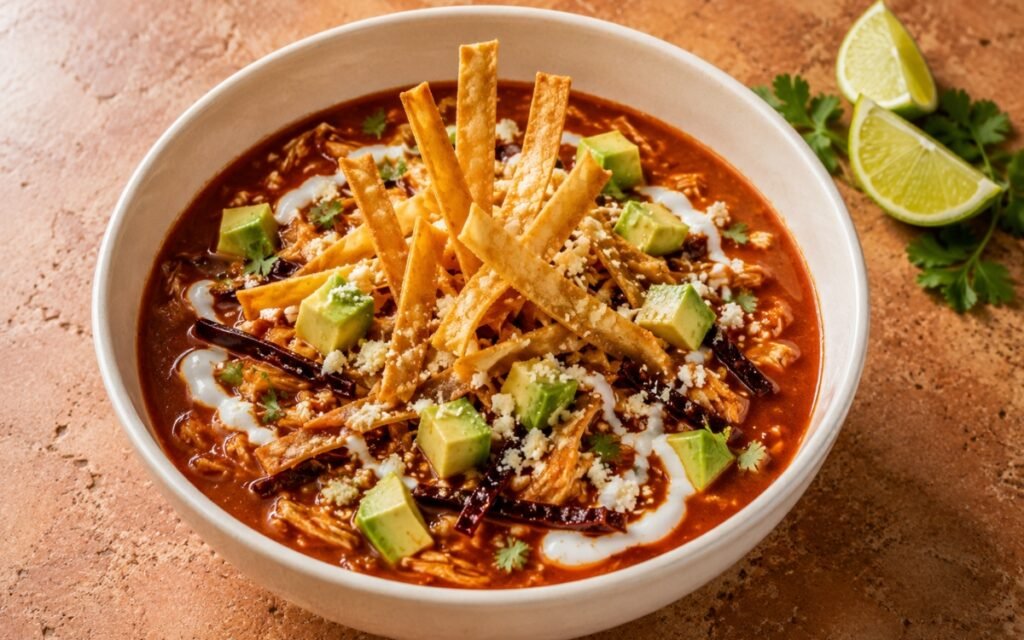
Sopa de Tortilla (Tortilla Soup)
A roasted, toasted, and fried tomato-chipotle broth with tender shredded chicken, topped with crisp golden tortilla strips, avocado, and cotija.
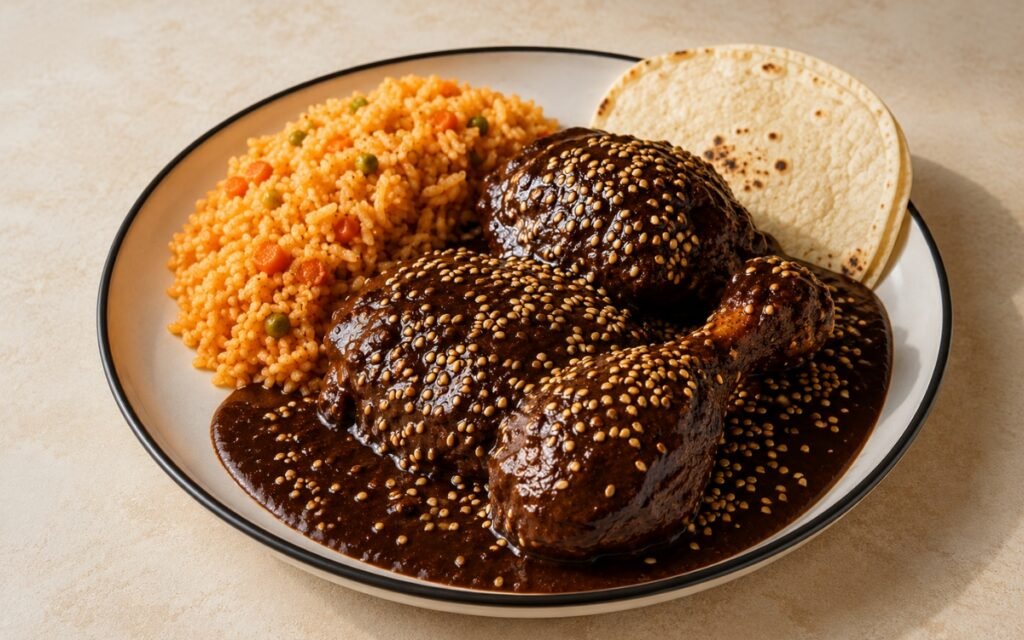
Chicken Mole Poblano
Gently poached chicken finished in deep, glossy mole poblano sauce, topped with toasted sesame seeds, served with Mexican rice and warm tortillas.
You might also like
You might also like
Sopa de Albóndigas
Tender beef-and-rice meatballs simmered gently in a savory red tomato broth with carrot, potato, and zucchini.
Carne Asada Fries
Double-fried thick-cut fries layered with charred citrus-marinated carne asada, melted mozzarella and cotija, guacamole, and pico de gallo.
Crispy Lemon Garlic Chicken Wings
Oven-baked wings with crackling, deeply golden skin, tossed hot in a rich lemon-garlic butter sauce built mostly on zest.
Loaded Chili Cheese Fries
Ingredients
Method
- Cut the peeled potatoes into thick fries and place them immediately into a bowl of cold water. Rinse once or twice until the water is less cloudy, then leave them submerged in fresh cold water for 30 minutes. This soak removes excess surface starch so the fries brown more evenly and crisp better. After soaking, drain well and dry thoroughly with towels. The potatoes must be dry before frying or the oil will splutter and the fries will steam instead of fry. Rinsing away the cloudy, starch-heavy water before the full soak begins is what lets the remaining soak actually pull additional starch out cleanly, rather than the potatoes sitting in an already-saturated liquid.
- Place a wide pan or saucepan over medium-high heat. Add the ground beef and break it up. If the beef is leaner in some spots and starts dry, add a small amount of neutral oil, otherwise let the beef render its own fat. Cook until the beef is deeply browned in spots and no longer grey. Let it sit briefly against the pan in places so it develops darker caramelized edges. Add the diced onion and cook 3–4 minutes until softened. Add the garlic and cook 30 seconds, just until fragrant. Add the tomato paste and cook it for 1–2 minutes, stirring, until it darkens slightly and smells sweeter rather than raw. Add the chili powder, cumin, smoked paprika, oregano, cayenne if using, salt, and black pepper. Stir for 20–30 seconds so the spices bloom in the fat. Add the crushed tomatoes, beef stock, and Worcestershire sauce. Bring to a gentle simmer, then reduce to medium-low and cook 25–30 minutes, stirring occasionally, until thick, dark, and rich. The finished chili should be spoonable and thick enough to sit on fries without running off. If it looks too loose, simmer a little longer. Taste and adjust salt. Add the brown sugar only if the tomatoes taste too sharp. Letting the beef sit undisturbed against the hot pan in places, rather than constantly stirring, is what produces genuine caramelised edges — beef broken up and moved continuously releases moisture and simmers rather than browning.
- Heat frying oil to 160°C. Fry the dried potatoes in batches for 4–6 minutes, depending on thickness, until softened and pale blonde with no deep colour yet. They should be cooked through enough that a knife meets only slight resistance, but they should not yet be crisp. Lift them out and drain on a rack or paper-lined tray. Let them rest 10–15 minutes while you raise the oil temperature. This lower-temperature first fry is calibrated to cook the potato’s interior through gently, without the surface browning and setting a crust too early — that crust-building is deliberately saved for the second, hotter fry.
- Raise the oil temperature to 190°C. Fry the potatoes again in batches for 2–4 minutes until deeply golden, crisp at the edges, and audibly firm when lifted from the oil. Drain immediately and salt while still hot so the seasoning adheres properly. Keep the fries moving to avoid steam softening them while the remaining batches finish. This second, hotter fry is what builds the genuinely rigid, crisp exterior the whole tray depends on — a fry that’s merely golden but still flexible won’t hold its structure once it’s buried under hot chili and melted cheese.
- Arrange the hot fries on a large oven-safe platter or divide among 4 oven-safe portions. Scatter the shredded Mexican cheese blend evenly over the fries. Spoon the hot chili over the top, then add a little more cheese over exposed areas if desired. Place under a broiler or in a hot oven just long enough for the cheese to melt and ooze, about 1–2 minutes. Watch closely so the cheese melts without drying out. Scattering some cheese directly onto the fries before the chili goes on, then adding more over the top, gives the cheese two points of contact — melting slightly against the hot fries below and fully over the chili above — which helps bind the whole tray together once it’s out of the broiler.
- Scatter the diced white onion over the top. Add the sliced pickled jalapeños. Drizzle the sour cream in thin white threads across the fries. Serve immediately while the fries are still crisp underneath, the chili is hot, and the cheese is fully melted. Adding every cold, fresh topping only after the tray leaves the broiler keeps the onion crisp and raw-tasting and the sour cream visually distinct rather than melting or wilting under residual heat.