
Loaded Nachos
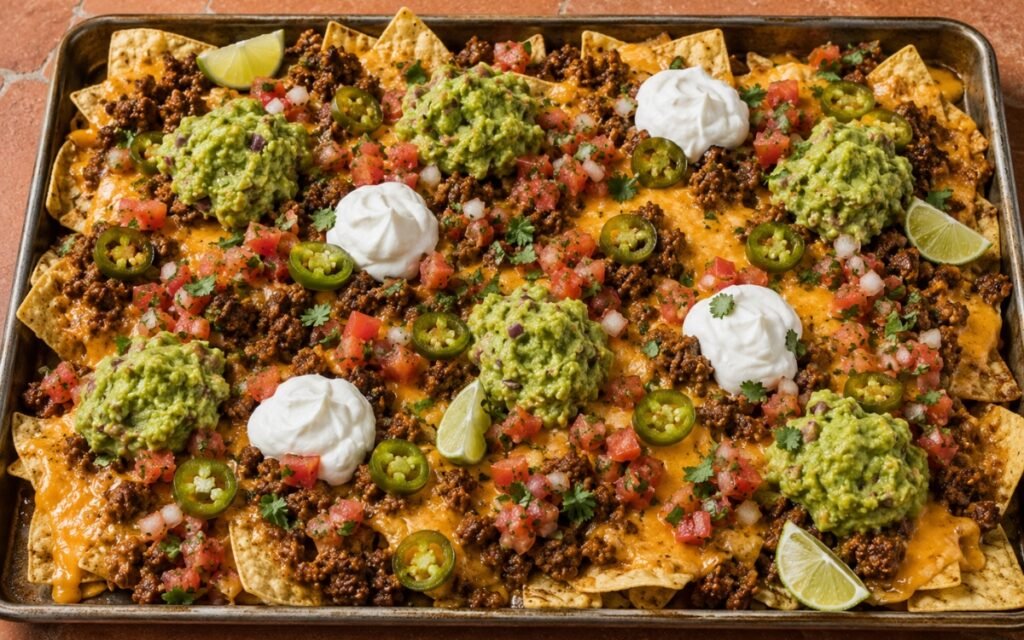
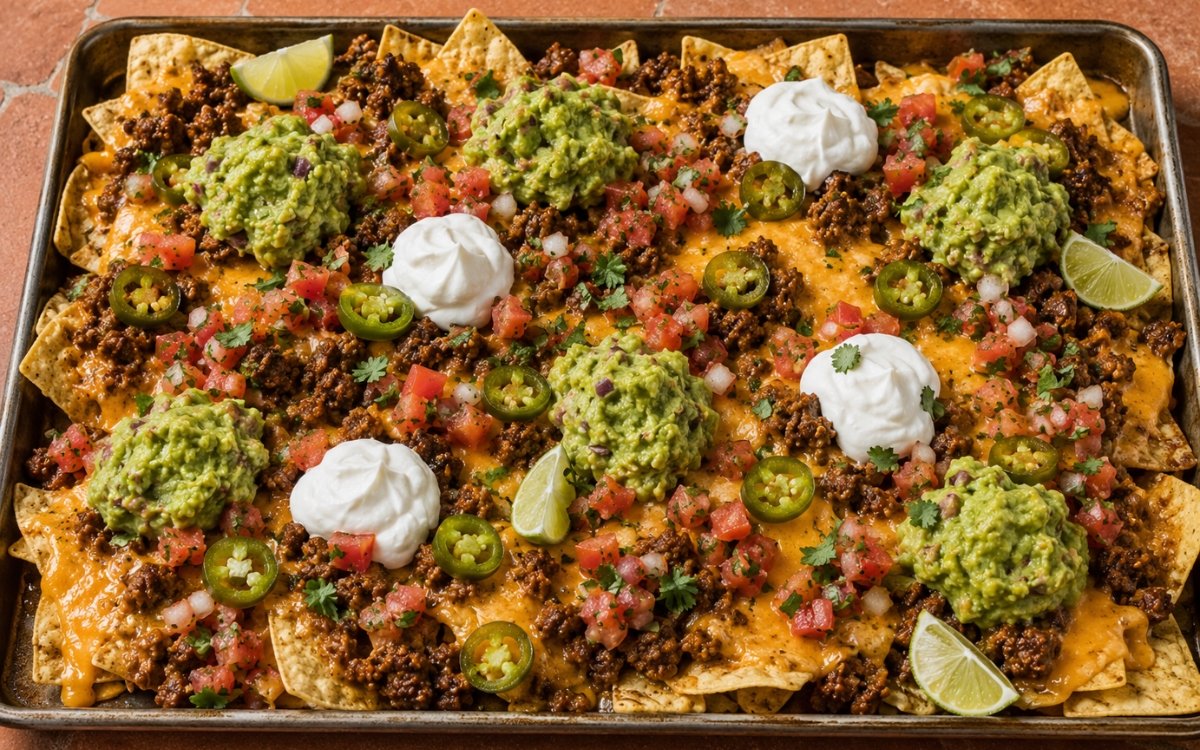
A generous tray of tortilla chips layered with melted orange-yellow Mexican cheese blend, hot seasoned ground beef, fresh chunky pico de gallo, guacamole, sour cream, and thin jalapeño slices, with some chips staying visible and crisp through the toppings. The layering order — chips, then cheese, then beef — is the structural decision that keeps this tray from collapsing under its own weight, since the melting cheese effectively locks the chip base together before the heavier beef ever sits directly on it, the same order-matters principle used elsewhere in this collection whenever a crisp base needs protection from a wet or heavy topping. Draining the pico de gallo before it goes anywhere near the hot chips is just as critical, since watery pico is one of the fastest routes to a soggy, collapsed tray. Keeping the guacamole and sour cream cold and added only after the tray comes out of the oven preserves both their fresh flavour and the dish’s defining visual contrast. The payoff is a tray with real structural integrity — crisp chip edges still visible through melted cheese, hot beef, and cool, colourful toppings layered in distinct, abundant patches.
Prep Time : 25 min
Cook Time : 20 min
Servings : 4
25 min
20 min
4
Ingredients
For the Loaded Nachos Base
• 300g sturdy tortilla chips
• 360g Mexican cheese blend, shredded — this one on Amazon
For the Seasoned Ground Beef
• 600g ground beef, 80/20 or 85/15
• 10ml neutral oil, only if needed
• 120g white or sweet onion, finely diced
• 3 garlic cloves, minced
• 8g kosher salt
• 3g ground cumin — this one on Amazon
• 3g chili powder — this one on Amazon
• 2g smoked paprika — this one on Amazon
• 2g dried oregano — this one on Amazon
• 2g freshly ground black pepper
• 15g tomato paste
• 30ml water, only if needed to loosen while finishing
• 15ml fresh lime juice
For the Pico de Gallo
• 5 ripe, meaty tomatoes, preferably Roma, about 400g
• 1 sweet onion, finely diced
• 1 red onion, finely diced
• 1 jalapeño pepper, deseeded, finely diced
• Juice of 3 limes
• Zest of half a lime
• 1 tbsp extra-virgin olive oil — this one on Amazon
• Salt to taste
• Freshly ground black pepper to taste
For the Guacamole — half batch; (Full recipe — see Classic Guacamole)
• 1½ ripe avocados
• ½ medium red onion, diced to ¼–⅛ inch cubes
• ½ green jalapeño, deseeded, diced to ⅛ inch cubes
• 1 garlic clove, minced or very thinly sliced
• Juice of ½ lime
• ½ large handful fresh cilantro, roughly chopped — adjust to personal preference or omit entirely
• ½ tsp ground cumin
• Salt to taste
• Freshly ground black pepper to taste
• ½ tbsp green Tabasco, optional
For Garnishing and Serving
• 240g sour cream
• 2 fresh jalapeños, thinly sliced into rounds
• Fresh cilantro, optiona
• Lime wedges, optional
This post may contain affiliate links. As an Amazon Associate I earn from qualifying purchases, at no additional cost to you.
Directions
- Prepare the Pico de Gallo
Dice the tomatoes, sweet onion, red onion, and jalapeño very evenly, then combine in a bowl with the lime juice, lime zest, olive oil, salt, and black pepper. Let it sit for 10–15 minutes, then taste and adjust seasoning. Before using on the nachos, lightly drain off excess liquid. This matters. Watery pico will flood the chips and kill the whole tray. Dicing every component to a genuinely even size isn’t just visual — uniform pieces mean the pico’s flavour is consistent bite to bite, and the short rest afterward lets the salt draw out excess tomato liquid before it ever reaches the hot tray. - Prepare the Guacamole
Mash the avocados in a bowl until partly smooth but still chunky. Fold in the red onion, jalapeño, garlic, lime juice, cilantro, cumin, salt, black pepper, and green Tabasco if using. Keep it thick and spoonable, not loose or fully smooth. The guacamole should sit in visible green mounds on top of the nachos, not spread like a sauce. Mashing only partly, rather than to a completely smooth purée, is what gives the guacamole enough body to hold its shape as a distinct mound once spooned onto the hot tray, rather than sinking in and disappearing among the other toppings. - Cook the Seasoned Ground Beef
Heat a large skillet over medium-high heat. Add the ground beef and cook, breaking it up, for 4–5 minutes until it starts browning properly. Add the diced onion and continue cooking until the beef develops dark brown edges and the onion softens, about 4 more minutes. Add the garlic, salt, cumin, chili powder, smoked paprika, oregano, black pepper, and tomato paste. Cook for 1–2 minutes, stirring constantly, until fragrant and the tomato paste darkens slightly. If the mixture looks too dry while the seasonings bloom, add 30ml water only as needed. Finish with lime juice. The beef should be hot, fragrant, and slightly crisp in places, not wet or saucy. If there is excess grease pooling in the pan, spoon some off. Greasy beef will slide over the chips and make the tray heavy and soggy. Browning the beef hard before adding the onion, rather than combining everything at once, is what produces the dark, crisp edges specified here — beef added to a pan already crowded with onion releases moisture and steams rather than developing real colour. - Preheat the Oven
Preheat the oven to 220°C / 425°F or set the broiler on high. Use a large sheet pan, ovenproof platter, or skillet so the chips can sit in a broad, mostly single layer. A broad, shallow layer rather than a deep pile is what allows the oven’s heat to reach and melt cheese across the whole tray evenly — a deep, crowded pile traps heat unevenly and leaves chips at the bottom soggy while the top barely warms through. - Assemble the Hot Nacho Base
Spread the tortilla chips out in an even generous layer. Scatter the shredded Mexican cheese blend over the chips so it reaches across most of the surface, but still leaves some golden chips visible. Scatter the hot seasoned ground beef evenly over the cheese. This order matters here: nachos, cheese, then ground beef. Putting the beef directly on bare chips everywhere can weigh them down too fast, while the cheese helps lock the base together. The melting cheese layer functions almost structurally here, fusing to the chips beneath it as it melts and giving the heavier beef scattered on top something stable to sit on rather than direct, weighty contact with the chips themselves. - Melt the Cheese
Bake or broil for 3–6 minutes, just until the cheese is fully melted and bubbling. Watch closely. You want melted cheese and hot chips, not burned chip tips or dried-out beef. This is a short, high-heat stage specifically for melting rather than cooking anything further — both the beef and the chips are already fully prepared, so the oven’s only job here is bringing the cheese to a fully melted, bubbling state as quickly as possible. - Finish the Nachos
Remove from the oven and immediately scatter the drained pico de gallo over the top. Add visible spoonfuls of guacamole across the tray. Add one spoonful of sour cream per serving, spaced clearly so the white mounds stay visible. Finish with thin jalapeño slices scattered over everything. Add a little cilantro if wanted and serve with lime wedges if using. Adding every cold topping only after the tray leaves the oven, rather than baking any of them, is what keeps the pico, guacamole, and sour cream tasting genuinely fresh and looking visually distinct against the hot, melted cheese beneath them. - Serve
Serve immediately while the chips are still crisp, the cheese is hot and melted, and the cold toppings stay fresh and distinct. Loaded nachos have essentially no holding window once fully assembled — the chips begin softening under the combined weight and moisture of every topping within minutes, so serving without delay is what preserves the crisp-hot-cool contrast the whole tray is built around.
*Notes :
- The layering sequence in this recipe — chips, then cheese, then beef, then every cold topping added only after baking — deserves to be followed closely rather than treated as a loose suggestion. Each step in that order exists to solve a specific structural problem: the cheese binds the chip base together as it melts, the beef sits on top of that melted layer rather than weighing down bare chips directly, and the cold toppings are held back from the oven entirely so they stay fresh and don’t wilt, break, or lose their distinct colour and texture.
- Draining the pico de gallo is one of the more consequential small steps in the entire recipe, disproportionate to how little time it takes. Tomatoes release a meaningful amount of liquid once diced and salted, and that liquid, left undrained, doesn’t stay contained to the pico itself once it’s scattered across a hot tray of chips — it spreads and soaks into everything nearby, softening chips well beyond just the ones directly underneath the pico.
- Using sturdy tortilla chips rather than thinner, more delicate restaurant-style chips is a foundational choice that everything else in this recipe depends on. Thin chips simply don’t have the structural strength to support a full layer of melted cheese, hot beef, and multiple cold toppings without collapsing partway through assembly, let alone holding up through the short time it takes to actually eat the tray.
- This is a dish built with almost zero patience for delay once it’s fully assembled. Every component up through the cheese-melting stage can be prepared with some flexibility in timing, but the moment the cold toppings go on, the clock starts on how long the tray will stay genuinely crisp. Serving immediately isn’t just a suggestion for best results here — it’s close to a hard requirement given how quickly loaded nachos degrade once complete.
Why This Recipe Works
This recipe works because it manages structure and moisture as its primary concerns: the layering order of chips, cheese, and beef is specifically designed to protect the crisp base, the beef is browned hard rather than left wet or greasy, and the pico de gallo is drained before it ever touches the tray.
Every cold, fresh topping — guacamole, sour cream, extra jalapeño — is added only once the tray is out of the oven, preserving both their flavour and the dish’s signature visual contrast between hot, melted components and cool, colourful ones.
Ingredient Breakdown
Sturdy Tortilla Chips
The structural foundation — thick enough to support cheese, beef, and multiple wet toppings without collapsing.
Layered Cheese-Then-Beef Order
The critical assembly technique — melted cheese binds the chip base together before the heavier beef sits on top of it.
Hard-Browned Seasoned Ground Beef
The savoury topping — browned with real colour and crisp edges rather than left pale, wet, or greasy.
Drained Pico de Gallo
The bright, fresh element — salted and rested to release excess liquid, then drained before it reaches the hot chips.
Post-Bake Cold Toppings (Guacamole, Sour Cream)
The finishing layer — added only after the tray leaves the oven, staying cool, fresh, and visually distinct.
Flavor Structure Explained
This loaded nachos follows a layered balance model:
- Crisp savoury foundation (tortilla chips)
- Rich melted centre (Mexican cheese blend)
- Warm spiced protein (seasoned ground beef)
- Bright fresh acidity (pico de gallo)
- Cool creamy finish (guacamole, sour cream)
The tortilla chips provide a crisp, savoury base that holds everything else together. Melted Mexican cheese blend adds rich, gooey warmth binding the chips and beef. Seasoned, hard-browned ground beef layers in deep, well-spiced savouriness with real textural crispness at the edges. Fresh pico de gallo cuts through that richness with bright, acidic tomato and onion. Cool guacamole and sour cream both round out the tray with fat-forward creaminess, while thin jalapeño slices finish everything with a final sharp, spicy edge.
Common Mistakes to Avoid
- Using Thin, Delicate Tortilla Chips – These collapse under the weight of cheese, beef, and wet toppings. Always use sturdy, thick-cut chips built to hold a loaded tray.
- Skipping the Draining Step on the Pico de Gallo – Watery pico floods the chips and is one of the fastest ways to ruin the whole tray. Always drain excess liquid before topping.
- Leaving the Ground Beef Wet or Greasy – Excess moisture or fat makes the beef slide over the chips and weighs the tray down. Always brown the beef hard and spoon off excess grease.
- Baking the Guacamole or Sour Cream – Both lose their fresh flavour and visual distinction if exposed to oven heat. Always add them only after the tray comes out.
- Letting the Assembled Nachos Sit Before Serving – Loaded nachos soften rapidly once fully topped. Always serve immediately after assembly.
Variations
Chicken Nachos
Substitute the seasoned ground beef with the same-weight shredded, seasoned chicken thighs used elsewhere in this collection for a lighter protein option.
Spicier Version
Increase the chili powder to 5g in the beef seasoning and add extra jalapeño slices on top for a noticeably sharper heat throughout.
Bean-Loaded Version
Add a layer of seasoned refried black beans directly onto the chips before the cheese for a heartier, more substantial tray.
Queso-Style Version
Substitute a warm, pourable queso sauce for half the shredded cheese, drizzled over the chips before baking, for a saucier, more indulgent result.
Storage & Make-Ahead
The seasoned ground beef can be cooked ahead and refrigerated in an airtight container for up to 3 days. Reheat gently before assembling.
Pico de gallo and guacamole should each be prepared close to serving and drained or rested according to their own recipes’ guidance.
Tortilla chips and shredded cheese can be portioned and kept ready at room temperature until assembly.
The fully assembled, baked tray is not suitable for storage or leftovers — assemble and bake only what will be eaten immediately, as the chips lose their crisp texture within a short time.
Frequently Asked Questions
Why does the layering order matter — chips, cheese, then beef?
The melting cheese binds the chip base together as it cooks, giving the heavier beef a stable, cohesive surface to sit on rather than direct contact with bare chips everywhere. Reversing the order or putting beef straight onto the chips weighs them down and softens them faster.
Why is draining the pico de gallo described as one of the main turning points for this dish?
Diced tomato releases a meaningful amount of liquid once salted and rested. Left undrained, that liquid doesn’t stay contained to the pico itself once scattered across the hot tray — it spreads and soaks into chips well beyond the immediate area, softening far more of the tray than expected.
Why use sturdy tortilla chips instead of thinner, more delicate ones?
Thin chips lack the structural strength to support a full layer of melted cheese, hot beef, and multiple cold toppings without collapsing partway through assembly or eating. Sturdier, thicker chips are built specifically to hold up under that combined weight.
Why do the guacamole and sour cream go on only after the tray comes out of the oven?
Both lose their fresh flavour and cool, creamy texture if exposed to oven heat, and baking them would also blur the dish’s signature visual contrast between hot, melted components and cool, colourful ones sitting distinctly on top.
Are there other loaded, indulgent Mexican-style dishes worth trying, and what can add extra freshness here?
Carne Asada Fries follows a related loaded format, swapping the tortilla chip base for double-fried thick-cut fries topped with charred steak, melted cheese, guacamole, and pico de gallo. For extra brightness on these nachos specifically, a light drizzle of Salsa Verde or Cilantro Lime Drizzle over the finished tray adds a sharp, fresh layer that cuts nicely through the melted cheese and beef.
Nutrition Facts
( per serving )
Calories
~820 kcal
Protein
38 g
Fat
52 g
Carbs
54 g
Calories
~820 kcal
Protein
38 g
Fat
52 g
Carbs
54 g
Related Recipes
Related Recipes

Chicken Quesadilla
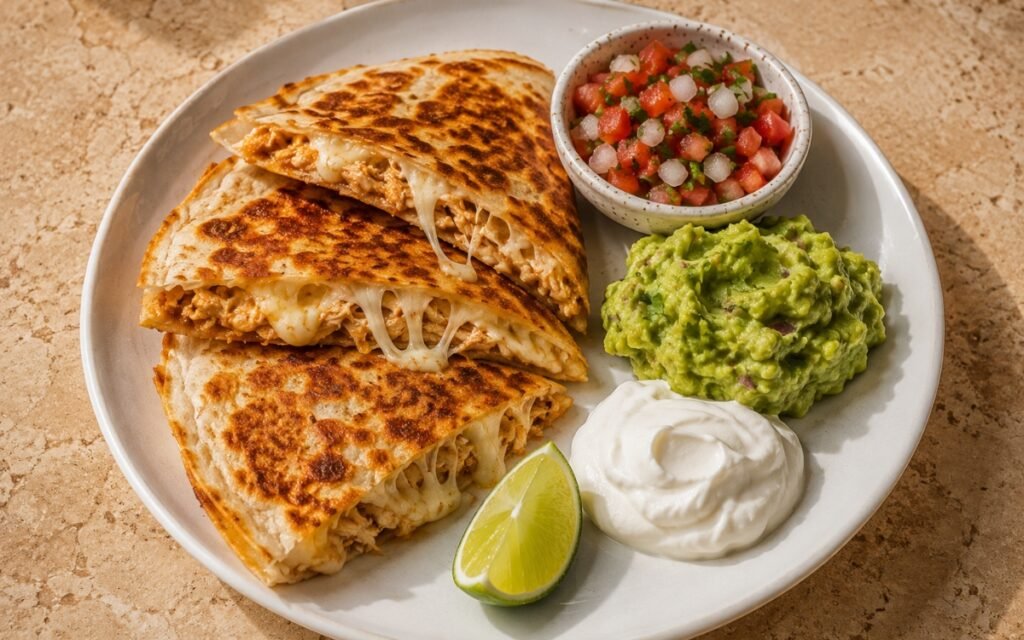
Marinated chicken thighs seared, shredded, and reduced, folded into flour tortillas with a three-cheese blend, and crisped in butter until golden and blistered.
Pork Chile Verde
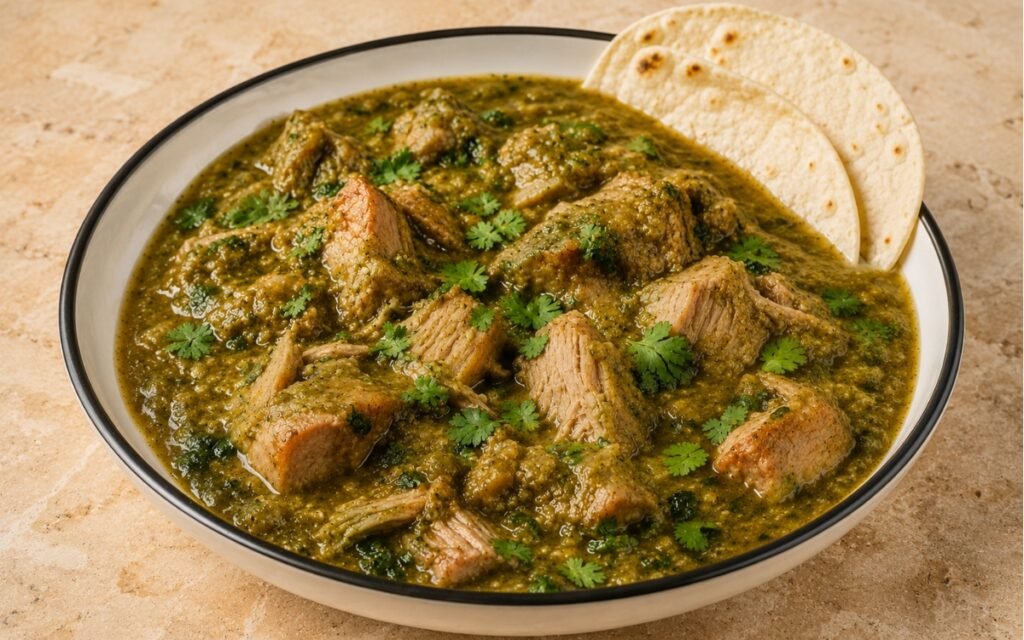
Browned pork shoulder braised tender in a roasted tomatillo-green chile sauce, thick and glossy with poblano body.
Peach Lemon Infused Water
Ripe peaches skin-on and lightly muddled, sliced peaches and lemon rounds cold-infused in 3L water — removed after 4 hours. Warm, fragrant, and peachy.

You might also like
You might also like
Flautas de Pollo
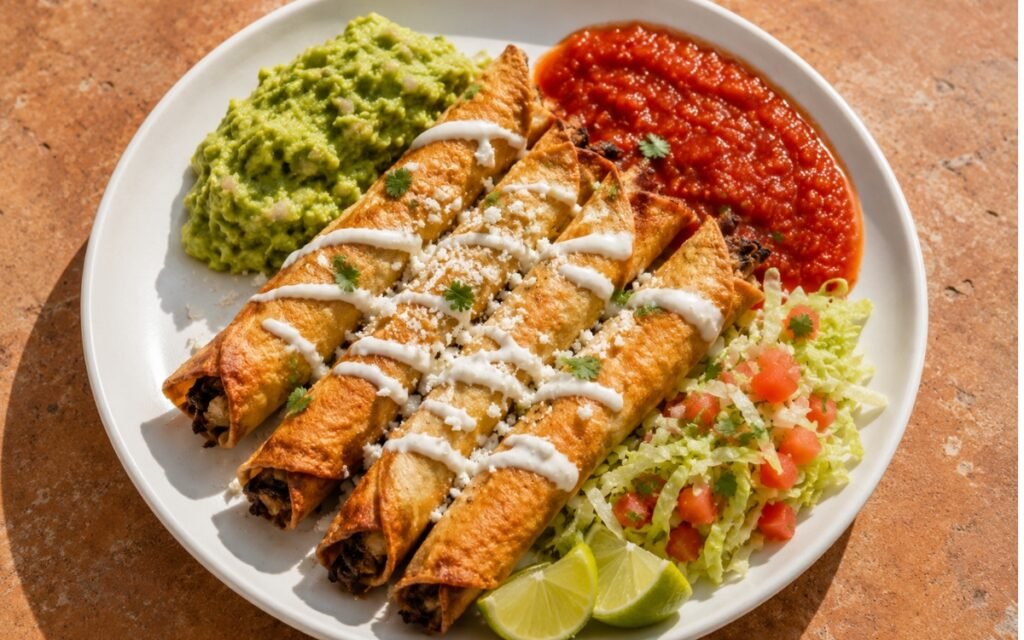
Spiced shredded chicken thighs rolled tightly in corn tortillas and fried until golden and crisp, served with chunky guacamole and bright salsa roja.
Cuban Picadillo
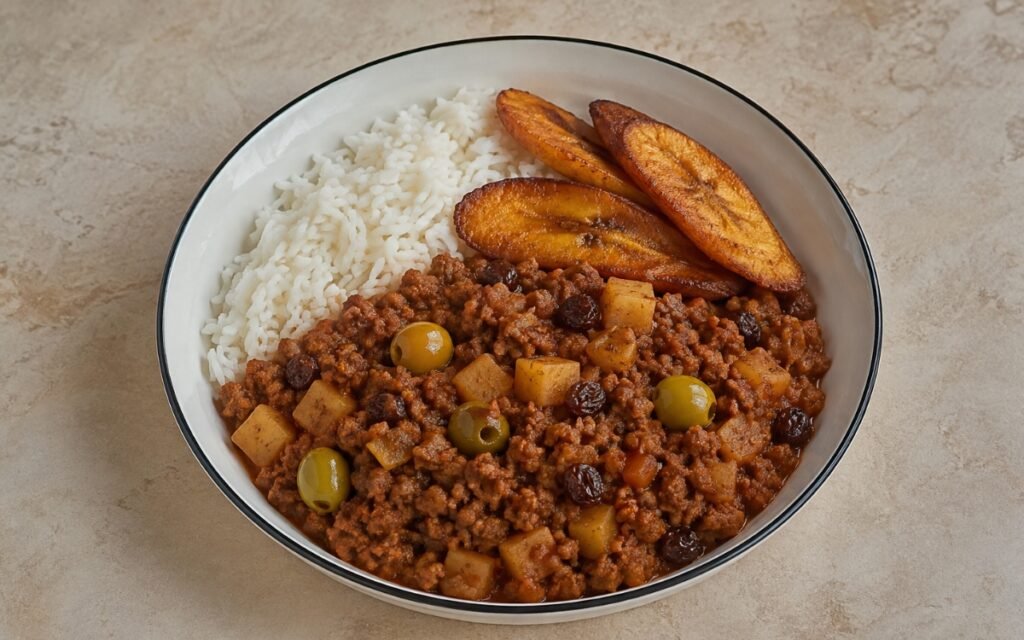
Seasoned ground beef simmered in a savory tomato sauce with green olives, raisins, and tender diced potatoes.
Slider Beef Burgers
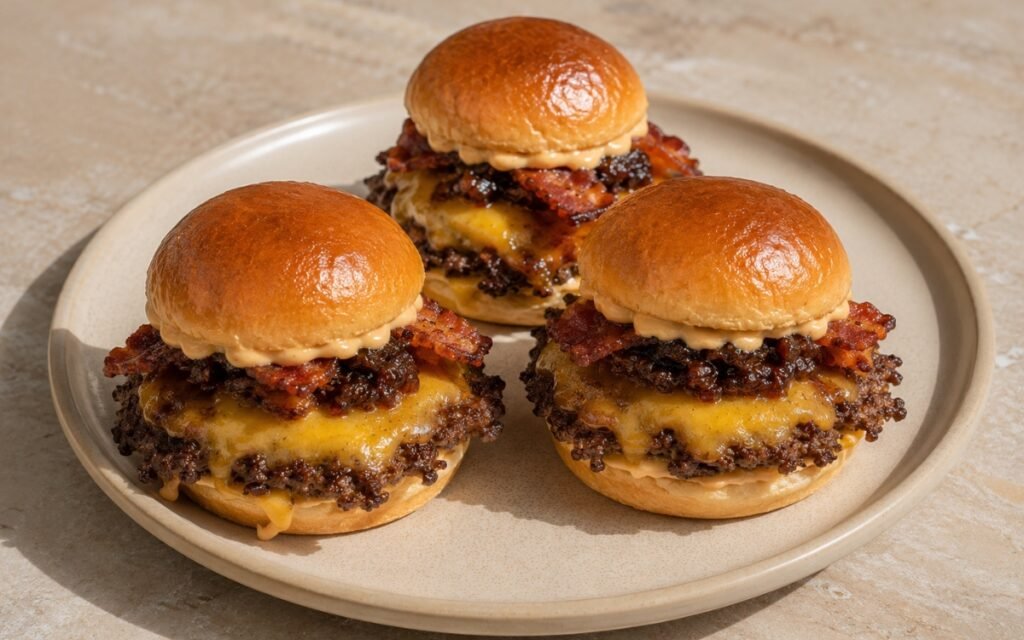
Thin, lacy-edged smash-burger patties on toasted brioche slider buns with melted American cheese, crispy bacon, and sticky bacon-onion jam.
Loaded Nachos
Ingredients
Method
- Dice the tomatoes, sweet onion, red onion, and jalapeño very evenly, then combine in a bowl with the lime juice, lime zest, olive oil, salt, and black pepper. Let it sit for 10–15 minutes, then taste and adjust seasoning. Before using on the nachos, lightly drain off excess liquid. This matters. Watery pico will flood the chips and kill the whole tray. Dicing every component to a genuinely even size isn’t just visual — uniform pieces mean the pico’s flavour is consistent bite to bite, and the short rest afterward lets the salt draw out excess tomato liquid before it ever reaches the hot tray.
- Mash the avocados in a bowl until partly smooth but still chunky. Fold in the red onion, jalapeño, garlic, lime juice, cilantro, cumin, salt, black pepper, and green Tabasco if using. Keep it thick and spoonable, not loose or fully smooth. The guacamole should sit in visible green mounds on top of the nachos, not spread like a sauce. Mashing only partly, rather than to a completely smooth purée, is what gives the guacamole enough body to hold its shape as a distinct mound once spooned onto the hot tray, rather than sinking in and disappearing among the other toppings.
- Heat a large skillet over medium-high heat. Add the ground beef and cook, breaking it up, for 4–5 minutes until it starts browning properly. Add the diced onion and continue cooking until the beef develops dark brown edges and the onion softens, about 4 more minutes. Add the garlic, salt, cumin, chili powder, smoked paprika, oregano, black pepper, and tomato paste. Cook for 1–2 minutes, stirring constantly, until fragrant and the tomato paste darkens slightly. If the mixture looks too dry while the seasonings bloom, add 30ml water only as needed. Finish with lime juice. The beef should be hot, fragrant, and slightly crisp in places, not wet or saucy. If there is excess grease pooling in the pan, spoon some off. Greasy beef will slide over the chips and make the tray heavy and soggy. Browning the beef hard before adding the onion, rather than combining everything at once, is what produces the dark, crisp edges specified here — beef added to a pan already crowded with onion releases moisture and steams rather than developing real colour.
- Preheat the oven to 220°C / 425°F or set the broiler on high. Use a large sheet pan, ovenproof platter, or skillet so the chips can sit in a broad, mostly single layer. A broad, shallow layer rather than a deep pile is what allows the oven’s heat to reach and melt cheese across the whole tray evenly — a deep, crowded pile traps heat unevenly and leaves chips at the bottom soggy while the top barely warms through.
- Spread the tortilla chips out in an even generous layer. Scatter the shredded Mexican cheese blend over the chips so it reaches across most of the surface, but still leaves some golden chips visible. Scatter the hot seasoned ground beef evenly over the cheese. This order matters here: nachos, cheese, then ground beef. Putting the beef directly on bare chips everywhere can weigh them down too fast, while the cheese helps lock the base together. The melting cheese layer functions almost structurally here, fusing to the chips beneath it as it melts and giving the heavier beef scattered on top something stable to sit on rather than direct, weighty contact with the chips themselves.
- Bake or broil for 3–6 minutes, just until the cheese is fully melted and bubbling. Watch closely. You want melted cheese and hot chips, not burned chip tips or dried-out beef. This is a short, high-heat stage specifically for melting rather than cooking anything further — both the beef and the chips are already fully prepared, so the oven’s only job here is bringing the cheese to a fully melted, bubbling state as quickly as possible.
- Remove from the oven and immediately scatter the drained pico de gallo over the top. Add visible spoonfuls of guacamole across the tray. Add one spoonful of sour cream per serving, spaced clearly so the white mounds stay visible. Finish with thin jalapeño slices scattered over everything. Add a little cilantro if wanted and serve with lime wedges if using. Adding every cold topping only after the tray leaves the oven, rather than baking any of them, is what keeps the pico, guacamole, and sour cream tasting genuinely fresh and looking visually distinct against the hot, melted cheese beneath them.
- Serve immediately while the chips are still crisp, the cheese is hot and melted, and the cold toppings stay fresh and distinct. Loaded nachos have essentially no holding window once fully assembled — the chips begin softening under the combined weight and moisture of every topping within minutes, so serving without delay is what preserves the crisp-hot-cool contrast the whole tray is built around.