
Filipino Pork Adobo Bowl
A classic Filipino Pork Adobo Bowl — large cubes of pork belly braised in a dark soy and cane vinegar sauce with crushed garlic, bay leaves and whole black peppercorns, reduced to a glossy glaze and served over fluffy jasmine rice with scallions and crispy garlic chips, the key being meltingly tender pork in a sharp, savoury sauce. A gentle, partially covered braise followed by an uncovered reduction, rather than a hard boil from the start, is the technique this whole dish depends on for spoon-tender pork and a glossy sauce — boiling hard drives off the liquid and tightens the meat long before the belly has softened, the same braise-first-reduce-last principle used elsewhere in this collection whenever a slow-cooked cut needs a concentrated finishing sauce. Letting the vinegar come up to a simmer before stirring is what keeps its sourness clean and bright instead of harsh and raw-tasting. Browning the pork belly in a single layer before braising is what renders the first of its fat and builds the deeper, roasted flavour behind the dark sauce. The payoff is a rice bowl with real, comforting Filipino character — silky, lacquered pork, sharp-savoury sauce pooling into soft white rice, and golden garlic crunch on top.

Prep Time : 20 min
Total Time : 2 hr 10 min
Servings : 4
20 min
2 hr 10 min
4
Ingredients
For the Pork Adobo
• 600g pork belly, cut into large cubes of about 3–4cm
• 120ml soy sauce
• 120ml cane vinegar or white vinegar
• 180ml water, plus a splash more if needed
• 8 garlic cloves, 6 lightly crushed for the braise and 2 thinly sliced for frying
• 3 bay leaves
• 1½ tsp whole black peppercorns
• 1 medium onion, sliced, optional
• 2 tbsp neutral oil, divided, the second tbsp only if needed for browning
• 1 tsp brown sugar, optional, only if the sauce tastes too sharp
For the Rice
• 300g jasmine rice or other long-grain white rice
• 450–500ml water, according to rice type
• Pinch of fine salt, optional
For the Garnish
• 2 scallions, thinly sliced on a bias
• Crispy garlic chips, made from the 2 sliced garlic cloves
• A spoonful of the reduced adobo sauce per bowl, for finishing
Directions
- Marinate the Pork
Cut the 600g pork belly into large cubes of about 3–4cm, keeping both fat and lean in each piece so they hold their shape through the long braise. Put the pork in a non-reactive bowl and add the 120ml soy sauce, 120ml vinegar, the 6 lightly crushed garlic cloves, 3 bay leaves and 1½ tsp whole black peppercorns, keeping the 2 sliced cloves aside for frying. Toss until every piece is coated, cover and refrigerate for 30 minutes so the pork stays cold. The marinade is optional but recommended; if you skip it, keep the liquids and aromatics together and add them all at the braising stage. Never discard the marinade, because it becomes the braising liquid. That short soak is what seasons the pork more evenly before the heat goes on. - Fry the Garlic Chips
While the pork marinates, put 1 tbsp of the neutral oil and the 2 thinly sliced garlic cloves in a small pan over low to medium-low heat. Fry slowly for 3–5 minutes, stirring often, until the slices turn an even pale gold and stop bubbling hard. Lift them out just before they look fully golden, since they keep darkening from the heat they carry, and drain on paper towel, where they crisp as they cool. They should be dry, crisp and light gold, never soft or deeply browned. If any slices turn dark brown, discard them, because they will taste bitter. Pour the garlic-scented oil into a small dish and keep it for finishing. That slow, low-heat frying is what dries the garlic into genuinely crisp chips before the sugars on the surface can scorch. - Brown the Pork
Lift the pork out of the marinade, letting the excess liquid drip back into the bowl, and reserve all of the marinade with its garlic, bay leaves and peppercorns. Pat the pork lightly with paper towel if it is very wet. Heat a heavy pot or deep skillet over medium heat and add the pork in a single layer, working in batches if needed. Brown it on several sides for 6–8 minutes in total, until the fat begins to render and the edges turn deep golden. If the pot looks dry at the start, add the remaining 1 tbsp neutral oil. Add the sliced onion, if using, and cook for 3–4 minutes until softened. Do not cook so long that the pork firms up. That careful browning is what builds the deeper, roasted flavour behind a genuinely dark adobo. - Braise the Adobo
Pour the reserved marinade and the 180ml water over the pork, scraping up any browned bits from the base of the pot. Bring it up to a simmer over medium heat without stirring, letting the vinegar cook off its raw edge for a minute or two. Once simmering, stir gently, lower the heat and cook partially covered for 40–50 minutes, stirring occasionally. Keep it at a genuinely lazy simmer, with small bubbles breaking at the surface, never a hard boil. If the liquid drops below halfway up the pork before it is tender, add a splash more water. The pork is ready for the next stage when a fork slides in easily but each cube still holds its shape. That undisturbed simmer after the vinegar goes in is what keeps the sauce’s sourness clean rather than harsh. - Cook the Rice
About 25 minutes before the braise is done, rinse the 300g rice in several changes of cold water, swirling it with your fingers, until the water runs mostly clear, then drain well. Put it in a medium saucepan with the 450–500ml water and the pinch of salt, if using, and bring to a boil over medium-high heat. Stir once, cover tightly, reduce the heat to low and cook for 12–15 minutes, until the water is absorbed. Take off the heat and rest, still covered, for 10 minutes while the sauce reduces, then fluff gently with a fork. The grains should be genuinely fluffy and separate, never wet or mushy. Keep the rice plainly seasoned. That covered rest is what lets the trapped steam finish the grains evenly so they can soak up the sauce without turning soft. - Reduce the Sauce
Remove the lid, raise the heat slightly to a steady simmer and cook for 15–20 minutes, turning the pork occasionally, until the sauce reduces to a glossy, dark brown, spoon-coating consistency. Taste it and adjust. If it tastes too sharp, stir in the optional 1 tsp brown sugar. If it tastes too salty, add a small splash of water and simmer briefly again. Do not reduce until dry; stop while there is still enough sauce to spoon over the rice and pool lightly in the bowl. The bay leaves and peppercorns stay in the sauce for the finished look. The adobo is done when the pork is fully tender, the fat is silky and the sauce clings to the meat with a lacquered sheen. That final uncovered reduction is what concentrates the sauce into a glaze without tightening the pork. - Assemble the Bowls
Divide the hot, fluffed rice among 4 bowls. Spoon the pork adobo over the rice, sharing the pieces evenly, then add a spoonful of the reduced sauce to each bowl so it runs lightly into the rice. Scatter over the 2 sliced scallions and the crispy garlic chips just before serving. Keep the presentation simple and home-style, with the glossy pork as the hero, white rice around it and the dark sauce clearly visible. Do not overload the bowl with garnish. Serve immediately, while the pork is hot and the garlic chips are still crisp. That restrained finish is what lets the rich, sharp sauce and the fresh scallions and crunchy garlic balance in every spoonful.
*Notes :
- The partially covered braise followed by an uncovered reduction deserves genuine recognition as the technique most directly responsible for whether the pork turns tender and the sauce glossy. Pork belly needs 40–50 minutes of gentle heat for its connective tissue and fat to soften — boiling hard instead tightens the meat and drives off the liquid too early, leaving tough pork in a salty, scorched sauce.
- The undisturbed vinegar simmer deserves the same attention this technique receives throughout this collection’s other braised and vinegar-based dishes, because it shapes the whole sour backbone of the sauce. The recipe’s own technique note to “let the pot come up to a simmer before stirring too much” matters because the vinegar’s sharpest volatile notes cook off at the surface, which keeps the flavour clean and prevents a harsh raw-acid taste.
- Cane vinegar deserves genuine respect as the detail most directly responsible for the bowl tasting like a classic adobo rather than a generic soy braise. The recipe’s own note that “Cane vinegar is the most classical choice if available” reflects how cane vinegar brings a mellower, slightly sweet sourness, while white vinegar still works well and gives a sharper but genuinely balanced result.
- The finished sauce consistency deserves attention as a genuine, checkable readiness cue rather than a loose approximation. The recipe’s own turning point — “the pork is fully tender, the fat is silky, and the sauce clings to the meat with a lacquered sheen” — means stopping while the sauce still coats a spoon and pools slightly, since reducing it fully dry leaves nothing to soak into the rice.
Why This Recipe Works
This recipe works because each stage builds a different layer of the adobo without undermining the others. A short, cold soak in soy, vinegar and garlic seasons the large belly cubes evenly before any heat is applied. Browning them in a single layer renders some fat and adds roasted depth that a straight braise would miss. Letting the vinegar simmer undisturbed keeps its sourness clean, while a gentle, partially covered braise softens the pork slowly. The uncovered reduction then turns the cooking liquid into a genuinely glossy glaze that coats silky pork and seeps into the plain white rice.
Ingredient Breakdown
Gentle Partially Covered Braise (40–50 Minutes)
The critical technique — a lazy simmer softens the belly slowly without tightening it or boiling off the sauce.
Uncovered Reduction (15–20 Minutes)
The critical technique — removing the lid concentrates the soy-vinegar liquid into a glossy glaze that clings to the pork.
Undisturbed Vinegar Simmer
The critical timing technique — waiting for a simmer before stirring keeps the vinegar’s sourness clean rather than harsh and raw.
Single-Layer Browning
The core flavour-building stage — uncrowded pork renders some fat and develops roasted, golden edges that deepen the finished sauce.
Large Pork Belly Cubes (3–4cm)
The critical ingredient choice — big pieces of fat and lean stay intact through braising and turn genuinely silky.
Cane Vinegar
The defining flavour ingredient — its mellow, slightly sweet sourness gives the classic adobo backbone against the dark soy sauce.
Slow-Fried Garlic Chips
The finishing touch — low-heat frying gives crisp, pale-gold chips that add crunch and toasted garlic aroma.
Flavor Structure Explained
This Filipino pork adobo bowl follows a layered balance model:
- Soft, neutral foundation (fluffy jasmine rice)
- Sharp, savoury backbone (soy sauce, cane vinegar, crushed garlic)
- Rich, silky centrepiece (braised pork belly, rendered fat)
- Warm, aromatic depth (bay leaves, whole black peppercorns, optional onion)
- Crisp, fresh finish (crispy garlic chips, sliced scallions)
Fluffy jasmine rice forms the soft, neutral foundation that soaks up the dark sauce. Soy sauce, cane vinegar and crushed garlic give the adobo its sharp, savoury backbone, the defining salty-sour balance of the dish. Braised pork belly and its rendered fat bring a rich, silky centrepiece, while bay leaves and whole peppercorns add warm, aromatic depth through the long simmer. Crispy garlic chips and fresh scallions deliver the crisp finish that ties this Filipino pork adobo bowl together.
Common Mistakes to Avoid
- Crowding the Pot When Browning – This steams the wet pork instead of browning it, leaving pale cubes and a genuinely flatter sauce. Always brown in a single layer, working in batches if needed.
- Stirring the Vinegar Straight Away – This traps the vinegar’s raw, sharp edge in the sauce and makes it taste harsh. Always let the pot come up to a simmer before stirring.
- Braising at a Hard Boil – This tightens the pork and drives off the liquid before the belly turns tender. Always keep the braise at a lazy simmer, partially covered.
- Reducing the Sauce Until Dry – This leaves a salty, sticky coating with nothing left to pool into the rice. Always stop while the sauce still coats a spoon and pools slightly.
- Frying the Garlic Chips Too Dark – This turns the chips bitter, since garlic goes from golden to burnt within seconds. Always fry over low heat and lift them out while still pale gold.
Variations
Leaner Pork Shoulder Version
Replace part of the pork belly with pork shoulder cut into the same 3–4cm cubes, per the recipe’s own note, for a leaner bowl that still braises tender, if slightly less silky.
Skip-the-Marinade Version
Brown the pork straight away and pour in the soy sauce, vinegar, crushed garlic, bay leaves and peppercorns at the braising stage, per the recipe’s own note, for a quicker bowl with slightly less evenly seasoned pork.
White Vinegar Version
Use white vinegar in place of cane vinegar, per the recipe’s own note, for a sharper, cleaner sourness, adding the optional brown sugar during the reduction if the sauce tastes too sharp.
Garlic Oil Finish Version
Drizzle a few drops of the reserved garlic-frying oil over each bowl just before serving, per the recipe’s own suggestion, for a more pronounced toasted garlic aroma alongside the crispy chips.
Storage & Make-Ahead
Choose pork belly with an even balance of fat and lean, cut into fairly large cubes so they stay intact during braising, as the recipe’s own note advises, since small pieces tend to fall apart.
The adobo can be made a day ahead and refrigerated in its sauce, and leftover adobo often tastes even better the next day after the sauce settles into the meat, as the recipe’s own note points out.
Refrigerate the cooled adobo and the rice in separate airtight containers for up to 3 days, chilling the rice within an hour of cooking, and lift off any solidified fat from the adobo before reheating if you prefer.
Reheat the adobo gently in a covered pan over medium-low heat with 1–2 tbsp water until it is bubbling and hot through, and microwave the rice under a cover with a splash of water.
Store the garlic chips separately in a small airtight container at room temperature for up to 2 days, and add them with the scallions only after reheating so they stay genuinely crisp.
Frequently Asked Questions
Why does the vinegar need to simmer before the pot is stirred?
The sharpest, most volatile notes in vinegar cook off at the surface once the liquid simmers. Stirring straight away mixes them back into the sauce, so leaving the pot undisturbed for a minute or two keeps the sourness clean instead of harsh.
Why is the pork browned when some traditional adobo skips that step?
Browning renders some of the belly fat and creates golden, caramelised edges that dissolve into the braising liquid. That gives the finished sauce a deeper, roasted flavour and a darker colour than a straight braise.
Why is the braise kept at a gentle simmer rather than a boil?
Pork belly needs slow, steady heat for its fat and connective tissue to soften over 40–50 minutes. A hard boil tightens the meat and evaporates the liquid too quickly, so the sauce can burn before the pork is tender.
Why should the sauce stop reducing before it is completely dry?
The sauce is meant to coat the pork and pool lightly into the rice, so some fluid glaze has to remain. Reduced fully, it turns overly salty and sticky and can scorch on the base of the pot.
Are there other classic Filipino, Asian rice bowl, or fried rice dishes worth trying?
Chicken Adobo Rice Bowl offers another classic Filipino adobo direction worth exploring. Filipino Chicken Inasal Rice Bowl and Vietnamese Caramelized Pork Bowls are also worth trying for other savoury Southeast Asian bowl directions, and Hawaiian Shoyu Chicken Rice Bowl and Simple Fried Rice (No Protein) offer another soy-glazed chicken bowl and an easy rice side worth exploring.
Nutrition Facts
( Per Serving — 1 bowl )
Calories
~1000 kcal
Protein
22 g
Fat
72 g
Carbs
66 g
Calories
~1000 kcal
Protein
22 g
Fat
72 g
Carbs
66 g
Related Recipes
Related Recipes
-

Korean Spicy Pork / Jeyuk Bokkeum
Thinly sliced pork in a glossy red gochujang glaze with onion and scallion, served beside white rice and topped with toasted sesame seeds.
-
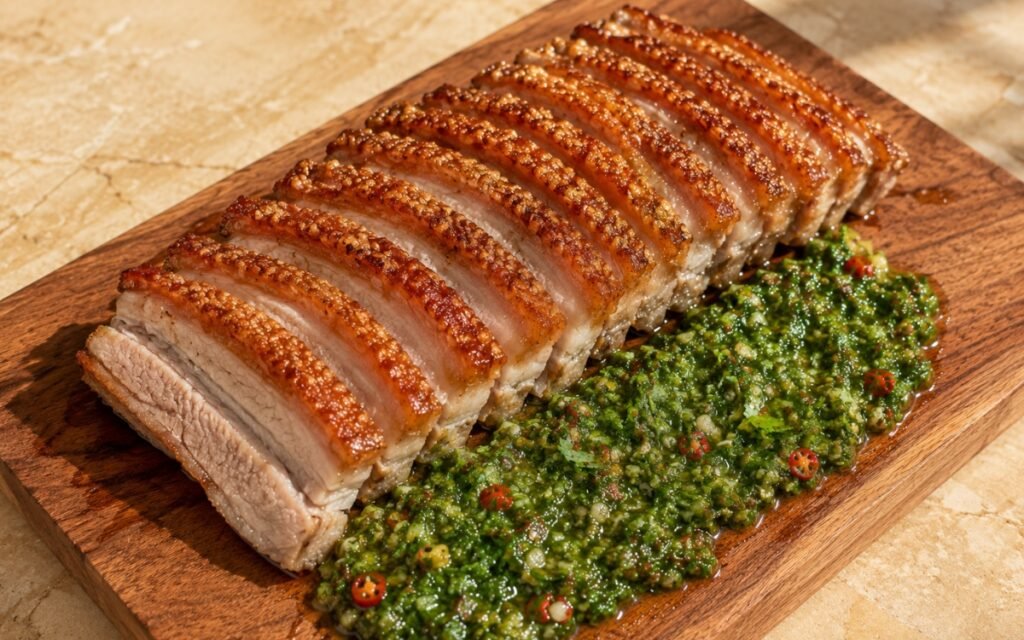
Steam-Roasted Pork Belly with Vietnamese-ish Herb Sauce
Skin-on pork belly steam-roasted for tender meat, finished hot for deep crackling, sliced thick and served with a sharp herb sauce.
-
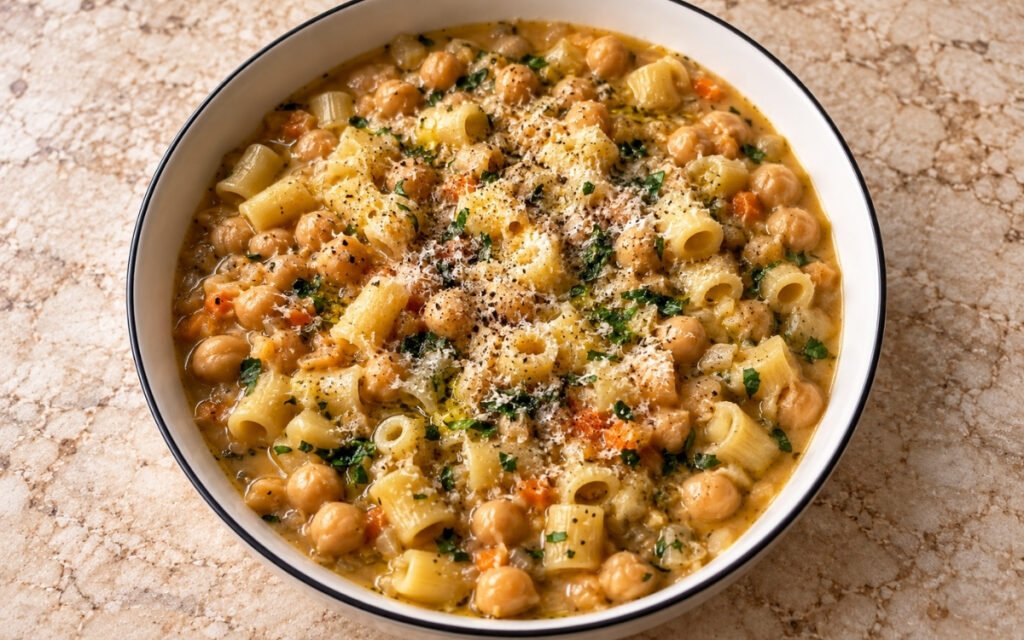
Pasta e Ceci
Small pasta and chickpeas in a thick, creamy brothy base with soffritto, garlic, and rosemary. Rustic Italian comfort food.

You might also like
You might also like
-
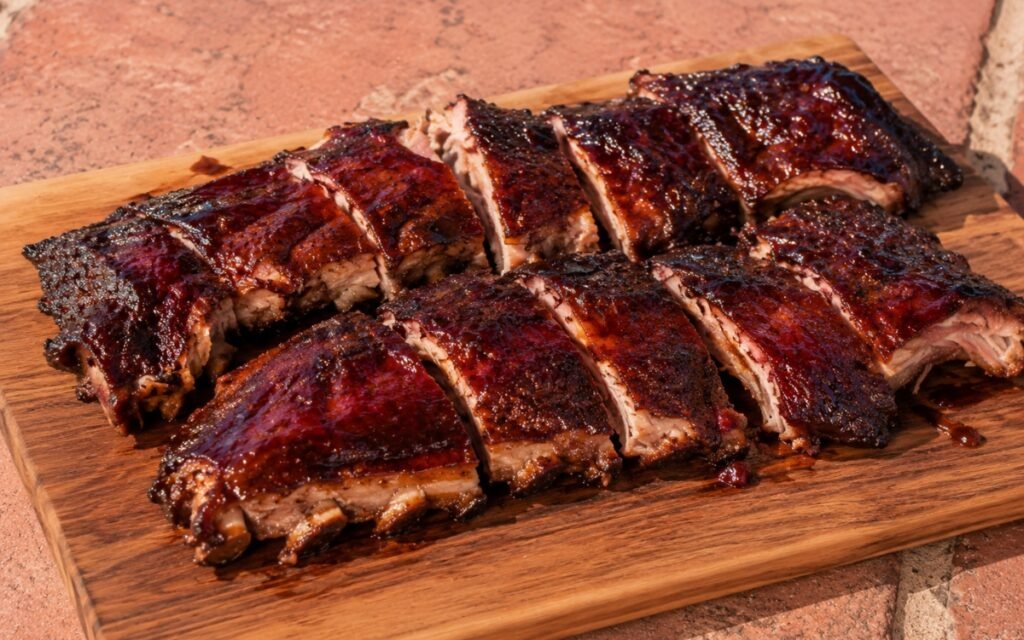
BBQ Baby Back Ribs
Spice-rubbed baby back ribs slow-baked until tender, then grilled and glazed in layers with a smoky chipotle barbecue sauce.
-
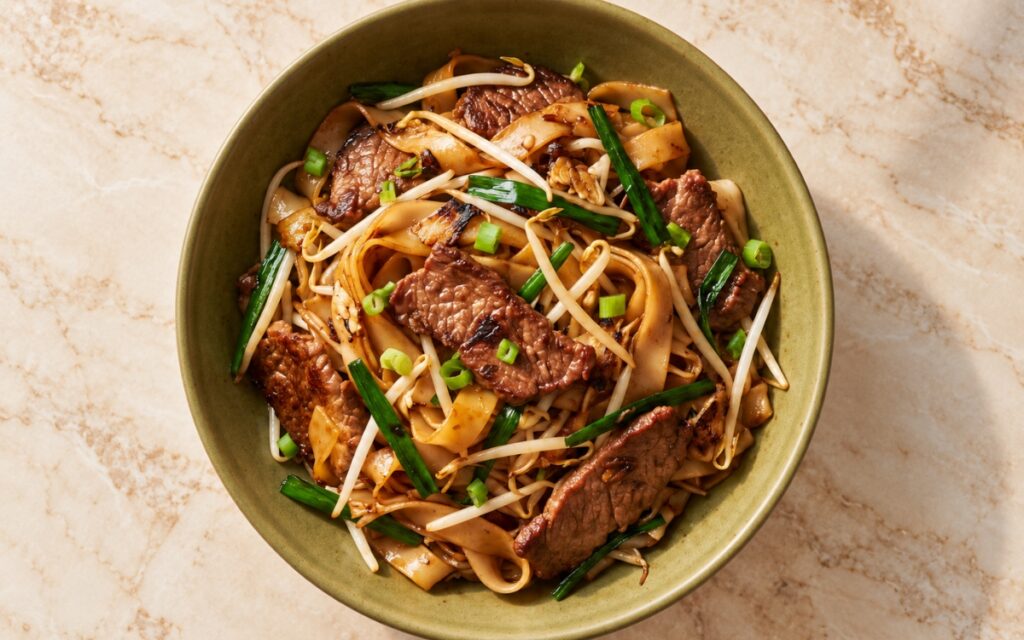
Beef Chow Fun
Glossy wide rice noodles stir-fried with tender seared beef, crisp bean sprouts, Chinese chives, and scallions in a dark soy wok sauce.
-
Korean Kimchi Fried Rice
Loose orange-red kimchi fried rice with caramelised pork, topped with a sunny-side-up egg, seaweed strips, and sesame seeds.


Filipino Pork Adobo Bowl
Ingredients
Method
- Cut the 600g pork belly into large cubes of about 3–4cm, keeping both fat and lean in each piece so they hold their shape through the long braise. Put the pork in a non-reactive bowl and add the 120ml soy sauce, 120ml vinegar, the 6 lightly crushed garlic cloves, 3 bay leaves and 1½ tsp whole black peppercorns, keeping the 2 sliced cloves aside for frying. Toss until every piece is coated, cover and refrigerate for 30 minutes so the pork stays cold. The marinade is optional but recommended; if you skip it, keep the liquids and aromatics together and add them all at the braising stage. Never discard the marinade, because it becomes the braising liquid. That short soak is what seasons the pork more evenly before the heat goes on.
- While the pork marinates, put 1 tbsp of the neutral oil and the 2 thinly sliced garlic cloves in a small pan over low to medium-low heat. Fry slowly for 3–5 minutes, stirring often, until the slices turn an even pale gold and stop bubbling hard. Lift them out just before they look fully golden, since they keep darkening from the heat they carry, and drain on paper towel, where they crisp as they cool. They should be dry, crisp and light gold, never soft or deeply browned. If any slices turn dark brown, discard them, because they will taste bitter. Pour the garlic-scented oil into a small dish and keep it for finishing. That slow, low-heat frying is what dries the garlic into genuinely crisp chips before the sugars on the surface can scorch.
- Lift the pork out of the marinade, letting the excess liquid drip back into the bowl, and reserve all of the marinade with its garlic, bay leaves and peppercorns. Pat the pork lightly with paper towel if it is very wet. Heat a heavy pot or deep skillet over medium heat and add the pork in a single layer, working in batches if needed. Brown it on several sides for 6–8 minutes in total, until the fat begins to render and the edges turn deep golden. If the pot looks dry at the start, add the remaining 1 tbsp neutral oil. Add the sliced onion, if using, and cook for 3–4 minutes until softened. Do not cook so long that the pork firms up. That careful browning is what builds the deeper, roasted flavour behind a genuinely dark adobo.
- Pour the reserved marinade and the 180ml water over the pork, scraping up any browned bits from the base of the pot. Bring it up to a simmer over medium heat without stirring, letting the vinegar cook off its raw edge for a minute or two. Once simmering, stir gently, lower the heat and cook partially covered for 40–50 minutes, stirring occasionally. Keep it at a genuinely lazy simmer, with small bubbles breaking at the surface, never a hard boil. If the liquid drops below halfway up the pork before it is tender, add a splash more water. The pork is ready for the next stage when a fork slides in easily but each cube still holds its shape. That undisturbed simmer after the vinegar goes in is what keeps the sauce’s sourness clean rather than harsh.
- About 25 minutes before the braise is done, rinse the 300g rice in several changes of cold water, swirling it with your fingers, until the water runs mostly clear, then drain well. Put it in a medium saucepan with the 450–500ml water and the pinch of salt, if using, and bring to a boil over medium-high heat. Stir once, cover tightly, reduce the heat to low and cook for 12–15 minutes, until the water is absorbed. Take off the heat and rest, still covered, for 10 minutes while the sauce reduces, then fluff gently with a fork. The grains should be genuinely fluffy and separate, never wet or mushy. Keep the rice plainly seasoned. That covered rest is what lets the trapped steam finish the grains evenly so they can soak up the sauce without turning soft.
- Remove the lid, raise the heat slightly to a steady simmer and cook for 15–20 minutes, turning the pork occasionally, until the sauce reduces to a glossy, dark brown, spoon-coating consistency. Taste it and adjust. If it tastes too sharp, stir in the optional 1 tsp brown sugar. If it tastes too salty, add a small splash of water and simmer briefly again. Do not reduce until dry; stop while there is still enough sauce to spoon over the rice and pool lightly in the bowl. The bay leaves and peppercorns stay in the sauce for the finished look. The adobo is done when the pork is fully tender, the fat is silky and the sauce clings to the meat with a lacquered sheen. That final uncovered reduction is what concentrates the sauce into a glaze without tightening the pork.
- Divide the hot, fluffed rice among 4 bowls. Spoon the pork adobo over the rice, sharing the pieces evenly, then add a spoonful of the reduced sauce to each bowl so it runs lightly into the rice. Scatter over the 2 sliced scallions and the crispy garlic chips just before serving. Keep the presentation simple and home-style, with the glossy pork as the hero, white rice around it and the dark sauce clearly visible. Do not overload the bowl with garnish. Serve immediately, while the pork is hot and the garlic chips are still crisp. That restrained finish is what lets the rich, sharp sauce and the fresh scallions and crunchy garlic balance in every spoonful.