
Crispy Falafel Plate with Hummus & Pickled Cabbage
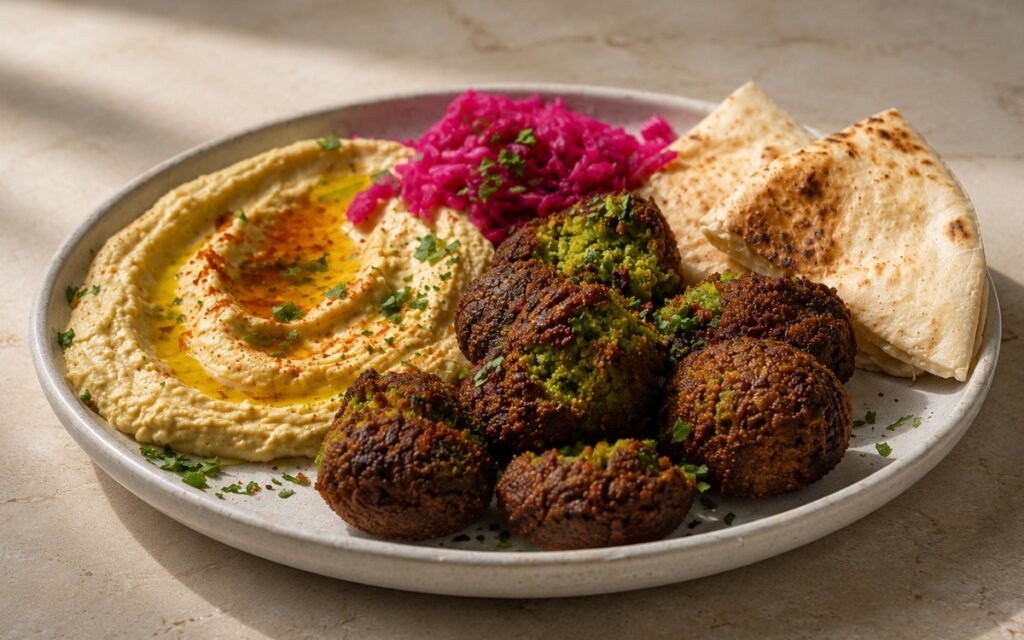
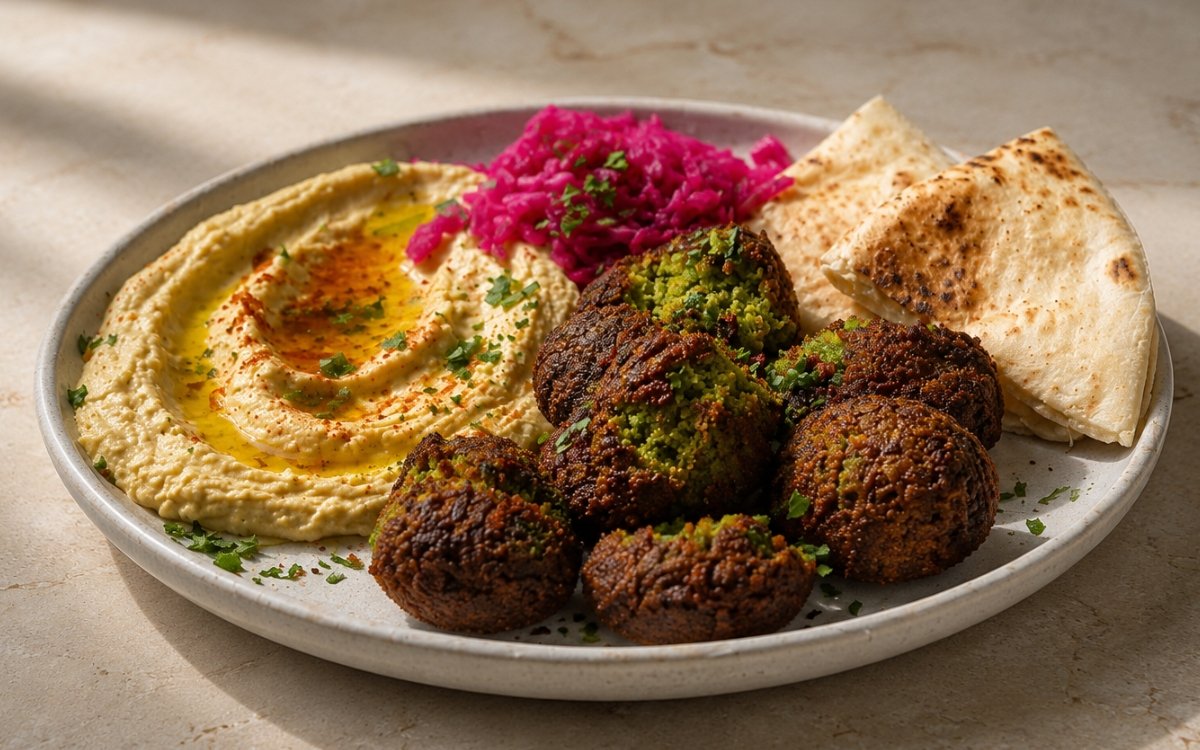
Classic crispy falafel plate of 20–24 golden shallow-fried falafel discs served over a swoop of tahini-rich Classic Hummus with sharp quick-pickled red cabbage, warm pita, olive oil, parsley and smoked paprika, the key being shattered crunch against creamy and acidic contrast. Soaking dry chickpeas for 12–24 hours and processing them raw, rather than using canned or cooked chickpeas, is the technique this whole plate depends on for a crisp, shattered crust and a green, airy interior — intact cell walls trap steam during frying, while already-cooked chickpeas collapse into a dense paste that soaks up oil instead of crisping, the same raw-structure principle behind every light fritter whenever a crunchy crust matters. Chilling the coarse mixture for 1–2 hours is what lets it hydrate evenly and hold its shape, with the baking powder added only at shaping so its lift is saved for the fryer. Shallow-frying flat discs in 2–3cm of oil at 170–180°C is what gives the maximum golden crust without letting the falafel absorb oil. The payoff is a plate with real, layered contrast — a crunchy amber crust around a green herbal centre, creamy tahini hummus, sharp tender-crisp cabbage and warm pita to scoop it all together.
Prep Time : 30 min
Cook Time : 25 min
Servings : 4
30 min
25 min
4
Ingredients
For the Falafel
• 300g dry chickpeas — this one on Amazon
• ½ tsp baking soda, for the soaking water
• ½ medium white onion, roughly chopped
• 4 garlic cloves
• 1 packed cup fresh flat-leaf parsley — approximately 25g
• 1 packed cup fresh cilantro — approximately 25g
• 1½ tsp ground cumin — this one on Amazon
• 1 tsp ground coriander
• 1½ tsp fine sea salt
• 1 tsp freshly cracked black pepper
• 1 tsp lemon zest
• ¼–½ tsp cayenne pepper
• 1 tsp baking powder, added just before shaping
• 1–2 tbsp chickpea flour, only if the mixture is too wet to hold its shape, optional
• Neutral oil, for frying, 2–3cm deep in the skillet
For the Classic Hummus
• 225g dry chickpeas
• 1 tsp baking soda, divided
• 140g tahini paste — this one on Amazon
• Juice of 1½ lemons
• Zest of half a lemon
• 2 medium garlic cloves, smashed
• 1 tsp ground cumin
• Fine sea salt and black pepper, to taste
• 100ml ice-cold water, added gradually
For the Pickled Red Cabbage
• 300g red cabbage, very thinly sliced
• 120ml white wine vinegar or apple cider vinegar — this one on Amazon
• 120ml water
• 20g granulated sugar
• 8g fine sea salt
• 1 garlic clove, lightly smashed
• ½ tsp cumin seeds, optional
• ½ tsp chili flakes, optional
For Serving
• Warm Homemade Pita Flatbread, for serving
• Fresh flat-leaf parsley, roughly chopped, for garnish
• Extra-virgin olive oil, for drizzling — this one on Amazon
• Smoked paprika, for dusting
This post may contain affiliate links. As an Amazon Associate I earn from qualifying purchases, at no additional cost to you.
Directions
- Soak the Chickpeas Overnight
Put the 300g of falafel chickpeas in a large bowl with the ½ tsp of baking soda. Put the 225g of hummus chickpeas in a second bowl with half of the hummus baking soda, which is ½ tsp. Cover both with at least three times their volume of cold water, because chickpeas expand dramatically as they soak. Leave at room temperature for 12–24 hours, or refrigerate the bowls if the kitchen is warm, until plump and slightly split at the skins. Drain and rinse both batches under cold running water before using. That soak without any cooking is what hydrates the chickpeas while keeping their cell walls intact for a crisp crust. - Process the Falafel Mixture
Add the drained falafel chickpeas to a food processor with the 1½ tsp of fine sea salt, working in two batches if the bowl is small. Pulse in 15–20 short bursts until the pieces are 2–3mm and no whole chickpeas remain, a texture like coarse wet sand rather than a smooth paste. Add the chopped onion, 4 garlic cloves, parsley, cilantro, 1½ tsp of cumin, 1 tsp of coriander, 1 tsp of black pepper, the lemon zest and the cayenne. Pulse in short bursts, scraping down the sides often, until the mixture is thick and holds together when pressed between your fingers, with visible green flecks throughout. That coarse sandy texture is what builds the airy interior and crunchy exterior, while a smooth purée would fry dense. - Refrigerate the Mixture
Transfer the mixture to a bowl, cover it tightly with plastic wrap and refrigerate for 1–2 hours. Use this window to pickle the cabbage and make the hummus. The mixture should come out cold, firm and only lightly tacky rather than wet and sticky, with the colour still bright green. If it still feels loose, leave it a little longer before shaping. That rest is what lets the coarse chickpea pieces hydrate evenly from the herb and onion moisture, and the cold firms the mixture so it compresses into clean discs that hold together in the oil. - Pickle the Red Cabbage
Slice the 300g of red cabbage as finely as possible with a mandoline or a sharp knife, then pack it into a clean jar or heatproof bowl. In a small saucepan, combine the vinegar, 120ml of water, 20g of sugar, 8g of salt, the smashed garlic clove and the optional cumin seeds and chili flakes. Bring to a gentle simmer, stirring until the sugar and salt dissolve, then pour the hot brine over the cabbage and press it down until every strand is submerged. Cool to room temperature, about 30 minutes, then cover and refrigerate. It is usable after 30–60 minutes and deepens over the first 4 hours. Keep the brine assertively acidic, because that sharpness is what cuts through the hummus and fried falafel. - Make the Classic Hummus
Drain and rinse the soaked hummus chickpeas, put them in a pot and cover with plenty of fresh water. Add the remaining ½ tsp of baking soda, bring to a boil, skim off any foam and simmer gently until the chickpeas are completely soft and crush easily between two fingers. Drain well. In a clean food processor, blend the 140g of tahini first with the lemon juice, lemon zest, smashed garlic, 1 tsp of cumin and a little salt until thick and pale. With the machine running, add the 100ml of ice-cold water gradually until the mixture turns pale and fluffy. Add the chickpeas and blend until very smooth, then season with salt and pepper to taste. That tahini-first sequence is what makes the hummus silky. - Add Baking Powder and Shape
Remove the chilled mixture from the refrigerator. Sprinkle the 1 tsp of baking powder evenly over the surface and fold it gently through until evenly distributed. If the mixture is too wet to hold a disc without spreading, refrigerate for another 30 minutes or fold in 1–2 tbsp of chickpea flour. Line one tray with parchment paper for the shaped falafel and another with paper towels for draining. Using a medium cookie scoop or 2 tablespoons, portion the mixture and press each portion firmly into a flat disc about 5–6cm across and 2cm thick, making 20–24 in total. That late addition is what saves the baking powder’s carbon dioxide for the first minutes of frying. - Fry to Deeply Golden
Heat 2–3cm of neutral oil in a large, deep skillet over medium-high heat to 170–180°C, checking with a cooking thermometer. A small piece of the mixture dropped in should sizzle vigorously and float at once. Fry the discs in batches of 5–6 without crowding, 3–3½ minutes on the first side without moving them, then flip with a thin spatula and fry the second side for 3–3½ minutes, until deep, even golden-brown and cooked through with no raw, pasty centre. Drain on the paper towel tray, season lightly with fine sea salt while hot, and let the oil recover between batches. That steady oil temperature is what builds a crunchy crust before the centre dries out. - Assemble the Plate
Spread the hummus into a wide, swooped layer in a shallow bowl or on each plate, then press a deep well into the centre with the back of a spoon. Drizzle extra-virgin olive oil into the well and dust with smoked paprika. Arrange 5–6 falafel per person alongside, add a generous portion of the drained pickled cabbage, and scatter over the roughly chopped parsley. Serve with warm pita for tearing and scooping. That vivid purple-pink cabbage against the golden falafel and pale hummus is what gives the plate its visual contrast and its sharp, fresh counterpoint.
*Notes :
- Soaking dry chickpeas for 12–24 hours without ever cooking them deserves genuine recognition as the technique most directly responsible for the crisp crust and airy interior. Intact cell walls trap steam when the coarse paste meets the hot oil, whereas canned or cooked chickpeas collapse into a dense paste that fries into a soft, oil-absorbing ball no later technique can rescue.
- The equal parsley and cilantro deserve the same attention as the chickpeas, because the herbs build both the flavour and the green interior that signals correct processing. Parsley contributes clean, slightly bitter freshness and cilantro a citrusy aroma, and a pale grey-brown centre points to cooked chickpeas, too little herb or processing to a smooth paste.
- Adding the baking powder only after the mixture has chilled deserves genuine respect as the detail most directly responsible for the lightly puffed interior. Folded in at shaping, it releases its carbon dioxide during the first minutes of frying, whereas mixed in during processing it would spend most of its lift in the bowl before the discs reach the oil.
- The 170–180°C oil temperature deserves attention as a genuine, checkable readiness cue rather than a loose approximation, so a thermometer belongs beside the skillet. Below 165°C the discs absorb oil and stay pale, while above 185°C the crust darkens before the centre has heated through, and a pinch of the mixture should sizzle and float at once.
Why This Recipe Works
This recipe works because soaked, uncooked chickpeas keep the intact cell structure that traps steam in the fryer, giving a crisp, shattered crust and a green, airy centre.
Chilling the coarse mixture hydrates it evenly and firms it for clean shaping, and baking powder added only at shaping saves its lift for the oil.
Flat discs fried at 170–180°C maximise golden crust from shallow oil without soaking it up. Creamy tahini hummus and an unsweetened, sharply acidic cabbage then balance the richness of the fried falafel, so every bite is crunchy, creamy, tangy and herbal.
Ingredient Breakdown
Soaked Raw Chickpeas (Never Canned or Cooked)
The critical ingredient choice — intact cell walls trap steam in the fryer, giving the shattered crust cooked chickpeas cannot.
Coarse Sandy Pulse (2–3mm Pieces)
The critical technique — pulsing to wet sand, not smooth paste, builds the interior structure and crunchy exterior.
Equal Parsley and Cilantro
The flavour foundation — together they give balanced herbal depth and the green interior that neither herb delivers alone.
Baking Powder Added Last
The critical timing technique — folding it in at shaping saves its carbon dioxide for the first minutes of frying.
1–2 Hours Refrigeration
The structural step — even hydration and cold firmness make cleaner, more consistent discs that hold together in the oil.
Tahini-First Classic Hummus
The creamy base — blending tahini first, then ice-cold water, gives a silky, fluffy hummus that cools and balances the fried falafel.
Assertively Acidic Pickled Cabbage
The finishing element — a sharp, unsweetened, lightly spiced brine cuts through the hummus and fried richness.
Flavor Structure Explained
This crispy falafel plate follows a layered balance model:
- Crispy savoury core (falafel crust and herb-filled interior)
- Creamy rich base (Classic Hummus)
- Bright acidic contrast (pickled red cabbage)
- Fresh herbal lift (parsley, cilantro)
- Soft neutral carrier (warm pita)
Falafel defines the foundation with a deeply browned, crunchy exterior around a warm, green, herb-filled interior. Hummus adds smooth tahini-chickpea richness that cools and steadies the fried elements. Pickled cabbage cuts through with sharp acidity and light spice, bringing brightness to every bite. Parsley and cilantro run through the falafel and the garnish, keeping the plate green and lively. Warm pita is the neutral bridge that ties the crispy, creamy, acidic and herbal elements together.
Common Mistakes to Avoid
- Using Canned or Cooked Chickpeas – This produces a dense, oil-absorbing falafel because the cell walls are already broken and cannot trap steam. Always start from dry chickpeas soaked for 12–24 hours and never cooked.
- Soaking for Too Short a Time – This leaves the chickpeas under-hydrated, so the falafel is dense and the mixture is hard to process to the right texture. Always soak for at least 12 hours.
- Processing to a Smooth Paste – This destroys the coarse sandy texture that creates the interior structure and crunchy exterior. Always pulse to the coarse stage and stop before the mixture turns smooth.
- Skipping the Refrigeration Rest – This leaves a warm, sticky mixture that is hard to shape and falls apart in the oil. Always refrigerate it for the full 1–2 hours.
- Adding Baking Powder During Processing – This exhausts most of its carbon dioxide before the discs reach the oil, leaving a flatter interior. Always fold it in just before shaping.
- Frying Below 165°C – This lets the discs absorb oil and stay pale and dense instead of crisping. Always check the oil with a thermometer before the first batch.
Variations
With Harissa Mint Hummus
Replace the Classic Hummus with a Harissa Mint Hummus, blending harissa and fresh mint into the same tahini base for a smoky, cooling plate that the sharp pickled cabbage suits equally well.
Lavash Version
Replace the pita with warm Homemade Lavash Flatbread, whose thinner, crispier sheets tear into small pieces that scoop the hummus or wrap around falafel and pickled cabbage for handheld bites.
Baked Falafel Version
Preheat the oven to 190°C, spray the shaped falafel generously with oil on a parchment-lined sheet, and bake for 25–30 minutes, turning once at 15 minutes, for a lighter, drier, less crisp result.
Mild Version
Leave out the cayenne in the falafel and the chili flakes in the pickle for a gentler plate that puts the herbs, cumin and lemon in front and suits less spice-tolerant eaters.
Storage & Make-Ahead
Dry chickpeas can be soaked up to 24 hours ahead, and once drained the falafel chickpeas keep in a sealed container in the refrigerator for up to another 24 hours before they are processed.
The processed falafel mixture can be refrigerated for up to 24 hours before frying, so add the baking powder and shape the discs only when you are ready to fry them.
Fried falafel is best eaten immediately while the crust is at its crispest, though any leftovers can be re-crisped in a 200°C oven or in an air fryer at 190°C for 4–5 minutes.
Pickled cabbage keeps in the refrigerator for up to 1 week, and its flavour deepens and rounds out over the first 24 hours, which makes it an easy component to prepare a day ahead.
The hummus can be made up to 3 days ahead and refrigerated in an airtight container, then brought to room temperature for 20 minutes and stirred well before spreading and plating.
Frequently Asked Questions
Why must the falafel use dry soaked chickpeas rather than canned?
Canned chickpeas are fully cooked, so their cell walls are already softened and broken and they process into a dense paste that fries into a soft, oil-absorbing ball. Soaked raw chickpeas keep intact cells, and the steam inside them is what creates the crunch.
Why is the falafel mixture refrigerated before shaping?
The coarse chickpea pieces keep hydrating from the herb and onion moisture, which makes the mixture more cohesive, and the cold firms it so each portion compresses into a clean disc. Skipping the rest leaves a sticky mixture that breaks up in the oil.
Why is the baking powder added just before shaping instead of during processing?
Baking powder starts releasing carbon dioxide on contact with moisture, so mixed in during processing it would lose most of its lift before the falafel reach the oil. Added at shaping, it releases during the first minutes of frying and puffs the interior.
Why are the falafel shaped as discs rather than balls for shallow frying?
Discs have two large flat faces in direct contact with the hot oil, which maximises golden crust from a shallow depth. Balls touch the oil at one small curved point, giving uneven browning and needing deep frying to match.
Are there other classic Middle Eastern dip, flatbread, or salad dishes worth trying?
Classic Hummus offers another classic dip direction worth exploring. Creamy Tahini Lemon Sauce and Homemade Pita Flatbread are also worth trying for other creamy and bread-based directions, and Pickled Red Onion and Lebanese Fattoush Salad offer other sharp, fresh dishes worth exploring.
Nutrition Facts
( per serving )
Calories
~950 kcal
Protein
34 g
Fat
50 g
Carbs
104 g
Calories
~950 kcal
Protein
34 g
Fat
50 g
Carbs
104 g
Related Recipes
Related Recipes

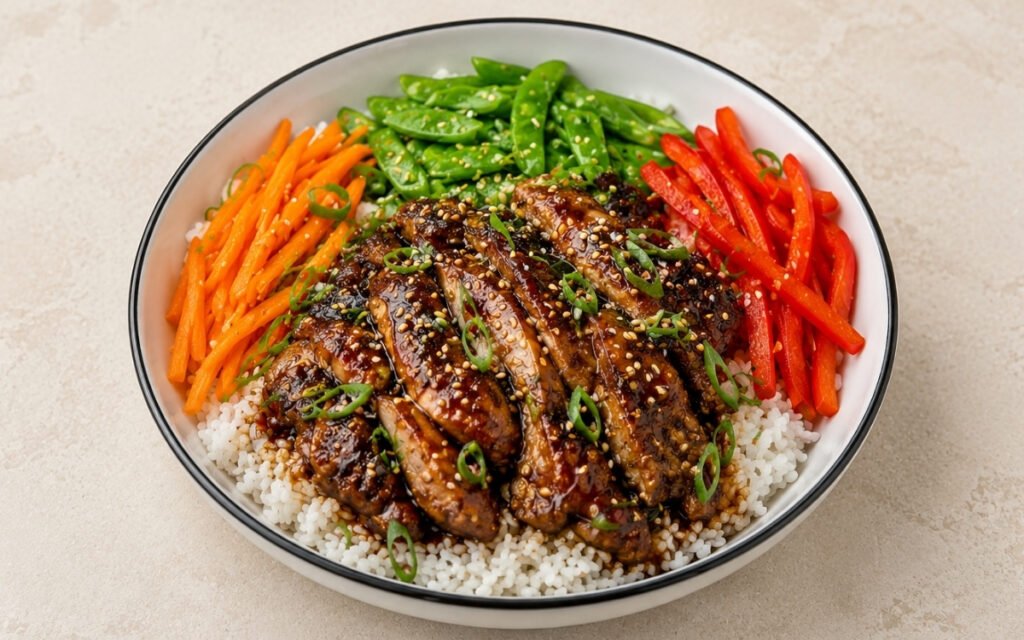
Teriyaki Chicken Rice Bowl
Chicken thighs seared and glazed in homemade soy-mirin-sake-ginger teriyaki — reduced until sticky and glossy over jasmine rice with crisp stir-fried vegetables. 40 minutes.
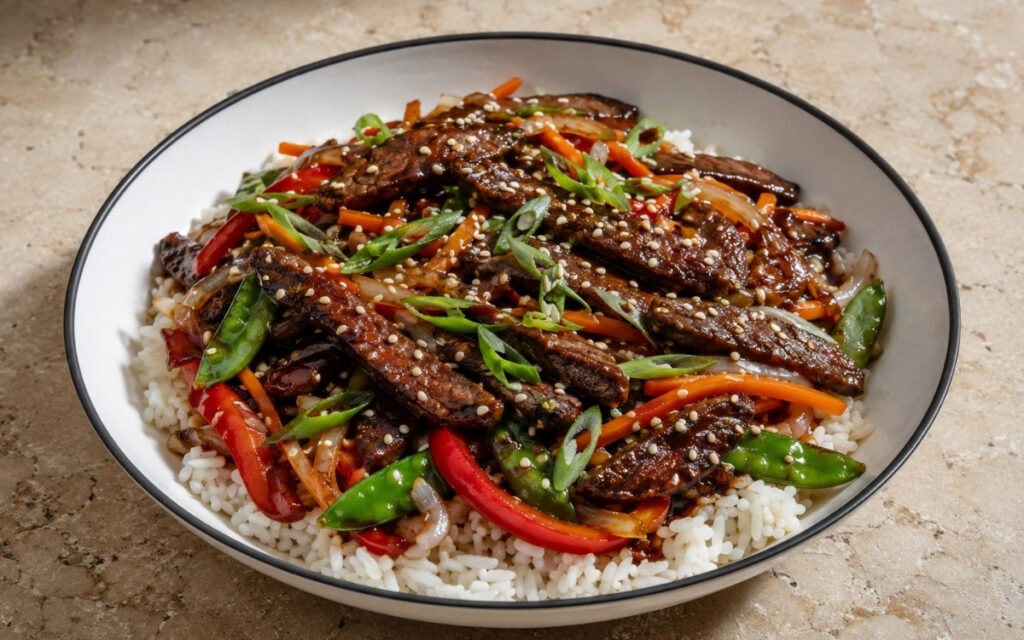
Peking Beef Stir-Fry Bowl
Tender flank steak in sticky Peking sauce with vegetables over jasmine rice—ready in 40 minutes.
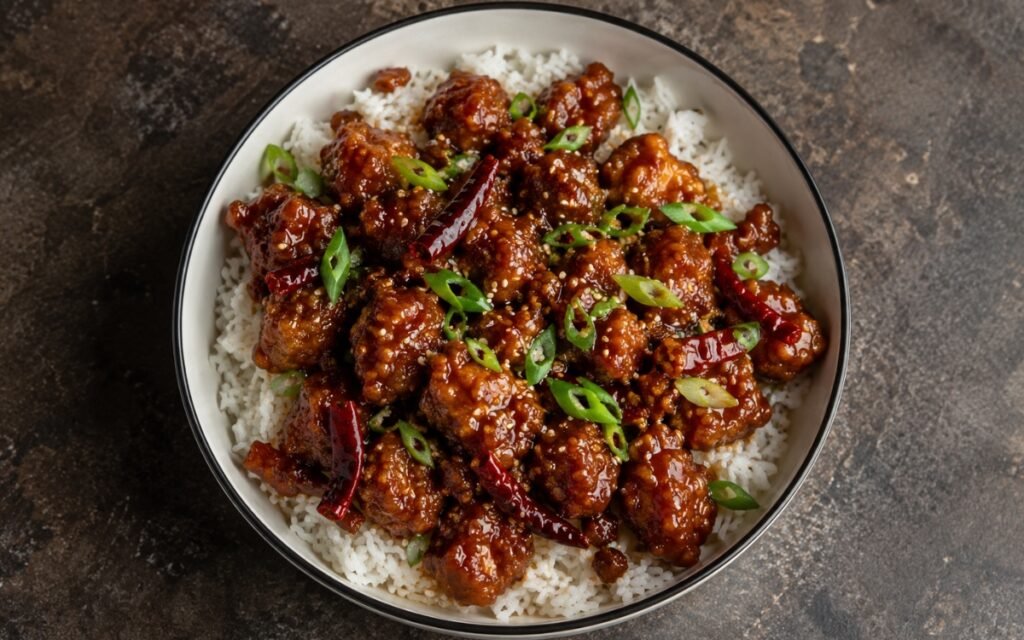
General Tso’s Chicken Rice Bowl
Golden fried chicken coated in sticky sweet-spicy General Tso’s sauce, served over jasmine rice with scallions and sesame.
You might also like
You might also like
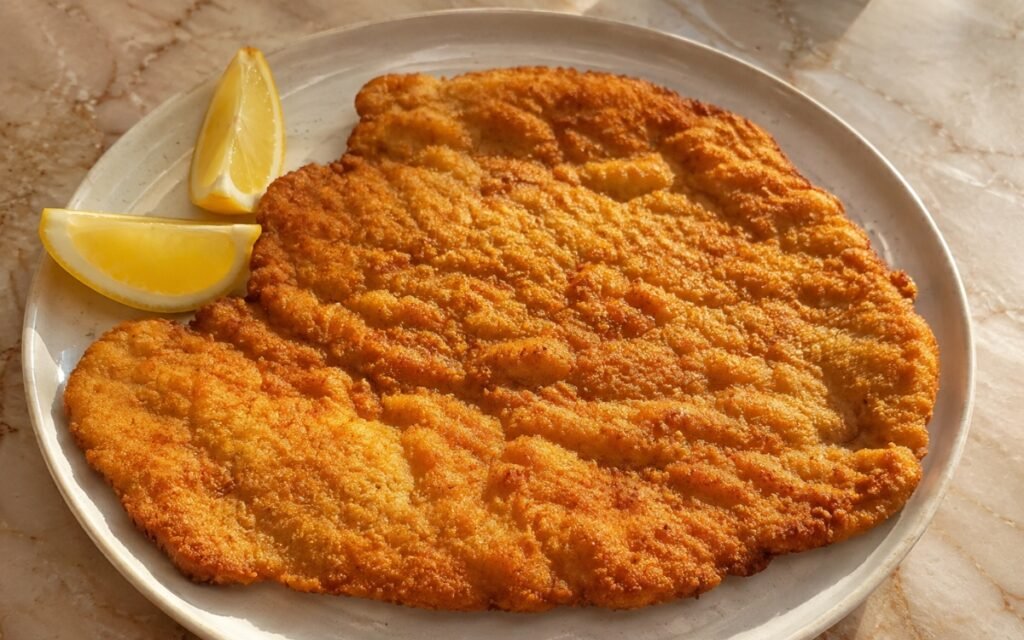
Austrian Pork Schnitzel
Pork loin pounded uniformly, breaded loosely for a wavy crust, fried in floating fat until golden — served immediately with lemon. Light and crispy.
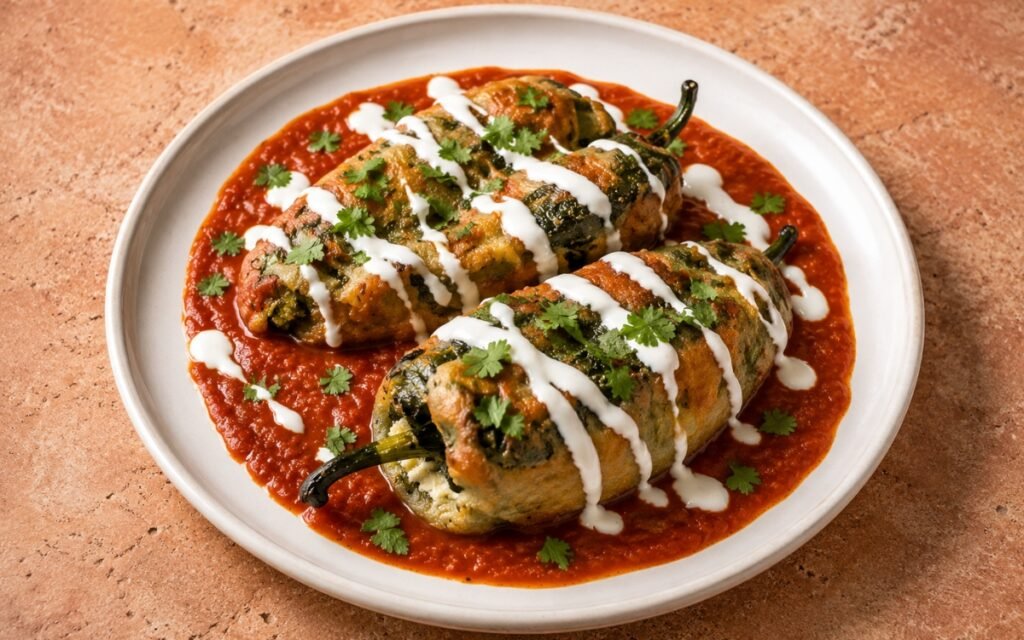
Chiles Rellenos with Tomato Sauce
Roasted poblano peppers stuffed with melting cheese, coated in whipped egg batter, and pan-fried golden. Served over a glossy tomato-chipotle sauce.
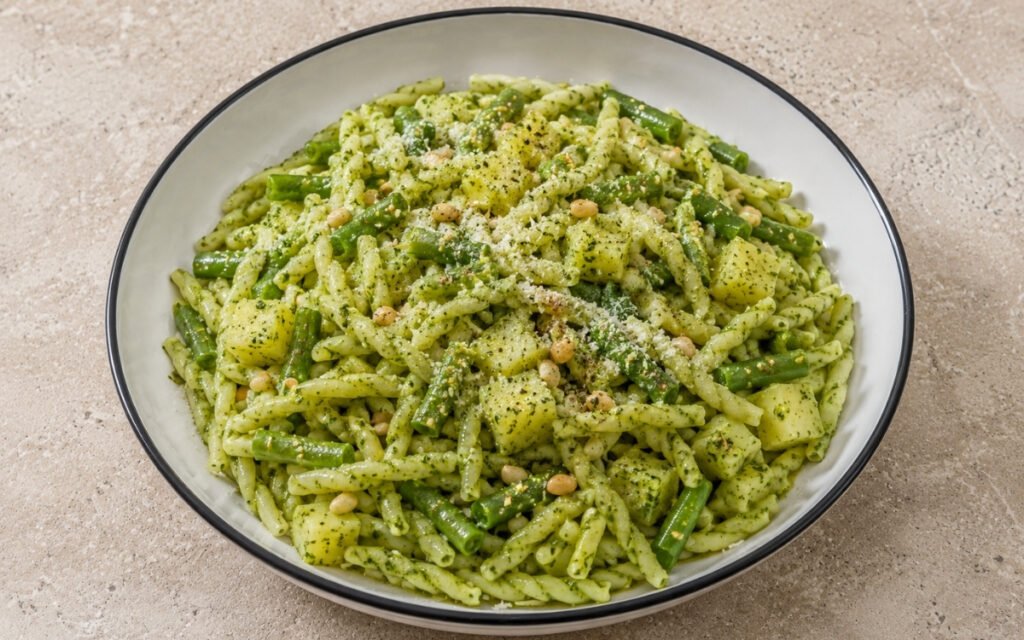
Fresh Homemade Basil Pesto Pasta
Fresh basil pesto with the traditional Ligurian potato and green bean combination — better than any jar.
Crispy Falafel Plate with Hummus & Pickled Cabbage
Ingredients
Method
- Put the 300g of falafel chickpeas in a large bowl with the ½ tsp of baking soda. Put the 225g of hummus chickpeas in a second bowl with half of the hummus baking soda, which is ½ tsp. Cover both with at least three times their volume of cold water, because chickpeas expand dramatically as they soak. Leave at room temperature for 12–24 hours, or refrigerate the bowls if the kitchen is warm, until plump and slightly split at the skins. Drain and rinse both batches under cold running water before using. That soak without any cooking is what hydrates the chickpeas while keeping their cell walls intact for a crisp crust.
- Add the drained falafel chickpeas to a food processor with the 1½ tsp of fine sea salt, working in two batches if the bowl is small. Pulse in 15–20 short bursts until the pieces are 2–3mm and no whole chickpeas remain, a texture like coarse wet sand rather than a smooth paste. Add the chopped onion, 4 garlic cloves, parsley, cilantro, 1½ tsp of cumin, 1 tsp of coriander, 1 tsp of black pepper, the lemon zest and the cayenne. Pulse in short bursts, scraping down the sides often, until the mixture is thick and holds together when pressed between your fingers, with visible green flecks throughout. That coarse sandy texture is what builds the airy interior and crunchy exterior, while a smooth purée would fry dense.
- Transfer the mixture to a bowl, cover it tightly with plastic wrap and refrigerate for 1–2 hours. Use this window to pickle the cabbage and make the hummus. The mixture should come out cold, firm and only lightly tacky rather than wet and sticky, with the colour still bright green. If it still feels loose, leave it a little longer before shaping. That rest is what lets the coarse chickpea pieces hydrate evenly from the herb and onion moisture, and the cold firms the mixture so it compresses into clean discs that hold together in the oil.
- Slice the 300g of red cabbage as finely as possible with a mandoline or a sharp knife, then pack it into a clean jar or heatproof bowl. In a small saucepan, combine the vinegar, 120ml of water, 20g of sugar, 8g of salt, the smashed garlic clove and the optional cumin seeds and chili flakes. Bring to a gentle simmer, stirring until the sugar and salt dissolve, then pour the hot brine over the cabbage and press it down until every strand is submerged. Cool to room temperature, about 30 minutes, then cover and refrigerate. It is usable after 30–60 minutes and deepens over the first 4 hours. Keep the brine assertively acidic, because that sharpness is what cuts through the hummus and fried falafel.
- Drain and rinse the soaked hummus chickpeas, put them in a pot and cover with plenty of fresh water. Add the remaining ½ tsp of baking soda, bring to a boil, skim off any foam and simmer gently until the chickpeas are completely soft and crush easily between two fingers. Drain well. In a clean food processor, blend the 140g of tahini first with the lemon juice, lemon zest, smashed garlic, 1 tsp of cumin and a little salt until thick and pale. With the machine running, add the 100ml of ice-cold water gradually until the mixture turns pale and fluffy. Add the chickpeas and blend until very smooth, then season with salt and pepper to taste. That tahini-first sequence is what makes the hummus silky.
- Remove the chilled mixture from the refrigerator. Sprinkle the 1 tsp of baking powder evenly over the surface and fold it gently through until evenly distributed. If the mixture is too wet to hold a disc without spreading, refrigerate for another 30 minutes or fold in 1–2 tbsp of chickpea flour. Line one tray with parchment paper for the shaped falafel and another with paper towels for draining. Using a medium cookie scoop or 2 tablespoons, portion the mixture and press each portion firmly into a flat disc about 5–6cm across and 2cm thick, making 20–24 in total. That late addition is what saves the baking powder’s carbon dioxide for the first minutes of frying.
- Heat 2–3cm of neutral oil in a large, deep skillet over medium-high heat to 170–180°C, checking with a cooking thermometer. A small piece of the mixture dropped in should sizzle vigorously and float at once. Fry the discs in batches of 5–6 without crowding, 3–3½ minutes on the first side without moving them, then flip with a thin spatula and fry the second side for 3–3½ minutes, until deep, even golden-brown and cooked through with no raw, pasty centre. Drain on the paper towel tray, season lightly with fine sea salt while hot, and let the oil recover between batches. That steady oil temperature is what builds a crunchy crust before the centre dries out.
- Spread the hummus into a wide, swooped layer in a shallow bowl or on each plate, then press a deep well into the centre with the back of a spoon. Drizzle extra-virgin olive oil into the well and dust with smoked paprika. Arrange 5–6 falafel per person alongside, add a generous portion of the drained pickled cabbage, and scatter over the roughly chopped parsley. Serve with warm pita for tearing and scooping. That vivid purple-pink cabbage against the golden falafel and pale hummus is what gives the plate its visual contrast and its sharp, fresh counterpoint.