
Asian Crispy Rice
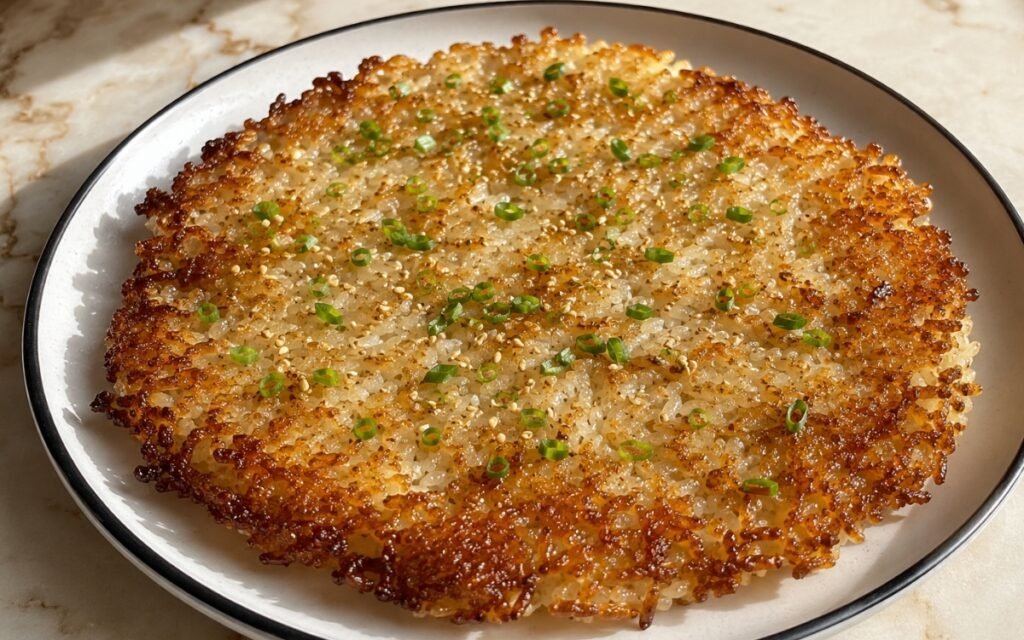
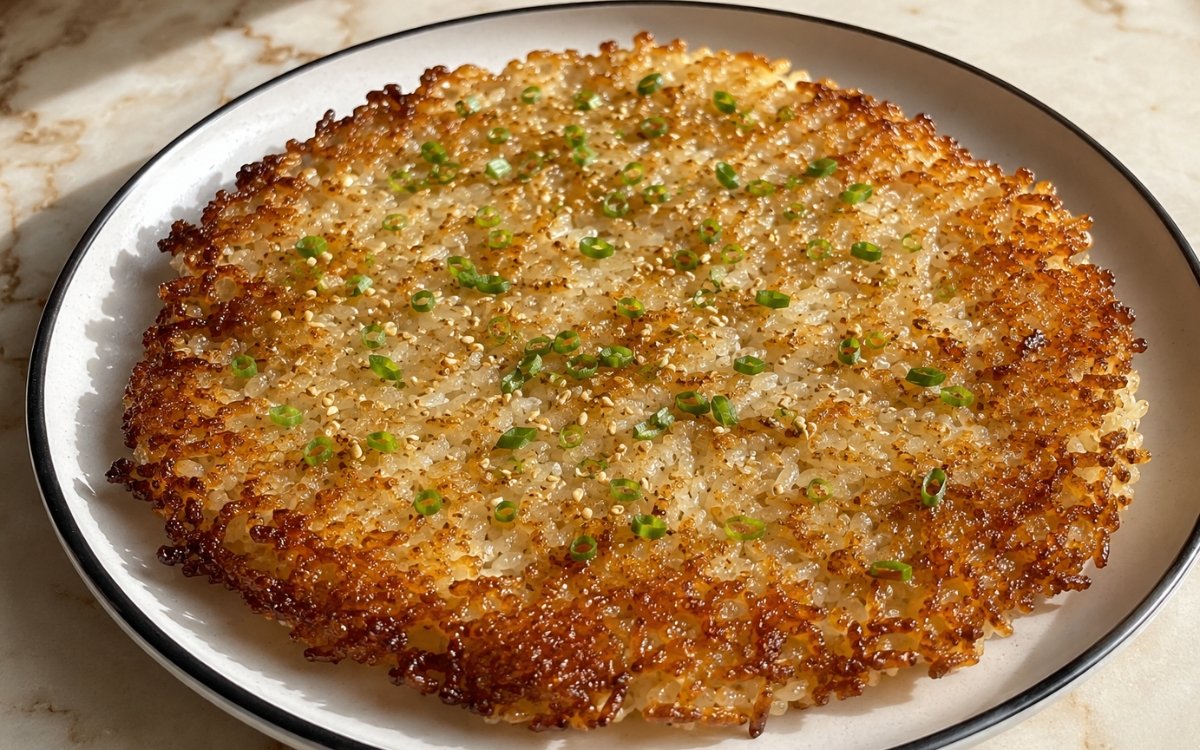
Asian Crispy Rice features golden, crunchy bottoms with fluffy tops, creating an irresistible texture contrast that’s addictively delicious. Pan-fried until perfectly crispy, each piece delivers satisfying crunch with savory soy and sesame flavors. Serve as a side dish or appetizer that disappears fast. Using fully cooled cooked rice, rather than freshly steamed and still-warm grains, is the foundational requirement this entire dish depends on — cooled rice has firmed up enough to hold its shape and separate cleanly when tossed with seasoning, while warm rice would turn mushy and clump together under the same handling. Pressing the seasoned rice firmly into a single, compact layer maximizes direct contact between the grains and the hot pan, which is specifically what builds the deep, connected golden crust this dish is named for rather than a loose scattering of individually crisped grains. Leaving that pressed cake completely undisturbed for the full 8–10 minutes on the first side, resisting any urge to check or move it early, is what allows a genuine crust to form and fully release from the pan on its own. The result is a dish with real textural drama — shatteringly crisp on the outside, tender within, carrying savory soy and toasted sesame flavor throughout.
Prep Time : 10 min
Cook Time : 25 min
Servings : 4
10 min
25 min
4
Ingredients
For the Rice
• 400g cooked short-grain rice, cooled
• 30ml soy sauce — this one on Amazon
• 15ml rice vinegar — this one on Amazon
• 10ml sesame oil — this one on Amazon
• 5g granulated sugar
• 2g white pepper
For Pan-Frying
• 45ml vegetable oil
• 2 cloves garlic, minced
• 10g fresh ginger, minced
For Garnish
• 15g green onions, sliced
• 5g toasted sesame seeds
This post may contain affiliate links. As an Amazon Associate I earn from qualifying purchases, at no additional cost to you.
Directions
- Season the Rice
In a large bowl, combine the 400g cooled cooked rice with the 30ml soy sauce, 15ml rice vinegar, 10ml sesame oil, 5g sugar, and 2g white pepper. Mix gently but thoroughly so grains are coated without mashing into paste; break up any clumps with your fingers. Let sit 5 minutes so seasoning absorbs and the rice firms slightly. - Heat Pan and Add Oil
Heat a large non-stick skillet or well-seasoned cast iron pan (28–30cm) over medium-high heat. Add 30ml of the vegetable oil and swirl to coat; the oil should shimmer before the rice goes in. If the pan isn’t hot enough, the rice sticks and steams instead of crisping. - Create Rice Cake
Add the minced garlic and ginger and stir 15 seconds until fragrant. Spread the rice evenly in the pan and press down firmly with a spatula into a compact layer about 1.5cm thick — pressing improves contact and crust formation. Cook undisturbed 8–10 minutes until the bottom is deeply golden and the edges look crisp; resist the urge to move it. - Flip and Finish
Flip the rice cake in sections or as one cake (slide onto a plate, invert, and return, if needed). Drizzle the remaining 15ml vegetable oil around the edges and cook 6–8 minutes until the second side is crisp. Break into pieces and garnish with the 15g green onions and 5g sesame seeds. Serve immediately for maximum crunch.
*Notes :
- Using fully cooled rice rather than freshly cooked rice is genuinely non-negotiable for this recipe. Warm rice grains are still soft and prone to breaking down under handling, and tossing them with seasoning would produce a sticky, mashed texture rather than distinct, seasoned grains ready to crisp cleanly in the pan.
- Pressing the rice into a firm, compact layer is what allows a connected crust to form across the entire surface rather than individually browned grains scattered throughout a looser pile. That firm pressing maximizes the amount of rice actually touching the hot pan surface at any given moment, which directly translates into a more complete, even crust.
- The garlic and ginger get only a brief 15-second sauté before the rice goes in, which is enough to release their aroma into the oil without risking the bitterness that longer cooking at this heat level would introduce, especially given the extended cooking time the rice itself needs afterward.
Why This Recipe Works
This recipe works because using fully cooled rice provides the firm, distinct grain structure needed for both proper seasoning absorption and clean crisping. Pressing the rice into a compact layer maximizes contact with the hot pan, building a genuine, connected crust.
Leaving that layer completely undisturbed for the full first-side cooking time allows the crust to fully form and release naturally. And the brief garlic-ginger sauté adds aromatic depth without risking bitterness before the longer rice-cooking stage begins.
Ingredient Breakdown
Cooled, Cooked Short-Grain Rice
The foundation — firm, distinct grains essential for both seasoning and crisping.
Soy Sauce, Rice Vinegar, Sesame Oil Seasoning
The flavor base — savory, tangy, and nutty, absorbed into the rice before frying.
Firmly Pressed Rice Cake
The crust-building technique — maximizing direct contact between the grains and the hot pan.
Undisturbed First-Side Cooking
The defining method — allowing a genuine, connected crust to form and release naturally.
Flavor Structure Explained
This Asian Crispy Rice follows a contrast-driven balance model:
- Crisp rice core (pressed rice)
- Deep golden crust (undisturbed pan contact)
- Savory tangy base (soy sauce and rice vinegar)
- Nutty aromatic depth (sesame oil, garlic, ginger)
- Fresh textural finish (green onions and sesame seeds)
The rice defines the foundation with a firm, pressed structure that allows it to form a deeply golden crust during frying. Undisturbed pan contact is essential because it creates the main textural register: a crisp exterior that contrasts with the softer grains beneath. Soy sauce, rice vinegar, and sesame oil season the rice before frying, giving the grains umami, tang, and nutty richness throughout rather than just on the surface. Garlic and ginger add aromatic warmth, deepening the savory profile without overwhelming the rice. Green onions bring fresh sharpness at the end, while toasted sesame seeds add extra crunch and nutty texture. The result is a crispy rice preparation built around texture, aroma, and balance, where golden crust, seasoned grains, and fresh finishing elements remain clearly defined.
Common Mistakes to Avoid
- Using Warm, Freshly Cooked Rice – Turns mushy and clumps together under handling. Always use fully cooled rice.
- Overmixing the Seasoned Rice – Mashes the grains into paste. Always mix gently and break up clumps with your fingers.
- Not Pressing the Rice Firmly – Prevents proper contact with the pan and weakens crust formation. Always press into a compact layer.
- Moving the Rice During the First-Side Cook – Interrupts crust formation before it’s fully set. Always leave undisturbed for the full 8–10 minutes.
- Letting the Garlic and Ginger Cook Too Long – Risks bitterness before the rice even goes in. Always keep this step brief.
Variations
With Coconut Rice Base
For a related rice preparation with a sweeter, richer starting point, see the Coconut Rice.
With Kimchi
Fold in finely chopped kimchi along with the seasoning for a spicier, tangier direction.
With Egg
Top the finished crispy rice with a fried egg for a more substantial meal.
With Extra Vegetables
Fold in finely diced carrots or peas along with the seasoning for added color and texture.
Storage & Make-Ahead
Cooled, seasoned rice can be prepared up to 1 day in advance and refrigerated before frying, though frying it fresh will produce the best crispness.
Cooked crispy rice is best eaten immediately. Refrigerated leftovers will lose their crisp texture, but they will remain flavorful for up to 1 day.
Frequently Asked Questions
Why does the rice need to be fully cooled rather than freshly cooked?
Warm rice grains are still soft and structurally fragile, and mixing them with seasoning at that stage would break them down into a sticky, mashed texture rather than keeping them distinct. Fully cooled rice has firmed up enough to absorb the seasoning while staying separate, which is essential for both even flavor distribution and clean crisping in the pan.
Why is pressing the rice into a compact layer so important?
Pressing maximizes the surface area of rice actually making direct contact with the hot pan at any given time. A looser, unpressed pile of rice would only crisp the individual grains touching the pan directly, leaving the rest steamed rather than crisped, whereas a firmly pressed layer builds a connected, even crust across the whole surface.
Why is the garlic and ginger sauté kept so brief?
Fifteen seconds is enough to release their aromatic oils into the pan without risking the bitterness that longer cooking at medium-high heat would introduce. Since the rice itself needs a considerably longer cooking time afterward, keeping this initial step brief protects the aromatics from overcooking before the rice even goes in.
What should I serve alongside this rice?
This crispy rice pairs naturally with the Chinese Five-Spice Chicken Thighs or Crispy Honey Garlic Chicken, and for a related, sweeter rice base, try the Coconut Rice.
Nutrition Facts
( per serving )
Calories
~260 kcal
Protein
4 g
Fat
12 g
Carbs
34 g
Calories
~260 kcal
Protein
4 g
Fat
12 g
Carbs
34 g
Related Recipes
Related Recipes

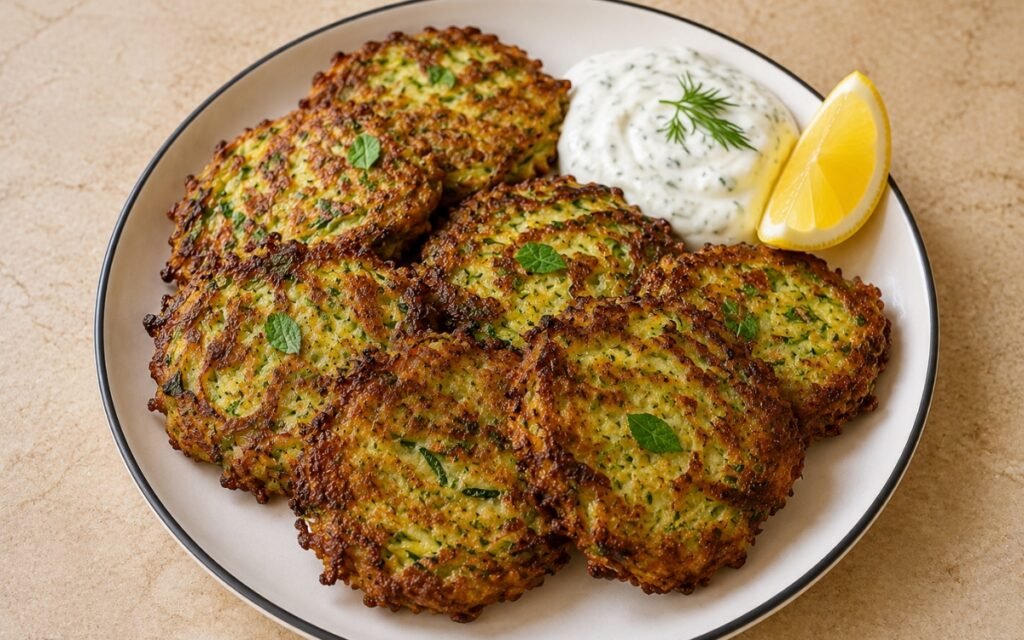
Crispy Zucchini Fritters
Zucchini salted and firmly squeezed dry, mixed into a thick herb-Parmesan batter, fried without crowding until golden. Crisp and herbaceous.
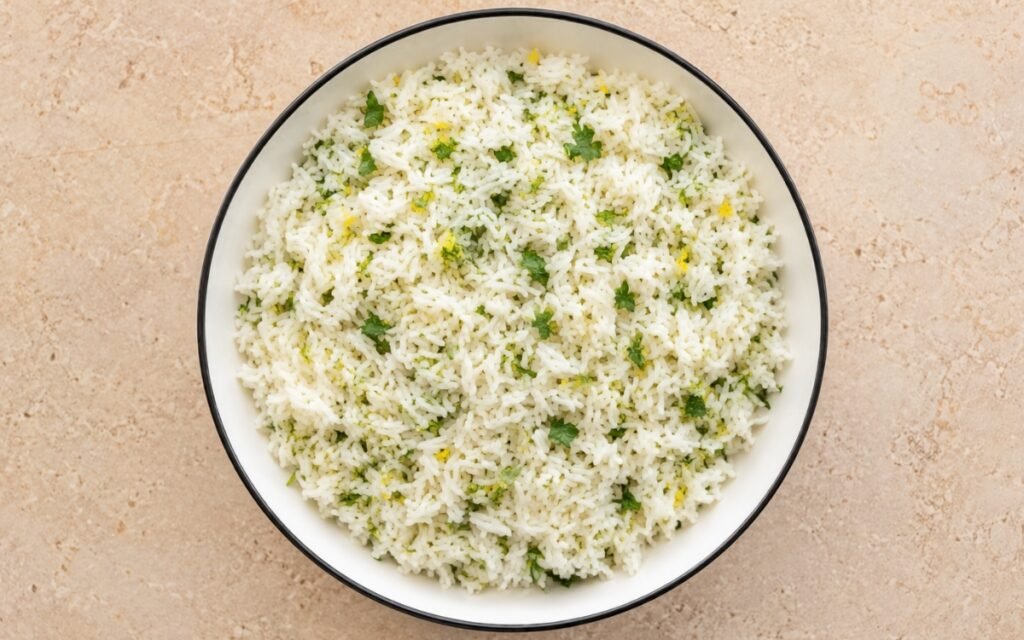
Greek Lemon Rice
Rice rinsed clear, cooked with garlic, broth, and lemon juice undisturbed until fluffy, finished with fresh herbs and zest. Bright and tangy.
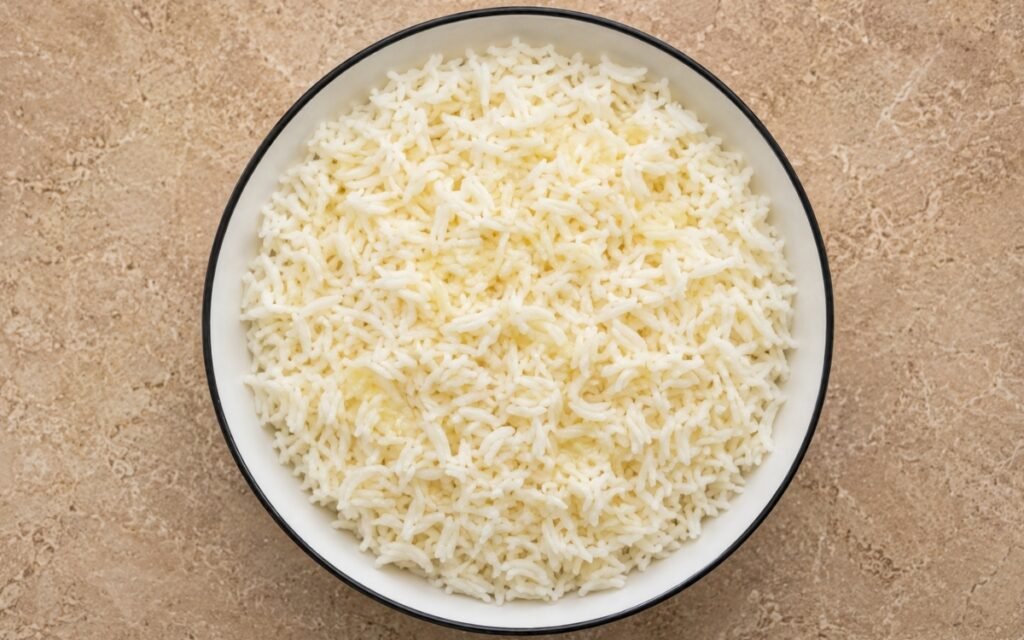
Fluffy Butter Rice
Rice rinsed clear, toasted in foaming butter until lightly golden, simmered covered undisturbed until fluffy, rested and fluffed. Rich and buttery.
You might also like
You might also like
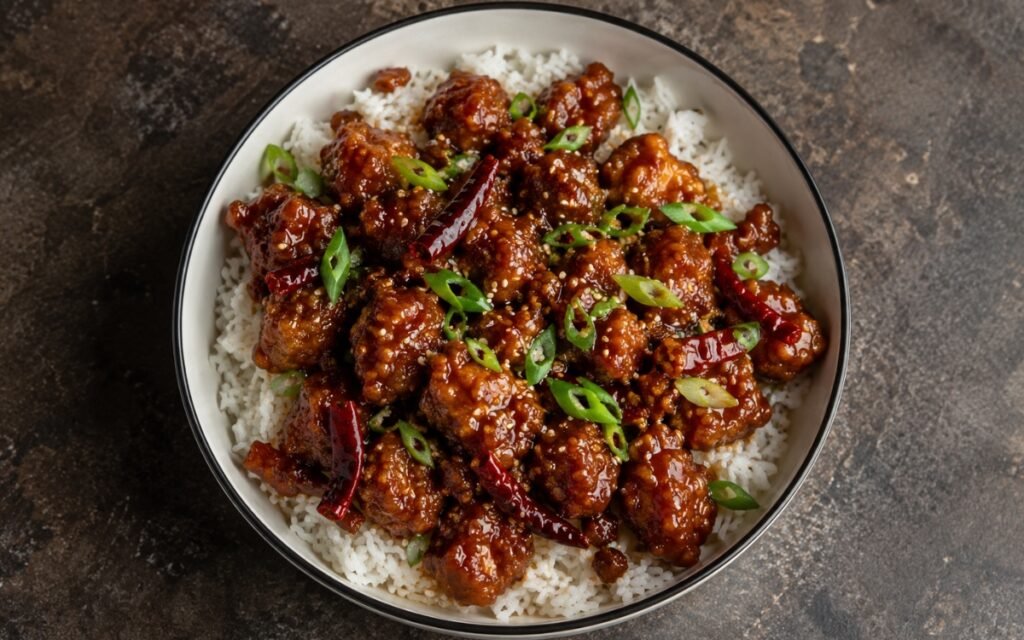
General Tso’s Chicken Rice Bowl
Golden fried chicken coated in sticky sweet-spicy General Tso’s sauce, served over jasmine rice with scallions and sesame.
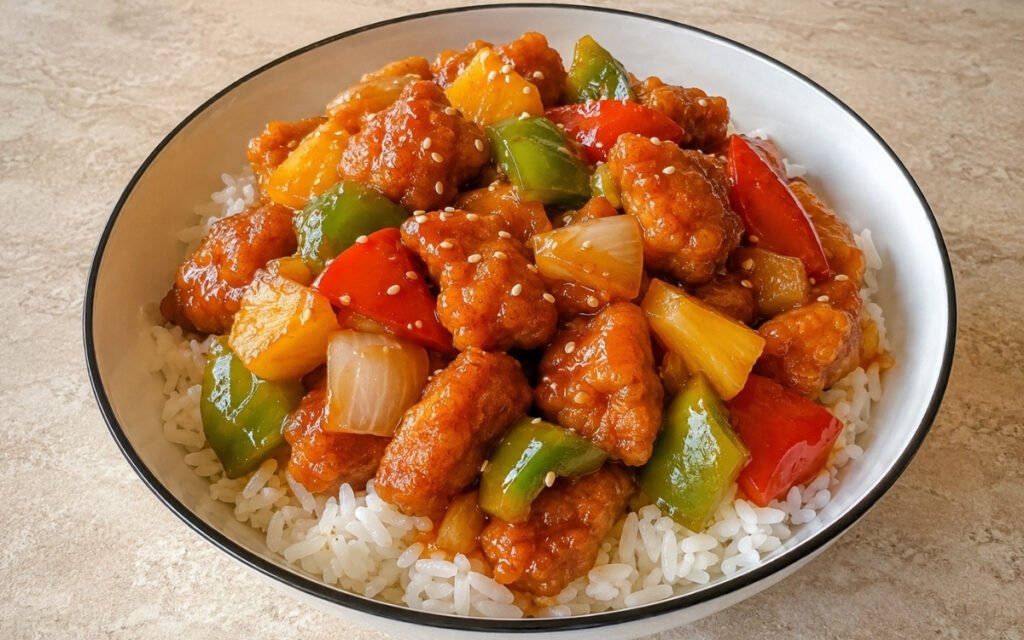
Sweet and Sour Chicken
Double-fried battered chicken thighs with pineapple and vegetables tossed in a glossy tangy-sweet sauce — the restaurant crispiness technique explained for home cooking in 50 minutes.
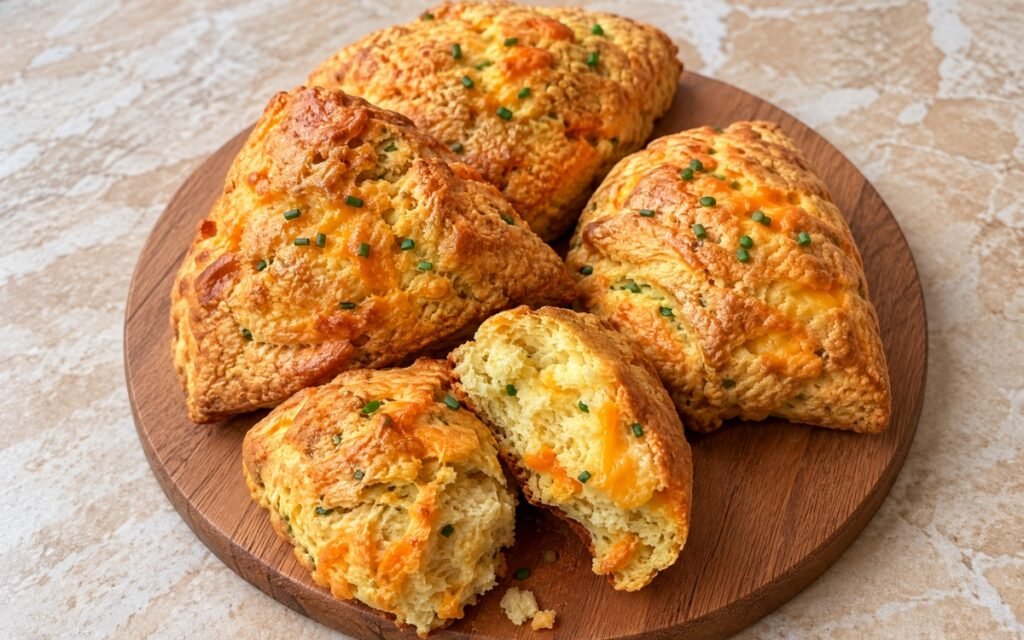
Cheddar Chive Scones
Savory cheddar chive scones with golden craggy tops, buttery flaky interiors, sharp cheddar pockets, and fresh chive flecks throughout.
Asian Crispy Rice
Ingredients
Method
- In a large bowl, combine the 400g cooled cooked rice with the 30ml soy sauce, 15ml rice vinegar, 10ml sesame oil, 5g sugar, and 2g white pepper. Mix gently but thoroughly so grains are coated without mashing into paste; break up any clumps with your fingers. Let sit 5 minutes so seasoning absorbs and the rice firms slightly.
- Heat a large non-stick skillet or well-seasoned cast iron pan (28–30cm) over medium-high heat. Add 30ml of the vegetable oil and swirl to coat; the oil should shimmer before the rice goes in. If the pan isn’t hot enough, the rice sticks and steams instead of crisping.
- Add the minced garlic and ginger and stir 15 seconds until fragrant. Spread the rice evenly in the pan and press down firmly with a spatula into a compact layer about 1.5cm thick — pressing improves contact and crust formation. Cook undisturbed 8–10 minutes until the bottom is deeply golden and the edges look crisp; resist the urge to move it.
- Flip the rice cake in sections or as one cake (slide onto a plate, invert, and return, if needed). Drizzle the remaining 15ml vegetable oil around the edges and cook 6–8 minutes until the second side is crisp. Break into pieces and garnish with the 15g green onions and 5g sesame seeds. Serve immediately for maximum crunch.