
Cheddar Chive Scones
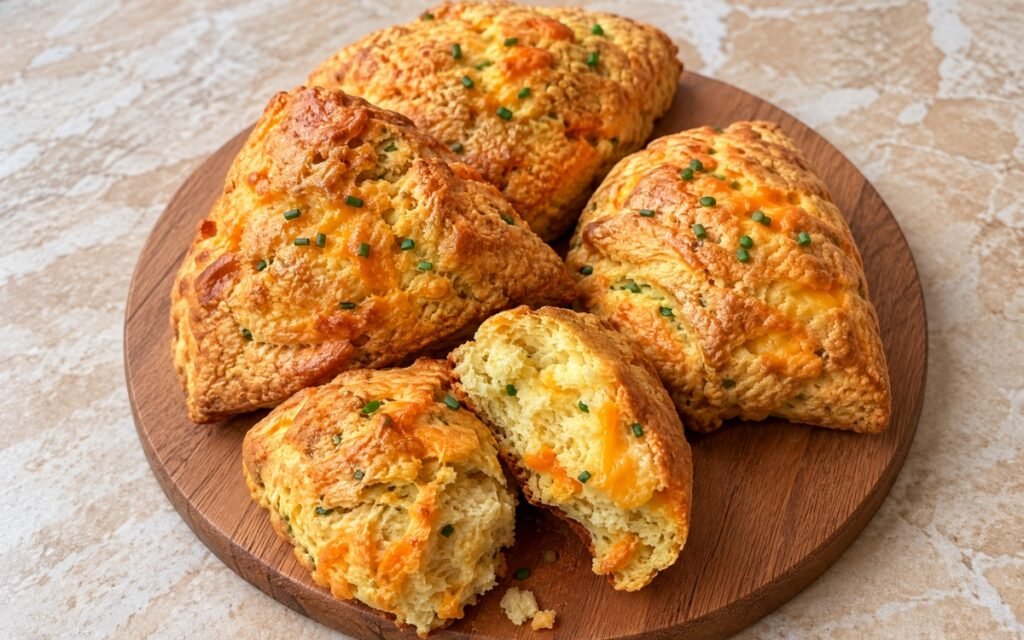
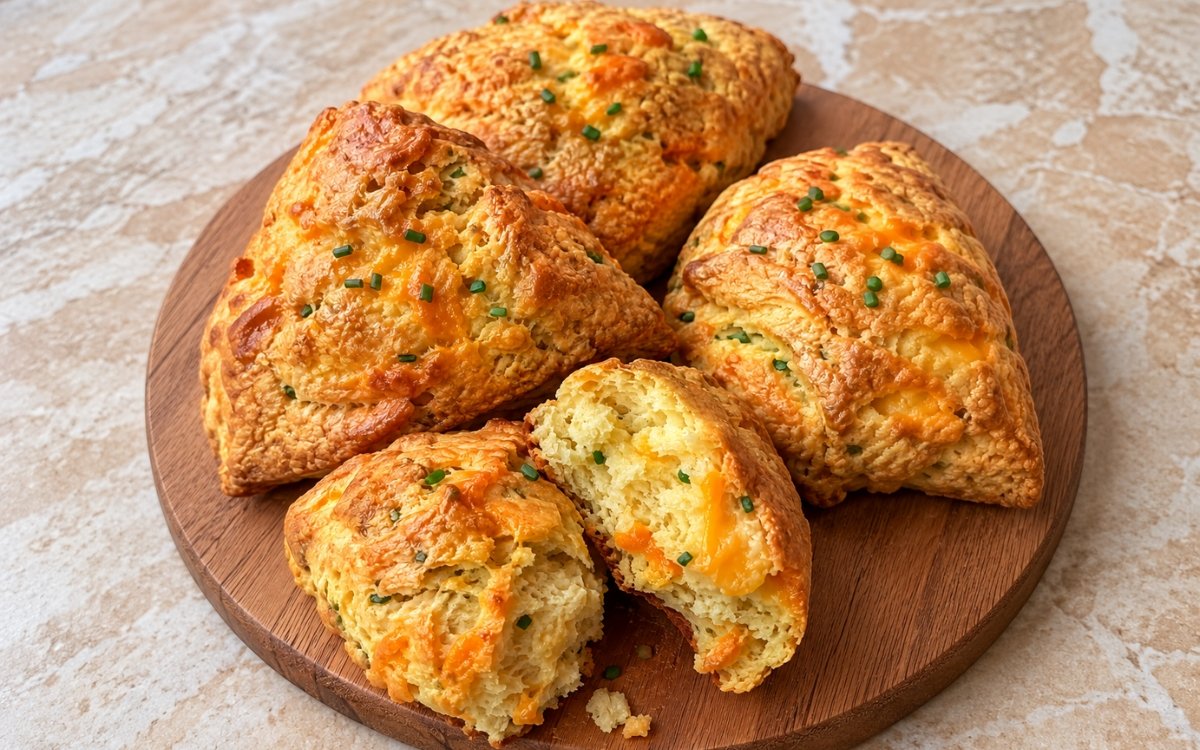
Savory cheddar chive scones with golden craggy tops, buttery flaky interiors, sharp cheddar pockets, and fresh chive flecks throughout. The key is keeping the butter cold, mixing the dough only until it barely comes together, and chilling the shaped scones before baking so they rise tall instead of spreading. Keeping visible, pea-sized pieces of cold butter throughout the dough, rather than blending it in completely, is the technique this whole scone depends on for a genuinely flaky, tender interior — those distinct fat pockets create steam as the dough bakes, physically separating it into tender layers, the same cold-fat-for-flaky-layers principle used elsewhere in this collection whenever a scone or biscuit’s rise depends on mechanical steam rather than leavening alone. Chilling the shaped scones before baking is what firms that butter back up after handling, letting the scones rise tall in the oven rather than spreading sideways. Brushing egg wash only on the tops, never letting it run down the cut sides, is what protects the dough’s own layers from being sealed shut before they’ve had a chance to rise. The payoff is a scone with real, classic contrast — a deeply golden, craggy top over a buttery, flaky interior studded with sharp cheddar and fresh chives.
Prep Time : 20 min
Cook Time : 18 min
Servings : 4
20 min
18 min
4
Ingredients
For the Scones
• 360g all-purpose flour — this one on Amazon
• 16g baking powder
• 3g baking soda
• 6g fine sea salt
• 8g sugar
• 115g cold unsalted butter, cut into small cubes — this one on Amazon
• 180g sharp cheddar, grated, plus 30g extra for topping — this one on Amazon
• 20g fresh chives, finely sliced
• 1 large egg
• 240ml cold buttermilk, plus 15 to 30ml more only if needed — this one on Amazon
For Brushing
• 1 large egg
• 15ml milk or buttermilk
• Small pinch of fine sea salt
This post may contain affiliate links. As an Amazon Associate I earn from qualifying purchases, at no additional cost to you.
Directions
- Preheat the Oven
Preheat the oven to 220°C. Line a baking tray with parchment paper. If your kitchen is warm, place the cubed butter in the freezer for 5 to 10 minutes before mixing. Cold butter is the main structure here. It melts in the oven and creates steam pockets, which gives the scones their flaky, tender interior. That extra freezer time on a warm day is a genuine, practical safeguard — butter that’s begun softening even slightly loses some of its ability to create the distinct steam pockets this whole recipe depends on. - Mix the Dry Ingredients
In a large bowl, whisk together the flour, baking powder, baking soda, salt, and sugar. Make sure the baking powder and baking soda are evenly distributed. That thorough whisking ensures the leavening agents are dispersed consistently throughout the flour, rather than clumped in pockets that would cause some scones to rise more unevenly than others. - Cut in the Butter
Add the cold butter cubes to the flour mixture. Rub them in with your fingertips or cut them in with a pastry cutter until the mixture looks coarse and crumbly. Some butter pieces should still be visible, about pea-sized. Do not fully blend the butter into the flour. If the mixture looks like fine sand with no butter pieces left, the scones will be more cakey and less flaky. Keeping those visible, pea-sized fat pieces intact, rather than working them in fully, is exactly what preserves the pockets of steam responsible for a genuinely flaky, layered interior once baked. - Add the Cheddar and Chives
Add the grated cheddar and sliced chives. Toss through the flour mixture until evenly distributed. Keep a little extra cheddar aside for topping. Reserving a small portion of cheddar specifically for the top, rather than folding it all into the dough, ensures there’s cheese remaining to melt into those classic, visible golden patches on the finished scone’s surface. - Add the Liquid
In a separate bowl, whisk together the egg and cold buttermilk. Pour into the flour mixture and stir gently with a fork or spatula until a rough, shaggy dough forms. Add the extra 15 to 30ml buttermilk only if there are dry patches that will not come together. The dough should look rough, not smooth. Overmixing develops gluten and makes the scones tough instead of tender. Stopping the mixing the moment the dough comes together, rather than continuing for a smoother appearance, is what protects the finished scones from toughening — flour’s gluten develops more the longer it’s worked, and this rich dough has genuinely little need for that extra structure. - Shape the Dough
Turn the dough onto a lightly floured surface. Press it together gently with your hands. Divide into 2 equal pieces. Pat each piece into a round about 16 to 18cm wide and 2.5 to 3cm thick. Cut each round into 6 wedges, giving you 12 scones total. Press the dough together; do not knead it like bread. A few cracks and rough edges are correct for craggy, flaky scones. Pressing rather than kneading protects the same visible butter pieces built into the dough during the cutting-in stage — kneading like bread dough would work that butter in further and smooth over the cracks and rough texture this scone’s whole craggy character depends on. - Chill the Scones
Transfer the cut scones to the parchment-lined tray, leaving space between them. Chill for 15 minutes. While they chill, whisk together the egg, milk or buttermilk, and a small pinch of salt for brushing. Chilling firms the butter again and helps the scones rise upward instead of spreading sideways. That firmed-up butter is directly what lets the scones hold their shape through the oven’s initial heat — dough with softened butter would spread outward before it ever had the chance to rise properly upward. - Brush and Top
Brush the tops of the chilled scones lightly with the egg wash. Scatter the reserved cheddar over the tops. Do not let egg wash run heavily down the sides. Egg wash on the cut sides can seal the layers and reduce rise. Brush the tops only. That restraint protects the dough’s own cut edges from being glued shut before baking even starts — sealed edges would trap the layers built during shaping, directly limiting how much the scone can actually rise in the oven. - Bake
Bake for 16 to 20 minutes, until the scones are deeply golden, risen, craggy on top, and cooked through in the center. The cheese should be melted into golden patches and the edges should feel set. The tops should be golden-brown, not pale. Underbaked scones taste doughy in the center and will collapse slightly as they cool. That deep golden colour reflects real, substantial baking having taken place all the way through — a paler scone pulled too early would still taste raw at its centre despite looking technically finished on the outside. - Cool Briefly and Serve
Let the scones cool on the tray for 5 minutes, then transfer to a rack. Serve warm or at room temperature. Each serving is 3 scones. That brief cooling period on the tray lets the scones firm up just enough to transfer cleanly to a rack without breaking apart, while still being served warm enough for the cheese pockets to stay soft.
*Notes :
- Keeping visible, pea-sized pieces of cold butter throughout the dough, rather than blending it in completely, deserves genuine recognition as the technique responsible for these scones’ real flakiness. Those distinct fat pockets create steam as the dough bakes, and that steam is specifically what physically separates the scone into tender, distinct layers — a dough with the butter fully worked in would bake up considerably more cakey and dense, missing that characteristic texture entirely.
- Chilling the shaped scones before they ever reach the oven deserves the same attention this technique receives throughout classic laminated and semi-laminated doughs. That chill re-firms the butter after all the handling involved in mixing and shaping, and it’s specifically that firmed-up structure that lets the scones rise upward in the oven’s initial heat rather than spreading sideways before their own structure has had any chance to set.
- Restricting the egg wash to only the tops, deliberately avoiding the cut sides, deserves attention as a real, functional technique choice rather than a cosmetic preference. Egg wash on those cut edges can seal the layers shut before baking even begins, directly limiting how far the scone can actually rise — brushing only the top protects that rise while still delivering the classic glossy, golden colour.
- Reserving a portion of the cheddar specifically for the top, rather than folding all of it into the dough, deserves recognition as a deliberate choice for visual and textural appeal. That top layer melts into distinct, golden patches during baking, giving the finished scone real, visible cheese character right at the surface rather than relying entirely on the pockets hidden inside.
Why This Recipe Works
This recipe works because the butter is kept genuinely cold and left in visible, pea-sized pieces throughout the dough, building the steam pockets responsible for real flakiness. The dough is mixed only until rough and shaggy, protecting tenderness by avoiding unnecessary gluten development.
Shaping by pressing rather than kneading preserves that same butter structure, and chilling the cut scones before baking firms everything back up so they rise tall rather than spread.
Restricting the egg wash to the tops protects the dough’s own rise potential, and baking until genuinely deep golden confirms the scones are properly cooked through.
Ingredient Breakdown
Cold, Pea-Sized Butter Pieces
The critical technique — creates the steam pockets responsible for the scone’s genuinely flaky, layered interior.
Rough, Minimally Mixed Dough
The critical technique — stopping at “just combined” protects tenderness by avoiding unnecessary gluten development.
Pressed, Not Kneaded Shaping
The critical technique — preserves the visible butter pieces and craggy texture built during the cutting-in stage.
Chilled Before Baking
The critical technique — re-firms the butter, letting the scones rise upward rather than spreading sideways in the oven.
Top-Only Egg Wash
The finishing technique — protects the dough’s cut edges from being sealed shut, preserving the scone’s full rise.
Flavor Structure Explained
This cheddar chive scone follows a layered balance model:
- Buttery, flaky foundation (cold-butter, minimally mixed dough)
- Sharp savoury pockets (grated cheddar throughout and on top)
- Fresh herbal flecks (fresh chives)
- Glossy golden finish (egg wash, melted cheddar topping)
The cold-butter, minimally mixed dough provides this scone’s genuinely buttery, flaky foundation. Sharp cheddar, folded through the dough and scattered on top, contributes real, savoury pockets and a distinct melted finish. Fresh chives add bright, herbal flecks throughout every bite. A light egg wash and the reserved cheddar topping finish the scone with a glossy, golden-brown surface that ties the whole savoury bake together.
Common Mistakes to Avoid
- Letting the Butter Soften Before Cutting It In – This loses the distinct pieces responsible for flakiness. Always keep it genuinely cold, chilling further if your kitchen is warm.
- Fully Blending the Butter Into the Flour – This produces a cakey, dense result rather than a flaky one. Always stop when pea-sized pieces remain.
- Overmixing the Dough – This develops gluten and toughens the scones. Always stop as soon as it comes together, rough and shaggy.
- Kneading the Dough Like Bread – This works the butter in too far, smoothing over the desired craggy texture. Always press it together gently instead.
- Brushing Egg Wash Down the Cut Sides – This seals the layers shut and reduces rise. Always brush only the tops.
Variations
Herb-Swap Version
Substitute fresh dill or parsley for chives for a different herbal note.
Extra-Cheesy Version
Increase the cheddar folded into the dough for a more assertively cheesy finished scone.
Bacon Version
Add crumbled cooked bacon alongside the cheddar and chives for a heartier, savoury variation.
Gruyère Version
Substitute Gruyère for cheddar for a nuttier, more complex savoury flavour.
Storage & Make-Ahead
Use sharp cheddar for the best flavor. Mild cheddar can disappear into the dough.
Buttermilk gives the best tenderness and slight tang.
Keep the dough rough and cold. Smooth dough usually means overworked dough.
Frequently Asked Questions
Why does the butter need to stay in visible, pea-sized pieces rather than being fully worked into the flour?
Those distinct fat pieces create steam as the dough bakes, and that steam is specifically what physically separates the scone into tender, flaky layers. Fully blended butter produces a considerably more cakey, dense result instead.
Why do the shaped scones need to chill before baking?
That chill re-firms the butter after all the handling involved in mixing and shaping. This firmed-up structure is what lets the scones rise upward in the oven rather than spreading sideways before their own structure has set.
Why is the egg wash brushed only on the tops rather than the cut sides too?
Egg wash on the cut edges can seal the dough’s layers shut before baking even begins, directly limiting how much the scone can rise. Restricting it to the tops protects that rise while still delivering a glossy, golden finish.
Why is a portion of the cheddar saved specifically for the top rather than mixed entirely into the dough?
That reserved cheese melts into distinct, visible golden patches during baking, giving the finished scone real cheese character right at the surface rather than relying only on pockets hidden inside.
Are there other classic biscuit, savoury bread, or breakfast sandwich dishes worth trying?
Classic Southern Buttermilk Biscuits and Jalapeño Cheddar Sourdough Bread both offer other savoury, cheese-forward baking directions worth exploring. Sourdough Garlic Bread is also worth trying for a related savoury bread, and Breakfast Sausage Egg and Cheese Biscuit Sandwich offers a hearty, biscuit-based sandwich worth exploring too.
Nutrition Facts
( Per Serving — 3 scones )
Calories
~620 kcal
Protein
18 g
Fat
34 g
Carbs
58 g
Calories
~620 kcal
Protein
18 g
Fat
34 g
Carbs
58 g
Related Recipes
Related Recipes

Eggs Benedict
Toasted English muffin halves topped with warm ham, perfectly poached eggs, and a thick glossy hollandaise sauce.
Huevos a la Mexicana
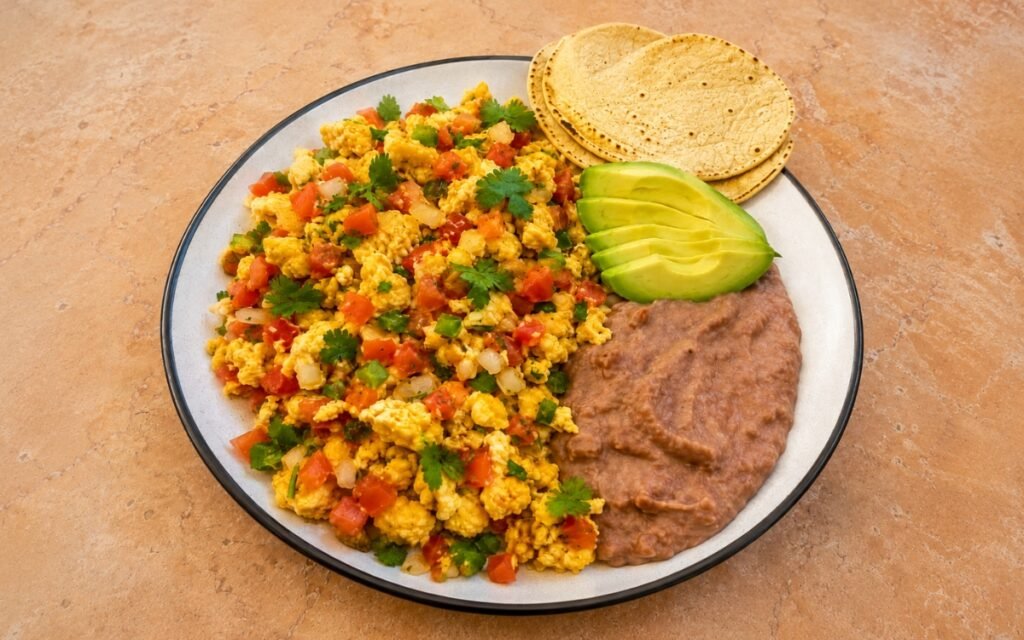
Softly scrambled eggs cooked with diced tomato, onion, and jalapeño, served with warm refried beans, sliced avocado, and tortillas.
Creamy Scalloped Potatoes
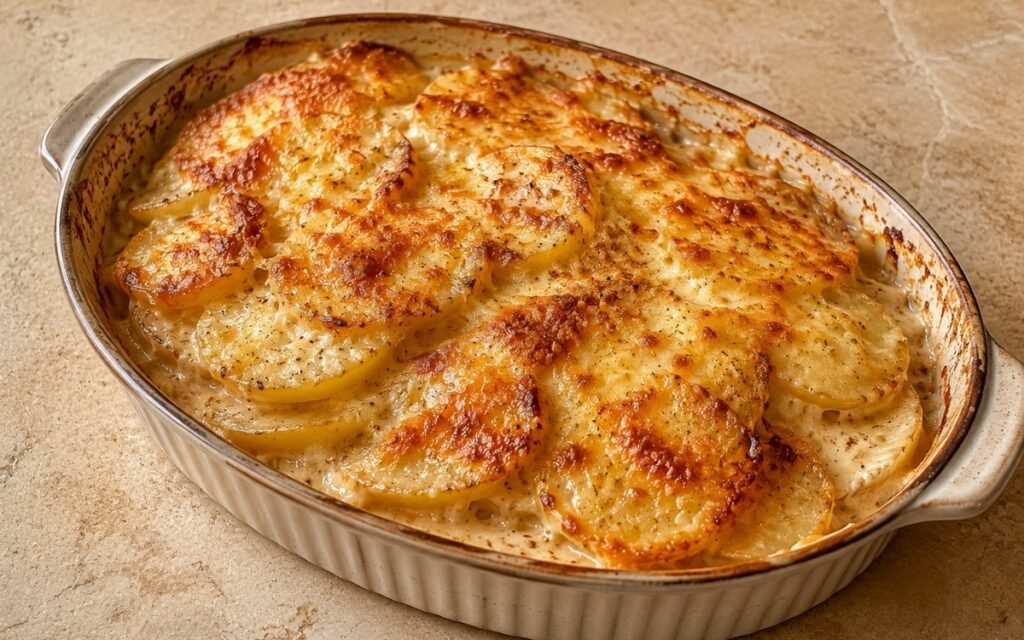
Potatoes sliced evenly, layered with roux-based gruyere cream sauce, baked covered then uncovered until golden. Rested. Velvety and rich.

You might also like
You might also like
Fluffy Butter Rice
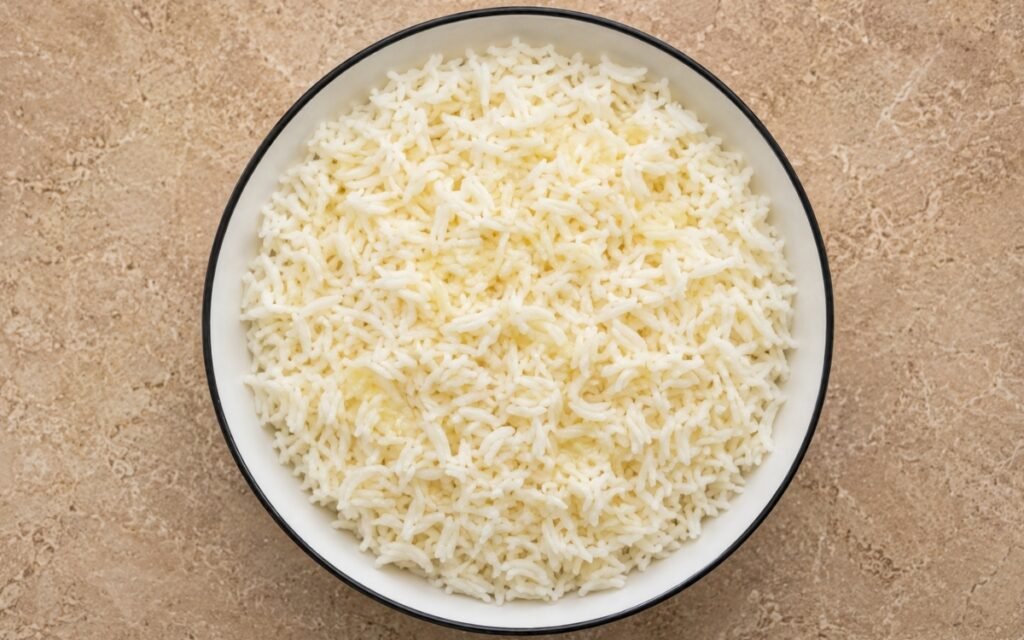
Rice rinsed clear, toasted in foaming butter until lightly golden, simmered covered undisturbed until fluffy, rested and fluffed. Rich and buttery.
Crêpes Suzette
Delicate French crêpes folded into triangles and coated in a glossy orange-butter Suzette sauce with fresh orange juice and zest.
Homemade Kaiser Rolls
Classic homemade Kaiser rolls with a clearly defined five-point star top, a thin tender crust, and a soft airy sandwich crumb.

Cheddar Chive Scones
Ingredients
Method
- Preheat the oven to 220°C. Line a baking tray with parchment paper. If your kitchen is warm, place the cubed butter in the freezer for 5 to 10 minutes before mixing. Cold butter is the main structure here. It melts in the oven and creates steam pockets, which gives the scones their flaky, tender interior. That extra freezer time on a warm day is a genuine, practical safeguard — butter that’s begun softening even slightly loses some of its ability to create the distinct steam pockets this whole recipe depends on.
- In a large bowl, whisk together the flour, baking powder, baking soda, salt, and sugar. Make sure the baking powder and baking soda are evenly distributed. That thorough whisking ensures the leavening agents are dispersed consistently throughout the flour, rather than clumped in pockets that would cause some scones to rise more unevenly than others.
- Add the cold butter cubes to the flour mixture. Rub them in with your fingertips or cut them in with a pastry cutter until the mixture looks coarse and crumbly. Some butter pieces should still be visible, about pea-sized. Do not fully blend the butter into the flour. If the mixture looks like fine sand with no butter pieces left, the scones will be more cakey and less flaky. Keeping those visible, pea-sized fat pieces intact, rather than working them in fully, is exactly what preserves the pockets of steam responsible for a genuinely flaky, layered interior once baked.
- Add the grated cheddar and sliced chives. Toss through the flour mixture until evenly distributed. Keep a little extra cheddar aside for topping. Reserving a small portion of cheddar specifically for the top, rather than folding it all into the dough, ensures there’s cheese remaining to melt into those classic, visible golden patches on the finished scone’s surface.
- In a separate bowl, whisk together the egg and cold buttermilk. Pour into the flour mixture and stir gently with a fork or spatula until a rough, shaggy dough forms. Add the extra 15 to 30ml buttermilk only if there are dry patches that will not come together. The dough should look rough, not smooth. Overmixing develops gluten and makes the scones tough instead of tender. Stopping the mixing the moment the dough comes together, rather than continuing for a smoother appearance, is what protects the finished scones from toughening — flour’s gluten develops more the longer it’s worked, and this rich dough has genuinely little need for that extra structure.
- Turn the dough onto a lightly floured surface. Press it together gently with your hands. Divide into 2 equal pieces. Pat each piece into a round about 16 to 18cm wide and 2.5 to 3cm thick. Cut each round into 6 wedges, giving you 12 scones total. Press the dough together; do not knead it like bread. A few cracks and rough edges are correct for craggy, flaky scones. Pressing rather than kneading protects the same visible butter pieces built into the dough during the cutting-in stage — kneading like bread dough would work that butter in further and smooth over the cracks and rough texture this scone’s whole craggy character depends on.
- Transfer the cut scones to the parchment-lined tray, leaving space between them. Chill for 15 minutes. While they chill, whisk together the egg, milk or buttermilk, and a small pinch of salt for brushing. Chilling firms the butter again and helps the scones rise upward instead of spreading sideways. That firmed-up butter is directly what lets the scones hold their shape through the oven’s initial heat — dough with softened butter would spread outward before it ever had the chance to rise properly upward.
- Brush the tops of the chilled scones lightly with the egg wash. Scatter the reserved cheddar over the tops. Do not let egg wash run heavily down the sides. Egg wash on the cut sides can seal the layers and reduce rise. Brush the tops only. That restraint protects the dough’s own cut edges from being glued shut before baking even starts — sealed edges would trap the layers built during shaping, directly limiting how much the scone can actually rise in the oven.
- Bake for 16 to 20 minutes, until the scones are deeply golden, risen, craggy on top, and cooked through in the center. The cheese should be melted into golden patches and the edges should feel set. The tops should be golden-brown, not pale. Underbaked scones taste doughy in the center and will collapse slightly as they cool. That deep golden colour reflects real, substantial baking having taken place all the way through — a paler scone pulled too early would still taste raw at its centre despite looking technically finished on the outside.
- Let the scones cool on the tray for 5 minutes, then transfer to a rack. Serve warm or at room temperature. Each serving is 3 scones. That brief cooling period on the tray lets the scones firm up just enough to transfer cleanly to a rack without breaking apart, while still being served warm enough for the cheese pockets to stay soft.