
Southern Biscuits and Sausage Gravy
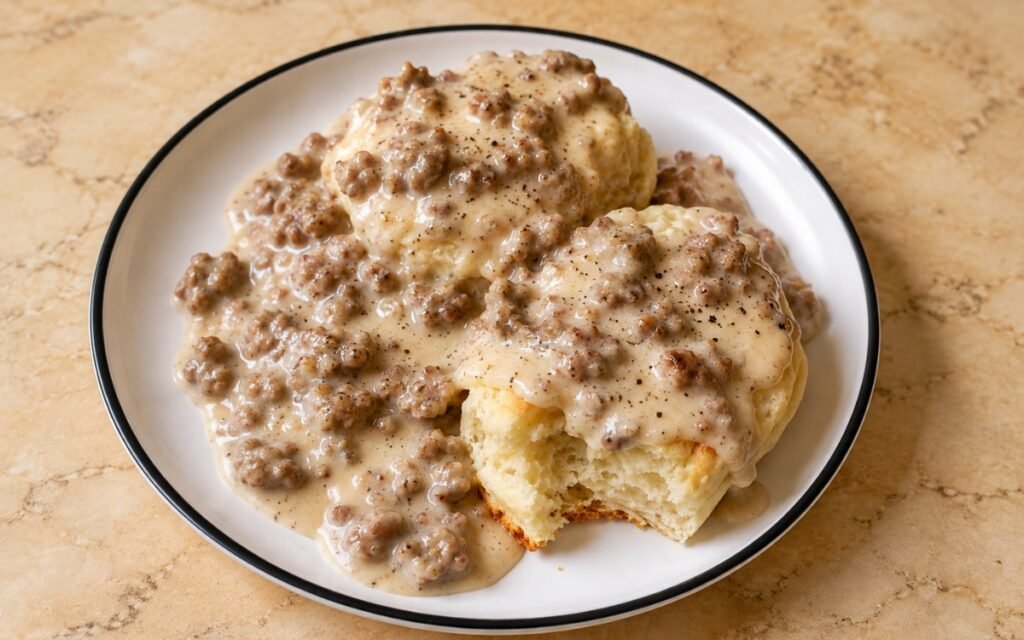
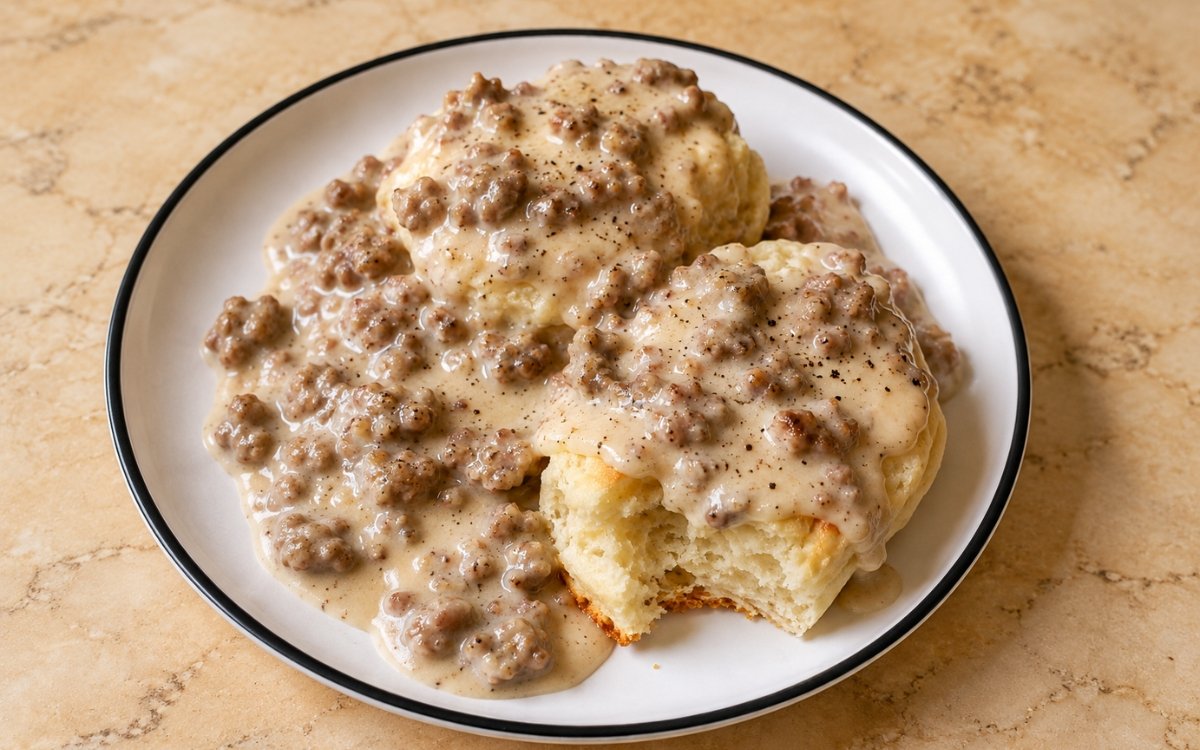
Tender Southern buttermilk biscuits split open and covered with thick, creamy sausage gravy loaded with browned breakfast sausage and plenty of black pepper. The key is keeping the biscuit butter cold for a tall, fluffy texture, then building the gravy directly from the sausage drippings so it tastes rich, savory, and classic. Working cold butter into the flour until pea-sized pieces remain, rather than blending it in fully, is the technique this whole biscuit depends on for real height and flakiness — those distinct cold fat pockets create steam as the biscuits bake, physically separating the dough into tender layers, the same cold-fat-for-flaky-layers principle used elsewhere in this collection whenever a biscuit or pastry’s rise depends on mechanical steam rather than leavening alone. Folding the dough into thirds a few times, rather than simply patting it flat once, is what builds those same distinct layers before the biscuits ever reach the oven. Building the gravy directly in the same pan the sausage was browned in, using its own rendered fat and fond, is what gives this gravy its full, classic, savoury depth. The payoff is a plate with real, comforting contrast — tall, tender, flaky biscuits split open beneath a thick, peppery, savoury sausage gravy.
Prep Time : 20 min
Cook Time : 25 min
Servings : 4
20 min
25 min
4
Ingredients
For the Biscuits
• 300g all-purpose flour — this one on Amazon
• 12g baking powder
• 3g baking soda
• 5g fine sea salt
• 12g granulated sugar, optional but helpful for balance
• 115g cold unsalted butter, cut into small cubes — this one on Amazon
• 40ml cold buttermilk, plus 1 to 2 tbsp more if needed
• A little extra flour, for shaping
For the Sausage Gravy
• 450g breakfast sausage, loose or with casings removed
• 35g all-purpose flour
• 720ml whole milk, warmed slightly or at room temperature — this one on Amazon
• 2 to 3g fine sea salt, only as needed
• 2 to 3g freshly ground black pepper, plus more to taste
• 1 pinch cayenne pepper, optional — this one on Amazon
For Serving
• Extra black pepper, for finishing
This post may contain affiliate links. As an Amazon Associate I earn from qualifying purchases, at no additional cost to you.
Directions
- Prepare the Biscuit Dough
Preheat the oven to 220°C. Line a baking tray with parchment paper. In a large bowl, whisk together the flour, baking powder, baking soda, salt, and sugar if using. Add the cold butter and work it into the flour with your fingertips or a pastry cutter until the mixture looks like coarse crumbs with some pea-sized butter pieces still visible. Pour in the cold buttermilk and stir gently just until the dough comes together. If it still looks very dry and crumbly, add 1 to 2 tbsp extra buttermilk. Do not overmix. The dough should look shaggy and slightly rough. Overworked biscuit dough makes tough biscuits instead of tender, fluffy ones. Keeping those visible, pea-sized pieces of cold butter throughout, rather than blending the fat in completely, is exactly what creates the pockets of steam responsible for a genuinely tall, flaky biscuit once baked. - Fold and Shape the Biscuits
Turn the dough out onto a lightly floured surface. Pat it into a rough rectangle about 2cm thick. Fold the dough over itself in thirds, then gently pat it out again. Repeat this 2 more times. Pat the final dough to about 2.5cm thick and cut out 8 biscuits using a round cutter, pressing straight down without twisting. Place them on the baking tray so the sides just barely touch for softer sides, or leave a little space for more crust. Those quick folds create layers. Twisting the cutter seals the edges and reduces the rise, so press straight down only. That repeated folding mechanically builds the same kind of distinct, stacked layers responsible for a biscuit’s characteristic tall rise and flaky pull-apart texture — pressing straight down with the cutter, rather than twisting, protects those layers’ cut edges from being sealed shut, which would otherwise trap them and prevent the biscuit from rising as freely. - Bake the Biscuits
Bake for 14 to 17 minutes, until well risen and lightly golden on top. Transfer to a rack or keep warm loosely covered. The biscuits should feel set, light, and fluffy inside. That real oven heat is what finally converts the dough’s carefully preserved cold fat pockets into the steam responsible for the biscuit’s actual rise — everything built into the dough up to this point exists specifically to make this stage possible. - Brown the Sausage
While the biscuits bake, place a large skillet over medium heat. Add the breakfast sausage and cook, breaking it up with a spatula, for 6 to 8 minutes, until fully cooked and nicely browned in small crumbles. There should be some rendered fat in the pan. If the sausage is unusually lean and the skillet looks dry, add 1 tbsp butter before the next step. Let some of the sausage sit undisturbed long enough to brown. That deeper browning gives the gravy a fuller, more classic flavor. Allowing genuine, sustained contact between the sausage and the hot pan, rather than breaking it up constantly, is what lets real browning develop — that browning becomes a direct, foundational part of the gravy’s own flavour in the very next stage. - Build the Gravy Base
Sprinkle the flour evenly over the sausage and stir well so the flour coats the meat and absorbs the fat. Cook for 1 to 2 minutes, stirring constantly, until the flour no longer looks raw. The mixture should look pasty but not dry. Cooking the flour directly in the sausage’s own rendered fat, rather than adding it later to the milk, coats each starch granule and cooks out its raw taste at the same time — that combination is what allows the gravy to thicken smoothly once the milk joins, rather than tasting floury or turning lumpy. - Add the Milk and Thicken the Gravy
Pour in the milk gradually, stirring constantly to prevent lumps. Once all the milk is added, keep cooking over medium to medium-low heat for 5 to 8 minutes, stirring often, until the gravy thickens. Season with black pepper generously, then add salt only if needed. Add cayenne if using. The gravy should be thick enough to coat a spoon and slowly flow over the biscuits, not stiff like paste and not thin like soup. If it gets too thick, loosen it with a splash of milk. Adding the milk gradually, rather than all at once, lets the flour-coated sausage properly absorb and thicken each addition before more liquid is poured in — dumping it in together risks the gravy turning lumpy rather than smoothly, evenly thickened. - Split the Biscuits and Serve
Split the warm biscuits in half and place 2 biscuits per serving onto plates. Spoon the hot sausage gravy generously over the top so it settles into the biscuit crumb and pools slightly on the plate. Finish with a little extra black pepper and serve immediately. Splitting the biscuits while they’re still genuinely warm, right before the hot gravy goes on, is what lets that gravy actually settle into the biscuit’s own tender crumb rather than sitting as a separate layer on top of a cooled, less receptive surface.
*Notes :
- Keeping visible, pea-sized pieces of cold butter throughout the biscuit dough, rather than working it in completely smooth, deserves genuine recognition as the technique responsible for these biscuits’ real height and flakiness. Those distinct fat pockets create steam as the dough bakes, and that steam is specifically what physically separates the biscuit into tender, distinct layers — a dough with the butter fully blended in simply wouldn’t develop that same lift.
- Folding the dough into thirds several times, rather than patting it out just once, deserves the same attention this technique receives throughout classic laminated and semi-laminated doughs. That repeated folding mechanically builds real, stacked layers into the dough before it ever reaches the oven, which is directly why pressing the cutter straight down — never twisting — matters so much: twisting would seal those layers’ cut edges shut, trapping them and reducing the biscuit’s own rise.
- Building the gravy directly in the same pan the sausage was just browned in, using its own rendered fat to cook the flour, deserves recognition as the technique responsible for this gravy’s full, classic depth. That approach means the gravy’s foundational flavour comes directly from the sausage’s own fond and fat, rather than starting from a separate, neutral base that would miss much of that developed flavour entirely.
- Adding the milk to the gravy gradually, rather than all at once, deserves the same attention this technique receives throughout this collection’s other flour-thickened sauces. That gradual approach lets the flour-coated sausage properly absorb each addition of liquid before more is poured in, protecting the gravy from turning lumpy the way a single, large addition risks.
Why This Recipe Works
This recipe works because the biscuit dough is built with visible, cold butter pieces that create real steam pockets, and repeated folding builds distinct layers before baking even begins. Pressing the cutter straight down protects those layers’ cut edges, letting the biscuits rise fully in the oven.
The sausage is browned properly, building real flavour, and the gravy is built directly in that same pan, cooking the flour in the sausage’s own fat before the milk is added gradually to avoid lumps. Splitting the biscuits while still warm lets the finished gravy settle properly into the crumb.
Ingredient Breakdown
Cold, Pea-Sized Butter Pieces in the Dough
The critical technique — creates the steam pockets responsible for the biscuit’s real height and flaky, layered texture.
Repeated Folding (Thirds, Several Times)
The critical technique — mechanically builds distinct, stacked layers into the dough before baking.
Straight-Down Cutting (Never Twisted)
The critical technique — protects the dough’s cut edges from being sealed shut, preserving full rise.
Properly Browned Sausage
The gravy’s flavour foundation — real, sustained pan contact builds the depth that carries directly into the finished gravy.
Gradually Added Milk
The critical thickening technique — lets the flour-coated sausage absorb each addition smoothly, protecting against a lumpy gravy.
Flavor Structure Explained
This Southern biscuits and sausage gravy follows a layered balance model:
- Tall, flaky foundation (cold-butter, folded biscuit dough)
- Savoury seared depth (properly browned breakfast sausage)
- Rich, thickened body (flour-and-milk gravy base)
- Sharp peppery finish (generous black pepper, optional cayenne)
The cold-butter, carefully folded biscuit dough provides this dish’s tall, genuinely flaky foundation. Properly browned breakfast sausage contributes real, seared savoury depth that carries directly into the gravy. A flour-and-milk gravy base, built in the sausage’s own fat, adds rich, thickened body that clings to the split biscuits. Generous black pepper, with an optional touch of cayenne, finishes the dish with a sharp, classic peppery note that’s central to this recipe’s identity, not simply a garnish.
Common Mistakes to Avoid
- Overmixing the Biscuit Dough – This produces tough biscuits rather than tender, flaky ones. Always stop as soon as the dough comes together, shaggy and rough.
- Twisting the Cutter When Cutting Biscuits – This seals the dough’s cut edges and reduces the rise. Always press straight down.
- Rushing the Sausage Browning – This misses real flavour depth that carries directly into the gravy. Always let it brown properly before moving on.
- Adding the Milk All at Once – This risks a lumpy gravy. Always pour it in gradually, stirring constantly.
- Letting the Gravy Sit Too Long Before Serving – It thickens considerably as it sits. Always keep extra milk nearby to loosen it before serving.
Variations
Extra-Peppery Version
Increase the black pepper for an even more assertively classic, peppery gravy.
Spicy Version
Include the optional cayenne, or use a spicier breakfast sausage, for more heat throughout.
Cheddar Biscuit Version
Fold a handful of shredded sharp cheddar into the biscuit dough for a richer, cheesy variation.
Sage Sausage Version
Use a sage-forward breakfast sausage, per the recipe’s own note, for a more traditional, herbaceous gravy flavour.
Storage & Make-Ahead
Use cold butter and cold buttermilk for the best biscuit rise and texture.
Gravy thickens more as it sits, so keep a little extra milk nearby to loosen it before serving if needed.
These are best served hot, right after the gravy is made.
Frequently Asked Questions
Why does the butter need to stay in visible, pea-sized pieces rather than being fully blended into the flour?
Those distinct fat pockets create steam as the dough bakes, and that steam is specifically what physically separates the biscuit into tender, flaky layers. Fully blended butter wouldn’t produce that same lift.
Why is the dough folded into thirds several times instead of just patted flat once?
That repeated folding mechanically builds real, stacked layers into the dough before it ever bakes, which is directly responsible for the biscuit’s characteristic tall rise and flaky, pull-apart texture.
Why does the cutter need to be pressed straight down rather than twisted?
Twisting seals the dough’s cut edges shut, trapping the layers built during folding and reducing how much the biscuit can rise in the oven. Pressing straight down protects that full rise.
Why is the gravy built in the same pan the sausage was browned in, rather than a clean one?
That approach means the gravy’s foundational flavour comes directly from the sausage’s own rendered fat and browned fond, rather than starting from a separate, neutral base that would miss much of that developed flavour.
Are there other classic biscuit, breakfast sandwich, or comfort-food breakfast dishes worth trying?
Classic Southern Buttermilk Biscuits is worth making on its own as the foundation for this and many other Southern breakfasts. Breakfast Sausage Egg and Cheese Biscuit Sandwich is also worth trying for a different, portable use of the same biscuit, and Classic American Breakfast Plate offers another hearty, multi-component breakfast worth exploring. Homemade Chicken Nuggets is worth trying too for a different classic comfort-food direction.
Nutrition Facts
( per serving )
Calories
~920 kcal
Protein
32 g
Fat
56 g
Carbs
72 g
Calories
~920 kcal
Protein
32 g
Fat
56 g
Carbs
72 g
Related Recipes
Related Recipes

Cheddar Chive Scones
Savory cheddar chive scones with golden craggy tops, buttery flaky interiors, sharp cheddar pockets, and fresh chive flecks throughout.
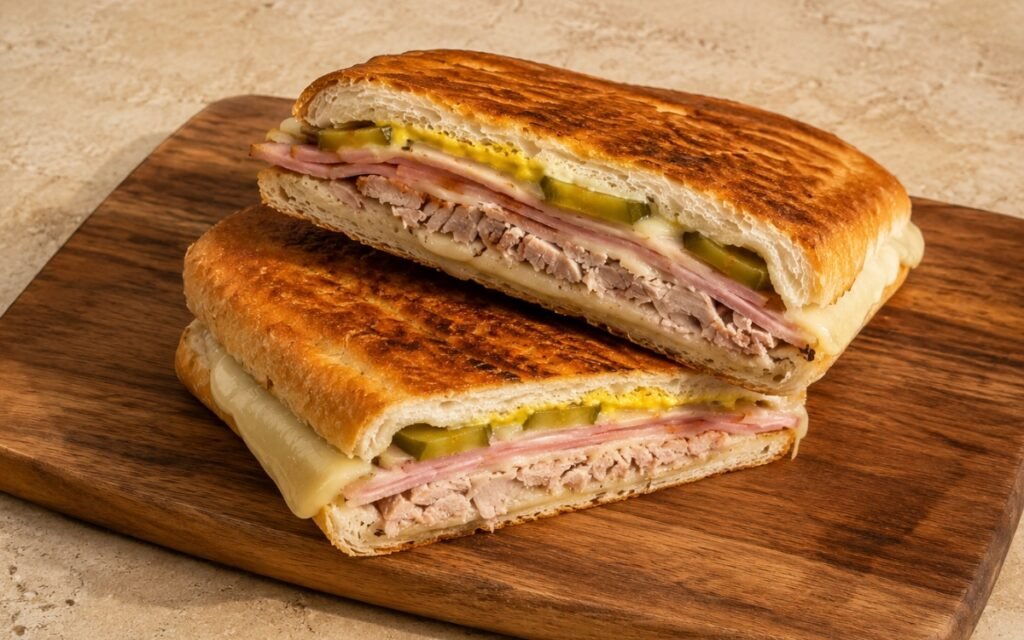
Cuban Sandwich (Cubano)
Citrus-marinated pork roasted in its own mojo marinade, layered with ham, Swiss cheese, and pickles on homemade Cuban bread, pressed until crisp and golden.
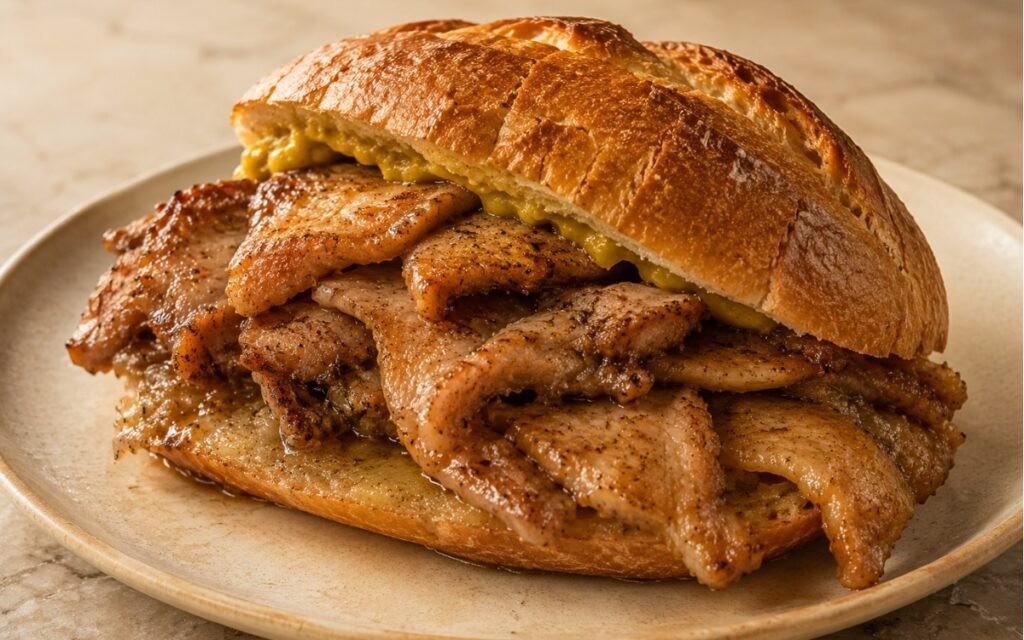
Portuguese Pork Bifana
Thin pork slices marinated in garlic and white wine, simmered until glossy and tender, piled into crusty homemade papo-seco rolls.

You might also like
You might also like
Breakfast Tacos
Warm corn tortillas with soft scrambled eggs, melted cheese, crispy bacon or crumbly chorizo, avocado, salsa, and lime.
Brie and Bacon Omelette
A soft folded omelette filled with creamy melted Brie and crispy bacon, served with golden breakfast potatoes and buttered toast.
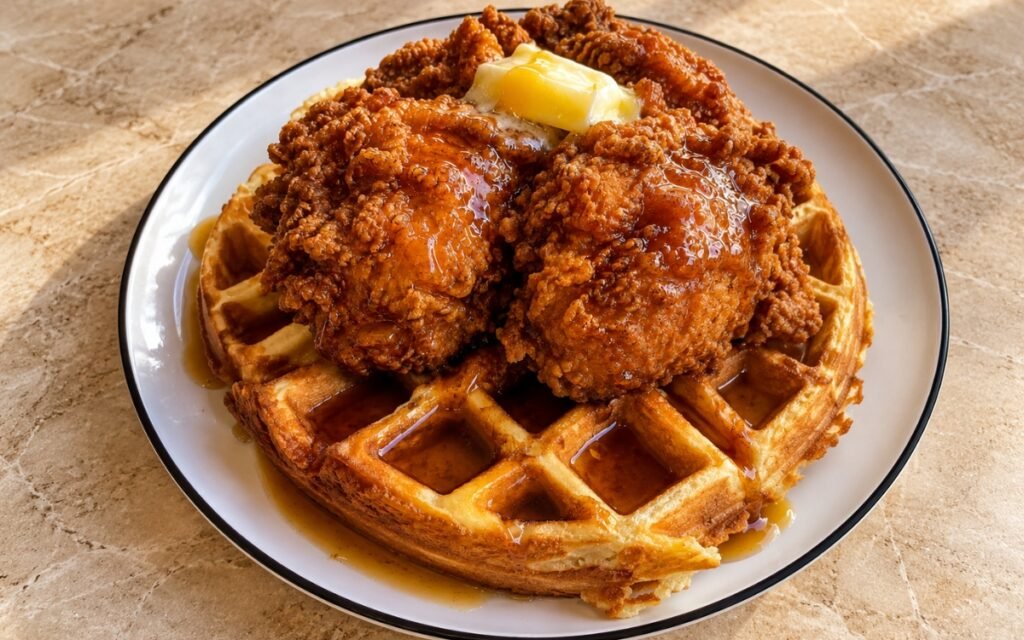
Chicken and Waffles
Golden crispy boneless fried chicken thighs served over thick Belgian-style waffles with butter and maple syrup.


Southern Biscuits and Sausage Gravy
Ingredients
Method
- Preheat the oven to 220°C. Line a baking tray with parchment paper. In a large bowl, whisk together the flour, baking powder, baking soda, salt, and sugar if using. Add the cold butter and work it into the flour with your fingertips or a pastry cutter until the mixture looks like coarse crumbs with some pea-sized butter pieces still visible. Pour in the cold buttermilk and stir gently just until the dough comes together. If it still looks very dry and crumbly, add 1 to 2 tbsp extra buttermilk. Do not overmix. The dough should look shaggy and slightly rough. Overworked biscuit dough makes tough biscuits instead of tender, fluffy ones. Keeping those visible, pea-sized pieces of cold butter throughout, rather than blending the fat in completely, is exactly what creates the pockets of steam responsible for a genuinely tall, flaky biscuit once baked.
- Turn the dough out onto a lightly floured surface. Pat it into a rough rectangle about 2cm thick. Fold the dough over itself in thirds, then gently pat it out again. Repeat this 2 more times. Pat the final dough to about 2.5cm thick and cut out 8 biscuits using a round cutter, pressing straight down without twisting. Place them on the baking tray so the sides just barely touch for softer sides, or leave a little space for more crust. Those quick folds create layers. Twisting the cutter seals the edges and reduces the rise, so press straight down only. That repeated folding mechanically builds the same kind of distinct, stacked layers responsible for a biscuit’s characteristic tall rise and flaky pull-apart texture — pressing straight down with the cutter, rather than twisting, protects those layers’ cut edges from being sealed shut, which would otherwise trap them and prevent the biscuit from rising as freely.
- Bake for 14 to 17 minutes, until well risen and lightly golden on top. Transfer to a rack or keep warm loosely covered. The biscuits should feel set, light, and fluffy inside. That real oven heat is what finally converts the dough’s carefully preserved cold fat pockets into the steam responsible for the biscuit’s actual rise — everything built into the dough up to this point exists specifically to make this stage possible.
- While the biscuits bake, place a large skillet over medium heat. Add the breakfast sausage and cook, breaking it up with a spatula, for 6 to 8 minutes, until fully cooked and nicely browned in small crumbles. There should be some rendered fat in the pan. If the sausage is unusually lean and the skillet looks dry, add 1 tbsp butter before the next step. Let some of the sausage sit undisturbed long enough to brown. That deeper browning gives the gravy a fuller, more classic flavor. Allowing genuine, sustained contact between the sausage and the hot pan, rather than breaking it up constantly, is what lets real browning develop — that browning becomes a direct, foundational part of the gravy’s own flavour in the very next stage.
- Sprinkle the flour evenly over the sausage and stir well so the flour coats the meat and absorbs the fat. Cook for 1 to 2 minutes, stirring constantly, until the flour no longer looks raw. The mixture should look pasty but not dry. Cooking the flour directly in the sausage’s own rendered fat, rather than adding it later to the milk, coats each starch granule and cooks out its raw taste at the same time — that combination is what allows the gravy to thicken smoothly once the milk joins, rather than tasting floury or turning lumpy.
- Pour in the milk gradually, stirring constantly to prevent lumps. Once all the milk is added, keep cooking over medium to medium-low heat for 5 to 8 minutes, stirring often, until the gravy thickens. Season with black pepper generously, then add salt only if needed. Add cayenne if using. The gravy should be thick enough to coat a spoon and slowly flow over the biscuits, not stiff like paste and not thin like soup. If it gets too thick, loosen it with a splash of milk. Adding the milk gradually, rather than all at once, lets the flour-coated sausage properly absorb and thicken each addition before more liquid is poured in — dumping it in together risks the gravy turning lumpy rather than smoothly, evenly thickened.
- Split the warm biscuits in half and place 2 biscuits per serving onto plates. Spoon the hot sausage gravy generously over the top so it settles into the biscuit crumb and pools slightly on the plate. Finish with a little extra black pepper and serve immediately. Splitting the biscuits while they’re still genuinely warm, right before the hot gravy goes on, is what lets that gravy actually settle into the biscuit’s own tender crumb rather than sitting as a separate layer on top of a cooled, less receptive surface.