
Indonesian Nasi Goreng
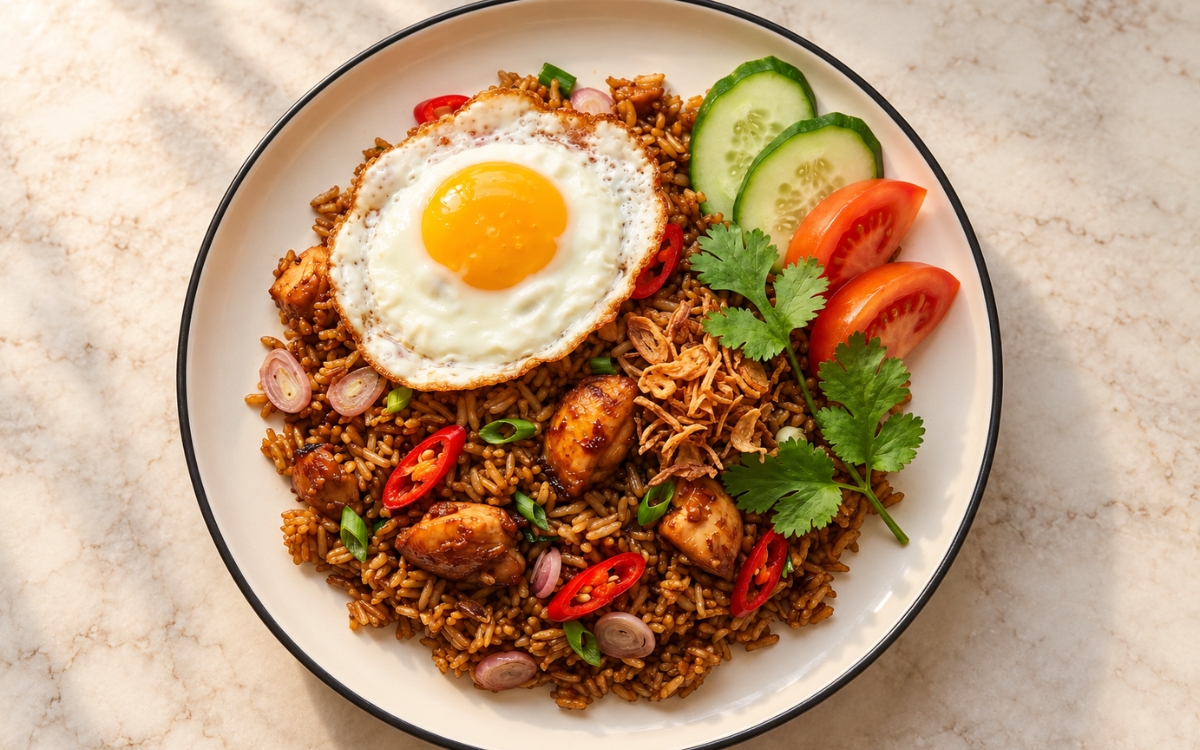
A classic Indonesian fried rice of cold, day-old jasmine rice tossed with small pieces of chicken thigh, a rough shallot, garlic and chilli paste and a dark, glossy kecap manis seasoning, crowned with a lacy fried egg, the key being dry, separate grains against deep sweet-savoury flavour. Frying properly cold, dried-out rice over high heat, rather than tipping freshly cooked, steamy grains into the wok, is the technique this whole dish depends on for its loose, lightly toasted texture — warm rice still carries surface moisture and soft starch that turn to paste the moment the kecap manis goes in, the same cold-rice-for-frying principle used elsewhere in this collection whenever cooked grains need to fry rather than steam. Pounding the shallots, garlic, chillies and toasted shrimp paste into a rough paste, then frying it until the raw smell has gone, is what gives the rice its deep, savoury and gently funky base. Searing the chicken separately in a very hot wok and returning it at the end is what keeps the pieces juicy and caramelised instead of stewed into the rice. The payoff is a nasi goreng with real, wok-fried character — glossy, dark-brown grains, tender chicken, a crisp-edged runny-yolk egg, crunchy fried shallots and cool cucumber and tomato alongside.

Prep Time : 25 min
Total Time : 3 hr 20 min
Servings : 4
25 min
3 hr 20 min
4
Ingredients
For the Rice
• 300g jasmine rice, uncooked
• 390–420ml water, for cooking the rice
For the Chicken
• 700g boneless skinless chicken thighs, cut into small bite-size pieces
• 1 tbsp soy sauce
• 1 tsp kecap manis
• ¼ tsp ground white pepper
For the Aromatic Paste
• 6 medium shallots, peeled and roughly chopped
• 4 garlic cloves, roughly chopped
• 2–3 red chillies, roughly chopped, adjusted to your heat preference
• 1 small red chilli or bird’s eye chilli, roughly chopped, optional, for extra heat
• 1 tsp shrimp paste (terasi), toasted briefly if raw, optional but recommended
• 1 tbsp neutral oil
For the Seasoning Sauce
• 2½ tbsp kecap manis, plus a little extra to deepen the colour, only if needed
• 1½ tbsp soy sauce
• 1 tsp fish sauce or light soy sauce
• ½ tsp ground white pepper
• ½ tsp sugar, only if needed
• Salt, to taste
For the Stir-Fry
• 3 tbsp neutral oil, divided
• 3 scallions, thinly sliced, white and green parts separated
• 900g cold cooked jasmine rice, from the rice above, ideally day-old
For the Fried Eggs
• 4 eggs
• 2–3 tbsp neutral oil, for frying
For the Garnish
• 1 small cucumber, sliced
• 2 medium tomatoes, cut into wedges
• 4 tbsp fried shallots
• Extra sliced scallion greens, to finish
• Sliced red chilli, optional
• Small cilantro leaves, optional
Directions
- Cook and Chill the Rice
Rinse the 300g jasmine rice in cold water 3–4 times, swirling it with your fingers, until the water runs mostly clear, then drain well. Combine the rice and 390–420ml water in a medium saucepan, using the lower amount for firmer grains, and bring to a boil over medium-high heat. Stir once, cover tightly, reduce to the lowest heat and cook for 12 minutes, until the water is absorbed and the grains are just tender. Spread the rice straight away in a thin layer on a large tray and let the steam escape for 15–20 minutes, then refrigerate it uncovered or loosely covered for at least 2 hours, or ideally overnight. For same-day rice, spread it as thinly as possible so the surface dries in time. The rice is ready when the grains feel cold and firm and separate easily without clumping. That chilling and drying stage is what lets the grains fry and toast later instead of steaming into a sticky mass. - Marinate the Chicken
Cut the 700g chicken thighs into small bite-size pieces, about 1.5–2cm, trimming away any thick pieces of fat. In a bowl, mix the chicken with the 1 tbsp soy sauce, 1 tsp kecap manis and ¼ tsp ground white pepper until every piece is evenly coated. Leave it to marinate for 15 minutes while the paste and seasoning sauce are prepared; a short seasoning is all it needs, so there is no benefit in leaving it for hours. The chicken should look lightly seasoned and glossy, not swimming in marinade, and if liquid pools in the bowl, tip off the excess before cooking. That short, light seasoning is what flavours the chicken without adding extra moisture that would steam it in the wok. - Make the Aromatic Paste
If using the 1 tsp shrimp paste and it is raw, toast it in a small dry pan over medium heat for 1–2 minutes, pressing it flat and turning it once, until it smells roasted rather than sharp. Pound or pulse the 6 shallots, 4 garlic cloves, 2–3 red chillies, the extra small red or bird’s eye chilli if using and the toasted shrimp paste with the 1 tbsp neutral oil, using a mortar and pestle or a small food processor. Stop when the mixture is a rough, moist paste with no large hard chunks of garlic or shallot left; it does not need to be smooth. If the blades will not catch, scrape down the sides rather than adding water. That coarse texture is what fries into genuinely distinct, caramelised flecks that cling to the rice rather than a wet purée that clumps it. - Mix the Seasoning Sauce
In a small bowl, stir together the 2½ tbsp kecap manis, 1½ tbsp soy sauce, 1 tsp fish sauce or light soy sauce and ½ tsp ground white pepper. Taste it: it should be sweet-savoury, deep and slightly peppery, so add the ½ tsp sugar only if your kecap manis is on the less sweet side. Hold back the salt for now, because kecap manis, soy sauce, fish sauce and shrimp paste all vary widely in saltiness. Set the sauce beside the stove with the paste, the marinated chicken, the sliced scallions and the cold rice, loosened roughly with your fingers so no large clumps remain. That complete setup is what lets the stir-fry move fast and stay properly hot once the wok goes on. - Sear the Chicken
Heat a large wok or wide skillet over high heat for 2–3 minutes, until properly hot and just beginning to smoke. Add 1½ tbsp of the neutral oil, swirl to coat, then add the marinated chicken in a single layer; if the pan is not large enough, cook it in 2 batches, splitting the oil between them. Leave it undisturbed for 1 minute, then stir-fry for 4–6 minutes in total, until the pieces lose their raw colour, brown at the edges and any released liquid has mostly evaporated. Cut the largest piece to check that it is cooked through with no pink, then transfer the chicken to a plate. That separate high-heat sear is what caramelises the chicken while keeping it juicy, since it only warms through briefly with the rice later. - Fry the Paste and the Rice
Return the wok to high heat and add the remaining 1½ tbsp oil. Add the aromatic paste and the sliced scallion whites and fry for 1–2 minutes, stirring constantly, until fragrant, slightly darker and the raw shallot-garlic smell has gone. Add the 900g cold rice and break up every clump with the spatula, tossing continuously so the grains are coated in the paste. Return the chicken, pour in the seasoning sauce and stir-fry for 3–5 minutes, letting the rice sit against the pan for a few seconds between tosses. If the rice looks pale, add a little extra kecap manis 1 tsp at a time; if the wok turns wet or steamy, keep frying until the moisture cooks off. Taste, season with salt only if needed and fold in the scallion greens. The rice is ready when the grains are evenly brown, glossy and clearly separate, dry-fried and loose rather than saucy. Take the wok off the heat. That brief contact with the hot pan is what gives the grains their genuine toasted, wok-fried aroma. - Fry the Eggs
Heat the 2–3 tbsp neutral oil in a skillet over medium-high heat until it shimmers, around 180°C. Crack in 1–2 eggs at a time and fry for 2–3 minutes, tilting the pan and spooning hot oil over the whites, until they are fully set, the edges are lacy, crisp and browned, and the yolks are still bright and runny, or cooked further to your preference. If the edges brown before the whites set, lower the heat slightly. Lift the eggs out with a slotted spatula and repeat with the rest. That hot, generous oil is what gives the frilly, crisp edges a proper nasi goreng egg is known for. - Assemble the Bowls
Divide the nasi goreng evenly between 4 bowls and top each portion with one fried egg. Arrange the cucumber slices and tomato wedges on the side of each bowl rather than over the hot rice. Finish each bowl with 1 tbsp fried shallots, a scatter of extra scallion greens, sliced red chilli if using and a few small cilantro leaves if using. Add the fried shallots last so they stay crisp, and serve straight away while the rice is genuinely hot and the egg edges still crackle. That deliberate separation of hot and cool is what keeps every bowl’s contrast between dry-fried rice, rich egg and fresh, crunchy garnish.
*Notes :
- Chilling the cooked rice until cold and dry deserves genuine recognition as the technique most directly responsible for whether this nasi goreng fries or steams. The recipe’s own warning that “Rice for nasi goreng must be cold and dry, not freshly hot and steamy” explains why — warm grains still carry surface moisture and soft starch, so the kecap manis glues them into clumps instead of coating each grain separately.
- Frying the aromatic paste until the raw smell disappears deserves the same attention this technique receives throughout this collection’s other spice-paste dishes, because it builds the whole savoury base of the rice. The recipe’s own note that “A rough paste gives a more classical fried-rice texture than a completely smooth puree” matters just as much — coarse shallot and garlic fry into caramelised flecks, while a smooth purée turns wet and stops the rice toasting.
- Searing the chicken on its own before the rice goes in deserves genuine respect as the detail most directly responsible for juicy, properly browned pieces. Cooking it first in a very hot wok, in 2 batches if needed, lets the soy and kecap manis caramelise at the edges — stirred raw into the rice, it would release liquid that steams the grains and leaves the chicken pale and soft.
- The finished texture of the rice deserves attention as a genuine, checkable readiness cue rather than a loose approximation. The recipe’s own target that “The final texture should be dry-fried and loose, not saucy” gives the test — evenly brown, glossy and separate grains are done, while a wet, sticky wok means the heat is too low or the rice was too moist, so keep frying.
Why This Recipe Works
This recipe works because each stage removes moisture or builds flavour before the rice ever meets the sauce. Cooked, spread and chilled jasmine rice firms into dry, separate grains that can take fierce heat without collapsing. A rough paste of shallot, garlic, chilli and toasted shrimp paste fries into a fragrant, caramelised base, while chicken seared on its own stays juicy and browned. Kecap manis, soy sauce and white pepper then coat every grain in a dark, sweet-savoury glaze over short, high heat. A lacy fried egg, crisp shallots and cool cucumber and tomato finish a bowl that is rich, loose and genuinely balanced.
Ingredient Breakdown
Cold, Day-Old Jasmine Rice
The critical technique — chilled, surface-dried grains fry loose and separate instead of turning sticky once the dark seasoning goes in.
High-Heat Wok Frying
The critical technique — fierce heat and constant tossing dry and lightly toast the grains rather than steaming them in the sauce.
Rough Shallot, Garlic and Chilli Paste
The flavour foundation — a coarse pounded paste fries into caramelised flecks that season the rice deeply without making it wet.
Toasted Shrimp Paste (Terasi)
The defining flavour ingredient — a brief dry toast removes raw harshness and leaves rounded, savoury depth beneath the sweetness.
Kecap Manis
The critical ingredient choice — thick, sweet soy sauce drives both the signature dark-brown colour and the sweet-savoury flavour of the dish.
Separately Seared Chicken Thighs
The centrepiece — small thigh pieces browned on their own stay juicy and caramelised, then simply warm through with the rice.
Lacy Fried Egg and Fried Shallots
The finishing touch — a crisp-edged runny egg adds richness while fried shallots bring crunch and a sweet, toasty finish.
Flavor Structure Explained
This Indonesian nasi goreng follows a layered balance model:
- Dry, toasted foundation (cold jasmine rice, high-heat frying)
- Deep aromatic base (shallots, garlic, red chillies, shrimp paste)
- Sweet-savoury glaze (kecap manis, soy sauce, fish sauce, white pepper)
- Juicy, caramelised centrepiece (seared chicken thighs)
- Rich, crisp topping (fried egg, fried shallots)
- Cool, fresh contrast (cucumber, tomato, scallion greens)
Cold jasmine rice, fried hard over high heat, forms the dry, toasted foundation that carries everything else. Shallots, garlic, chillies and shrimp paste build the deep aromatic base, and kecap manis, soy sauce, fish sauce and white pepper wrap every grain in a sweet-savoury glaze. Seared chicken thighs add the juicy, caramelised centrepiece, while the fried egg and fried shallots bring richness and crunch. Cucumber, tomato and scallion greens supply the cool, fresh contrast that ties this nasi goreng together.
Common Mistakes to Avoid
- Frying Freshly Cooked Warm Rice – This releases steam and starch that turn the rice sticky and clumped as soon as the sauce goes in. Always use rice that has been chilled until cold, firm and dry.
- Crowding the Chicken in the Wok – This drops the heat so the chicken releases its liquid and stews pale instead of browning. Always cook it in a single layer, in 2 batches if needed.
- Frying Over Too Low a Heat – This steams the rice in its own moisture, leaving it soft and wet rather than genuinely loose and toasted. Always keep the wok very hot and the rice moving.
- Adding the Sauce Before Breaking Up the Rice – This glues the clumps together so some grains stay pale while others turn dark and soggy. Always break up every clump with the spatula before pouring in the seasoning.
- Salting Before Tasting the Finished Rice – This easily oversalts the dish, because kecap manis, soy sauce, fish sauce and shrimp paste all vary in saltiness. Always taste at the very end before adding any salt.
Variations
Prawn Nasi Goreng Version
Swap the chicken for 500g peeled raw prawns, searing them for just 2–3 minutes until pink and curled, for a lighter, sweeter seafood version that keeps the same paste and kecap manis glaze.
Extra-Spicy Version
Use all 3 red chillies plus the bird’s eye chilli in the paste and finish with plenty of sliced red chilli, per the recipe’s own note on adjusting the heat, for a hotter, sharper bowl.
No Shrimp Paste Version
Leave out the terasi, as the recipe’s own note allows, and rely on the fish sauce and a little extra kecap manis for a cleaner, milder nasi goreng that still keeps its sweet-savoury depth.
Same-Day Rice Version
Cook the rice the morning of serving, spread it very thinly on a tray and chill it uncovered for at least 2 hours until the surface feels dry, for a near-classic texture without overnight planning.
Storage & Make-Ahead
The rice can be cooked up to 1 day ahead and kept loosely covered in the fridge, and day-old rice genuinely gives the best result because the grains firm up and dry out as they chill.
Cooked rice should be cooled and refrigerated within 1 hour of cooking and fried within 1 day, because rice left warm at room temperature can grow bacteria whose toxins reheating does not destroy.
The aromatic paste and the seasoning sauce can both be made up to 2 days ahead and kept in separate sealed jars in the fridge, which turns the final cook into a fast, focused stir-fry.
Leftover nasi goreng keeps in an airtight container in the fridge for up to 2 days, but store the cucumber, tomato and fried shallots separately, since they soften and turn soggy sitting on the rice.
Reheat leftovers in a hot wok with a few drops of oil, tossing for 3–4 minutes until steaming hot throughout, and top them with a freshly fried egg and fresh garnishes rather than reusing old ones.
Frequently Asked Questions
Why does nasi goreng need cold, day-old rice instead of freshly cooked rice?
Freshly cooked rice is soft and still releasing steam, so it clumps and turns sticky once the kecap manis goes in. Chilled rice has genuinely firm, dry grains that separate easily and toast lightly in the hot wok.
Why is the shrimp paste toasted before it goes into the aromatic paste?
Raw terasi has a sharp, harsh smell that can overwhelm the dish. A brief toast in a dry pan mellows it into a rounded, roasted savouriness that deepens the shallots and garlic without tasting fishy.
Why is the chicken cooked separately and added back to the rice later?
Seared on its own, the chicken browns at the edges and its released liquid evaporates quickly. Cooking it together with the rice would trap that moisture, steaming the grains and leaving the chicken pale and soft.
Why is kecap manis so important in nasi goreng?
Kecap manis is a thick, sweetened soy sauce that gives the rice both its signature dark-brown colour and its sweet-savoury flavour. Regular soy sauce alone would taste saltier and flatter and leave the rice much paler.
Are there other classic Asian fried rice, braised meat, or fresh salad dishes worth trying?
Korean Kimchi Fried Rice offers another classic fried rice direction worth exploring. Indonesian Beef Rendang and Char Siu — Chinese BBQ Pork over Rice are also worth trying for other rich, meat-centred meals, and Simple Fried Rice (No Protein) and Spicy Asian Cucumber Salad offer other simple rice and crisp side dishes worth exploring.
Nutrition Facts
( Per Serving — 1 bowl )
Calories
~880 kcal
Protein
48 g
Fat
37 g
Carbs
83 g
Calories
~880 kcal
Protein
48 g
Fat
37 g
Carbs
83 g
Related Recipes
Related Recipes
-

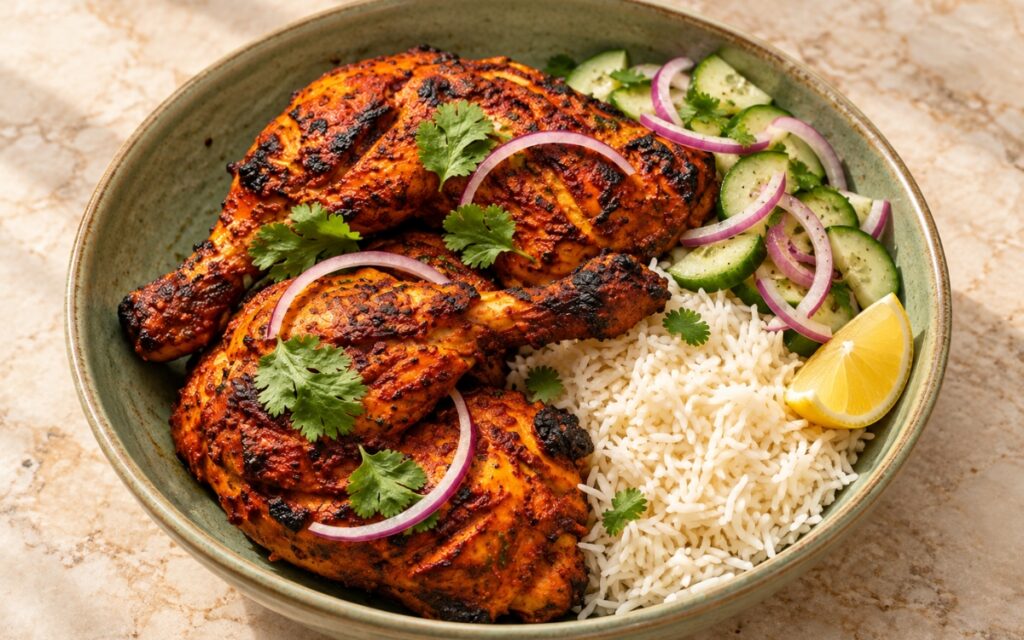
Tandoori Masala Chicken
Classical tandoori-style chicken legs marinated twice in yogurt and warm spices, roasted or grilled until charred and juicy, served with jasmine rice and salad.
-
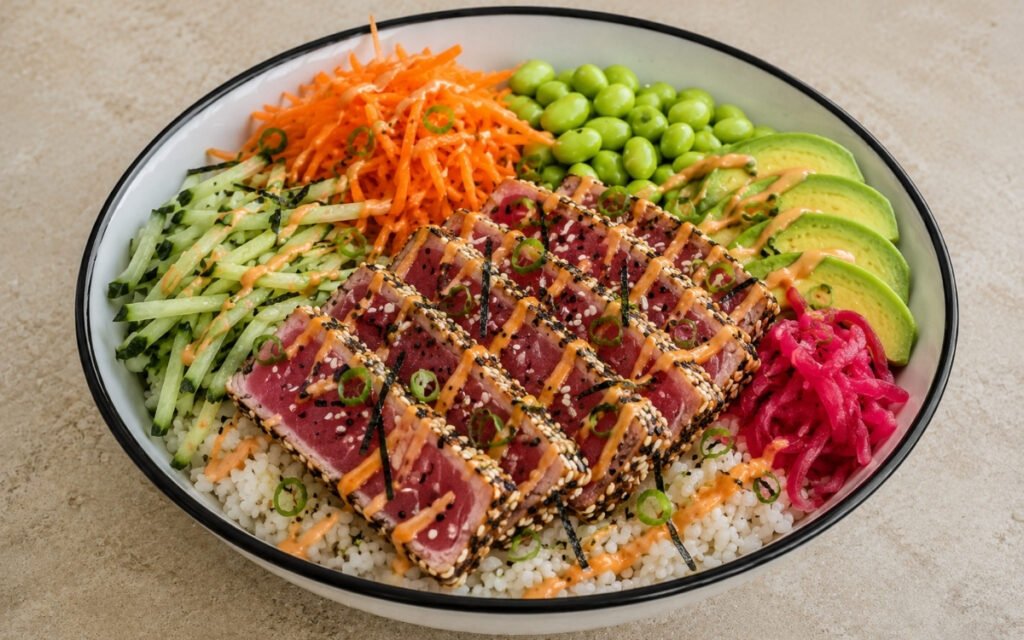
Spicy Tuna Rice Bowl
Sushi-grade tuna in a mixed sesame crust seared 45 seconds for a raw centre — over sushi rice with gochugaru-sriracha Kewpie mayo, avocado, cucumber, and pickled ginger. 45 minutes.
-
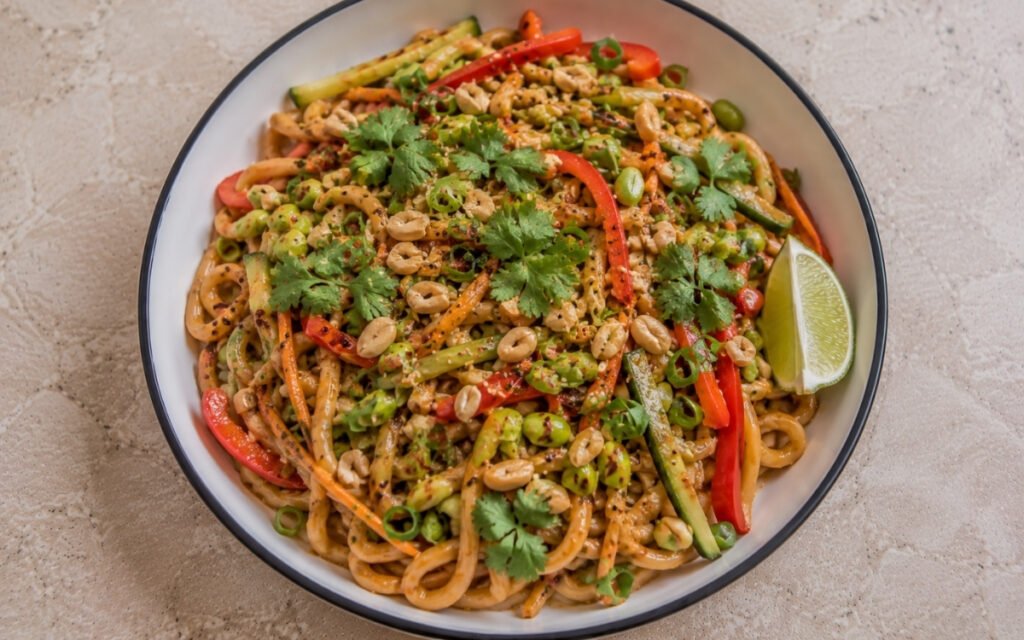
Spicy Peanut Butter Noodles
Udon in a peanut sauce spiked with bird’s eye chilies and Sichuan peppercorns — better the next day.
You might also like
You might also like
-
Korean Spicy Chicken Dakgalbi Bowl
Glossy gochujang chicken with sweet potato, cabbage, and onion over white rice, topped with sesame seeds and scallion.
-
Char Siu Fried Rice
Golden-brown jasmine fried rice with diced char siu, egg curds, peas, carrots, and scallions, topped with larger glossy slices of roast pork.
-
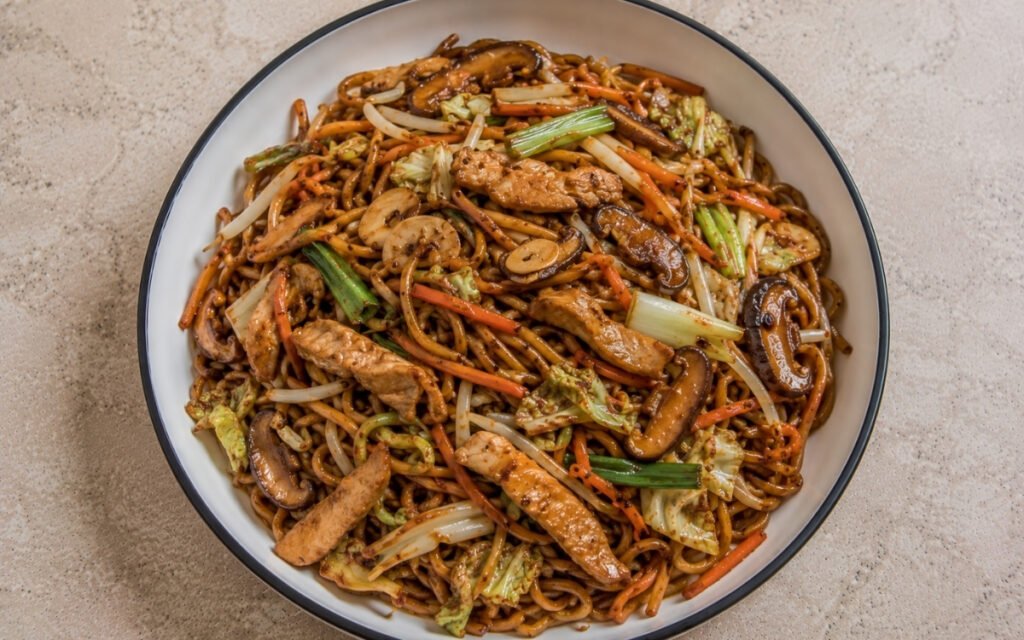
Easy Chicken Chow Mein Noodles
Hong Kong egg noodles crisped in a smoking-hot wok with seared chicken and vegetables — four-component soy sauce, cornstarch glaze, 35 minutes.


Indonesian Nasi Goreng
Ingredients
Method
- Rinse the 300g jasmine rice in cold water 3–4 times, swirling it with your fingers, until the water runs mostly clear, then drain well. Combine the rice and 390–420ml water in a medium saucepan, using the lower amount for firmer grains, and bring to a boil over medium-high heat. Stir once, cover tightly, reduce to the lowest heat and cook for 12 minutes, until the water is absorbed and the grains are just tender. Spread the rice straight away in a thin layer on a large tray and let the steam escape for 15–20 minutes, then refrigerate it uncovered or loosely covered for at least 2 hours, or ideally overnight. For same-day rice, spread it as thinly as possible so the surface dries in time. The rice is ready when the grains feel cold and firm and separate easily without clumping. That chilling and drying stage is what lets the grains fry and toast later instead of steaming into a sticky mass.
- Cut the 700g chicken thighs into small bite-size pieces, about 1.5–2cm, trimming away any thick pieces of fat. In a bowl, mix the chicken with the 1 tbsp soy sauce, 1 tsp kecap manis and ¼ tsp ground white pepper until every piece is evenly coated. Leave it to marinate for 15 minutes while the paste and seasoning sauce are prepared; a short seasoning is all it needs, so there is no benefit in leaving it for hours. The chicken should look lightly seasoned and glossy, not swimming in marinade, and if liquid pools in the bowl, tip off the excess before cooking. That short, light seasoning is what flavours the chicken without adding extra moisture that would steam it in the wok.
- If using the 1 tsp shrimp paste and it is raw, toast it in a small dry pan over medium heat for 1–2 minutes, pressing it flat and turning it once, until it smells roasted rather than sharp. Pound or pulse the 6 shallots, 4 garlic cloves, 2–3 red chillies, the extra small red or bird’s eye chilli if using and the toasted shrimp paste with the 1 tbsp neutral oil, using a mortar and pestle or a small food processor. Stop when the mixture is a rough, moist paste with no large hard chunks of garlic or shallot left; it does not need to be smooth. If the blades will not catch, scrape down the sides rather than adding water. That coarse texture is what fries into genuinely distinct, caramelised flecks that cling to the rice rather than a wet purée that clumps it.
- In a small bowl, stir together the 2½ tbsp kecap manis, 1½ tbsp soy sauce, 1 tsp fish sauce or light soy sauce and ½ tsp ground white pepper. Taste it: it should be sweet-savoury, deep and slightly peppery, so add the ½ tsp sugar only if your kecap manis is on the less sweet side. Hold back the salt for now, because kecap manis, soy sauce, fish sauce and shrimp paste all vary widely in saltiness. Set the sauce beside the stove with the paste, the marinated chicken, the sliced scallions and the cold rice, loosened roughly with your fingers so no large clumps remain. That complete setup is what lets the stir-fry move fast and stay properly hot once the wok goes on.
- Heat a large wok or wide skillet over high heat for 2–3 minutes, until properly hot and just beginning to smoke. Add 1½ tbsp of the neutral oil, swirl to coat, then add the marinated chicken in a single layer; if the pan is not large enough, cook it in 2 batches, splitting the oil between them. Leave it undisturbed for 1 minute, then stir-fry for 4–6 minutes in total, until the pieces lose their raw colour, brown at the edges and any released liquid has mostly evaporated. Cut the largest piece to check that it is cooked through with no pink, then transfer the chicken to a plate. That separate high-heat sear is what caramelises the chicken while keeping it juicy, since it only warms through briefly with the rice later.
- Return the wok to high heat and add the remaining 1½ tbsp oil. Add the aromatic paste and the sliced scallion whites and fry for 1–2 minutes, stirring constantly, until fragrant, slightly darker and the raw shallot-garlic smell has gone. Add the 900g cold rice and break up every clump with the spatula, tossing continuously so the grains are coated in the paste. Return the chicken, pour in the seasoning sauce and stir-fry for 3–5 minutes, letting the rice sit against the pan for a few seconds between tosses. If the rice looks pale, add a little extra kecap manis 1 tsp at a time; if the wok turns wet or steamy, keep frying until the moisture cooks off. Taste, season with salt only if needed and fold in the scallion greens. The rice is ready when the grains are evenly brown, glossy and clearly separate, dry-fried and loose rather than saucy. Take the wok off the heat. That brief contact with the hot pan is what gives the grains their genuine toasted, wok-fried aroma.
- Heat the 2–3 tbsp neutral oil in a skillet over medium-high heat until it shimmers, around 180°C. Crack in 1–2 eggs at a time and fry for 2–3 minutes, tilting the pan and spooning hot oil over the whites, until they are fully set, the edges are lacy, crisp and browned, and the yolks are still bright and runny, or cooked further to your preference. If the edges brown before the whites set, lower the heat slightly. Lift the eggs out with a slotted spatula and repeat with the rest. That hot, generous oil is what gives the frilly, crisp edges a proper nasi goreng egg is known for.
- Divide the nasi goreng evenly between 4 bowls and top each portion with one fried egg. Arrange the cucumber slices and tomato wedges on the side of each bowl rather than over the hot rice. Finish each bowl with 1 tbsp fried shallots, a scatter of extra scallion greens, sliced red chilli if using and a few small cilantro leaves if using. Add the fried shallots last so they stay crisp, and serve straight away while the rice is genuinely hot and the egg edges still crackle. That deliberate separation of hot and cool is what keeps every bowl’s contrast between dry-fried rice, rich egg and fresh, crunchy garnish.