
Homemade English Muffins
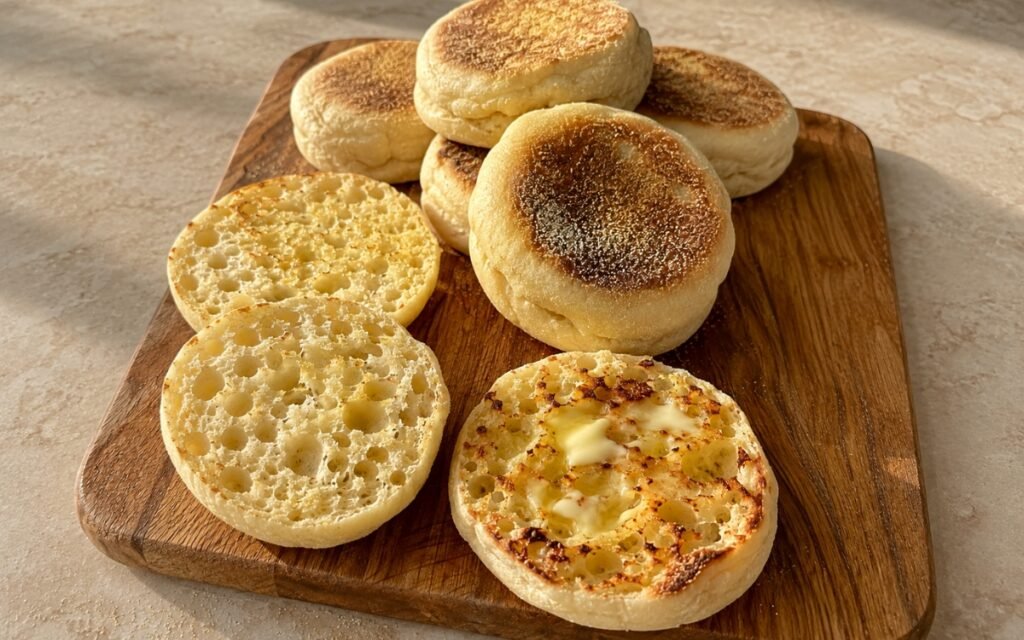
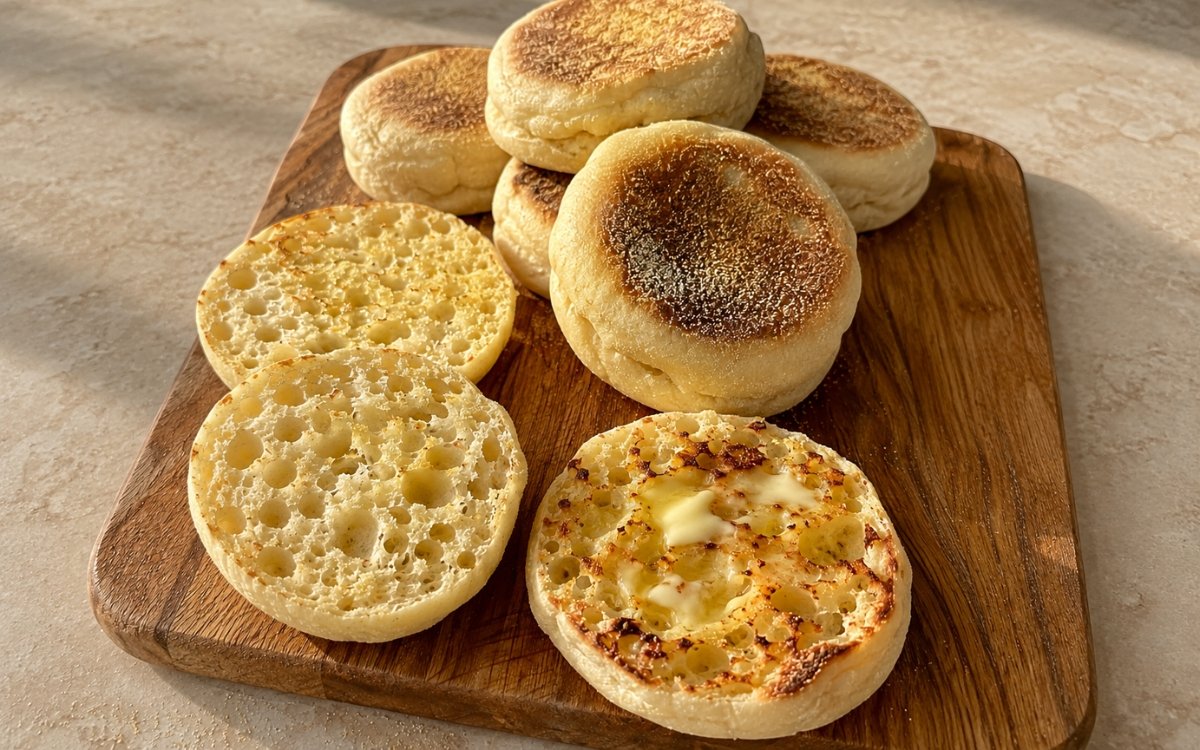
Golden griddled English muffins with crisp cornmeal-dusted surfaces and soft interiors full of airy nooks and crannies. The key is using a soft slightly sticky dough, proofing it properly, cooking the muffins low and slow on a griddle, and splitting them with a fork instead of a knife to open up the classic rough crumb. Keeping the dough genuinely soft and slightly sticky, resisting the urge to add extra flour, is the technique this whole recipe depends on for real nooks and crannies — a drier dough bakes up tight and bready, the same soft-sticky-dough principle used elsewhere in this collection whenever a bread’s characteristic open, airy crumb depends on a wetter hydration level than instinct might suggest. Griddling over genuinely low to medium-low heat is what lets these thick rounds cook through to the center without the outside burning first. Splitting the cooled muffins with a fork rather than a knife is what actually produces the classic rough, craggy surface this bread is known for. The payoff is a muffin with real, distinctive texture — a crisp, cornmeal-dusted exterior giving way to a soft, deeply pocketed interior full of butter-catching nooks and crannies.
Prep Time : 25 min
Cook Time : 25 min
Servings : 8
25 min
25 min
8
Ingredients
For the Dough
• 450g bread flour or strong all-purpose flour — this one on Amazon
• 7g active dry yeast
• 20g granulated sugar
• 280ml whole milk, warm, about 30°C — this one on Amazon
• 60ml warm water, about 30°C
• 40g unsalted butter, melted and slightly cooled — this one on Amazon
• 9g fine sea salt
For Dusting and Cooking
• 60g fine cornmeal or semolina, for dusting
• Neutral oil or butter, very lightly for the pan if needed
For Serving
• Butter, for melting into toasted muffins
This post may contain affiliate links. As an Amazon Associate I earn from qualifying purchases, at no additional cost to you.
Directions
- Activate the Yeast
In a large bowl, mix the warm milk, warm water, sugar, and yeast. Let sit for 5 to 10 minutes, until slightly foamy. The liquid should feel warm, not hot. If it is too hot, it can weaken or kill the yeast. Letting the mixture sit until genuinely foamy before proceeding confirms the yeast is actually active — moving forward with dead or sluggish yeast would leave the whole dough underrisen no matter how carefully every later step is handled. - Make the Dough
Add the flour, melted butter, and salt. Mix until a shaggy dough forms, then knead for 6 to 8 minutes by hand or about 5 minutes in a stand mixer on low speed. The dough should be soft, elastic, and slightly tacky. Do not add too much extra flour. A slightly sticky dough gives better nooks and crannies. A dry dough makes tight, bready muffins. That extra moisture in a properly hydrated dough creates larger, more irregular gas pockets as it proofs and bakes — a drier dough simply doesn’t have the same water content available to form those same open pockets. - First Proof
Place the dough in a lightly greased bowl. Cover and let rise at room temperature for 1 hour to 1 hour 15 minutes, until doubled. That extended rise gives the yeast real time to produce the carbon dioxide responsible for the dough’s eventual open structure, while also letting the gluten network relax and develop full elasticity. - Shape the Muffins
Dust a tray generously with cornmeal or semolina. Turn the dough onto a lightly floured surface and gently press it into a thick rectangle, about 2cm thick. Cut into 8 rounds using a large round cutter, about 8 to 9cm wide. Re-roll scraps gently if needed. Place the rounds on the cornmeal-dusted tray. Dust the tops with more cornmeal. Press the dough out gently instead of crushing it. You want to keep some of the gas inside for a more open crumb. Gentle pressing, rather than a hard roll or crush, is what preserves the gas bubbles already built up during the first proof — those preserved pockets are directly what becomes the muffin’s characteristic open crumb once baked. - Second Proof
Cover the muffins loosely and let proof for 30 to 40 minutes, until puffy and lighter. They should look risen but not collapsed. Under-proofed muffins bake up dense. Over-proofed muffins deflate when moved. They should feel airy but still hold their shape. This narrow window between under- and over-proofed reflects a real, genuine balance point — the dough needs enough time to build real lightness, but pushing past that point weakens the gluten structure enough that the muffin can no longer support its own risen shape. - Heat the Griddle
Heat a heavy skillet, cast iron pan, or griddle over low to medium-low heat. The pan should be hot enough to toast the muffins slowly, but not so hot that the outside burns before the center cooks. That deliberately gentle heat is calibrated specifically around these thick rounds’ real depth — a hotter pan would develop dark colour on the outside well before the dough’s own centre has had enough time to actually cook through. - Griddle the Muffins
Place the muffins on the dry griddle, leaving space between them. Cook for 7 to 9 minutes per side, until deeply golden brown and set on the outside. Turn gently with a spatula. English muffins need slow heat. If the surface gets dark in less than 4 minutes, the pan is too hot and the centers may stay doughy. Leaving genuine space between the muffins, rather than crowding them, gives each one full, even exposure to the pan’s heat rather than uneven cooking from pieces packed too closely together. - Finish the Centers If Needed
If the muffins are very thick or feel soft in the center, transfer them to a 180°C oven for 5 to 8 minutes, until fully cooked through. The center should reach about 94 to 96°C if using a thermometer. The muffins should feel light and springy, not heavy or wet in the middle. That optional finishing bake exists specifically to catch any muffins whose thickness genuinely outpaced what the stovetop griddling alone could fully cook through, rather than pushing the griddle time itself longer and risking a burnt exterior. - Cool Before Splitting
Transfer the muffins to a wire rack and let cool for at least 20 minutes. Split with a fork by poking around the edge, then gently pulling the muffin open. Do not slice with a knife if you want the classic English muffin texture. Fork-splitting creates the rough surface with nooks and crannies. A knife cuts a clean, smooth surface straight through the crumb, while a fork instead tears along the bread’s own natural weak points — that tearing action is precisely what produces the characteristic craggy, uneven surface a proper English muffin is known for. - Toast and Serve
Toast the split muffins until crisp and golden. Serve with butter melting into the holes, or use as the base for Eggs Benedict and breakfast sandwiches. Toasting the already fork-split surface specifically deepens colour and crispness right into those craggy pockets, which is exactly where melted butter later collects most generously.
*Notes :
- Keeping the dough genuinely soft and slightly sticky, resisting the instinct to add extra flour for easier handling, deserves recognition as the technique most responsible for whether these muffins develop real, classic nooks and crannies. That extra moisture is what allows larger, more irregular gas pockets to form as the dough proofs and bakes — a drier dough, however much easier it might be to handle, simply lacks the water content to build that same open structure.
- Griddling over genuinely low to medium-low heat deserves the same careful attention this collection gives to any thick baked good cooked on a stovetop rather than in an oven. These rounds carry real depth, and a hotter pan would develop dark, even burnt colour on the outside well before the dough’s own centre has had time to actually finish cooking through — the patient, slow heat specified here protects against exactly that imbalance.
- Splitting the cooled muffins with a fork rather than a knife deserves genuine respect as the final, decisive technique in this whole process. A knife produces a clean, smooth cut straight through the crumb; a fork instead tears along the dough’s own natural weak points, and that tearing action is specifically what produces the rough, craggy surface a proper English muffin depends on for both its texture and its famous butter-catching pockets.
- The recipe’s own explicit guidance about finishing any thick or still-soft-centered muffins in the oven deserves real attention rather than being treated as an optional extra step. Rather than pushing the griddle time longer and risking a burnt exterior, that brief finishing bake gives any undercooked centres the additional heat they need without compromising the crust already built on the stovetop.
Why This Recipe Works
This recipe works because the dough is kept genuinely soft and slightly sticky, preserving the extra moisture responsible for real, open nooks and crannies. Both proofs give the dough real time to build lightness while the shaping stage handles it gently, preserving the gas already trapped inside.
Griddling over patient, low to medium-low heat lets these thick rounds cook through evenly without burning, and an optional finishing bake catches any muffins that need it. Splitting with a fork, rather than a knife, is what actually produces the classic rough, craggy surface this bread is specifically known for.
Ingredient Breakdown
Soft, Slightly Sticky Dough
The critical technique — extra moisture, resisted from being floured away, is what builds real, open nooks and crannies.
Gently Pressed, Not Crushed Shaping
The critical technique — preserves the gas bubbles already built up during the first proof, protecting the eventual open crumb.
Low to Medium-Low Griddle Heat
The critical cooking technique — cooks these thick rounds through to the centre without burning the exterior first.
Cornmeal or Semolina Dusting
The finishing touch — prevents sticking while contributing the classic gritty, textured exterior.
Fork-Split Surface (Never Knife-Cut)
The critical finishing technique — tears along the dough’s natural weak points, producing the rough, craggy surface real English muffins depend on.
Flavor Structure Explained
This homemade English muffin follows a layered balance model:
- Crisp, gritty exterior (cornmeal-dusted griddled crust)
- Soft, deeply pocketed interior (open, nook-and-cranny crumb)
- Rich buttery finish (melted butter in the fork-split surface)
The crisp, cornmeal-dusted exterior provides real textural contrast and a slightly gritty, classic surface. The soft, deeply pocketed interior, built from a genuinely wet dough handled gently throughout, defines the muffin’s whole character. Melted butter, pooling into the fork-split surface’s own craggy nooks, finishes the muffin with rich, simple, buttery satisfaction that ties the crisp exterior and soft interior together in every bite.
Common Mistakes to Avoid
- Adding Too Much Extra Flour to the Dough – This produces tight, dense muffins rather than open, airy ones. Always keep the dough soft and slightly sticky.
- Crushing the Dough While Shaping – This pushes out the gas already built up during proofing. Always press gently instead.
- Griddling Over Too-High Heat – This burns the outside before the centre cooks through. Always use low to medium-low heat.
- Under- or Over-Proofing the Shaped Muffins – Under-proofed muffins bake dense; over-proofed ones deflate when moved. Always watch for puffy but still shape-holding dough.
- Slicing the Muffins With a Knife – This produces a smooth cut rather than the classic craggy surface. Always split with a fork instead.
Variations
Whole Wheat Version
Substitute a portion of the flour with whole wheat for a heartier, more rustic finished muffin.
Semolina-Dusted Version
Use semolina instead of cornmeal for a slightly different, equally classic textured exterior.
Extra-Large Version
Cut fewer, larger rounds for oversized muffins, extending the griddle and finishing-bake times slightly.
Herbed Version
Add a pinch of dried herbs to the dough for a subtly savoury variation suited to sandwiches.
Storage & Make-Ahead
These keep well at room temperature in a sealed container for 2 to 3 days, or frozen for up to 2 months.
Always toast before serving, even when freshly made, for the best texture.
Fully cooled muffins can be split with a fork ahead of time and stored, ready to toast whenever needed.
Frequently Asked Questions
Why does the dough need to stay soft and slightly sticky rather than being made easier to handle with more flour?
That extra moisture is what allows larger, more irregular gas pockets to form as the dough proofs and bakes. A drier dough, however much easier to handle, simply lacks the water content to build the same open, classic crumb.
Why does the griddle need to stay at such a low, patient heat?
These are thick rounds, and a hotter pan would develop dark, even burnt colour on the outside well before the dough’s own centre has had time to finish cooking through. The slow heat specified here protects against exactly that imbalance.
Why is a fork used to split the muffins instead of a knife?
A knife cuts a clean, smooth surface straight through the crumb, while a fork tears along the dough’s own natural weak points. That tearing action is specifically what produces the rough, craggy surface a proper English muffin is known for.
Why does the recipe suggest finishing some muffins in the oven rather than just griddling longer?
Extending the griddle time risks burning the already-developed crust before the centre finishes cooking. A brief finishing bake gives any undercooked centres the additional heat they need without compromising that crust.
Are there other classic breakfast bread or brunch dishes worth trying?
Eggs Benedict and Breakfast Croissant Sandwich both make excellent use of a sturdy, classic breakfast bread base. Bacon Egg an Cheese Bagel Sandwich is also worth trying for a different classic breakfast sandwich, and Japanese Milk Bread / Three-Part Shokupan is worth exploring for another soft, homemade bread project.
Nutrition Facts
( per serving )
Calories
~260 kcal
Protein
8 g
Fat
5 g
Carbs
46 g
Calories
~260 kcal
Protein
8 g
Fat
5 g
Carbs
46 g
Related Recipes
Related Recipes

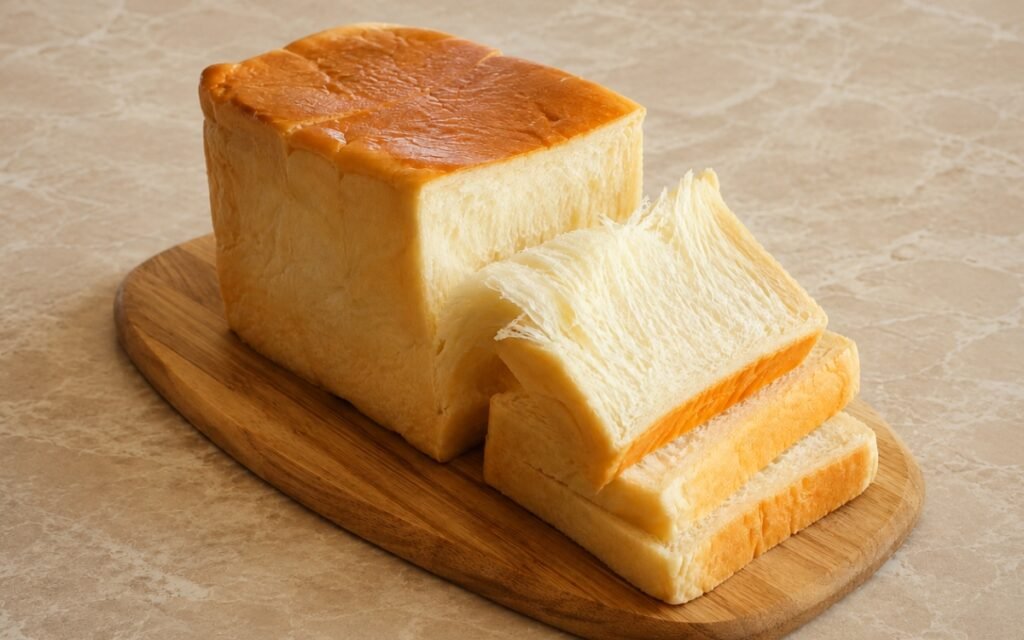
Japanese Milk Bread / Three-Part Shokupan
A tall, ultra-soft shokupan loaf shaped from three even portions that rise into a classic three-domed pull-apart top.
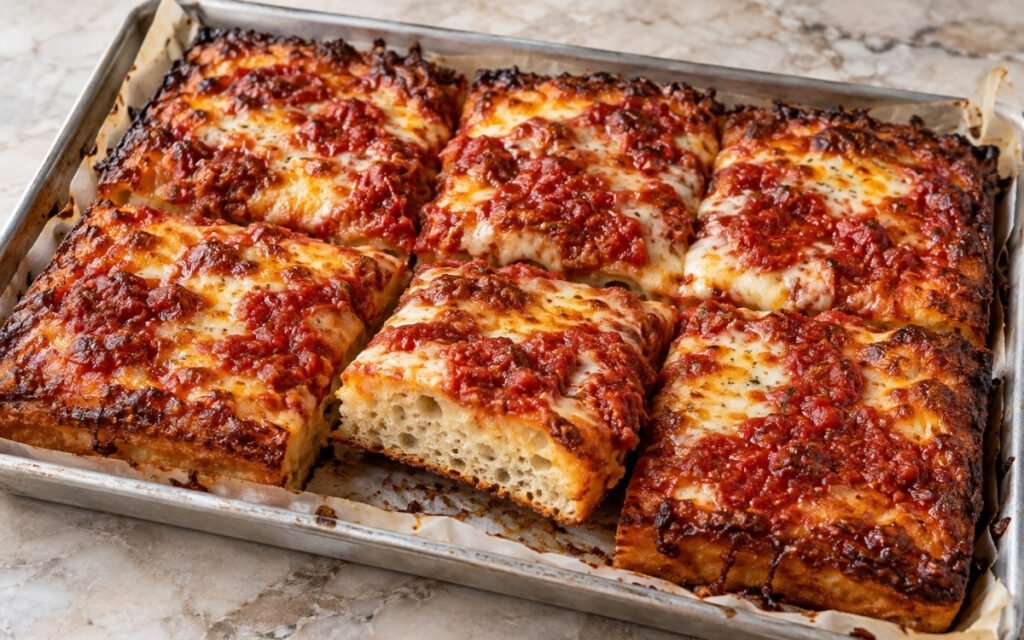
Sicilian-Style Sheet Pan Pizza
Thick, airy, focaccia-like crust baked in a well-oiled pan, topped with mozzarella and rich tomato sauce, finished with crisp caramelized edges.
Focaccia Pizza with Tomato and Mozzarella
Thick, airy focaccia-style pizza with a crisp, olive-oil-rich bottom, soft cloud-like interior, thick tomato sauce, melted mozzarella, and fresh basil.

You might also like
You might also like
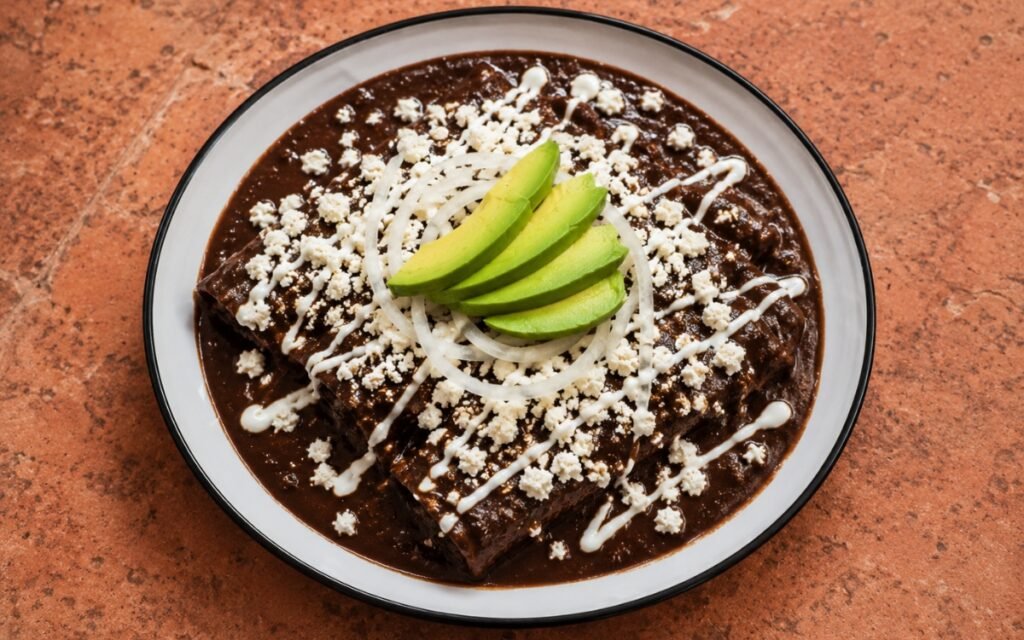
Enfrijoladas
Soft corn tortillas lightly fried, dipped in glossy black bean sauce, folded around queso fresco, and finished with more cheese, crema, onion, and avocado.
Lemon Ricotta Pancakes
Fluffy lemon ricotta pancakes with golden edges and soft, tender interiors, finished with fresh berries, lemon zest, and maple syrup.
Homemade Garlic Butter Naan
Soft homemade naan cooked in a hot skillet until puffed, blistered, and lightly charred, then brushed with glossy garlic butter.

Homemade English Muffins
Ingredients
Method
- In a large bowl, mix the warm milk, warm water, sugar, and yeast. Let sit for 5 to 10 minutes, until slightly foamy. The liquid should feel warm, not hot. If it is too hot, it can weaken or kill the yeast. Letting the mixture sit until genuinely foamy before proceeding confirms the yeast is actually active — moving forward with dead or sluggish yeast would leave the whole dough underrisen no matter how carefully every later step is handled.
- Add the flour, melted butter, and salt. Mix until a shaggy dough forms, then knead for 6 to 8 minutes by hand or about 5 minutes in a stand mixer on low speed. The dough should be soft, elastic, and slightly tacky. Do not add too much extra flour. A slightly sticky dough gives better nooks and crannies. A dry dough makes tight, bready muffins. That extra moisture in a properly hydrated dough creates larger, more irregular gas pockets as it proofs and bakes — a drier dough simply doesn’t have the same water content available to form those same open pockets.
- Place the dough in a lightly greased bowl. Cover and let rise at room temperature for 1 hour to 1 hour 15 minutes, until doubled. That extended rise gives the yeast real time to produce the carbon dioxide responsible for the dough’s eventual open structure, while also letting the gluten network relax and develop full elasticity.
- Dust a tray generously with cornmeal or semolina. Turn the dough onto a lightly floured surface and gently press it into a thick rectangle, about 2cm thick. Cut into 8 rounds using a large round cutter, about 8 to 9cm wide. Re-roll scraps gently if needed. Place the rounds on the cornmeal-dusted tray. Dust the tops with more cornmeal. Press the dough out gently instead of crushing it. You want to keep some of the gas inside for a more open crumb. Gentle pressing, rather than a hard roll or crush, is what preserves the gas bubbles already built up during the first proof — those preserved pockets are directly what becomes the muffin’s characteristic open crumb once baked.
- Cover the muffins loosely and let proof for 30 to 40 minutes, until puffy and lighter. They should look risen but not collapsed. Under-proofed muffins bake up dense. Over-proofed muffins deflate when moved. They should feel airy but still hold their shape. This narrow window between under- and over-proofed reflects a real, genuine balance point — the dough needs enough time to build real lightness, but pushing past that point weakens the gluten structure enough that the muffin can no longer support its own risen shape.
- Heat a heavy skillet, cast iron pan, or griddle over low to medium-low heat. The pan should be hot enough to toast the muffins slowly, but not so hot that the outside burns before the center cooks. That deliberately gentle heat is calibrated specifically around these thick rounds’ real depth — a hotter pan would develop dark colour on the outside well before the dough’s own centre has had enough time to actually cook through.
- Place the muffins on the dry griddle, leaving space between them. Cook for 7 to 9 minutes per side, until deeply golden brown and set on the outside. Turn gently with a spatula. English muffins need slow heat. If the surface gets dark in less than 4 minutes, the pan is too hot and the centers may stay doughy. Leaving genuine space between the muffins, rather than crowding them, gives each one full, even exposure to the pan’s heat rather than uneven cooking from pieces packed too closely together.
- If the muffins are very thick or feel soft in the center, transfer them to a 180°C oven for 5 to 8 minutes, until fully cooked through. The center should reach about 94 to 96°C if using a thermometer. The muffins should feel light and springy, not heavy or wet in the middle. That optional finishing bake exists specifically to catch any muffins whose thickness genuinely outpaced what the stovetop griddling alone could fully cook through, rather than pushing the griddle time itself longer and risking a burnt exterior.
- Transfer the muffins to a wire rack and let cool for at least 20 minutes. Split with a fork by poking around the edge, then gently pulling the muffin open. Do not slice with a knife if you want the classic English muffin texture. Fork-splitting creates the rough surface with nooks and crannies. A knife cuts a clean, smooth surface straight through the crumb, while a fork instead tears along the bread’s own natural weak points — that tearing action is precisely what produces the characteristic craggy, uneven surface a proper English muffin is known for.
- Toast the split muffins until crisp and golden. Serve with butter melting into the holes, or use as the base for Eggs Benedict and breakfast sandwiches. Toasting the already fork-split surface specifically deepens colour and crispness right into those craggy pockets, which is exactly where melted butter later collects most generously.