
Classic Cornbread
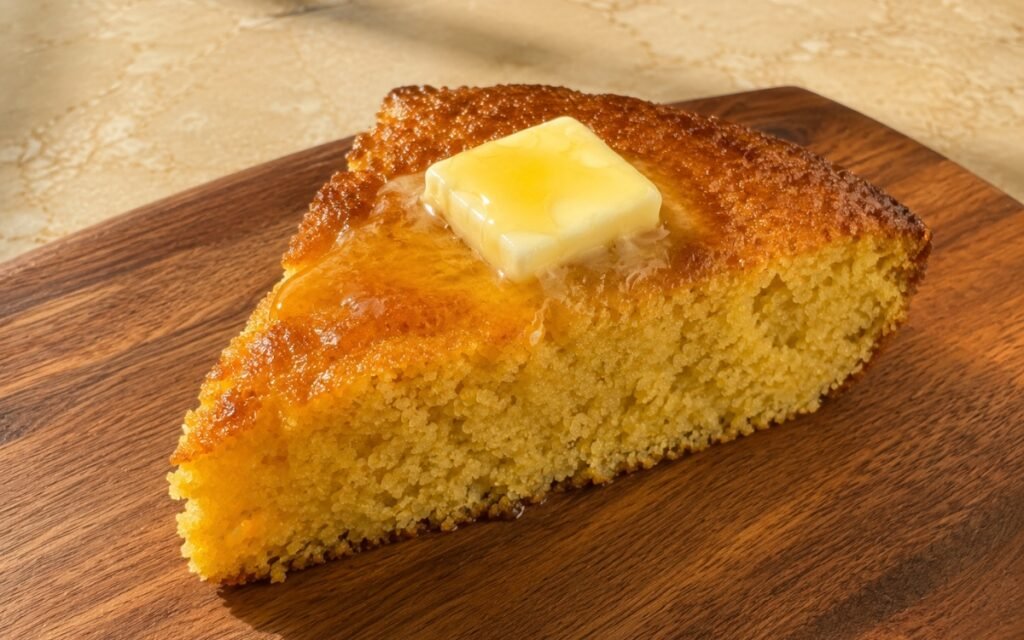
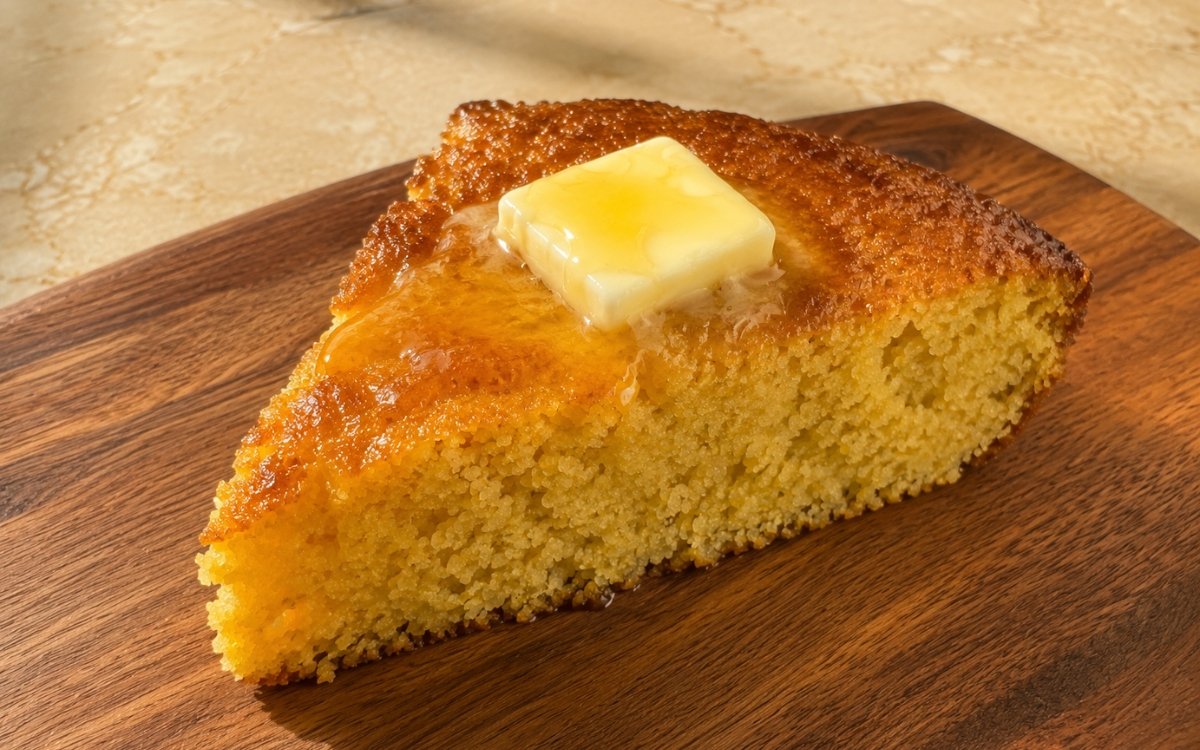
A classic skillet cornbread with a deeply golden top, lightly crisp edges, and a moist, tender, slightly crumbly interior, baked in a hot cast iron skillet for a proper crust, then served warm with melting butter and a little honey if desired. Fully preheating the cast iron skillet before the batter ever goes in is the technique this whole recipe depends on for its defining crust — a genuinely hot skillet is what gives cornbread its classic browned bottom and crisp outer edge, the same preheated-vessel principle used elsewhere in this collection whenever a batter needs real contact crust rather than a pale, soft exterior. Folding the batter only until the dry ingredients disappear, rather than mixing thoroughly, matters just as much, since overworking the flour develops gluten that produces a tighter, tougher crumb instead of the tender texture proper cornbread depends on. Resting the finished cornbread in the skillet for a full 10 minutes before slicing is what lets the still-fragile, steamy crumb set enough to cut cleanly into wedges. The payoff is a cornbread with a genuinely crisp, browned crust giving way to a moist, tender, lightly sweet interior, best eaten warm with butter melting into every wedge.
Prep Time : 15 min
Cook Time : 22–28 min
Servings : 8
15 min
22–28 min
8
Ingredients
For the Cornbread
• 180g fine or medium-ground yellow cornmeal — this one on Amazon
• 120g all-purpose flour — this one on Amazon
• 50g granulated sugar
• 12g baking powder
• 3g baking soda
• 5g fine sea salt
• 2 large eggs
• 360ml buttermilk, room temperature
• 85g unsalted butter, melted — this one on Amazon
• 30ml neutral oil or bacon fat, for the skillet
For Serving (Optional)
• Softened or room temperature butter
• Honey — this one on Amazon
This post may contain affiliate links. As an Amazon Associate I earn from qualifying purchases, at no additional cost to you.
Directions
- Preheat the Oven and Skillet
Place a 25cm / 10-inch cast iron skillet in the oven and preheat the oven to 220°C / 425°F. The skillet needs to heat fully before the batter goes in. This is what gives the cornbread its classic browned bottom and lightly crisp outer edge rather than a pale, soft crust. Heating the skillet inside the oven while it also comes up to temperature ensures both reach full heat together — a skillet added only briefly at the end wouldn’t have nearly enough stored heat to properly sear the batter’s edges on contact. - Mix the Dry Ingredients
In a large bowl, combine the cornmeal, flour, sugar, baking powder, baking soda, and salt. Whisk until evenly distributed. Make sure the baking powder and baking soda are evenly dispersed so the cornbread rises uniformly and does not bake with dense patches. Uneven distribution of the leaveners is a real, common cause of patchy rise — a pocket with too little baking powder stays denser while a pocket with too much can taste faintly bitter or soapy, which is exactly why thorough whisking at this stage matters more than it might seem. - Mix the Wet Ingredients
In a separate bowl or jug, whisk together the eggs, buttermilk, and melted butter until fully combined. The melted butter should be warm, not hot. If it is too hot, it can partially cook the eggs when mixed in. Keeping the butter at a genuinely warm rather than hot temperature protects the eggs from scrambling on contact — even a brief moment of direct heat against raw egg can set small curds that never fully smooth back into the batter. - Make the Batter
Pour the wet mixture into the dry ingredients. Fold together just until no dry flour or cornmeal remains. Do not overmix. The finished batter should look thick but pourable, with a few small lumps still acceptable. Overmixing develops the flour too much and produces a tougher, tighter crumb instead of a tender cornbread texture. Stopping at “just combined” rather than continuing to a perfectly smooth batter is a deliberate restraint — every extra stroke of mixing develops more gluten in the flour, and cornbread’s specific tender, slightly crumbly texture depends on that gluten staying minimally developed. - Load the Hot Skillet
Carefully remove the hot skillet from the oven. Add the neutral oil or bacon fat and swirl to coat the bottom and sides. Immediately pour in the batter. It should sizzle lightly on contact. Spread only if necessary. That first sizzle is a useful cue that the skillet is hot enough. If the batter goes in silently, the crust will be weaker and paler. This audible sizzle is a genuinely reliable, low-tech doneness check for the skillet’s temperature — it confirms the fat and pan surface are hot enough to immediately begin searing the batter’s exterior rather than letting it sit and slowly warm from a lukewarm start. - Bake
Return the skillet to the oven and bake for 22–28 minutes, until the top is deeply golden and the center is just set. The cornbread is done when the top is golden-brown and slightly craggy, the edges are lightly pulled from the skillet, and a skewer inserted into the center comes out clean or with a few moist crumbs, but no wet batter. Do not overbake. The center should remain moist and tender, not dry and crumbly in a chalky way. Edges visibly pulling away from the skillet’s sides is a genuinely useful visual cue alongside the skewer test — it signals the batter has finished setting and contracting slightly as it firms, which tends to happen right around the same window the centre finishes cooking through. - Rest and Serve
Let the cornbread rest in the skillet for 10 minutes before slicing. This short rest matters. Straight from the oven, the crumb is still fragile and steamy. Resting helps it set so it slices cleanly into 8 wedges without breaking apart. Serve warm with butter on top and a light drizzle of honey if desired. Cornbread’s crumb continues firming for a period after it leaves the oven, and slicing too early cuts through a structure that hasn’t finished setting — the 10-minute rest is what allows clean, intact wedges rather than crumbling, uneven pieces.
*Notes :
- The preheated cast iron skillet is worth understanding as the single technique most responsible for cornbread’s defining texture contrast. A cold or merely warm skillet produces cornbread with a soft, pale exterior all the way around, essentially indistinguishable from a cornbread baked in any ordinary pan. A genuinely hot skillet, by contrast, sears the batter’s exterior the instant it makes contact, building the deeply browned bottom and crisp edge that skillet cornbread is specifically known for.
- Restraint during mixing is worth taking seriously despite how counterintuitive it can feel — most instincts push toward mixing a batter until it looks perfectly smooth. Cornbread’s tender, slightly crumbly interior depends on the opposite approach: folding only until the dry ingredients disappear, accepting a few small lumps, and stopping well short of a fully smooth batter. Every additional stroke beyond that point develops more gluten, which tightens the crumb in a direction away from cornbread’s intended texture.
- The audible sizzle when batter meets the hot, fat-coated skillet is a small but genuinely useful real-time confirmation that the preheating step actually worked. It’s easy to assume a skillet preheated in a 220°C oven is hot enough without any further check, but that sizzle — or its absence — gives immediate, direct feedback about whether the pan has enough stored heat to properly sear the batter on contact.
- The resting period after baking, though it might feel like an unnecessary delay when the cornbread smells done and looks finished, protects the final presentation more than its brevity suggests. Cornbread’s crumb structure is still actively firming in the minutes right after it leaves the oven, and cutting into it too early — while it’s still essentially setting — produces messy, crumbling wedges instead of clean slices.
Why This Recipe Works
This recipe works because the skillet is fully preheated before the batter ever touches it, which is what builds the deeply browned, crisp crust that distinguishes proper skillet cornbread from a version baked in any ordinary pan.
The batter itself is deliberately undermixed, folded only until combined, which protects the tender, slightly crumbly texture cornbread depends on rather than developing a tighter, tougher crumb.
Baking just until the centre sets, without pushing toward full dryness, and resting fully before slicing together produce a cornbread that’s moist and tender inside a genuinely crisp, golden crust.
Ingredient Breakdown
Fine or Medium-Ground Yellow Cornmeal
The base grain — provides classic cornbread flavour and texture, with grind size affecting how rustic or tender the final crumb feels.
Buttermilk
The liquid base — its acidity reacts with the baking soda for lift while contributing tang and tenderness to the crumb.
Preheated Cast Iron Skillet
The critical baking vessel — fully heated before the batter is added, building the signature crisp, browned crust.
Minimally Folded Batter
The mixing technique — stopped as soon as the dry ingredients disappear, protecting the tender crumb from overdeveloped gluten.
Neutral Oil or Bacon Fat in the Skillet
The searing fat — coats the hot skillet immediately before the batter goes in, contributing to the crisp bottom crust.
Flavor Structure Explained
This cornbread follows a layered balance model:
- Crisp savoury foundation (skillet-seared crust)
- Moist tender centre (buttermilk cornmeal crumb)
- Lightly sweet undertone (sugar, honey if used)
- Rich buttery finish (melted butter)
The skillet-seared crust defines the cornbread’s exterior with real crispness and browned, slightly savoury flavour, especially pronounced if bacon fat is used. Inside, the buttermilk-based crumb stays moist and tender, with a mild, lightly sweet undertone from the modest amount of sugar. A pat of butter melting into each warm wedge adds rich, buttery finish, and an optional drizzle of honey layers in a touch more sweetness for those who want it.
Common Mistakes to Avoid
- Not Preheating the Skillet Fully – This produces a pale, soft crust instead of the classic crisp, browned one. Always let the skillet heat fully in the oven before adding batter.
- Overmixing the Batter – This develops too much gluten and produces a tougher, tighter crumb. Always fold just until the dry ingredients disappear.
- Adding Batter to a Skillet That Isn’t Hot Enough – No sizzle on contact means a weaker, paler crust. Always confirm the audible sizzle before proceeding.
- Overbaking Until Dry – This produces a chalky, crumbly texture rather than moist and tender. Always pull it as soon as a skewer comes out clean or with just a few moist crumbs.
- Slicing Immediately After Baking – The crumb is still fragile and steamy straight from the oven. Always rest for the full 10 minutes before cutting.
Variations
Jalapeño Cheddar Cornbread
Fold 100g of shredded cheddar and one finely diced jalapeño into the batter before baking for a savoury, spicy variation.
Honey Cornbread
Increase the sugar slightly and add 30g of honey to the wet ingredients for a sweeter, more dessert-adjacent version.
Bacon Cornbread
Cook and crumble 4–5 slices of bacon, folding the crispy pieces into the batter, and use the rendered bacon fat to grease the skillet.
Muffin Version
Divide the batter into a greased 12-cup muffin tin instead of a skillet, reducing the bake time to about 15–18 minutes.
Storage & Make-Ahead
Baked cornbread can be stored at room temperature, wrapped or covered, for up to 2 days. For longer storage, refrigerate in an airtight container for up to 5 days, or freeze wedges individually wrapped for up to 2 months.
Reheat individual wedges in a 180°C oven for 5–8 minutes, or briefly in a toaster oven, to restore some of the crisp edge; a microwave will soften the crust rather than refreshing it.
Frequently Asked Questions
Why does the cast iron skillet need to be fully preheated before the batter goes in?
A genuinely hot skillet sears the batter’s exterior the instant it makes contact, which is what builds the deeply browned bottom and crisp edge that distinguishes proper skillet cornbread. A cold or merely warm skillet produces a pale, soft crust all the way around instead.
Why shouldn’t the batter be mixed until completely smooth?
Cornbread’s tender, slightly crumbly texture depends on minimal gluten development. Every extra stroke of mixing beyond “just combined” develops more gluten in the flour, tightening the crumb into something tougher than proper cornbread should be.
Why does the recipe mention listening for a sizzle when the batter hits the skillet?
That sizzle is a direct, real-time confirmation that the skillet has enough stored heat to properly sear the batter’s exterior on contact. If the batter goes in silently, the skillet likely wasn’t hot enough, and the crust will come out noticeably weaker and paler.
Why rest the cornbread for 10 minutes before slicing instead of cutting it right away?
The crumb is still actively firming in the minutes after the cornbread leaves the oven. Slicing too early, while it’s still essentially setting, produces messy, crumbling wedges instead of the clean slices a full rest allows.
Are there other hearty, comforting recipes worth pairing with cornbread?
Crispiest Fried Chicken and BBQ Baby Back Ribs both make classic, satisfying pairings for a warm wedge of cornbread on the side. Jalapeño Poppers work well as a starter alongside the same spread. For an extra finishing touch, drizzle warm cornbread with Spicy Honey Drizzle instead of plain honey for a sweet-heat contrast against the buttery crumb.
Nutrition Facts
( per serving )
Calories
~280 kcal
Protein
6 g
Fat
12 g
Carbs
38 g
Calories
~280 kcal
Protein
6 g
Fat
12 g
Carbs
38 g
Related Recipes
Related Recipes

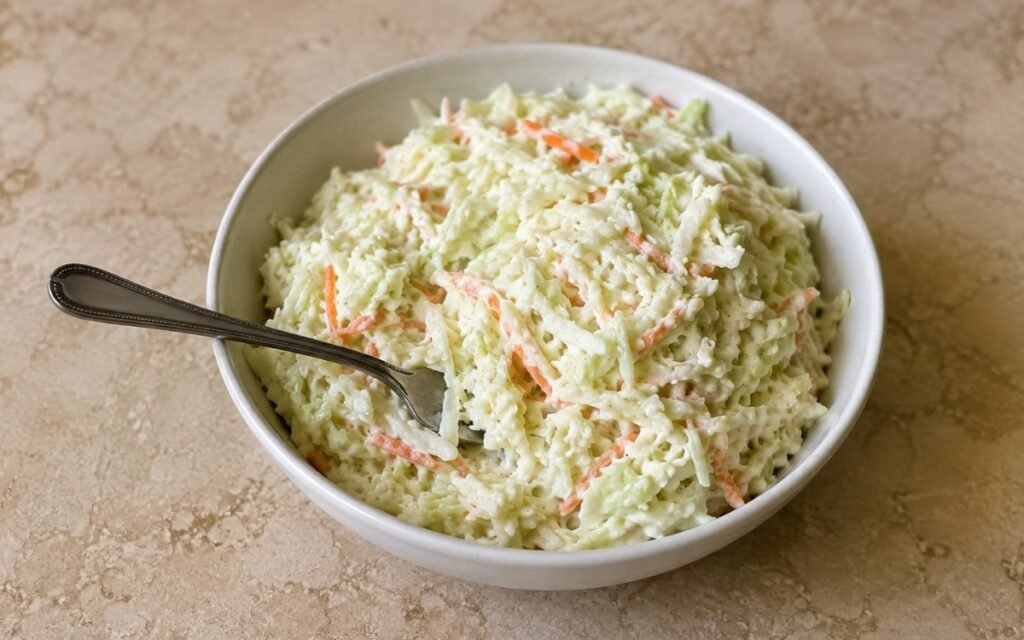
Classic Deli Coleslaw
Finely shredded cabbage and carrot in a creamy, tangy mayonnaise-sour cream dressing, salted and rested for a coleslaw that stays crisp, not watery.
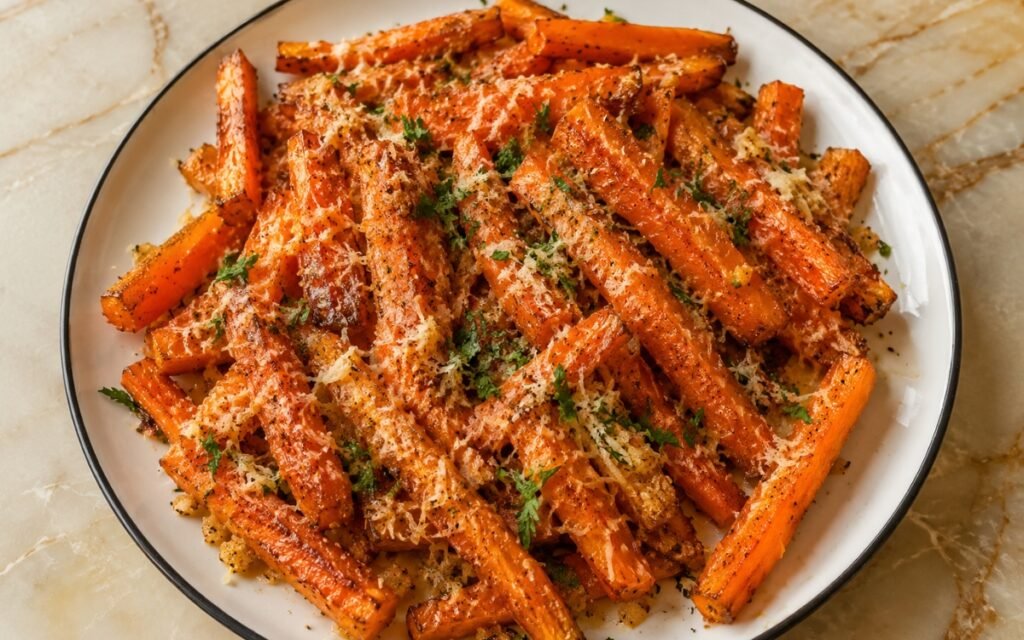
Garlic Parmesan Carrot Fries
Carrots cut into consistent sticks, seasoned with garlic and smoked paprika, roasted uncrowded until golden, finished with melted Parmesan. Sweet and crisp.
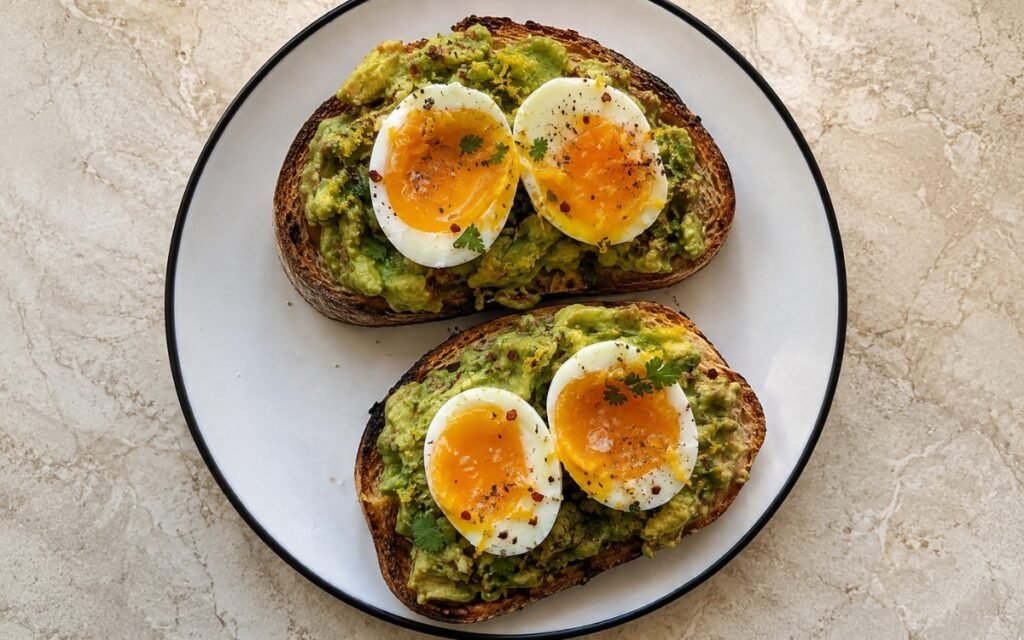
Avocado Toast with Jammy Eggs
Deeply toasted sourdough with chunky lemon-brightened smashed avocado and precisely timed jammy eggs, finished with chili flakes and herbs.
You might also like
You might also like
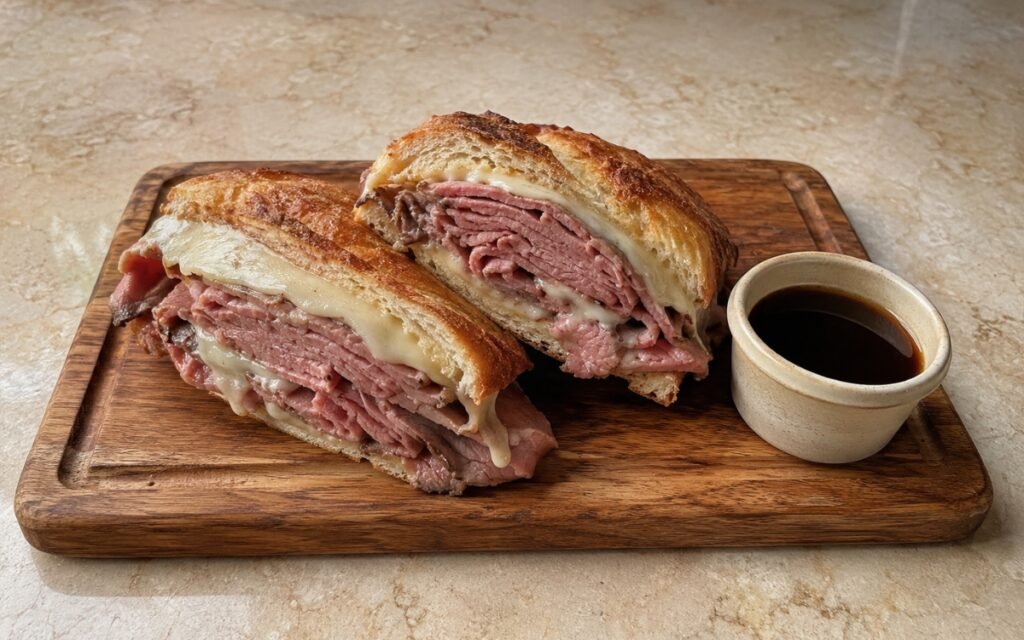
French Dip Sandwich
Thinly sliced, medium-rare roast beef and melted Swiss and provolone piled into a toasted homemade hoagie roll, served with savoury au jus for dipping.
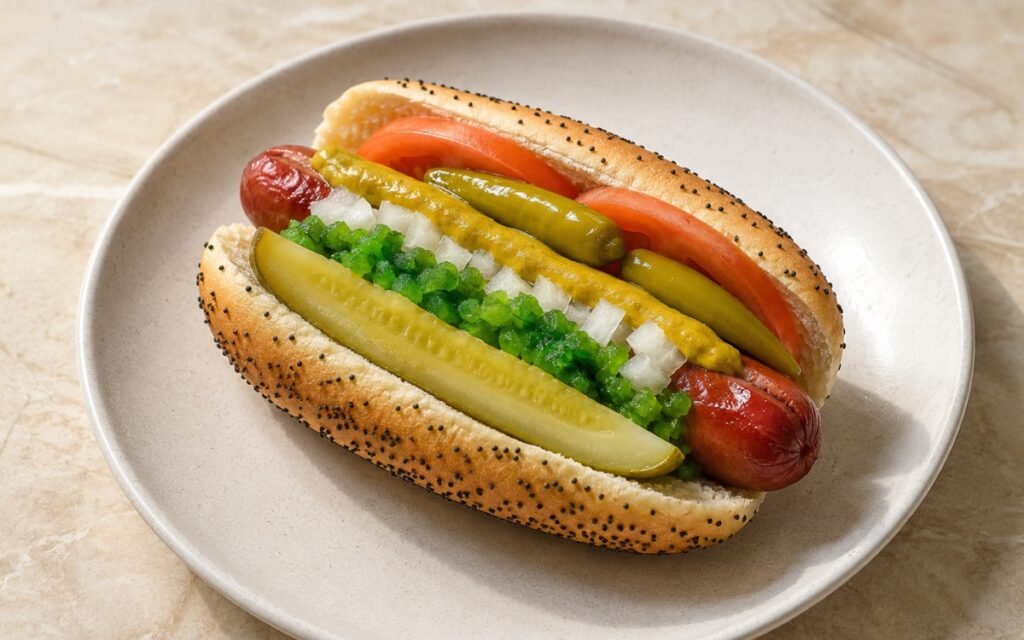
Chicago-Style Hot Dog
A natural-casing all-beef frankfurter in a soft, steamed poppy-seed bun, dressed with mustard, relish, onion, tomato, and sport peppers.
American Corn Dogs
Smoked frankfurters dusted in flour, dipped in thick cornmeal batter, and deep-fried until deeply golden, crisp, and slightly bumpy.

Classic Cornbread
Ingredients
Method
- Place a 25cm / 10-inch cast iron skillet in the oven and preheat the oven to 220°C / 425°F. The skillet needs to heat fully before the batter goes in. This is what gives the cornbread its classic browned bottom and lightly crisp outer edge rather than a pale, soft crust. Heating the skillet inside the oven while it also comes up to temperature ensures both reach full heat together — a skillet added only briefly at the end wouldn’t have nearly enough stored heat to properly sear the batter’s edges on contact.
- In a large bowl, combine the cornmeal, flour, sugar, baking powder, baking soda, and salt. Whisk until evenly distributed. Make sure the baking powder and baking soda are evenly dispersed so the cornbread rises uniformly and does not bake with dense patches. Uneven distribution of the leaveners is a real, common cause of patchy rise — a pocket with too little baking powder stays denser while a pocket with too much can taste faintly bitter or soapy, which is exactly why thorough whisking at this stage matters more than it might seem.
- In a separate bowl or jug, whisk together the eggs, buttermilk, and melted butter until fully combined. The melted butter should be warm, not hot. If it is too hot, it can partially cook the eggs when mixed in. Keeping the butter at a genuinely warm rather than hot temperature protects the eggs from scrambling on contact — even a brief moment of direct heat against raw egg can set small curds that never fully smooth back into the batter.
- Pour the wet mixture into the dry ingredients. Fold together just until no dry flour or cornmeal remains. Do not overmix. The finished batter should look thick but pourable, with a few small lumps still acceptable. Overmixing develops the flour too much and produces a tougher, tighter crumb instead of a tender cornbread texture. Stopping at “just combined” rather than continuing to a perfectly smooth batter is a deliberate restraint — every extra stroke of mixing develops more gluten in the flour, and cornbread’s specific tender, slightly crumbly texture depends on that gluten staying minimally developed.
- Carefully remove the hot skillet from the oven. Add the neutral oil or bacon fat and swirl to coat the bottom and sides. Immediately pour in the batter. It should sizzle lightly on contact. Spread only if necessary. That first sizzle is a useful cue that the skillet is hot enough. If the batter goes in silently, the crust will be weaker and paler. This audible sizzle is a genuinely reliable, low-tech doneness check for the skillet’s temperature — it confirms the fat and pan surface are hot enough to immediately begin searing the batter’s exterior rather than letting it sit and slowly warm from a lukewarm start.
- Return the skillet to the oven and bake for 22–28 minutes, until the top is deeply golden and the center is just set. The cornbread is done when the top is golden-brown and slightly craggy, the edges are lightly pulled from the skillet, and a skewer inserted into the center comes out clean or with a few moist crumbs, but no wet batter. Do not overbake. The center should remain moist and tender, not dry and crumbly in a chalky way. Edges visibly pulling away from the skillet’s sides is a genuinely useful visual cue alongside the skewer test — it signals the batter has finished setting and contracting slightly as it firms, which tends to happen right around the same window the centre finishes cooking through.
- Let the cornbread rest in the skillet for 10 minutes before slicing. This short rest matters. Straight from the oven, the crumb is still fragile and steamy. Resting helps it set so it slices cleanly into 8 wedges without breaking apart. Serve warm with butter on top and a light drizzle of honey if desired. Cornbread’s crumb continues firming for a period after it leaves the oven, and slicing too early cuts through a structure that hasn’t finished setting — the 10-minute rest is what allows clean, intact wedges rather than crumbling, uneven pieces.