
Classic British Fish and Chips
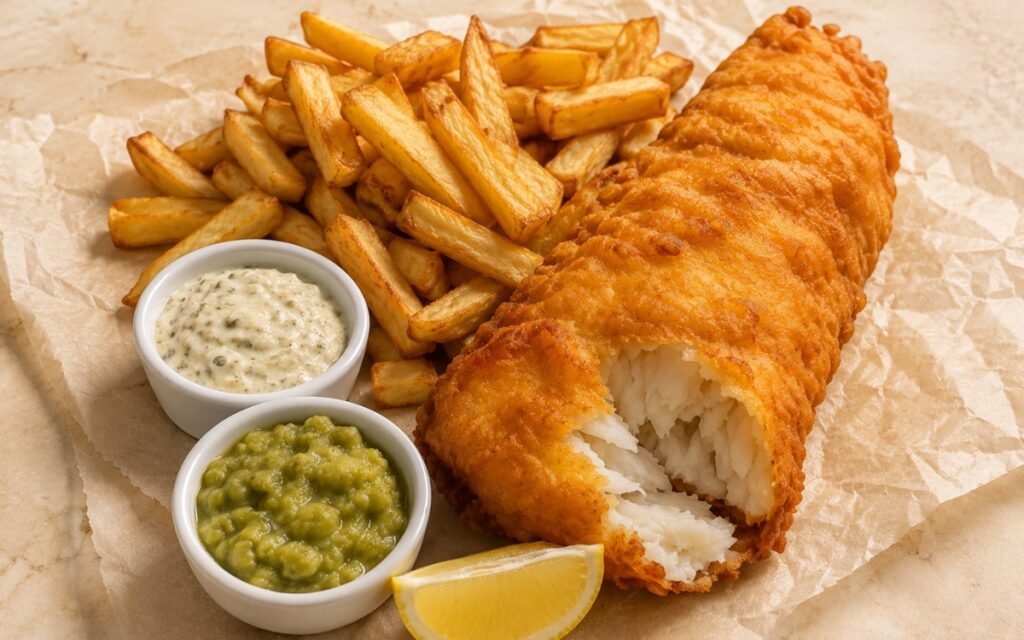
Large fillets of white fish coated in a crisp, light, puffy beer batter and fried until deeply golden, served with thick-cut double-fried chips, classic mushy peas, tartar sauce, and lemon wedges. Keeping the beer batter genuinely cold right up until it meets hot oil is the technique this whole dish depends on for its defining crust — that temperature contrast is what produces a light, puffy, crisp shell rather than a heavier, denser one, the same cold-batter-into-hot-oil principle used elsewhere in this collection whenever a fried coating needs real lift. The chips follow their own two-stage logic, cold-soaked to remove surface starch and then fried twice at two distinct temperatures, so the interior turns fluffy while the exterior crisps properly. Frying everything on a wire rack rather than paper towels protects both the fish’s batter and the chips’ crust, since trapped steam underneath softens exactly the texture the fryer just built. The payoff is a plate with real structural range — a crisp, blistered, puffy battered fish, fluffy-inside crisp-outside chips, rustic mushy peas, and sharp tartar sauce, each staying at its own distinct texture.
Prep Time : 35 min
Cook Time : 45–55 min
Servings : 4
35 min
45–55 min
4
Ingredients
For the Fish
• 4 white fish fillets, preferably cod, 200g each
• Fine sea salt, to taste
• Freshly ground black pepper, to taste
• 60g all-purpose flour, for dusting
For the Beer Batter
• 180g all-purpose flour — this one on Amazon
• 40g cornstarch
• 10g baking powder
• 5g fine sea salt
• 330–360ml very cold lager or pale ale
• 1 egg white, optional but helpful for a lighter, puffier batter
For the Chips
• 1kg peeled potatoes, preferably a floury variety such as Maris Piper or Russet, cut into thick chips
• Cold water, for soaking
• Fine sea salt, to taste
For the Mushy Peas
• 250g dried marrowfat peas
• ½ tsp baking soda, for soaking
• Water, as needed
• 30g unsalted butter — this one on Amazon
• Fine sea salt, to taste
• Freshly ground black pepper, to taste
• 1–2 tsp lemon juice, optional
For the Tartar Sauce
• 180g mayonnaise
• 45g finely chopped dill pickles or cornichons
• 15g capers, finely chopped
• 10g Dijon mustard — this one on Amazon
• 15ml lemon juice
• 1 small garlic clove, finely grated or very finely minced
• 1 tbsp finely chopped parsley or dill
• Fine sea salt, to taste
• Freshly ground black pepper, to taste
For Frying and Serving
• Neutral frying oil, as needed
• 4 lemon wedges
This post may contain affiliate links. As an Amazon Associate I earn from qualifying purchases, at no additional cost to you.
Directions
- Soak the Marrowfat Peas
Place the dried marrowfat peas in a bowl, cover generously with water, and stir in the baking soda. Leave to soak for 8–12 hours or overnight. Drain and rinse well before cooking. The peas should look swollen and softened after soaking. If they remain hard and barely expanded, they need more soaking time before cooking. The baking soda in the soaking water slightly softens the peas’ tough outer skin, which is what allows them to fully rehydrate and later cook down into a proper mash rather than staying stubbornly firm. - Make the Tartar Sauce
In a bowl, combine the mayonnaise, chopped pickles, chopped capers, Dijon mustard, lemon juice, garlic, and chopped parsley or dill. Mix until evenly combined. Season to taste with fine sea salt and black pepper. Refrigerate until needed. The sauce should taste creamy, tangy, and sharp, with visible pickle and caper texture throughout. It should be thick enough to hold its shape in a ramekin. Finely chopping rather than fully puréeing the pickles and capers keeps their texture distinct within the sauce, giving it genuine bite alongside its creaminess rather than a uniformly smooth consistency. - Cut and Cold-Soak the Chips
Cut the peeled potatoes into thick chips. Transfer to a bowl, cover with cold water, and soak for 30 minutes. Drain well, then dry thoroughly with kitchen towels. This cold bath removes excess surface starch, which helps prevent the chips from sticking and browning unevenly. Drying them properly is critical — wet potatoes will splutter in the oil and steam instead of frying cleanly. Removing surface starch through this soak is what allows the chips to fry as individual, distinct pieces rather than clumping together, and it also produces more even browning across the whole batch. - Cook the Mushy Peas
Place the soaked and drained marrowfat peas in a saucepan and cover with fresh water. Bring to a boil, then reduce to a gentle simmer and cook for 30–40 minutes, stirring occasionally, until the peas are very soft and starting to collapse. Drain off excess liquid if needed, then stir in the butter. Mash roughly with a spoon or potato masher until thick and coarse. Season with salt, black pepper, and a small amount of lemon juice if desired. Keep warm. The peas should be soft enough to crush easily and naturally form a coarse mash. They should not be watery. If too loose, cook briefly over low heat while stirring until thickened. Mashing only roughly, rather than blending smooth, preserves the specific rustic, coarse texture that distinguishes proper mushy peas from a smooth purée. - First Fry the Chips
Heat the frying oil to 150°C. Fry the chips in batches for 5–7 minutes, until softened, cooked through, and pale blonde with little to no deep browning. Transfer to a wire rack or tray to rest. After the first fry, the chips should be tender inside but still pale and not crisp. If they brown too early, the oil is too hot. This lower-temperature first fry cooks the potato’s interior through gently, without the surface browning and setting a crust too early — that crust-building is deliberately saved for the second, hotter fry. - Prepare the Fish and Batter
Pat the fish fillets completely dry. Season lightly with salt and black pepper. Dust each fillet lightly with the 60g flour, shaking off excess. In a bowl, whisk together the flour, cornstarch, baking powder, and salt for the batter. Just before frying, pour in the very cold beer and add the egg white if using. Whisk only until combined — the batter should be smooth but not overmixed. The fish must be dry and lightly floured so the batter grips properly. The batter must stay cold; that temperature difference between cold batter and hot oil helps create a crisp, puffy shell. The batter should coat the back of a spoon in a medium layer — not watery and not paste-thick. If too thick, add a small splash more cold beer. If too thin, whisk in a little more flour. The dry flour dusting on the fish gives the wet batter a textured surface to grip immediately, rather than sliding off bare, moist fish — the same dry-dredge-before-wet-coating principle used for other battered fish preparations throughout this collection. - Second Fry the Chips
Increase the oil temperature to 190°C. Fry the chips again in batches for 2–4 minutes, until deeply golden, crisp outside, and fluffy inside. Transfer to a wire rack or tray and salt immediately while hot. Keep warm. The chips should sound crisp when moved and feel lightly rigid outside, not limp. Salting while still hot helps the salt adhere evenly. This second, hotter fry is what builds the genuinely rigid, crisp exterior — a fry that’s merely golden but still flexible won’t hold that structure once it’s sitting on the plate alongside the fish and peas. - Fry the Fish
Keep the oil at 180–185°C. Dip each floured fish fillet into the batter, letting excess drip away for a second, then lower carefully into the hot oil. Fry in batches for 6–8 minutes, depending on thickness, until the batter is deeply golden, crisp, and puffed, and the fish is just cooked through. Transfer to a wire rack, not paper towels, so the underside stays crisp. The batter should be dry, crisp, and evenly golden with a light blistered surface. The fish inside should flake easily into moist white pieces. If the crust softens quickly or seems greasy, the oil was too cool or the fish was crowded. Frying on a wire rack is important. Steam trapped underneath on a flat surface softens the batter and makes it soggy. This temperature window is calibrated for a fillet of real thickness — hot enough to crisp and puff the batter at a reasonable pace, without darkening the exterior before the fish itself has cooked through. - Serve
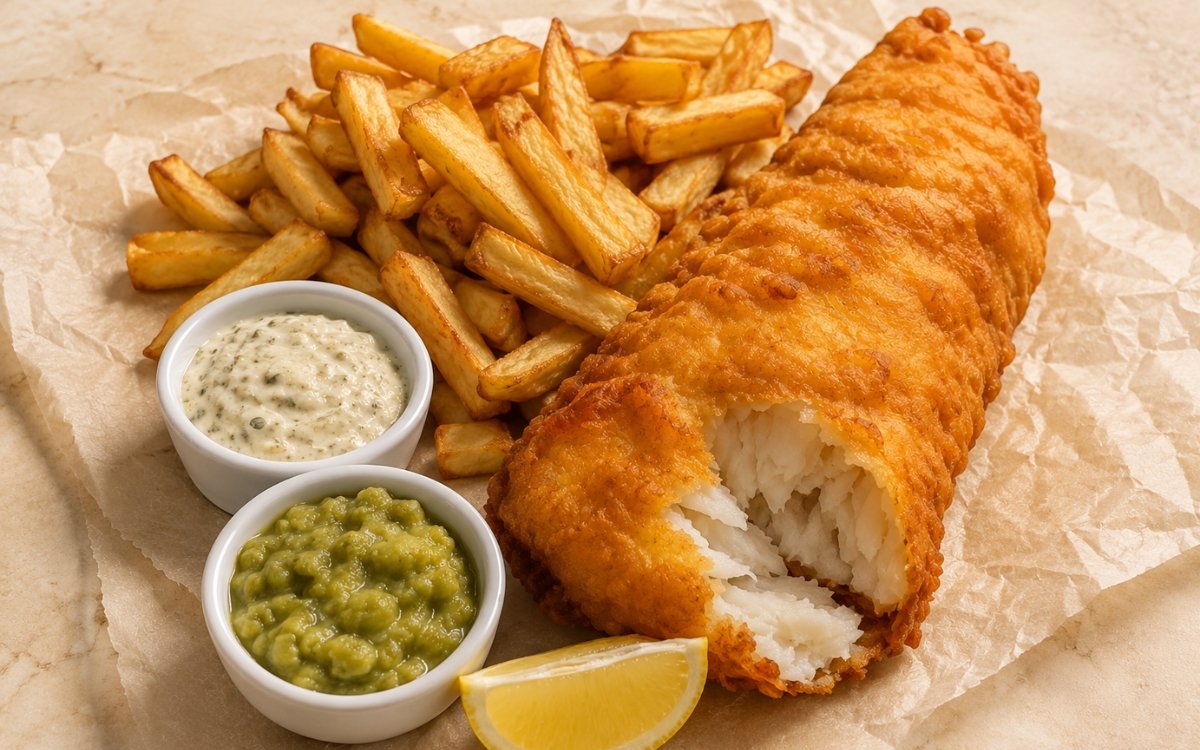
Serve each portion with 1 large piece of beer-battered fish, a generous portion of thick-cut chips, a ramekin of tartar sauce, a ramekin or spoonful of mushy peas, and a lemon wedge. Serve immediately while the batter and chips are still fully crisp. Frying the fish last, immediately before serving, is what puts it on the plate at the peak of its crisp, puffed texture — every minute of delay afterward works against that crust.
*Notes :
- Keeping the beer batter genuinely cold, right up until the moment it meets hot oil, deserves to be understood as the single technique most responsible for this dish’s defining crust. The dramatic temperature contrast between cold batter and hot oil is what produces the light, puffy, crisp shell that distinguishes proper fish and chips batter from a heavier, denser coating. Batter that’s allowed to sit and warm loses some of that contrast, and the resulting crust tends to be noticeably less crisp and more leaden.
- The chips’ double-fry follows the same two-stage logic used throughout this collection for fries that need both a properly cooked interior and a genuinely crisp exterior. The cooler first fry handles the interior gently, without pushing toward colour; the hotter second fry is reserved entirely for building that colour and crispness once the interior is already fully cooked. Skipping straight to a single fry at high heat forces a trade-off between an underdone centre and a burnt exterior.
- Frying both the chips and the fish on a wire rack, rather than draining them on paper towels, protects the same vulnerability from two different directions. Any surface a hot, freshly fried item rests on traps some amount of steam underneath it — on a flat surface or absorbent paper, that trapped steam softens the crisp exterior from below within minutes. A rack lets that steam escape freely, keeping the bottom just as crisp as the rest of the piece.
- The sequencing described in this recipe — chips first, fish last, immediately before serving — reflects a genuine understanding of which component has the shortest window at peak texture. Chips hold their crispness reasonably well for a short stretch once fried; the fish’s puffed, blistered batter is considerably more fragile and time-sensitive, which is exactly why it’s fried right at the end rather than earlier in the sequence.
Why This Recipe Works
This recipe works because every fried component is handled with real attention to timing and temperature contrast: the beer batter stays cold until the last possible moment for maximum puff and crispness.
The chips follow a proper two-stage fry for a fluffy interior under a rigid crust, and both the chips and fish drain on a wire rack rather than paper towels to avoid trapped steam softening them from below.
Frying the fish last, right before serving, puts it on the plate at the peak of its crisp, blistered texture, while the mushy peas’ coarse mash and the tartar sauce’s textured sharpness round out the plate with contrast against all that fried richness.
Ingredient Breakdown
Very Cold Beer Batter
The critical crisping mechanism — kept cold right up until frying for maximum contrast against hot oil, producing a light, puffy crust.
Dry-Dredged, Floured Fish
he pre-batter prep — a thin flour layer gives the wet batter something to grip rather than sliding off bare fish.
Cold-Soaked, Double-Fried Chips
The structural side — starch removed by soaking, then fried at two distinct temperatures for a fluffy interior under a rigid, crisp crust.
Coarsely Mashed Marrowfat Peas
The traditional accompaniment — mashed only roughly to preserve a rustic, chunky texture rather than a smooth purée.
Wire-Rack Draining
The finishing technique — used for both fish and chips specifically to let steam escape rather than softening the crust from underneath.
Flavor Structure Explained
This fish and chips plate follows a layered balance model:
- Crisp airy foundation (beer-battered fried fish)
- Fluffy structural body (double-fried chips)
- Rustic earthy side (mushy peas)
- Sharp tangy contrast (tartar sauce)
- Bright citrus finish (lemon wedge)
The beer-battered fish defines the plate with a crisp, light, puffy exterior giving way to moist, flaky white fish. The double-fried chips provide a fluffy, starchy body with their own crisp exterior, structurally distinct from the fish’s lighter batter. Coarsely mashed mushy peas contribute an earthy, rustic side that grounds the plate. Sharp, tangy tartar sauce cuts through the richness of both fried components, and a final squeeze of lemon brightens the whole plate with clean acidity.
Common Mistakes to Avoid
- Letting the Beer Batter Warm Up Before Frying – This loses the temperature contrast that produces a light, crisp crust. Always keep it cold right up until the fish is dipped.
- Skipping the Chips’ Double Fry – A single fry can’t produce both a fluffy interior and a genuinely rigid, crisp exterior. Always fry twice, at two different temperatures.
- Draining Fried Fish or Chips on Paper Towels – This traps steam underneath and softens the crust from below. Always use a wire rack instead.
- Overmixing the Beer Batter – This develops gluten and produces a tougher, denser crust. Always whisk just until combined.
- Frying the Fish Too Early – The batter’s puffed, crisp texture fades quickly. Always fry the fish last, immediately before serving.
Variations
With Haddock or Pollock
Substitute either for the cod, following the identical flouring, battering, and frying method.
Extra-Crunchy Batter
Replace a small portion of the batter’s flour with additional cornstarch for a noticeably more pronounced crunch.
Curry Sauce Instead of Mushy Peas
Serve alongside a traditional British chip-shop curry sauce as an alternative accompaniment.
Smaller Portions
Cut the fish fillets in half for smaller, more shareable portions, adjusting the fry time down slightly.
Storage & Make-Ahead
The tartar sauce can be made 1–2 days ahead and refrigerated in a sealed container. Mushy peas can be made a day ahead and refrigerated; reheat gently with a splash of water to loosen if needed.
The dry batter mix (flour, cornstarch, baking powder, salt) can be prepared ahead; combine with cold beer only right before frying.
Fried fish and chips are both best eaten immediately; neither holds or reheats well, with both losing their crisp texture within a short time.
Frequently Asked Questions
Why does the beer batter need to stay so cold right up until frying?
The dramatic temperature contrast between cold batter and hot oil is what produces the light, puffy, crisp shell this dish is known for. Batter allowed to warm up loses some of that contrast, resulting in a heavier, denser crust.
Why fry the chips twice instead of once?
A single fry forces a trade-off between a properly cooked interior and a genuinely crisp exterior. The cooler first fry handles the interior gently, and the hotter second fry builds colour and crispness once the interior is already done.
Why drain the fish and chips on a wire rack instead of paper towels?
Any surface a hot, freshly fried item rests on traps some steam underneath it. On a flat surface or paper towels, that trapped steam softens the crust from below within minutes. A rack lets the steam escape, keeping the bottom just as crisp as the rest.
Why fry the fish last, right before serving, rather than earlier alongside the chips?
The fish’s puffed, blistered batter is considerably more fragile and time-sensitive than the chips’ crust. Frying it last and serving immediately is what puts it on the plate at the very peak of its crisp texture.
Are there other battered, fried fish or seafood recipes worth trying?
Crispy Fish Sandwich and Shrimp Po’ Boy Sandwich both use a related battered or breaded seafood technique in a sandwich format. Deep Fried Calamari is another classic battered seafood option worth exploring. Fish Tacos with Mango Salsa also features battered fried white fish, taken in a completely different, Mexican-inspired direction.
Nutrition Facts
( per serving )
Calories
~980 kcal
Protein
48 g
Fat
46 g
Carbs
98 g
Calories
~980 kcal
Protein
48 g
Fat
46 g
Carbs
98 g
Related Recipes
Related Recipes

Pasta e Ceci
Small pasta and chickpeas in a thick, creamy brothy base with soffritto, garlic, and rosemary. Rustic Italian comfort food.
Beef Empanadas
Flaky, blistered baked pastry sealed around a savory beef filling with paprika, cumin, green olives, and hard-boiled egg.
Breakfast Hash with Eggs and Potatoes
Crispy diced potatoes, browned breakfast sausage, crisp bacon, peppers, onions, and eggs cooked directly into the hash with runny yolks.
You might also like
You might also like
Fish Tacos with Mango Salsa
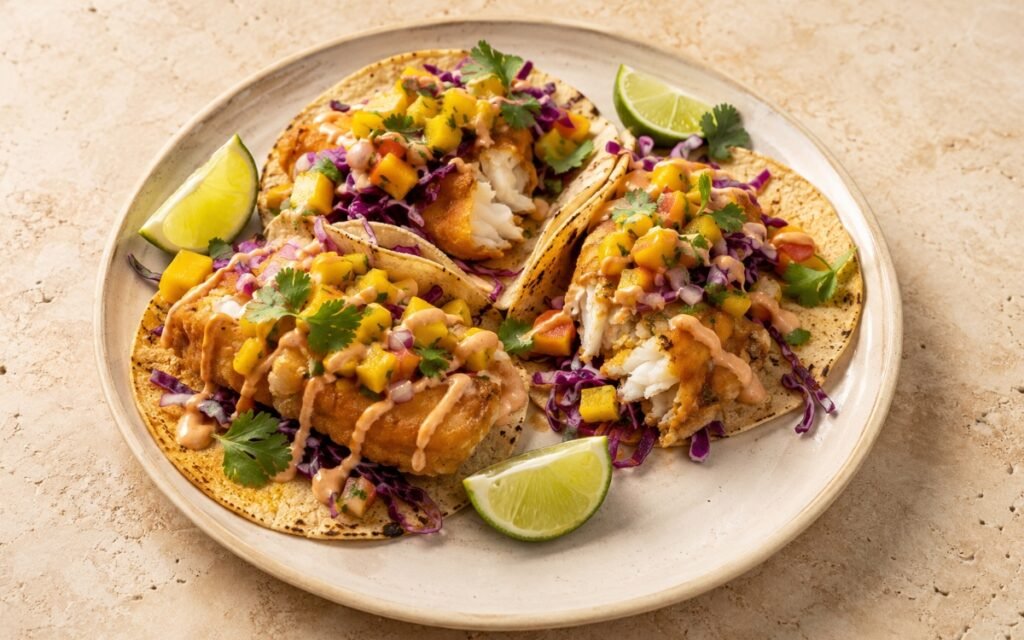
Cod dredged and battered cold, fried until golden and crisp, piled onto small corn tortillas with purple cabbage, mango salsa, and chipotle crema.
Swedish Meatballs
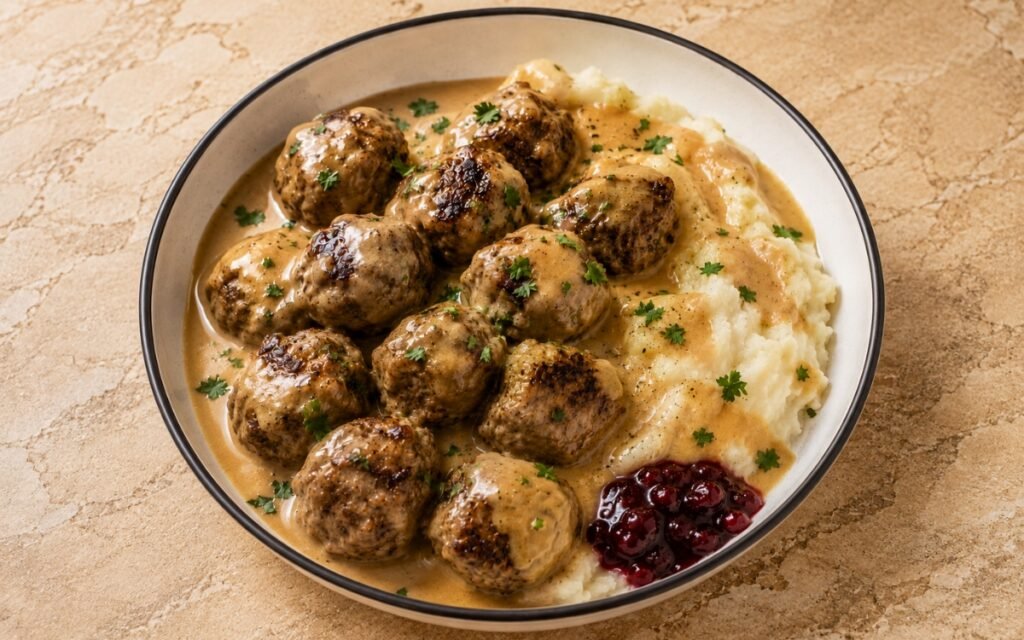
Tender panade-enriched beef and pork meatballs, gently spiced with allspice and nutmeg, in a creamy brown gravy over mashed potatoes.
Ají de Gallina
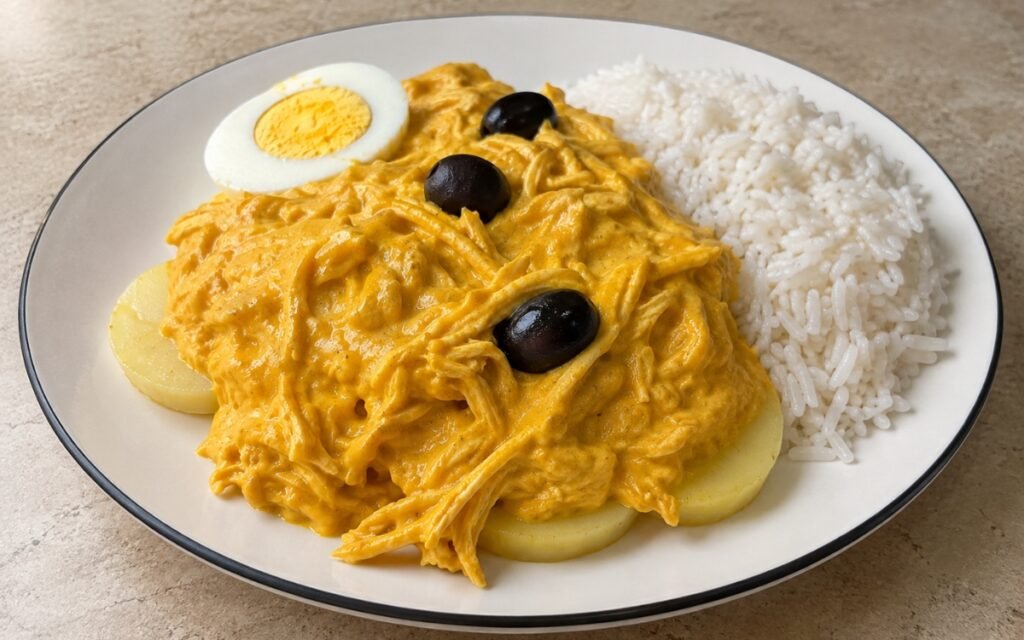
Tender shredded chicken in a rich, velvety ají amarillo cream sauce with bread, evaporated milk, and walnuts, served over sliced potatoes.
Classic British Fish and Chips
Ingredients
Method
- Place the dried marrowfat peas in a bowl, cover generously with water, and stir in the baking soda. Leave to soak for 8–12 hours or overnight. Drain and rinse well before cooking. The peas should look swollen and softened after soaking. If they remain hard and barely expanded, they need more soaking time before cooking. The baking soda in the soaking water slightly softens the peas’ tough outer skin, which is what allows them to fully rehydrate and later cook down into a proper mash rather than staying stubbornly firm.
- In a bowl, combine the mayonnaise, chopped pickles, chopped capers, Dijon mustard, lemon juice, garlic, and chopped parsley or dill. Mix until evenly combined. Season to taste with fine sea salt and black pepper. Refrigerate until needed. The sauce should taste creamy, tangy, and sharp, with visible pickle and caper texture throughout. It should be thick enough to hold its shape in a ramekin. Finely chopping rather than fully puréeing the pickles and capers keeps their texture distinct within the sauce, giving it genuine bite alongside its creaminess rather than a uniformly smooth consistency.
- Cut the peeled potatoes into thick chips. Transfer to a bowl, cover with cold water, and soak for 30 minutes. Drain well, then dry thoroughly with kitchen towels. This cold bath removes excess surface starch, which helps prevent the chips from sticking and browning unevenly. Drying them properly is critical — wet potatoes will splutter in the oil and steam instead of frying cleanly. Removing surface starch through this soak is what allows the chips to fry as individual, distinct pieces rather than clumping together, and it also produces more even browning across the whole batch.
- Place the soaked and drained marrowfat peas in a saucepan and cover with fresh water. Bring to a boil, then reduce to a gentle simmer and cook for 30–40 minutes, stirring occasionally, until the peas are very soft and starting to collapse. Drain off excess liquid if needed, then stir in the butter. Mash roughly with a spoon or potato masher until thick and coarse. Season with salt, black pepper, and a small amount of lemon juice if desired. Keep warm. The peas should be soft enough to crush easily and naturally form a coarse mash. They should not be watery. If too loose, cook briefly over low heat while stirring until thickened. Mashing only roughly, rather than blending smooth, preserves the specific rustic, coarse texture that distinguishes proper mushy peas from a smooth purée.
- Heat the frying oil to 150°C. Fry the chips in batches for 5–7 minutes, until softened, cooked through, and pale blonde with little to no deep browning. Transfer to a wire rack or tray to rest. After the first fry, the chips should be tender inside but still pale and not crisp. If they brown too early, the oil is too hot. This lower-temperature first fry cooks the potato’s interior through gently, without the surface browning and setting a crust too early — that crust-building is deliberately saved for the second, hotter fry.
- Pat the fish fillets completely dry. Season lightly with salt and black pepper. Dust each fillet lightly with the 60g flour, shaking off excess. In a bowl, whisk together the flour, cornstarch, baking powder, and salt for the batter. Just before frying, pour in the very cold beer and add the egg white if using. Whisk only until combined — the batter should be smooth but not overmixed. The fish must be dry and lightly floured so the batter grips properly. The batter must stay cold; that temperature difference between cold batter and hot oil helps create a crisp, puffy shell. The batter should coat the back of a spoon in a medium layer — not watery and not paste-thick. If too thick, add a small splash more cold beer. If too thin, whisk in a little more flour. The dry flour dusting on the fish gives the wet batter a textured surface to grip immediately, rather than sliding off bare, moist fish — the same dry-dredge-before-wet-coating principle used for other battered fish preparations throughout this collection.
- Increase the oil temperature to 190°C. Fry the chips again in batches for 2–4 minutes, until deeply golden, crisp outside, and fluffy inside. Transfer to a wire rack or tray and salt immediately while hot. Keep warm. The chips should sound crisp when moved and feel lightly rigid outside, not limp. Salting while still hot helps the salt adhere evenly. This second, hotter fry is what builds the genuinely rigid, crisp exterior — a fry that’s merely golden but still flexible won’t hold that structure once it’s sitting on the plate alongside the fish and peas.
- Keep the oil at 180–185°C. Dip each floured fish fillet into the batter, letting excess drip away for a second, then lower carefully into the hot oil. Fry in batches for 6–8 minutes, depending on thickness, until the batter is deeply golden, crisp, and puffed, and the fish is just cooked through. Transfer to a wire rack, not paper towels, so the underside stays crisp. The batter should be dry, crisp, and evenly golden with a light blistered surface. The fish inside should flake easily into moist white pieces. If the crust softens quickly or seems greasy, the oil was too cool or the fish was crowded. Frying on a wire rack is important. Steam trapped underneath on a flat surface softens the batter and makes it soggy. This temperature window is calibrated for a fillet of real thickness — hot enough to crisp and puff the batter at a reasonable pace, without darkening the exterior before the fish itself has cooked through.
- Serve each portion with 1 large piece of beer-battered fish, a generous portion of thick-cut chips, a ramekin of tartar sauce, a ramekin or spoonful of mushy peas, and a lemon wedge. Serve immediately while the batter and chips are still fully crisp. Frying the fish last, immediately before serving, is what puts it on the plate at the peak of its crisp, puffed texture — every minute of delay afterward works against that crust.