
Pickled Red Onion
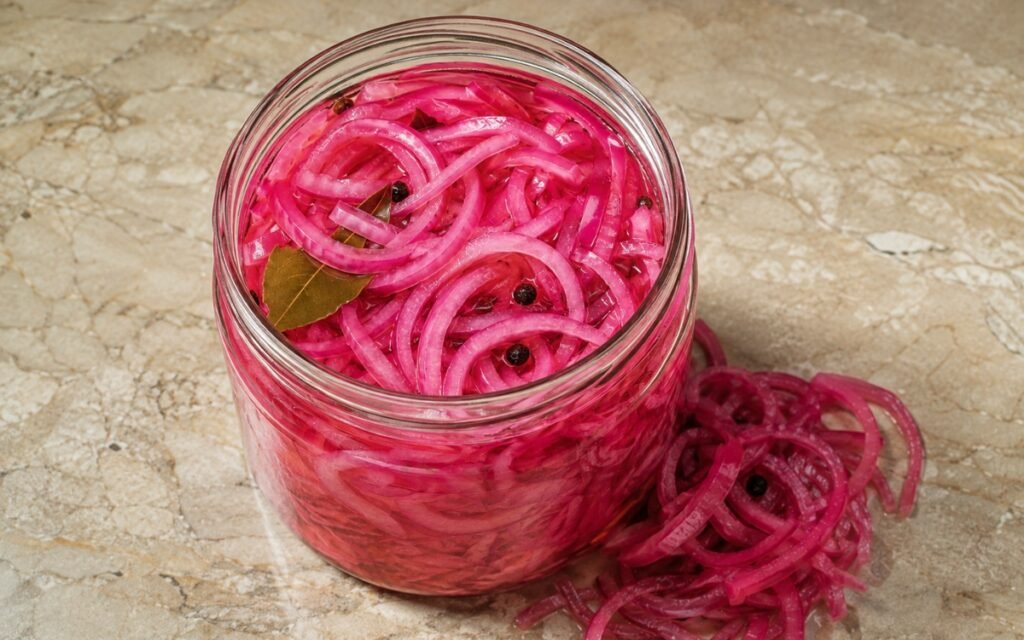
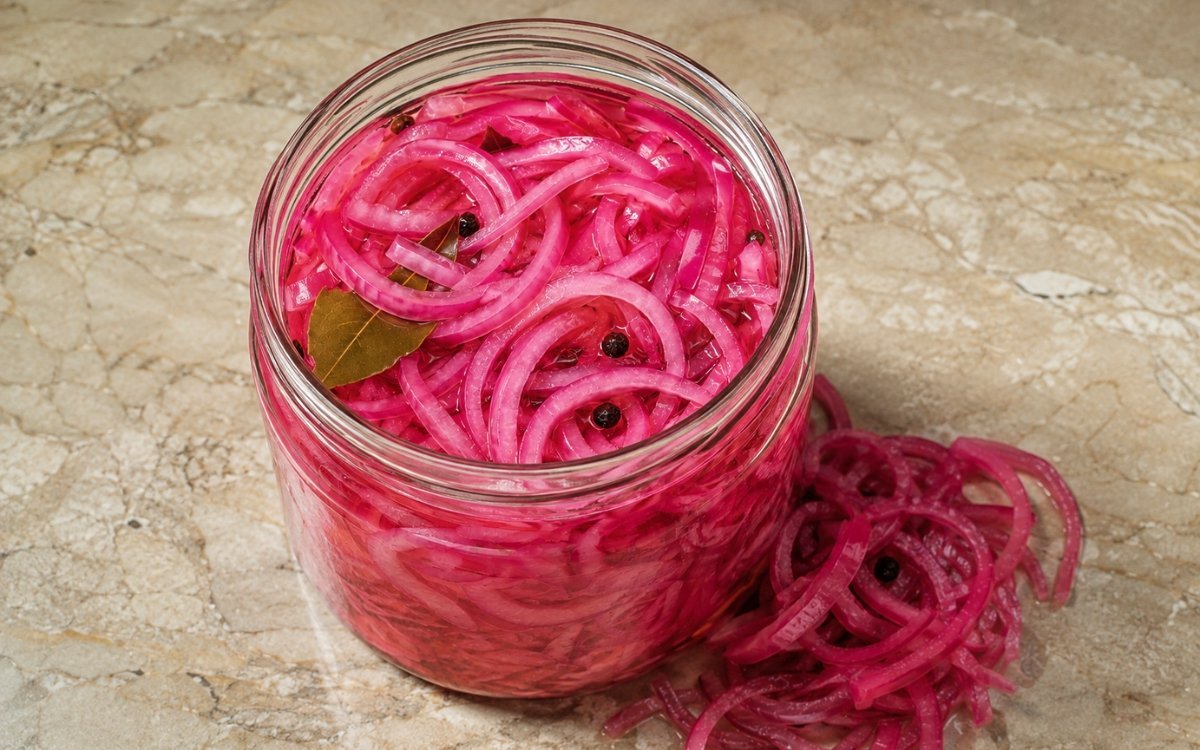
Classic quick-pickled red onions made with vinegar, lime juice, sugar, salt, bay leaf, black peppercorns, and coriander seeds. Bright pink, crisp-tender, tangy, and lightly aromatic — perfect for tacos, sandwiches, rice bowls, grilled meats, and salads. Slicing the onions thin and evenly is the technique this whole recipe depends on for consistent results — unevenly cut pieces pickle at different rates, leaving some slices still sharp while others have already gone soft, the same even-slicing principle used elsewhere in this collection whenever a quick pickle needs every piece to reach the same texture together. Fully dissolving the sugar and salt into the brine before it ever meets the onion is what ensures even seasoning throughout rather than concentrated pockets settling unevenly. Controlling the brine’s temperature at the moment it’s poured — hotter for softer onions, cooler for more crunch — is what lets this simple recipe be tuned to personal preference with real precision. The payoff is a jar of onions that turn vivid pink and pleasantly tangy while still holding real crunch, ready to brighten almost anything rich or savoury.
Prep Time : 15 min
Cook Time : 5 min
Servings : 8
15 min
5 min
8
Ingredients
For the Pickled Red Onion
• 2 large red onions, thinly sliced
• 240ml apple cider vinegar or white vinegar — this one on Amazon
• 240ml hot water
• 24g sugar
• 12g kosher salt
• 30ml fresh lime juice
• 2 bay leaves
• 1 tsp black peppercorns — this one on Amazon
• 1 tsp coriander seeds — this one on Amazon
This post may contain affiliate links. As an Amazon Associate I earn from qualifying purchases, at no additional cost to you.
Directions
- Slice the Onions
Peel the red onions, halve them through the root, and slice them thinly into half-moons. Try to keep the slices fairly even so they pickle at the same rate. Thin slices give the most classic texture — tender but still lightly crisp. Even slicing matters more here than it might seem for such a simple recipe — brine penetrates thin, uniform pieces at a consistent rate, while a mix of thick and thin slices in the same jar would leave some pieces properly pickled while others are either still raw-tasting or have gone limp. - Pack the Jar
Place the sliced onions into a clean heatproof jar or container. Add the bay leaves, black peppercorns, and coriander seeds throughout the onions so the aromatics are distributed evenly. Do not pack the onions too tightly — they should have enough space for the brine to move around them. Leaving genuine space between the onion slices, rather than compressing them into the jar, lets the brine actually circulate and reach every piece — onions packed too densely would trap some slices away from full contact with the liquid. - Make the Brine
In a small saucepan or bowl, combine the vinegar, hot water, sugar, salt, and lime juice. Stir until the sugar and salt are fully dissolved. If using a saucepan, warm the mixture gently just until everything dissolves — do not boil aggressively. The brine should taste bright, balanced, and slightly sharp, with enough salt and sugar to round it out rather than taste harsh. Fully dissolving the sugar and salt into the liquid before it ever touches the onion is what ensures that seasoning distributes evenly through every slice — any undissolved granules left in the brine would settle unevenly rather than flavouring the pickle consistently. - Pour and Press Down
Pour the hot brine over the onions in the jar. Use a spoon to gently press the onions down so they are fully submerged. Make sure the bay leaves and spices are tucked into the liquid as well. Let the jar sit uncovered at room temperature for 20–30 minutes to begin softening and taking on colour. After a short rest, the onions should already begin turning vivid pink and slightly softening while still keeping some crunch. Fully submerging every slice, rather than leaving some peeking above the liquid’s surface, is what ensures the whole batch pickles evenly — any exposed portion left above the brine simply doesn’t get the same contact time and would lag behind the rest in both colour and flavour. - Cool and Chill
Once the onions have cooled, cover the jar and refrigerate. They are good after about 1 hour, but best after 4–12 hours, when the flavour settles and the colour deepens fully. Serve chilled or cool. This extended resting period in the refrigerator gives the brine’s flavours — vinegar, lime, sugar, salt, and the aromatic bay, peppercorn, and coriander — real time to fully permeate every layer of the onion rather than sitting only on the surface, which is exactly why the flavour and colour continue developing well beyond that first hour.
*Notes :
- Slicing the onions thin and genuinely even deserves more attention than its simplicity might suggest, since it’s the detail most directly responsible for whether the finished batch pickles consistently. Thin, uniform slices allow the brine to penetrate at the same rate throughout, producing onions that all reach the same texture together. A batch with a mix of thicker and thinner pieces will inevitably pickle unevenly, with the thinner slices going soft while thicker ones are still noticeably firmer and less flavoured.
- Fully dissolving the sugar and salt into the brine before it ever meets the onion is worth treating as a genuine requirement rather than an assumed given. Any granules left undissolved in the liquid settle unevenly once poured over the onions, meaning some slices end up more seasoned than others purely by chance of where those granules happened to land — a fully dissolved brine avoids that inconsistency entirely.
- The brine’s temperature at the moment of pouring functions as a genuinely useful, adjustable control on the finished onion’s texture. Hot brine poured immediately softens the onion more aggressively and quickly; letting the brine cool slightly before pouring produces a crunchier result. This is a real, practical lever worth understanding and using deliberately depending on which texture is preferred for a given use.
- The extended refrigeration window — best between 4 and 12 hours, though usable after just one — reflects how flavour genuinely continues developing over that longer resting period. The brine needs real time to fully permeate every layer of each onion slice, not just its exposed surface, which is why the colour and flavour both continue deepening well past that first hour, even though the onions are technically ready to eat sooner.
Why This Recipe Works
This recipe works because the onions are sliced thin and even, letting every piece pickle at a consistent rate. The brine is fully dissolved before it ever meets the onion, ensuring even seasoning throughout rather than concentrated, unevenly distributed pockets of salt and sugar.
Fully submerging every slice protects the whole batch from pickling unevenly, and the extended refrigeration window gives the brine’s flavour and colour real time to fully permeate each piece rather than sitting only on the surface.
Controlling the brine’s pouring temperature offers a genuine, practical way to adjust the finished texture toward softer or crunchier depending on preference.
Ingredient Breakdown
Thin, Evenly Sliced Red Onion
The base — consistent slicing lets every piece pickle at the same rate, avoiding a mix of textures in the same jar.
Fully Dissolved Vinegar-Sugar-Salt Brine
The critical liquid — thoroughly dissolved before pouring, ensuring even seasoning throughout rather than uneven settling.
Fresh Lime Juice
The brightening component — adds a distinct, fresher acidity alongside the vinegar’s own sharper tang.
Bay Leaf, Peppercorns, and Coriander Seeds
The aromatic layer — distributed throughout the jar for subtle, well-rounded background flavour beyond simple acidity.
Extended Refrigeration Time
The flavour development window — gives the brine real time to fully permeate every layer of the onion, deepening both colour and taste.
Flavor Structure Explained
This pickled red onion follows a layered balance model:
- Sharp acidic foundation (vinegar, lime juice)
- Rounding sweetness (sugar)
- Clean salty depth (kosher salt)
- Subtle aromatic complexity (bay leaf, peppercorns, coriander seeds)
Vinegar and fresh lime juice together provide the pickle’s sharp, bright acidic foundation. A measured amount of sugar rounds out that sharpness without ever tipping the onion toward tasting sweet. Kosher salt adds clean, savoury depth that balances both the acid and sugar. Bay leaf, black peppercorns, and coriander seeds contribute a subtle, well-rounded aromatic complexity that keeps the pickle from tasting purely of vinegar, giving it real character beyond simple tang.
Common Mistakes to Avoid
- Slicing the Onion Unevenly – This produces a batch where some pieces pickle faster than others. Always slice thin and as evenly as possible.
- Pouring the Brine Before the Sugar and Salt Are Fully Dissolved – Undissolved granules settle unevenly, seasoning some slices more than others. Always stir until completely dissolved first.
- Leaving Onion Slices Exposed Above the Brine – Any portion not submerged doesn’t pickle at the same rate as the rest. Always press the onions down fully into the liquid.
- Serving Immediately Instead of Letting It Rest – The flavour and colour are noticeably less developed after only a short rest. Always allow at least 1 hour, ideally 4–12, before serving for the best result.
- Not Adjusting Brine Temperature for Desired Texture – Pouring brine at the wrong temperature for the intended texture misses a simple, useful control. Always pour hot for softer onions, slightly cooled for more crunch.
Variations
Extra-Aromatic Version
Add a small cinnamon stick or a few cloves to the jar alongside the existing spices for a warmer, more complex flavour.
Spicy Version
Add a few thin slices of jalapeño or a small dried chile to the jar for a pickled onion with real background heat.
Citrus-Forward Version
Increase the lime juice slightly, or add a small strip of orange peel, for a brighter, more citrus-forward pickle.
White Vinegar Version
Substitute white vinegar entirely for a cleaner, sharper acidity distinct from apple cider vinegar’s rounder profile.
Storage & Make-Ahead
These are quick pickled onions, so they are not shelf-stable canning pickles — keep them refrigerated at all times.
The onions keep well in the fridge for about 1 to 2 weeks, staying brightest and freshest in the first several days.
Make them well ahead of when you plan to serve them, since the flavour and colour continue improving over the first several hours of refrigeration.
Frequently Asked Questions
Why does the onion need to be sliced thin and even rather than just roughly cut?
Thin, uniform slices allow the brine to penetrate at the same rate throughout the batch. A mix of thick and thin pieces in the same jar pickles unevenly, with some slices turning soft while others stay noticeably firmer and less flavoured.
Why does the sugar and salt need to be fully dissolved before the brine is poured over the onions?
Undissolved granules left in the liquid settle unevenly once poured, meaning some slices end up more seasoned than others purely by chance. A fully dissolved brine seasons every piece consistently.
Why do the onions need to be fully submerged in the brine?
Any portion of a slice left exposed above the liquid’s surface doesn’t get the same contact time as the rest, causing it to lag behind in both colour and flavour development. Full submersion ensures the whole batch pickles evenly together.
Why does the brine’s temperature matter when pouring it over the onions?
Hot brine poured immediately softens the onion more quickly and aggressively, while slightly cooled brine produces a crunchier result. This is a genuine, adjustable control worth using deliberately based on the texture you prefer.
What are some classic dishes to use these pickled onions with?
Carnitas Tacos with Pickled Onion and Cochinita Pibil Tacos both feature this exact style of pickled onion as an essential component. Grilled Steak Peach Chimichurri Salad and Grilled Halloumi Burger are also worth trying with these onions added for a bright, acidic finishing touch.
Nutrition Facts
( per serving )
Calories
~35 kcal
Protein
0 g
Fat
0 g
Carbs
8 g
Calories
~35 kcal
Protein
0 g
Fat
0 g
Carbs
8 g
Related Recipes
Related Recipes

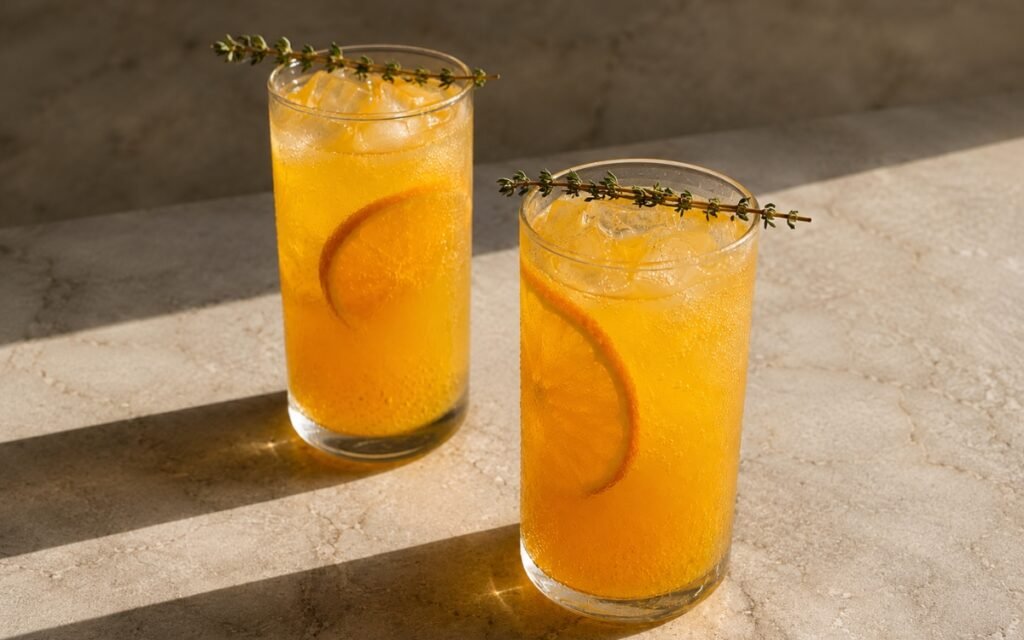
Mango Turmeric Tonic Mocktail
Tropical mango and earthy turmeric with thyme over tonic water — golden, warm, and bittersweet.
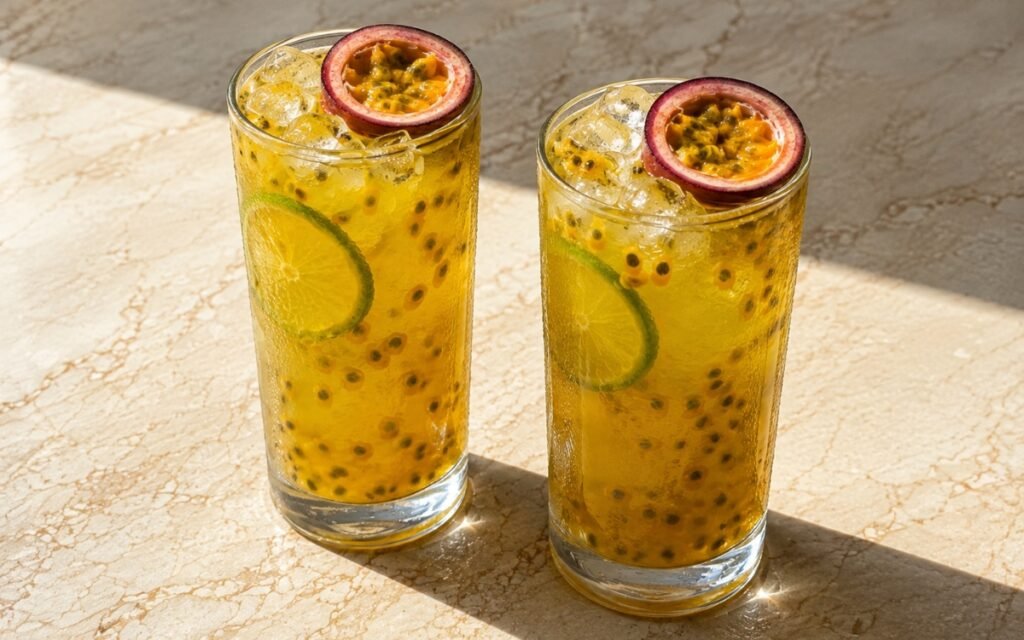
Passion Fruit Lime Lemonade
Fresh lemon and lime juice combined with entirely uncooked passion fruit pulp for a bright, tart, vivid tropical lemonade.
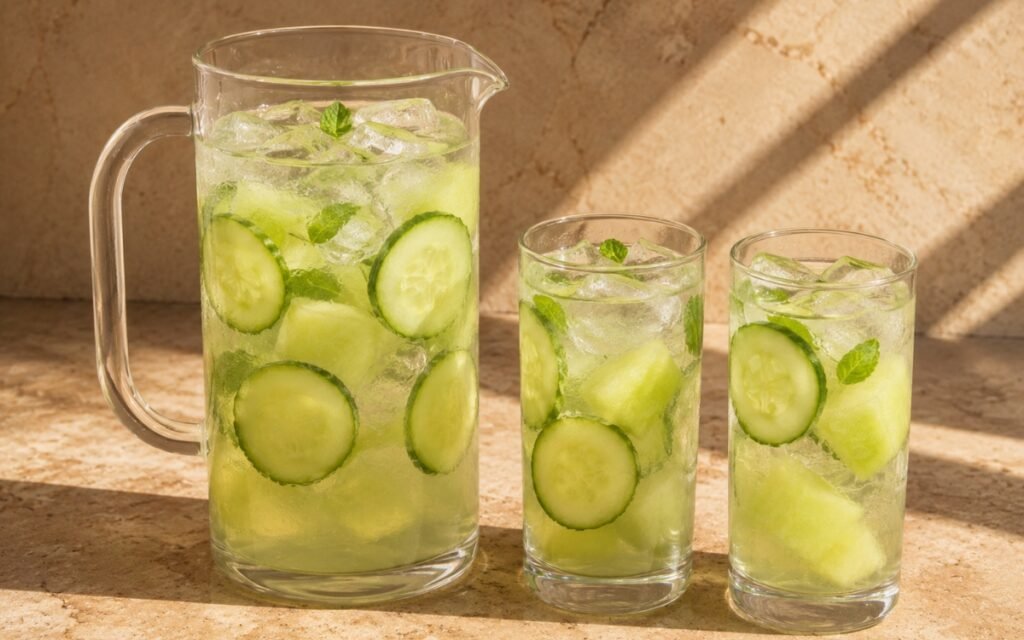
Cucumber Melon Infused Water
Unpeeled cucumber slices, ripe firm honeydew chunks, and lightly clapped mint infused cold for a clean, pale green-tinted spa-style water.
You might also like
You might also like
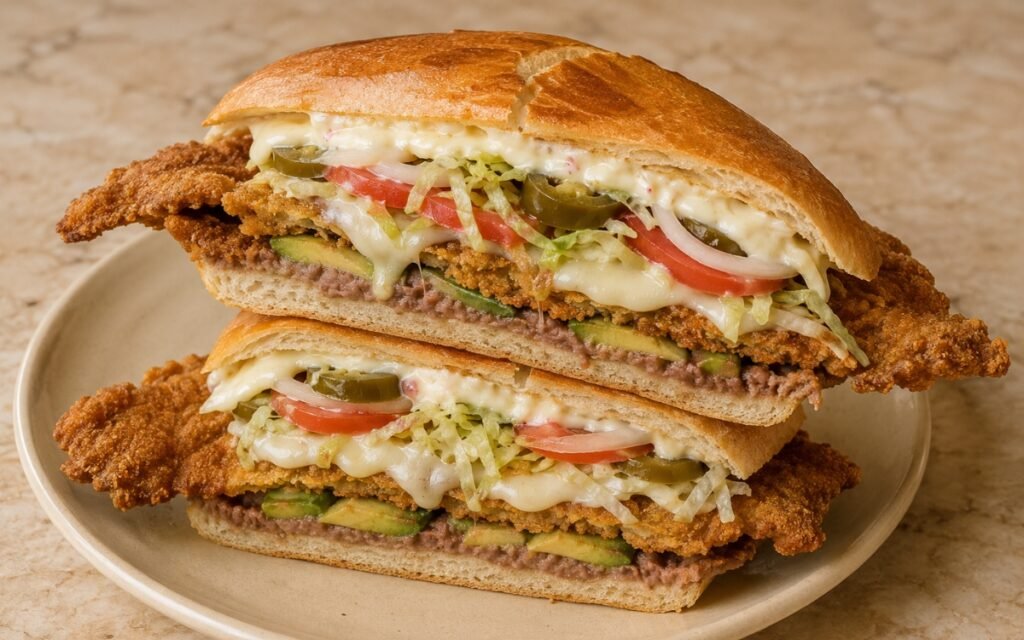
Torta de Milanesa Sandwich
Crispy breaded beef milanesa with melted Oaxaca cheese, refried beans, crema, and fresh vegetables, piled onto a toasted telera roll.
Light Lemon Mint Iced Black Tea
Black tea at 90–95°C for 2½–3 minutes, mint clapped and lemon zest infused cold 10–15 minutes — lemon juice and honey added lukewarm, chilled. Crisp and bright.
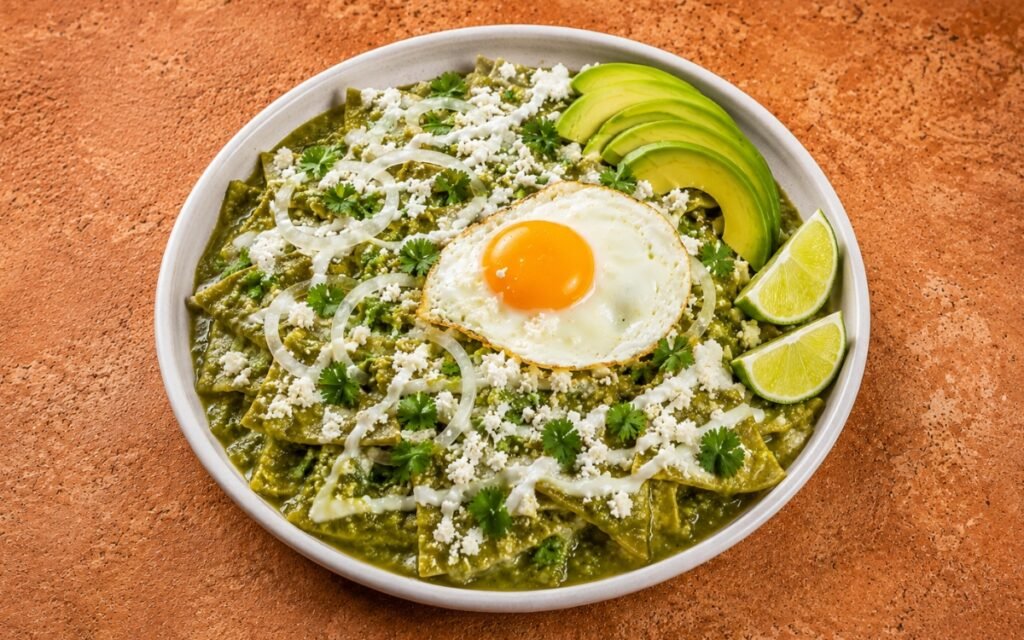
Chilaquiles Verdes
Crispy tortilla chips folded into hot, broiled salsa verde, topped with a runny-yolk fried egg, avocado, cotija, and crema drizzle.

Pickled Red Onion
Ingredients
Method
- Peel the red onions, halve them through the root, and slice them thinly into half-moons. Try to keep the slices fairly even so they pickle at the same rate. Thin slices give the most classic texture — tender but still lightly crisp. Even slicing matters more here than it might seem for such a simple recipe — brine penetrates thin, uniform pieces at a consistent rate, while a mix of thick and thin slices in the same jar would leave some pieces properly pickled while others are either still raw-tasting or have gone limp.
- Place the sliced onions into a clean heatproof jar or container. Add the bay leaves, black peppercorns, and coriander seeds throughout the onions so the aromatics are distributed evenly. Do not pack the onions too tightly — they should have enough space for the brine to move around them. Leaving genuine space between the onion slices, rather than compressing them into the jar, lets the brine actually circulate and reach every piece — onions packed too densely would trap some slices away from full contact with the liquid.
- In a small saucepan or bowl, combine the vinegar, hot water, sugar, salt, and lime juice. Stir until the sugar and salt are fully dissolved. If using a saucepan, warm the mixture gently just until everything dissolves — do not boil aggressively. The brine should taste bright, balanced, and slightly sharp, with enough salt and sugar to round it out rather than taste harsh. Fully dissolving the sugar and salt into the liquid before it ever touches the onion is what ensures that seasoning distributes evenly through every slice — any undissolved granules left in the brine would settle unevenly rather than flavouring the pickle consistently.
- Pour the hot brine over the onions in the jar. Use a spoon to gently press the onions down so they are fully submerged. Make sure the bay leaves and spices are tucked into the liquid as well. Let the jar sit uncovered at room temperature for 20–30 minutes to begin softening and taking on colour. After a short rest, the onions should already begin turning vivid pink and slightly softening while still keeping some crunch. Fully submerging every slice, rather than leaving some peeking above the liquid’s surface, is what ensures the whole batch pickles evenly — any exposed portion left above the brine simply doesn’t get the same contact time and would lag behind the rest in both colour and flavour.
- Once the onions have cooled, cover the jar and refrigerate. They are good after about 1 hour, but best after 4–12 hours, when the flavour settles and the colour deepens fully. Serve chilled or cool. This extended resting period in the refrigerator gives the brine’s flavours — vinegar, lime, sugar, salt, and the aromatic bay, peppercorn, and coriander — real time to fully permeate every layer of the onion rather than sitting only on the surface, which is exactly why the flavour and colour continue developing well beyond that first hour.